Sharing is caring!
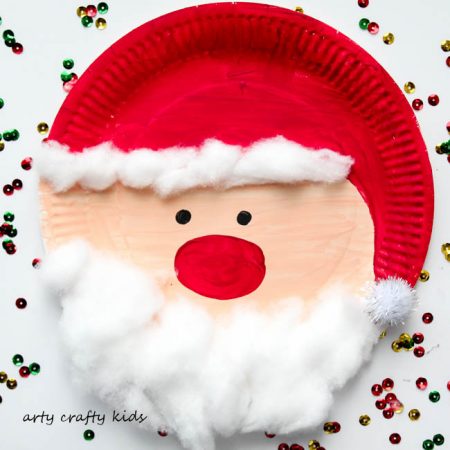
Throughout the entire Christmas period I have agonized (a little dramatic I know) over how to put together the BEST paper plate Santa.
I wanted to make it simple, so kids can actually make it without too much (if any) interference.
It obviously had to be super cute and not too fussy.
In my mind, a paper plate Santa had to be exactly that, without too many add-ons or materials.
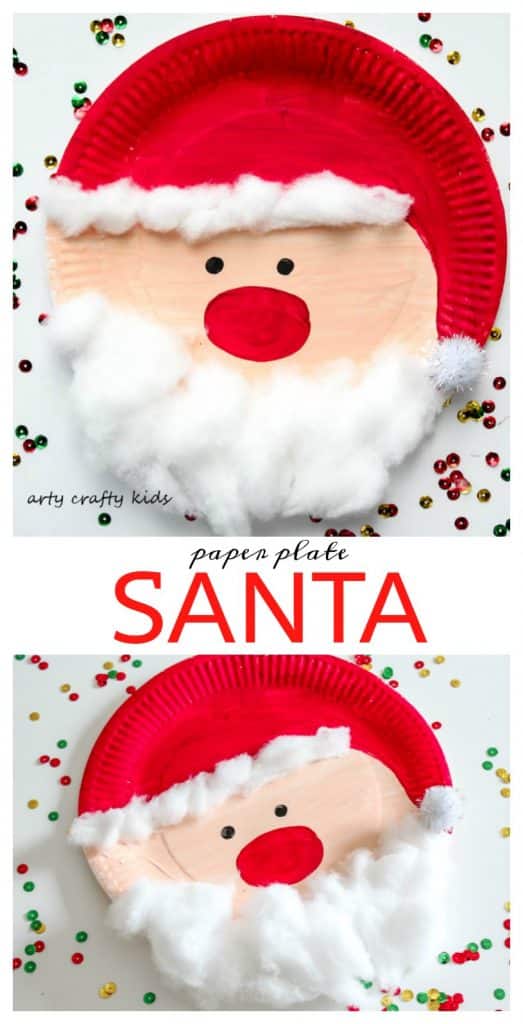
And with just a few days to go until the big day, I think we’ve achieved an easy, fun and utterly adorable paper plate Santa – what to do you think?
Here’s how you can make it at home!
MATERIALS: Paper Plate Santa
This post contains affiliates
Paper Plate
Red, Black, White and Orange Paint
PVA Glue
Cotton Wool
White Pom-pom
DIRECTIONS: Paper Plate Santa
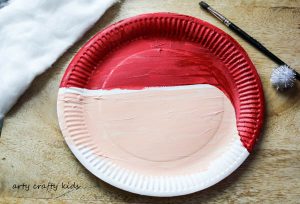
Paint half of the paper plate a skin tone ( by mixing white with a small amount of orange or pink) and the other half a vibrant red, with a curve around the edge of the paper plate to create a ‘hat’ shape.
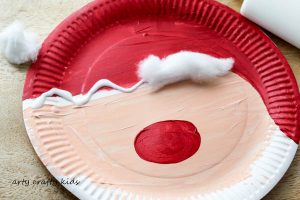
Add a big red nose.
Between the border of the skin coloured paint and red, add plenty of PVA glue.
Separate and thin out the cotton wool and spread along the trail of glue, leaving some space to create the appearance of a hanging Santa hat.
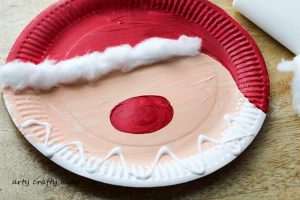
Add some PVA glue to the bottom of the paper plate.
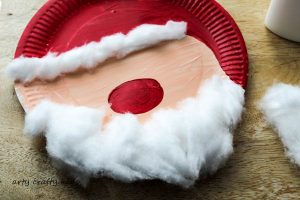
Add more cotton wool and this time fluff it up a little to create a nice fluffy beard.
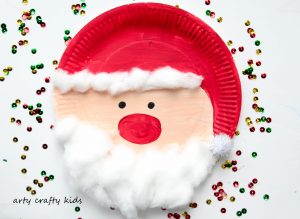
Finish off by adding a pair of eyes using black paint and white pom-pom at the tip of the hat.
And ta-da, the kids should now have a super cute, super adorable paper plate Santa!
For more easy and fun Christmas crafts, take a look out our cardboard tube elves, paper plate Rudolph and paper plate baubles!

