Sharing is caring!
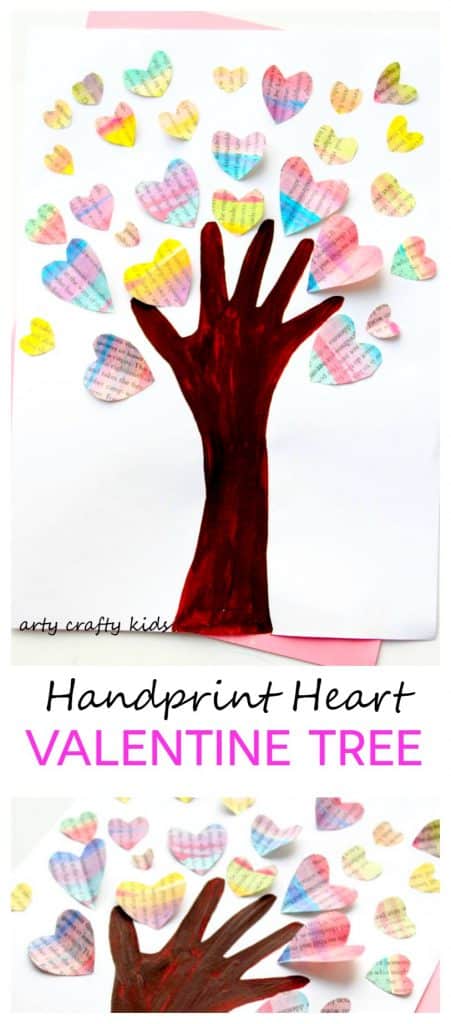
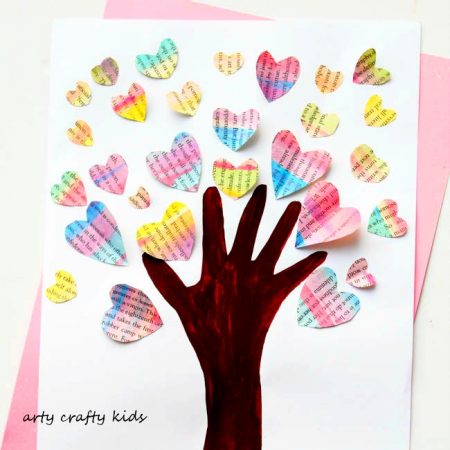
With the season of love approaching, we’ve certainly poured a lot of love into this Handprint Valentine Heart Tree.
I adore how it turned out!
And for my ambidextrous daughter, who finds scissors rather tricky to use, it’s been a fabulous craft for practicing her cutting skills.
She also adores hearts and mushy sentiments, and added our names to each of the branches of the handprint tree – adorable!
Sadly, my kiddies names are a no-go on Arty Crafty Kids, but I’m sure you can picture how cute this would look.
To set up this easy and fun valentines craft at home, here’s what you need….
MATERIALS: Handprint Valentine Heart Tree
This post contains affiliates
A sheet of white card
Acrylic Kid-Friendly Paint
Watercolours
An old book or Newspaper
Pencil
Glue Stick
Scissors
DIRECTIONS: Handprint Valentine Heart Tree

Depending on the age of your child, either trace around your child’s’ arm or ask them to have a go for themselves.
Next, paint the arm brown.
This is a great opportunity for a little colour mixing!
Offer your kids red, yellow and blue paint and see how long it takes to make brown – in my experience, kids rarely have a problem mixing brown!

While the handprint tree is drying, tear out some printed pages from an old book or use a newspaper.
Using watercolours, paint the printed sheets.
To avoid an excess of soggy paper, saturate the paintbrush with water before mixing the paint and then quickly glide the brush over the paper in one continuous stroke.
My 6-year-old found this process incredibly calming and happily spent her afternoon painting sheet after sheet.
TIP: Once the printed page is covered with watercolour paint, gently stretch and smooth it out to eliminate any creases or bumps that may form while drying.

Cut the watercolour printed sheets into thick strips, fold in half and cut out one-half of a heart shape along the fold.
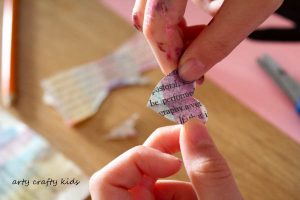
Open it up and ta-da, your kids will have a symmetrical heart!
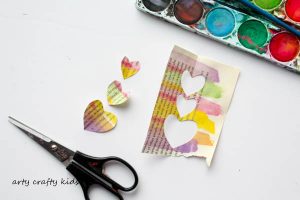
Cut out more hearts of varying sizes and shapes.
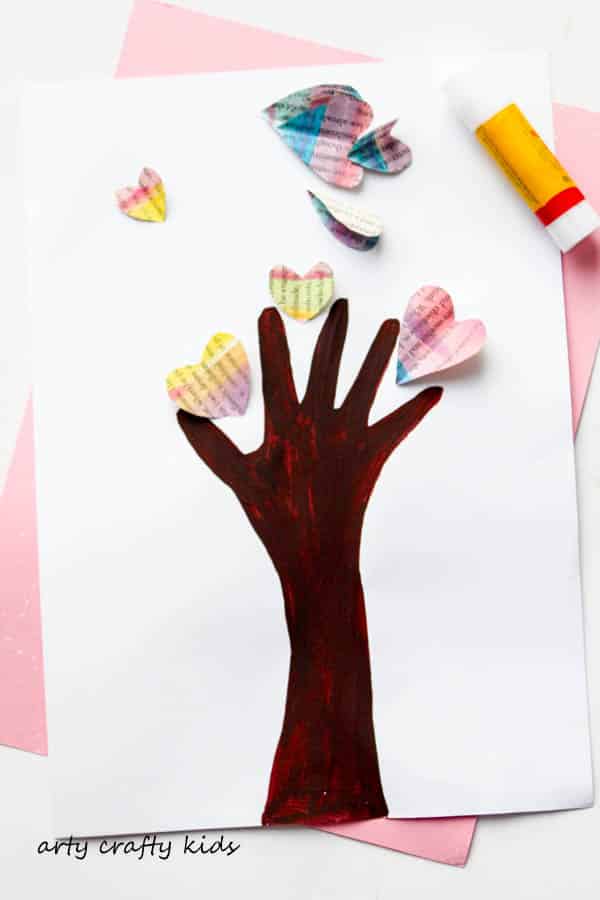
Glue the hearts between the fingers of the tree and add more hearts to create the appearance of a tree.
Either mix up the varying hearts or suggest to the kiddies to arrange the hearts in a large to small order – a great opportunity for younger kids to assess differences in size.
TIP: To create a 3D heart effect, apply the glue to the centre of the heart and allow the edges to naturally fold away from the paper.
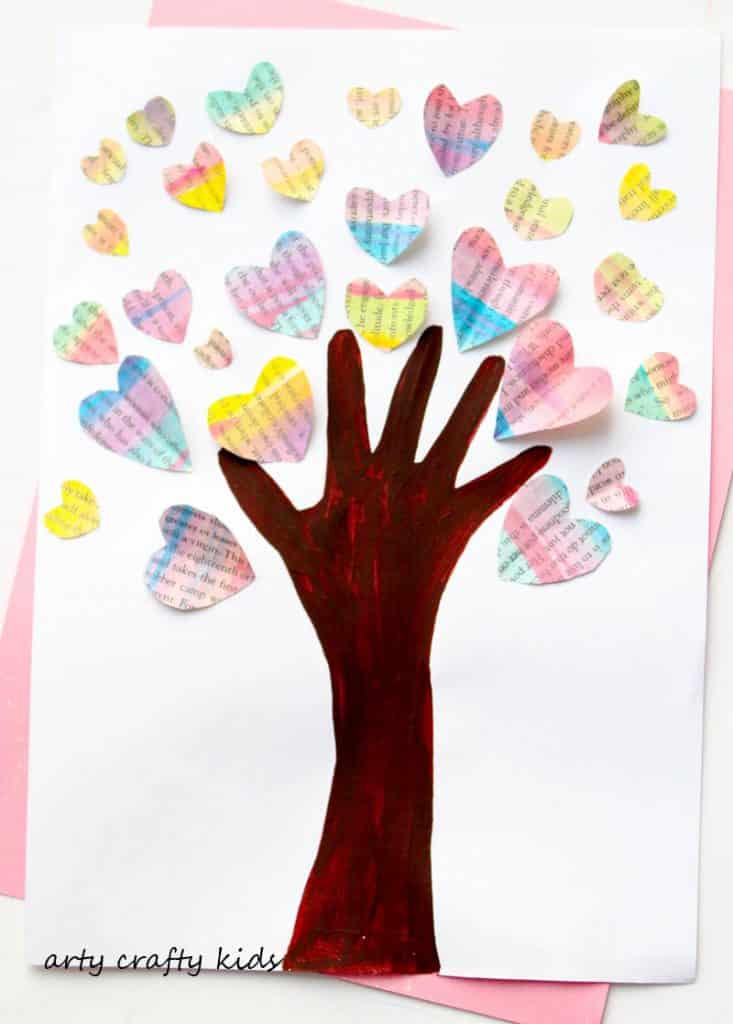
And your kiddies should now have their very own Handprint Valentine Heart Tree.
I hope they’ve enjoyed the process and if you’re looking for more heart inspiration, take a look at our Glitter Handprint Ornament and Paper Plate Heart Hat!
Pin me for later!
