Sharing is caring!
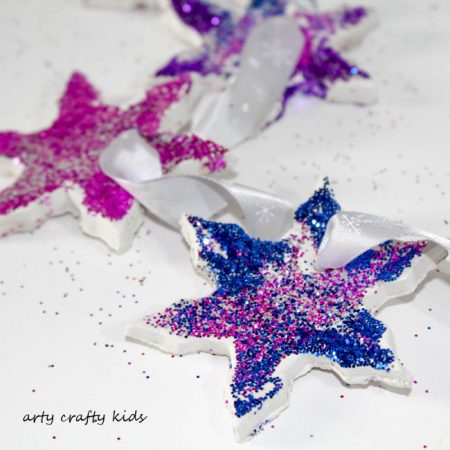
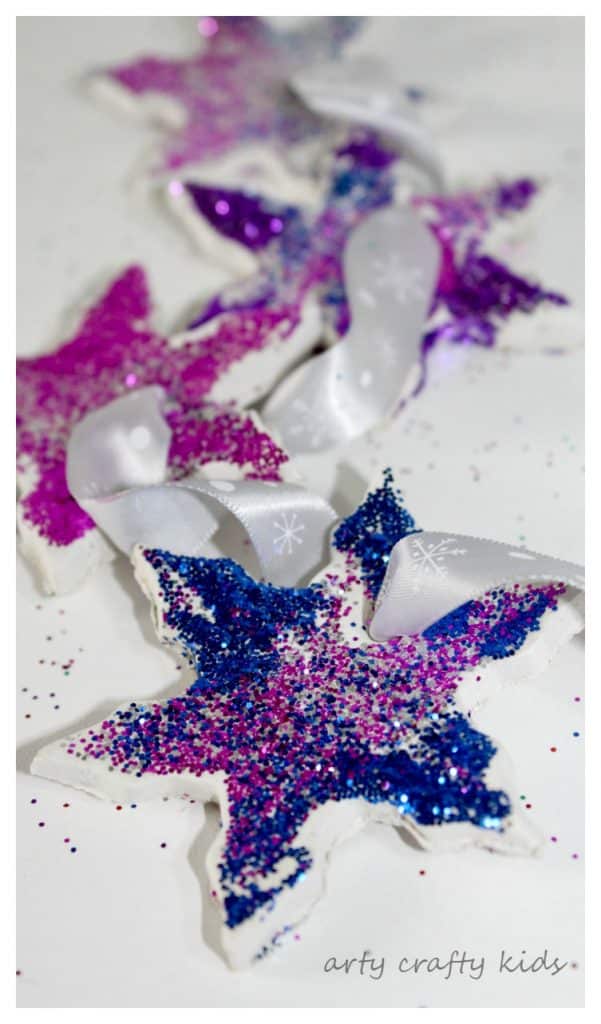
This Christmas, it’s been raining glitter. Armed with their shaker pots, my kids have loved adding a little sparkle to most of their crafts (who doesn’t love a bit of sparkle?) and these cute glittery clay Christmas ornaments have definitely been a favourite this season.
Super simple, with no baking necessary, these Christmas Ornaments are designed for kids to make themselves.
Here’s how they make it!
MATERIALS: Glittery Clay Christmas Ornaments
This post contains affiliates
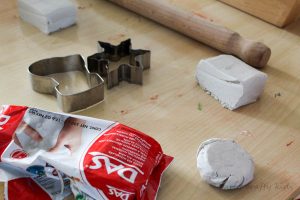
White Air Dry Clay
Glitter Shaker Pots
Christmas Cookie Cutters
Ribbon
Baking Tray
Grease Proof Paper
PVA Glue
DIRECTIONS: Glittery Clay Christmas Ornaments
Remove the air dry clay from the packet and warm it up by rolling it into a ball and kneading it.
Set up the cookie cutters, rolling pin, baking tray and grease proof paper.
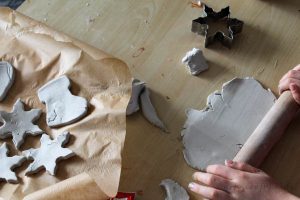
Roll out the air dry clay to approximately 1cm depth.
Cut with a Christmas cookie cutter, add a hanging hole and carefully place it onto the tray and grease proof paper.
Leave the air dry clay to dry for at least 24 hours or until the ornaments are solid to touch.
Cover the surface of each ornament with pva glue.
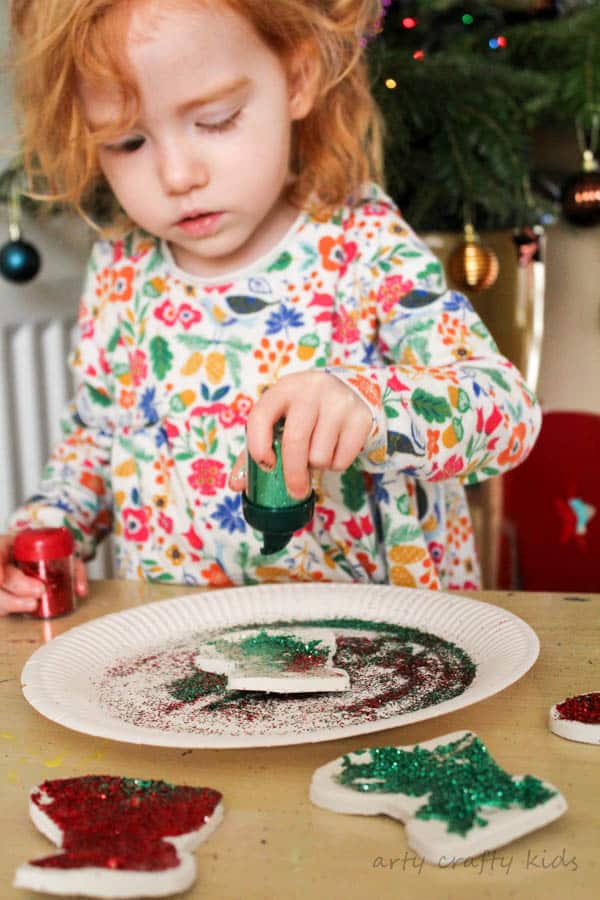
And then sprinkle with glitter.
Glitter has a tendency to go EVERYWHERE!
To keep it contained, I find it useful for kids to use Glitter Shaker Pots and sprinkle onto a plate.
Add a piece of ribbon or string for hanging.
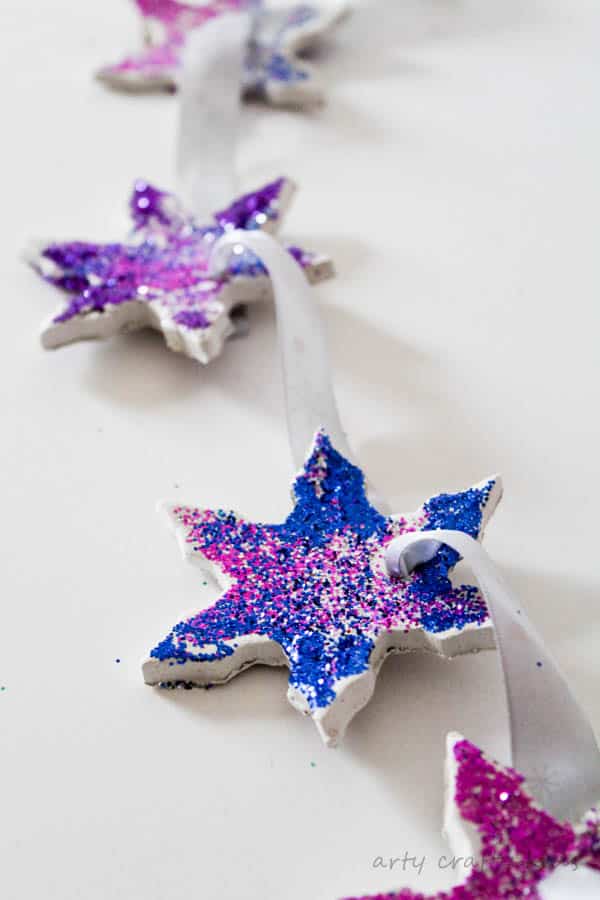
I loved how my daughter decided to use once piece of ribbon to connect the Glittery Clay Christmas Ornaments. On retrospect, I would have made two parallel hanging holes to create a clay garland.
On retrospect, I would have made two parallel hanging holes to create a clay garland, so keep this in mind when the kiddos are cutting out their ornaments.
For more Christmas Ornament inspiration take a look our Baby Footprint Christmas Tree, Recycled Jar Lid Bauble and Paper Plate Baubles.

