Sharing is caring!
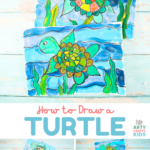
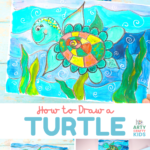
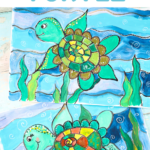
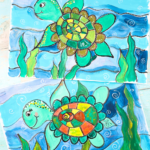
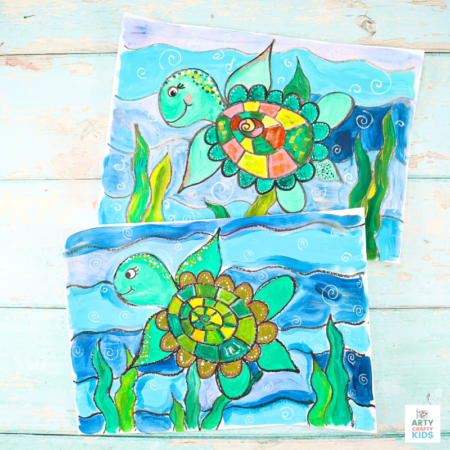
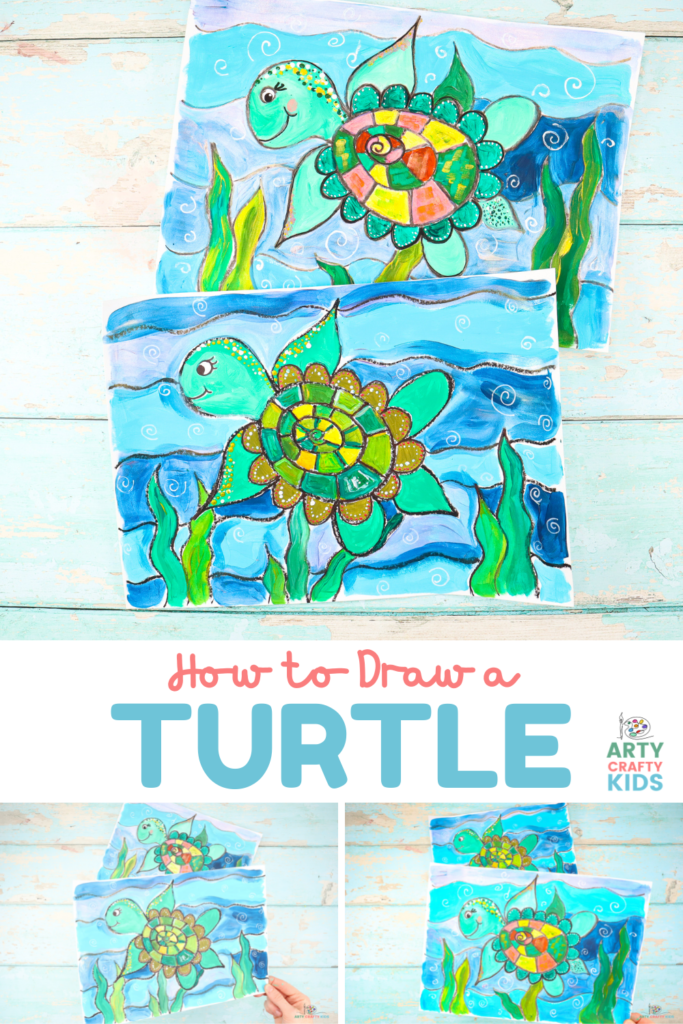
Learn how to draw a turtle with our easy to follow step-by-step “Turtle How to Draw” printable guide! Our how-to makes drawing a turtle super easy and coupled with the flow drawing technique, the sea turtle can be drawn in just a few simple steps.
Flow drawing is all about drawing with simple lines and shapes that are often repeated to create definition. This technique is ideal for kids and beginners, for it focusses on engaging in the process and developing natural rhythms in creation. We let go of perfectionism and embrace all the lines, allowing the subject to come together in a much freer way.
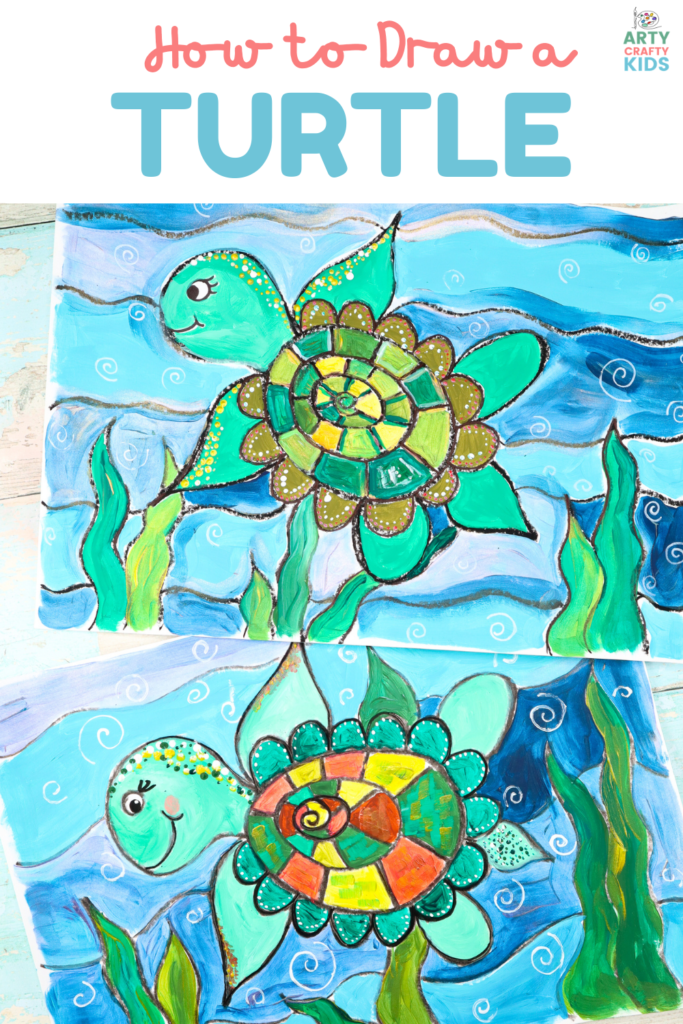
Our lovely sea turtle is drawn using a few basic round shapes and once the outline is complete, children are free and are encouraged to play with their design. The how to draw a turtle lesson thus explodes into a full blown under the sea turtle art project!
The turtle’s shell could be considered as the heart of our drawing tutorial. It consists of three layered ovals and once drawn, children can play with their creativity by adding all sorts patterns and colors, as well as experimenting with mixed media to create texture. They can also explore the boundaries of realism, caricature and abstract techniques in their art; making this a great art project to try within a classroom or home learning setting.
Table of contents
- What is Flow Drawing?
- Flow Drawing Benefits:
- How to Draw a Turtle – Step by Step Drawing Tutorial
- More How to Draw Tutorials for Kids:
What is Flow Drawing?
Flow Drawing is an art technique developed by us to encourage children to understand shapes and create illustrations, in a much ‘freer’ way.
By removing restrictions, flow drawing encourages children to fully engage in the moment and discover their natural flow, making every line count and bringing mindfulness to their creative process.
You can think of the flow drawing technique as a ‘how to draw’ guide with a difference – children won’t just draw a picture, they’ll create a unique work of art, right from their soul.
Flow Drawing Benefits:
Although the process of flowing more naturally in art might seem a little alien to children at first, it’s really worth encouraging them to have a go. Flow drawing has so many benefits and helps little hands and minds to:
- Explore simple shapes and how they work together to create larger forms
- Discover their natural flow and rhythm through repetitive movements
- Learn how to combine mediums, with a fun and easy approach
- Build confidence in their own creative ability
- Combat ‘perfection-seeking’ in art, providing a much needed alternative to rigid ‘how to draw’ guides
- Bring mindfulness to the creative process and boost mental health
- Foster a love of art and self-expression.
How to Draw a Turtle – Step by Step Drawing Tutorial
Materials:
- White Card Stock or Mixed Media Paper
- Wax Crayon or Oil Pastel
- Acrylic or Watercolor Paint
- Black Marker Pen (Optional)
- Acrylic or Chalk Pens (Optional)
Download the Turtle How to Draw Printable
The templates are available to members of the Arty Crafty Kids club.
Members will need to log in to access the templates: https://www.artycraftykids.com/product/flow-drawing-turtle-tutorial/
Not A Member?
Watch the How to Draw a Turtle Video:
Let’s Draw a Turtle!
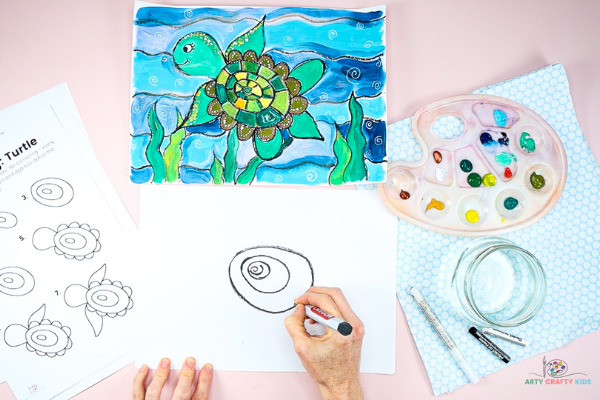
The Turtle’s Shell: Loosely Drawn Ovals
Our drawing tutorial begins with three ovals, working from smallest to biggest.
The ovals are irregular in shape with the smallest drawn from a little swirl. We use the three ovals to create a sense of perspective. While the end result is flattened, older children can expand the concept with extra curved lines and color (dark to light tones) to enhance the rounded shape.
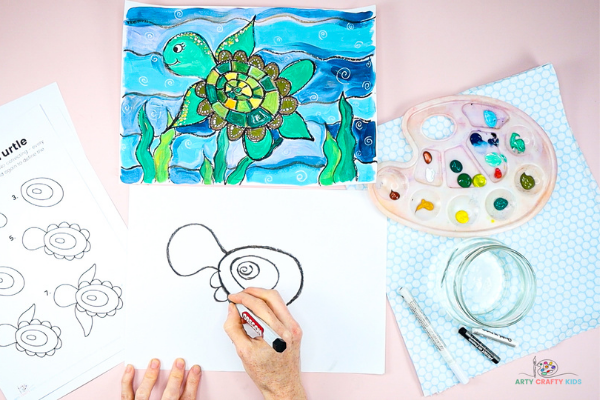
Draw the Turtle’s Head
Let’s move onto the turtle’s head. Start from the upper neck area. Draw a short straight line away from the shell and swoop the crayon up, round and down, returning up again in the motion of drawing another oval. However, don’t draw an oval and stop about an inch away from first straight line. Instead, draw another straight line back to the shell.
This shape can be drawn with a nice smooth lines, repeated if necessary for definition.
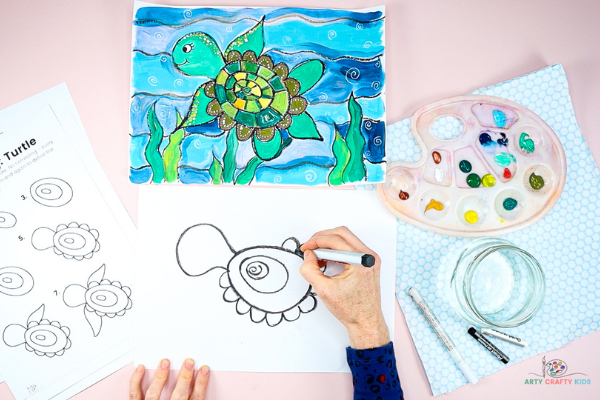
Had a Frill to the Turtles Shell – Optional
Using the outer shell as a guide, draw a series of rainbow shaped bumps around the shell to create a frill.
This technique is often uses in tangle patterns and is known for its meditative benefits. As children get into the flow of drawing the bumps, the technique will become rhythmical and feel natural. It doesn’t matter if the bumps are uneven in shape or space, it only adds to the cartoony and slightly abstract feel to the end project.
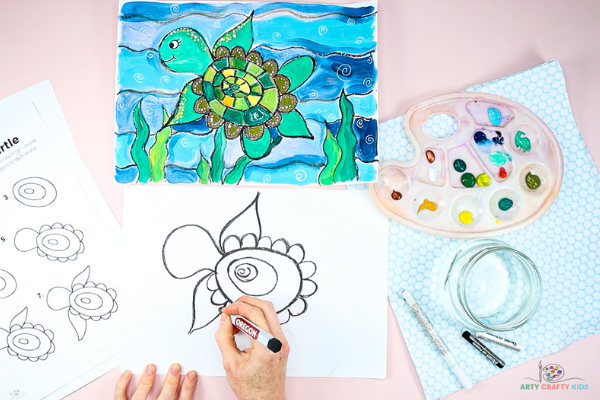
Add Flippers to the Sea Turtle
The turtles flippers are drawn with two wavy lines. One starting just before the first bump and the second starting from the second or third bump. The two lines initially fan away the shell and then curve to join in narrow point.
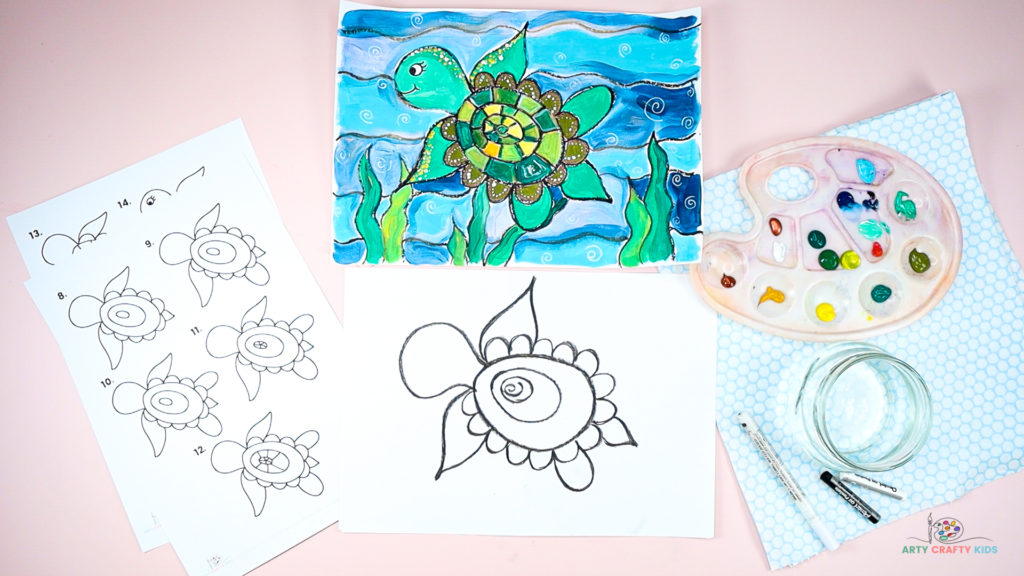
Draw a Small Tail and 2nd Set of Flippers
Find a space between two bumps and draw a tail that’s similar in style to the first set of flippers.
Next, draw the back flippers. This time, they can take the same shape as the fill bump.
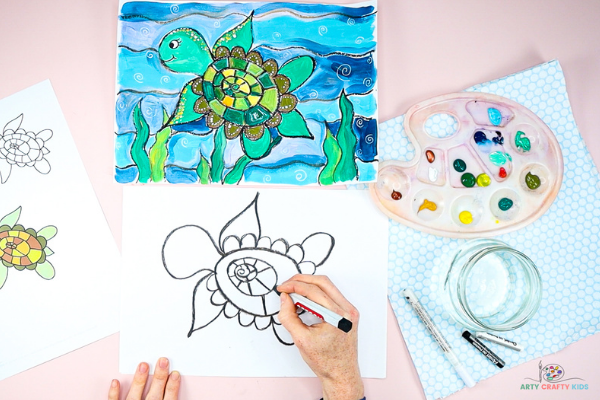
Add Definition to the Shell
Now that we have the basic shape of a sea turtle, let’s add some definition.
Divide the empty space in-between the ovals with a number of straight lines. This will create lots of curved rectangles and is a very simple way to recreate the recognizable shapes of a turtle’s shell.
Add an eye and smiley face to the turtle’s head.
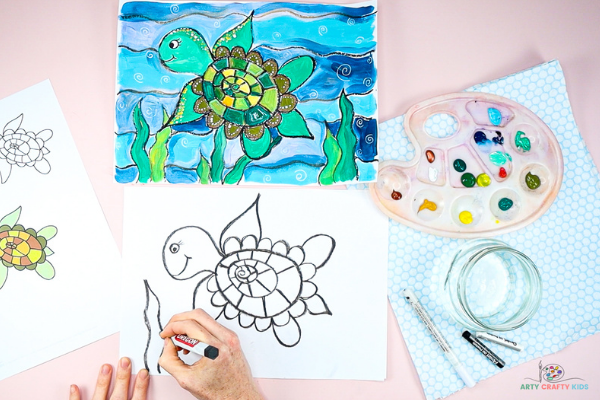
Let’s Create a Simple Under Water Scene
We do love our wavy lines and they’re perfect for an under water setting!
From the bottom of the sheet, draw a few wavy lines to form seaweed and then draw wavy lines across the page to create a rippling water effect.
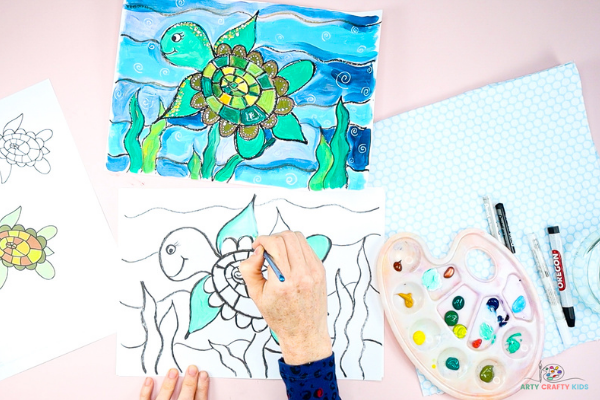
Let’s Paint the Turtle
Our how to draw a turtle lesson uses paint to color the completed design. Arty Crafty Kids may also use paint, try new mediums or stick to their favorites!
If they would like to try something new, we recommend easy to blend mediums such as watercolors, oil pastels and acrylic paints.
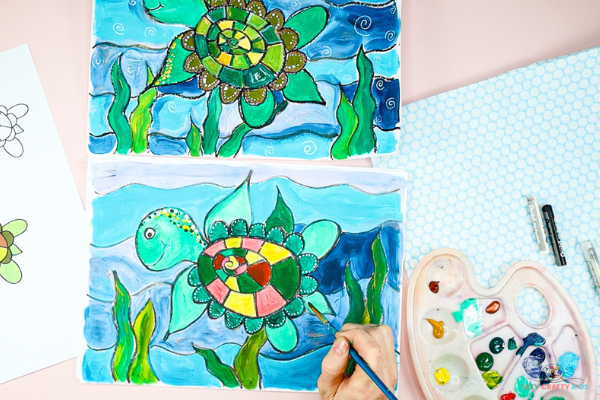
Painting Techniques
Paint the basic shapes.
To create a sense of dimension to the seaweed and waves, try adding more than one color to the paintbrush and blend on paper. For example, add two shades of green to the paintbrush. Start from the tip of the seaweed and sweep the paintbrush down in a motion that follows the shape of the seaweed. This will create a small blend between colors and two definitive lines that enhance the wavy appearance of real seaweed.
Use the same process with the waves.
Pointillism
Pointillism is a technique that uses lots of little dots to form one image. For decoration, we have added little dots to the turtle’s head and frills, however this process could be expanded across the whole turtle. Turtle’s have incredible texture to both their skin and shells. Pointillism would be a fantastic technique for recreating this texture.
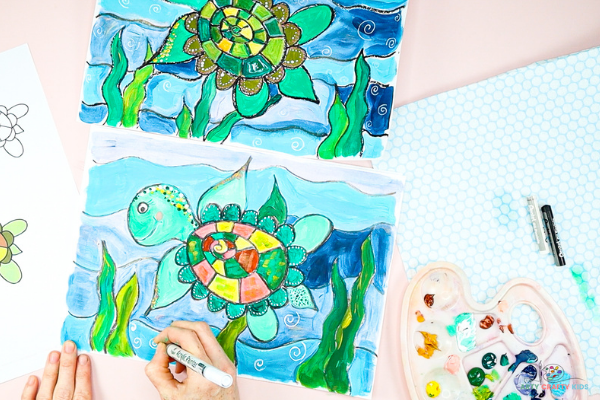
Creating Extra Detail
As an optional extra, add some extra detailing or patterns with an acrylic or chalk pen. Both work well on a painted surface and is a simple way of introducing mixed media in art.
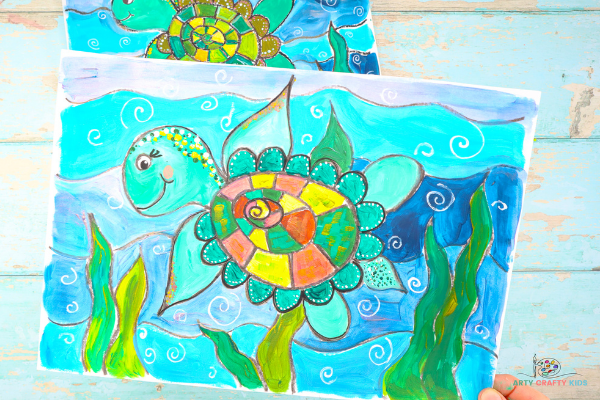
The Turtle How to Draw Tutorial is Complete!
Now your Arty Crafty Kids should have turtlely awesome drawing/painting of a sea turtle!
For more turtle inspired crafty fun, take a look at our 3D Turtle Bobble Head Craft and Turtle Pop-up Card.
More How to Draw Tutorials for Kids:
-
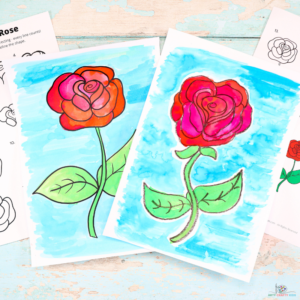
Flow Drawing: A Rose
-
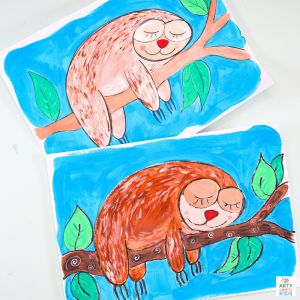
Flow Drawing: Step by Step Sloth
-
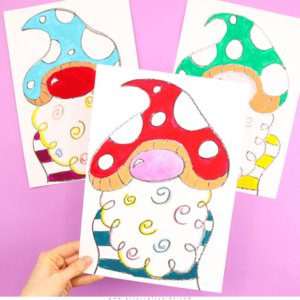
Flow Drawing: Toadstool Gnome
-
Flow Drawing: How to Draw an Owl
-
Flow Drawing: Sunshine Lion Art
-
Flow Drawing: How to Draw a Peacocks Head
-
Flow Drawing: How to Draw a Jellyfish
-
Flow Drawing: How to Draw a Poppy
-
Flow Drawing: How to Draw a Llama
-
Flow Drawing: How to Draw a Cat
-
Flow Drawing: How to Draw a Little Bird

