Sharing is caring!
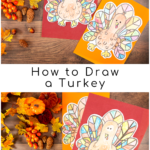
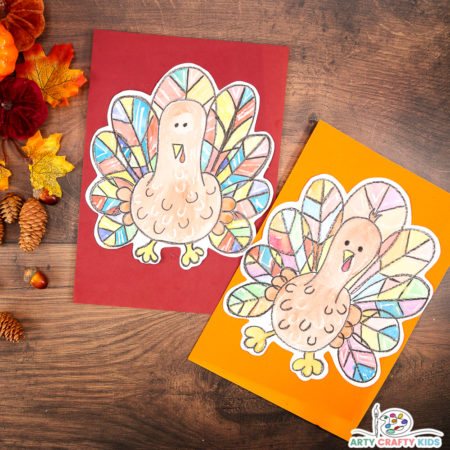
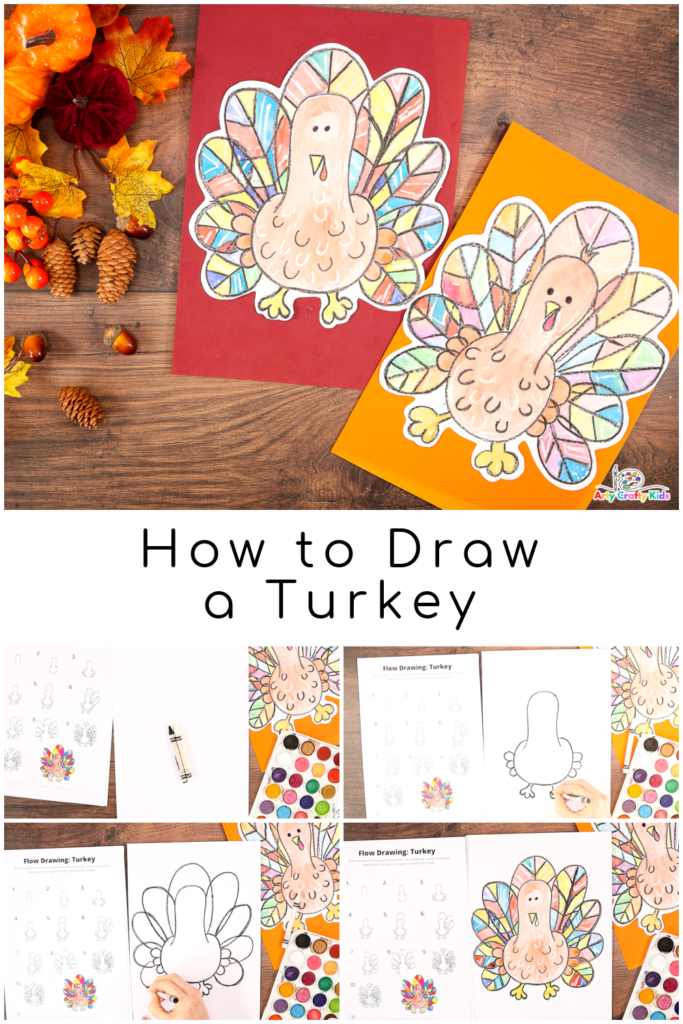
Learn how to draw a turkey with our easy to follow step-by-step tutorial! This is a lovely activity to enjoy with your children during the Thanksgiving festivities at home or within the classroom.
Our turkey is drawn with a series of simple rounded shapes, repeated over and over to establish a sense of flow within the drawing process.
We believe this sense of flow within drawing not only makes drawing much easier but it also eliminates the need for perfection as the shapes are naturally formed; making this a perfect process for kids’ and beginners who are learning how to draw.
To get started, we recommend watching the video and downloading the printable resources which includes a visual step-by-step tutorial, a turkey coloring page for younger children and an outline for kids to complete.
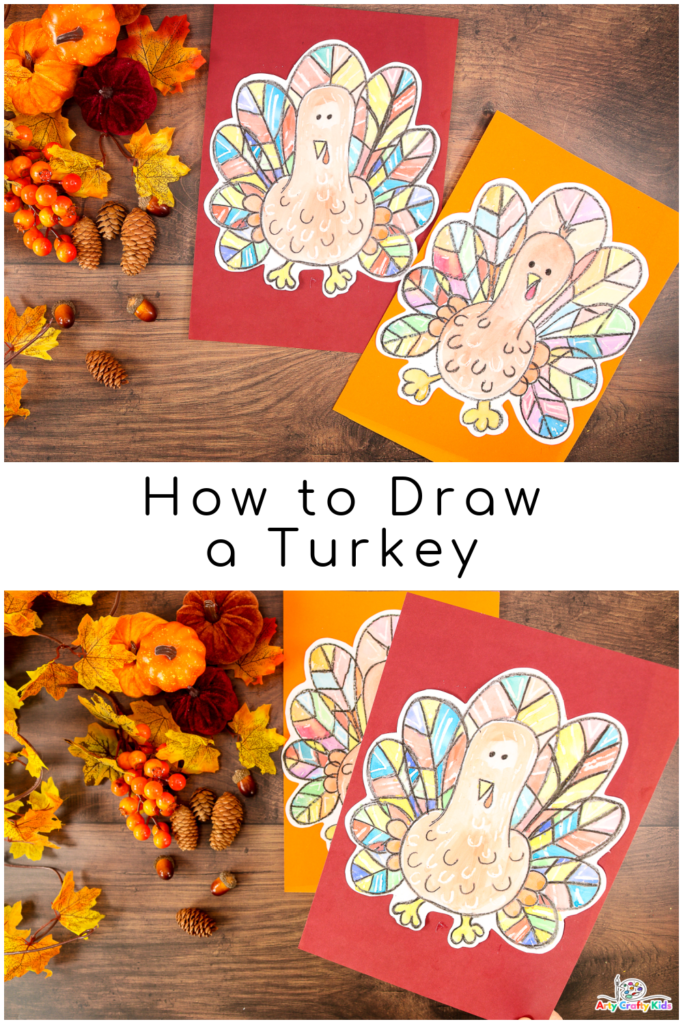
How to Draw a Turkey – A Step-by-Step Tutorial
Materials
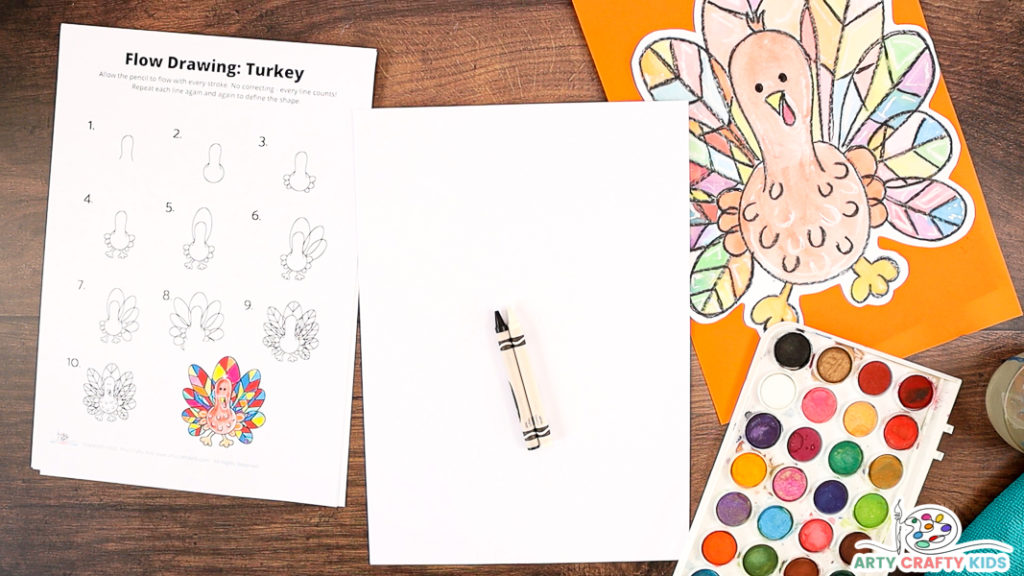
- White Card Stock
- Black and White Crayons
- Watercolor Paint Palette
Download the Turkey Step-By-Step Tutorial:
The Turkey Step-by-Step Printable, Coloring Page and Outline are available
to members of the Arty Crafty Kids club.
Members will need to log in to access the templates: https://www.artycraftykids.com/product/flow-drawing-turkey-tutorial/
Not a Member?

Watch How Easy the Turkey is to Draw!
Let’s Draw a Turkey:
Throughout the process of drawing the turkey, do not be afraid to go over the same line a few times to achieve the desired shape.
This repetition will help define the lines, contribute to the story of creation and help to engage a natural rhythm.
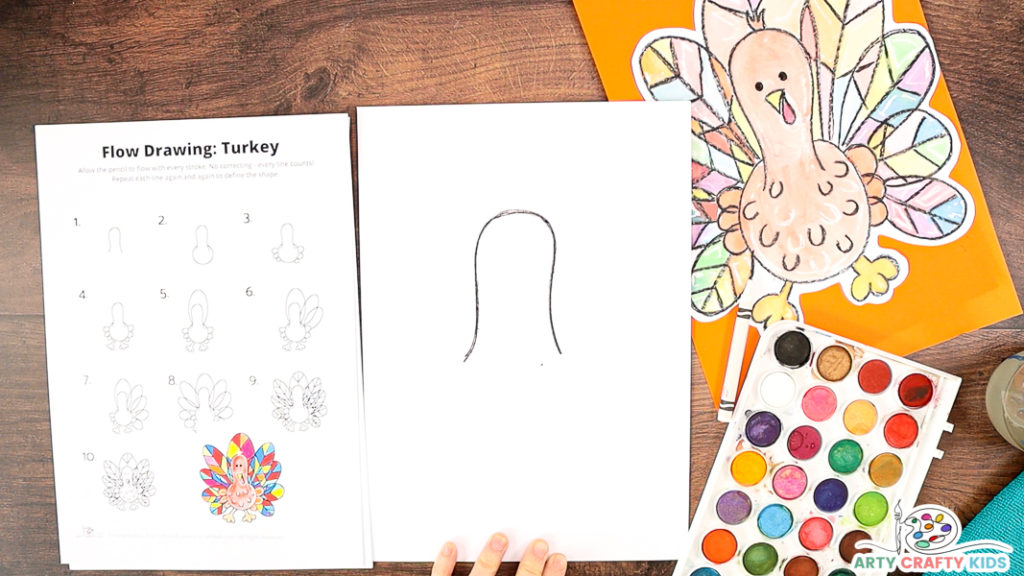
Step 1: Start with an Upside Down “U” Shape to Draw the Turkey’s Head
Use a black crayon to draw a long upside U shape in the the middle of the sheet of card stock.
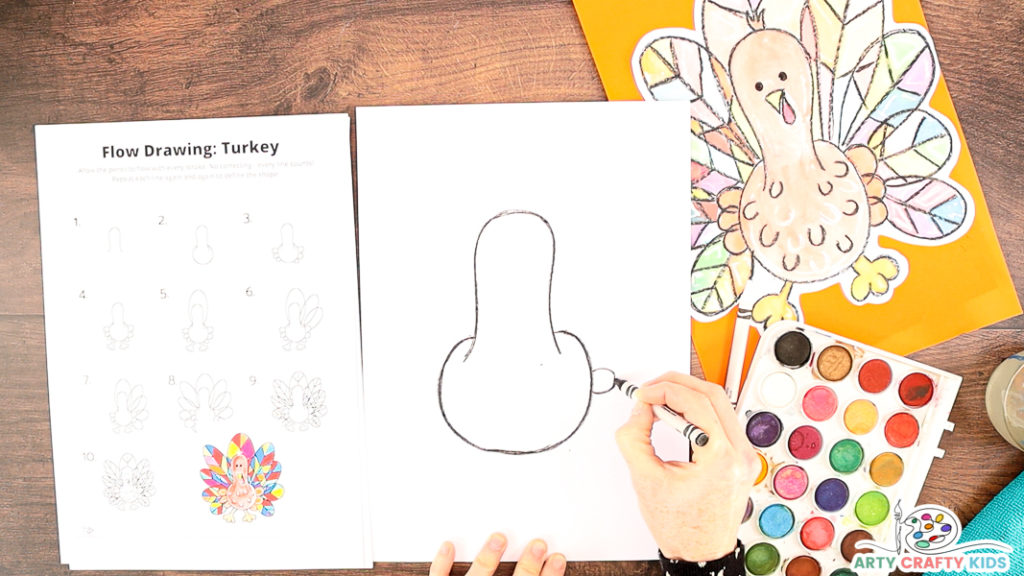
Step 2: Draw a Nice Large Circle Around the Bottom of the U
Starting just above the ends of the U, draw a large circle around its head. This will become the Turkey’s body.
Step 3: Draw the First Wing Feather
Next, draw half an oval to form the Turkey’s first wing feather.
Draw three adjoining wing feathers either side of its body.
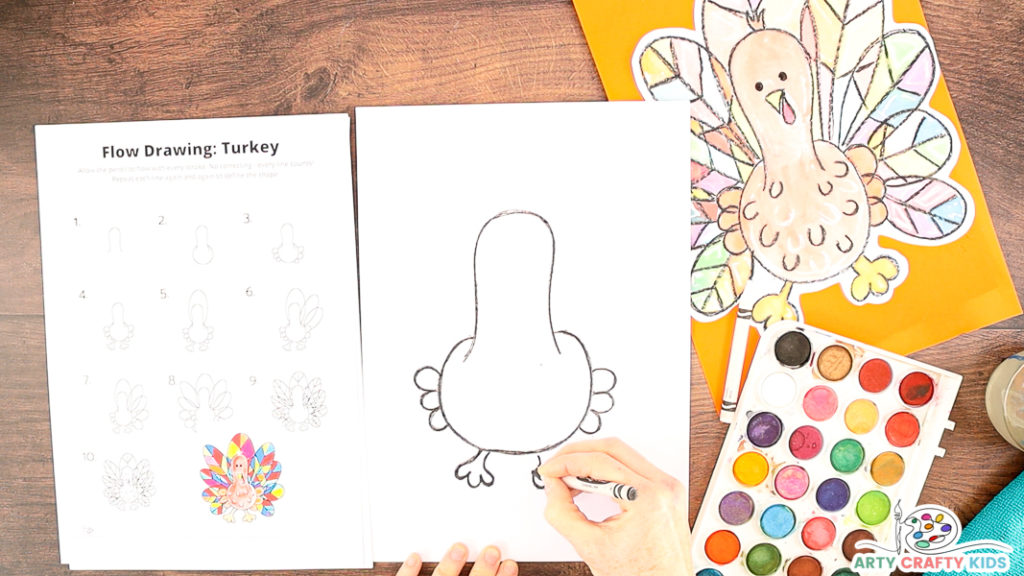
Step 4: Draw a Series of Wing Feathers and a Pair of Feet
Draw a pair of feet!
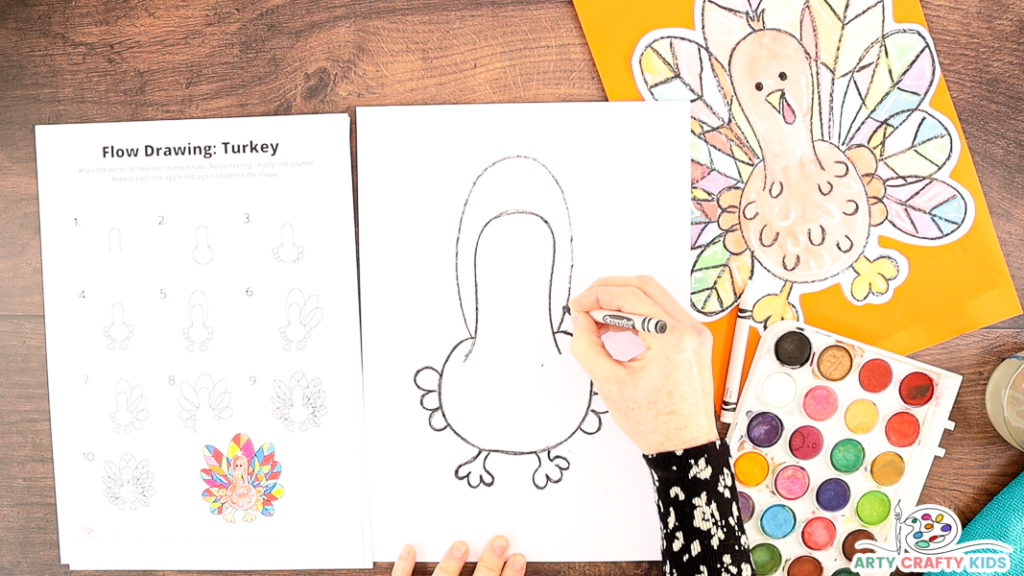
Step 5: Draw a Large Central Tail Feather
Draw a large central feather just above the Turkey’s head.
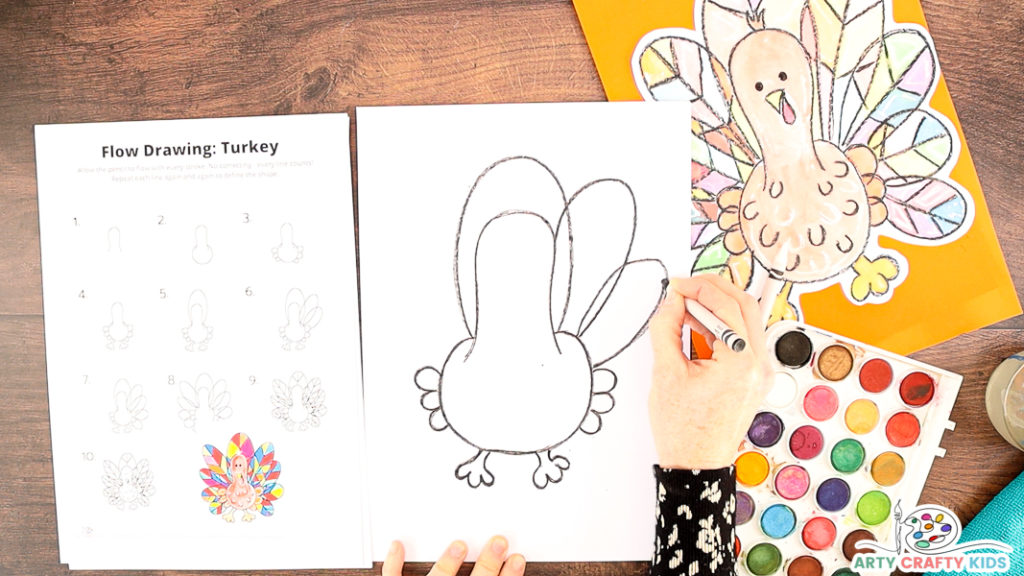
Step 6: Draw a Series of Overlapping Tail Feather’s
From the central feather draw a series of overlapping tail feathers up to the last wing feather.
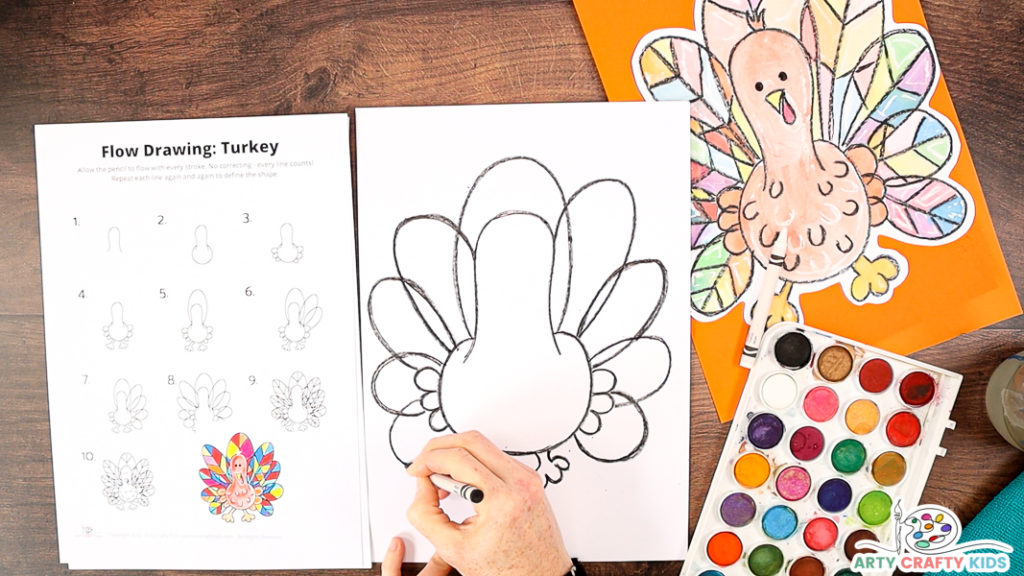
Step 7: Frame the Turkey with Tail Feather’s
The turkey’s body and head should now be framed by tail feathers.
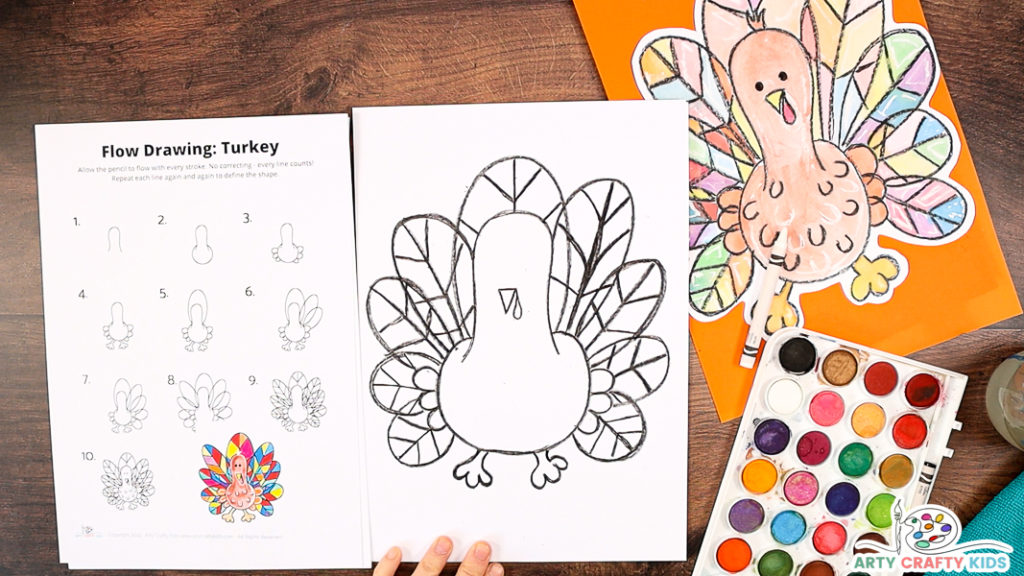
Step 8: Draw Lines within the Feather’s and a Beak
Let’s make the feather’s feathery!
Divide each feather in half with a straight line and segment either side with a number of evenly space smaller lines.
Repeat this process for each feather.
Once the feather’s are complete, draw small beak and wattle (the red flappy piece beside the beak).
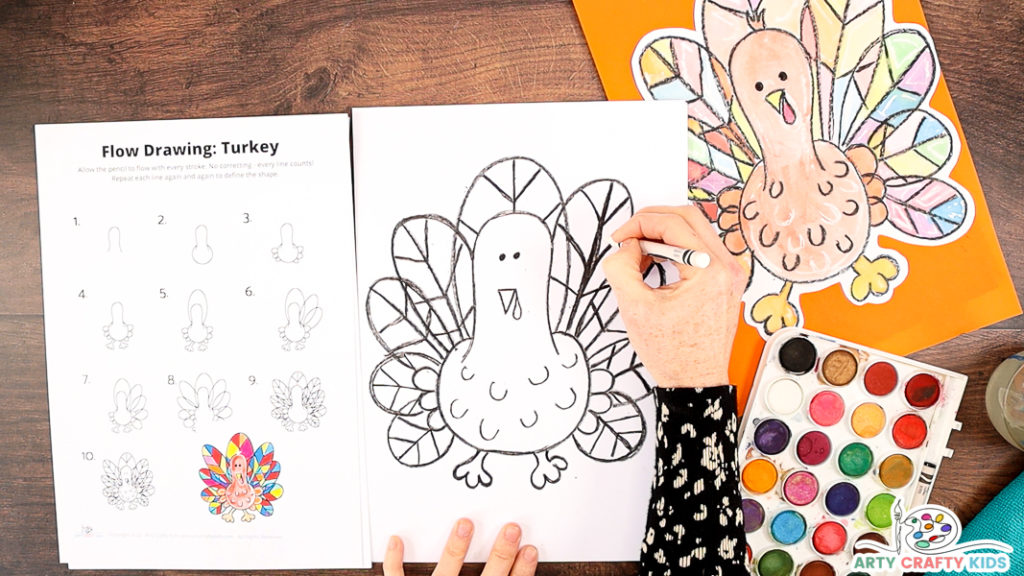
Step 8: Use a White Crayon to Draw Extra Lines and Shapes within the Turkey’s Feather’s and Body
Now, decide how the turkey is to be colored…
If your Arty Crafty Kids use watercolors add a “resist” with a white crayon.
Within the feather segments and body add extra lines or swirls.
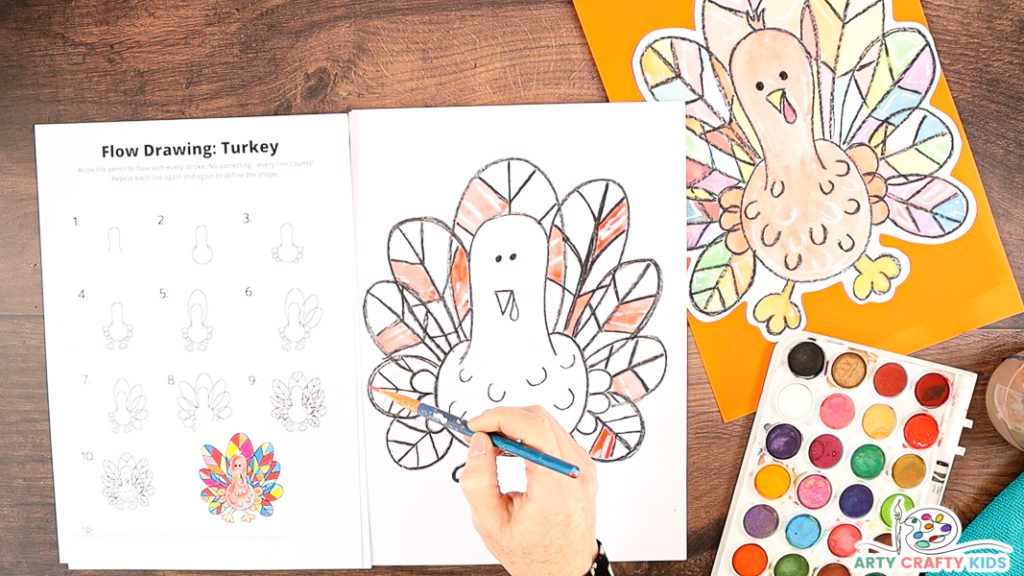
Step 9: Color the Turkey with Watercolor Paint
Use watercolor paints to color in the turkey feathers.
The feathers could be colored in with realistic colors or Arty Crafty Kids may explore the full spectrum of their watercolor palette to create a colorful stained glass effect within the feathers.
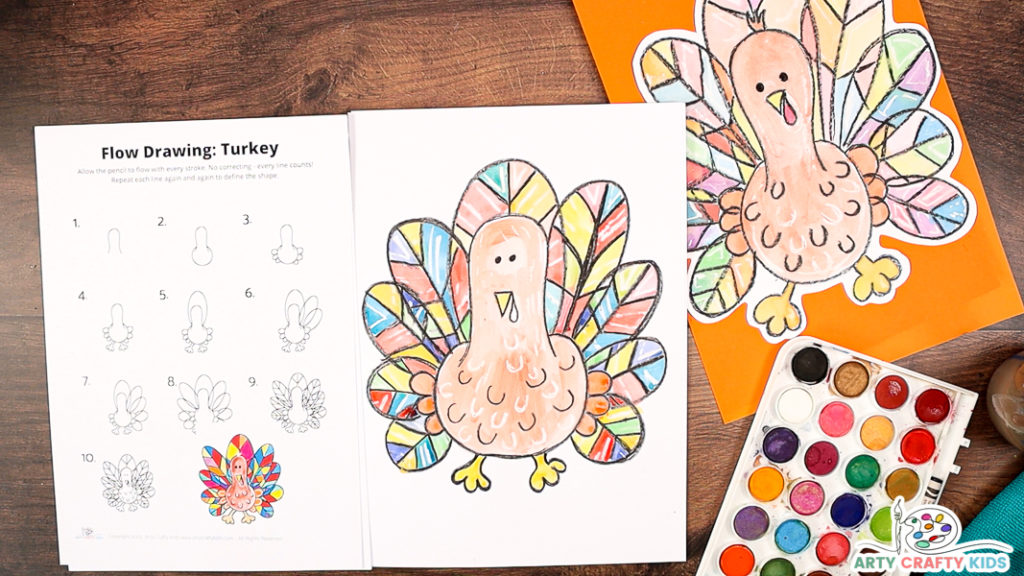
The Watercolor Resist Effect
Wax repels water and when used within art, it can create some wonderful magical effects!
Here, the watercolor washes over the white wax to reveal extra lines and detailing within the turkey’s body. This is a fun and simple “extra’ for Arty Crafty Kids to enjoy within their creative process.
As always, we love to Arty Crafty Kids’ creativity in action and if you happen to share their completed makes on social media, please do give us a tag or/and use the #artycraftykids – happy crafting!
What is Flow Drawing?
Flow Drawing is an art technique developed by us to encourage children to understand shapes and create illustrations, in a much ‘freer’ way.
By removing restrictions, flow drawing encourages children to fully engage in the moment and discover their natural flow, making every line count and bringing mindfulness to their creative process.
You can think of the flow drawing technique as a ‘how to draw’ guide with a difference – children won’t just draw a picture, they’ll create a unique work of art, right from their soul.
Flow Drawing Benefits:
Although the process of flowing more naturally in art might seem a little alien to children at first, it’s really worth encouraging them to have a go.
Flow drawing has so many benefits and helps little hands and minds to:
- Explore simple shapes and how they work together to create larger forms
- Discover their natural flow and rhythm through repetitive movements
- Learn how to combine mediums, with a fun and easy approach
- Build confidence in their own creative ability
- Combat ‘perfection-seeking’ in art, providing a much needed alternative to rigid ‘how to draw’ guides
- Bring mindfulness to the creative process and boost mental health
- Foster a love of art and self-expression.
More Easy How to Draw Tutorials for Kids
-
How to Draw a Chicken Templates
-
How to Draw a Bee Step by Step Guide
-
How to Draw a Bat Template
-
Flow Drawing: How to Draw an Owl
-
Flow Drawing: How to Draw a Peacocks Head
-
Flow Drawing: How to Draw a Jellyfish
-
Flow Drawing: How to Draw a Poppy
-
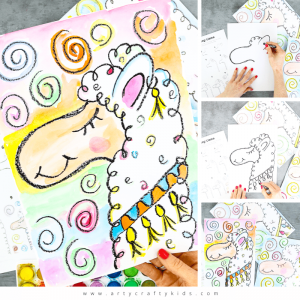
Flow Drawing: How to Draw a Llama
-
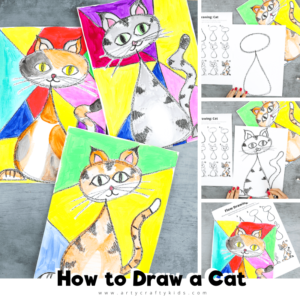
Flow Drawing: How to Draw a Cat
-
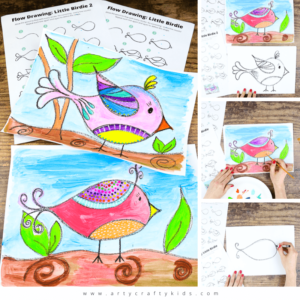
Flow Drawing: How to Draw a Little Bird
-
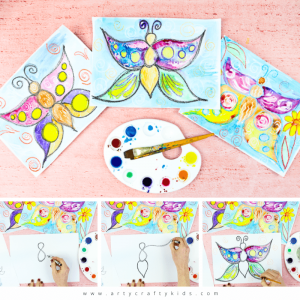
Flow Drawing: How to Draw a Butterfly
-
How to Draw a Train£0.00
-
How to Draw Whale
-
How to Draw a Unicorn
-
How to Draw a Turtle£0.00
-
How to Draw a T-Rex£0.00
-
How to Draw a Clown Fish
-
How to Draw A Bear£0.00

