Sharing is caring!
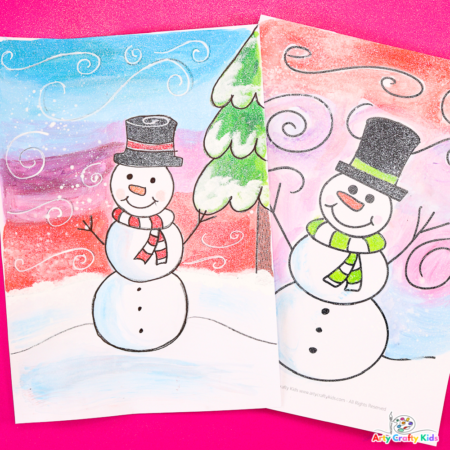
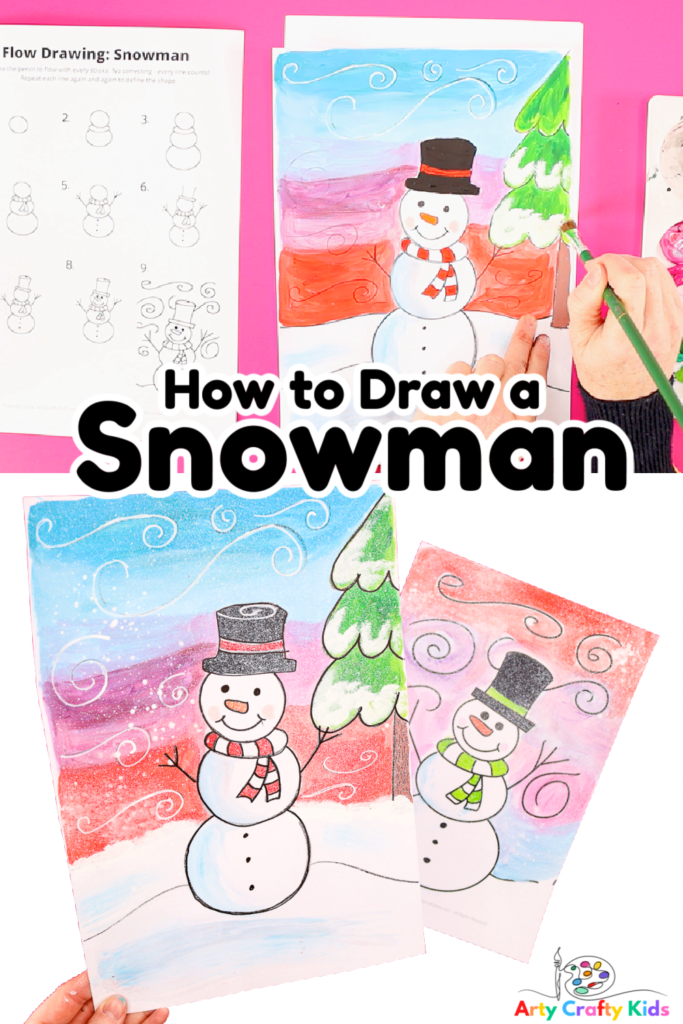
Create an adorable Wintery Snowman Drawing by following our step-by-step How to Draw a Snowman tutorial.
Learning proportion in art is a great skill to master and this simple snowman tutorial will introduce the concept at level Arty Crafty Kids will be able to understand and achieve, while most importantly, having fun with it!
We use the flow drawing technique to draw our shapes; meaning, children are encouraged engage their natural rhythm and draw using repetitive motions to form their lines. This relaxed approach takes the pressure off perfectionism and allows the creativity to flow.
And once the snowman is drawn, our tutorial goes one step further and demonstrates how to paint the drawing and transform it into a fabulous Winter art project!
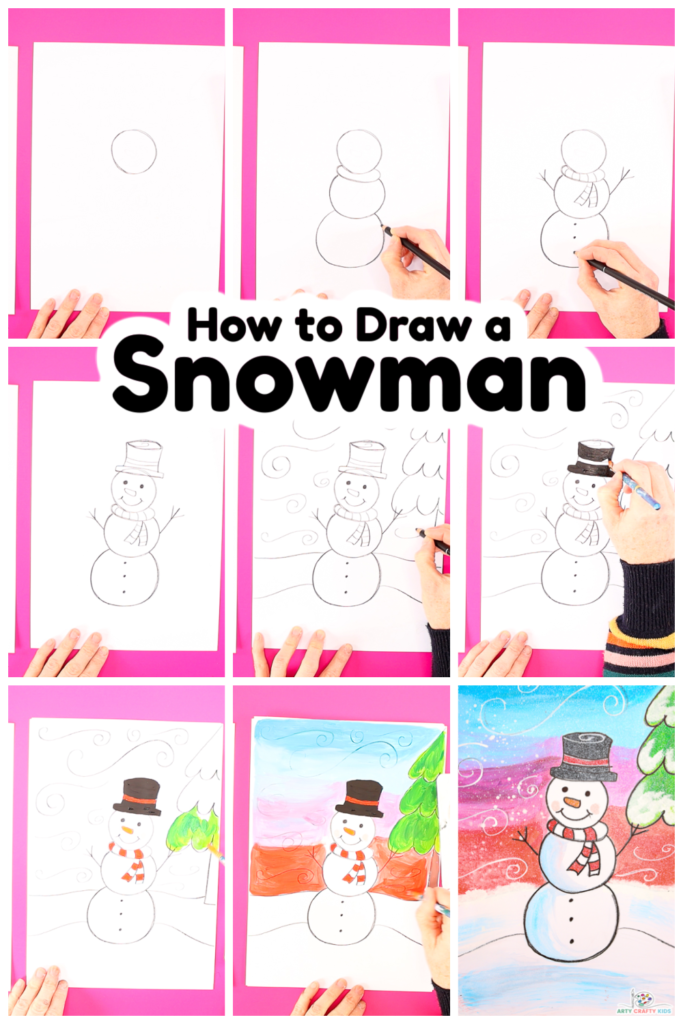
How to Draw a Snowman– An Easy Step-by-Step Snowman Drawing Tutorial
Materials
- Black Crayon or Pencil
- White Cardsrock
- A Coloring Medium
Download the Snowman Step-By-Step Tutorial and Supporting Resources:
To ensure the art project is open to children of all ages and abilities, we have created a range of printable resources, including:
A Printable Step-by-Step Visual Aide
A Completed Snowman Drawing with a Background
A Completed Snowman Drawing without the Background( or Children to Design their Own)
A Basic Snowman Shape without a Face and Extras
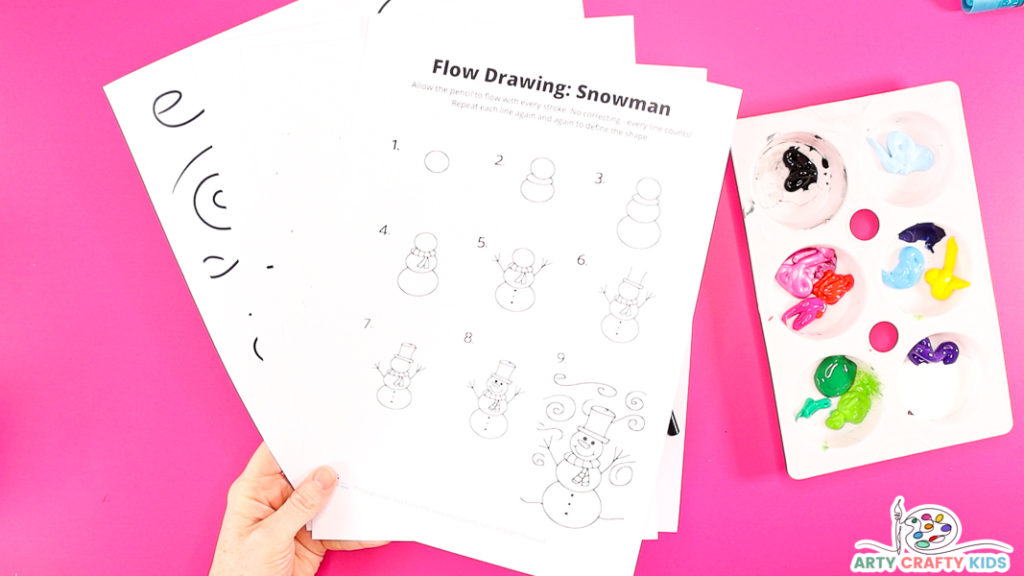
The Snowman printables are available to members of the Arty Crafty Kids club.
Members will need to log in to access the templates: https://www.artycraftykids.com/product/flow-drawinghow-to-draw-a-snowman/
Not a Member?

Watch How Easy the Snowman is to Draw!
Let’s Draw a Snowman:
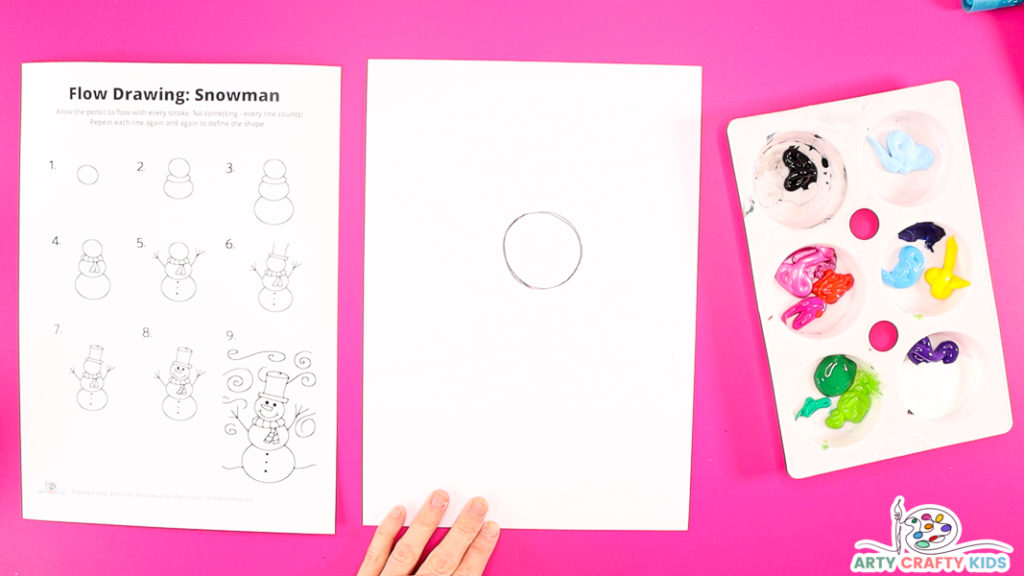
Step 1: Start by drawing a round circle
Positioned just above the half way point of the sheet of paper/cardstock, use a crayon or pencil to draw a round circle. This will form the snowman’s head.
By starting with the head – the smallest part of the snowman – Arty Crafty Kids will need to consider how their snowman will be proportioned and fill the available space. Each consecutive round shape will be bigger than the first.
Drawing circles can be quite tricky. Encourage your Arty Crafty Kids to repeat the shape over and over in one continuous motion to allow the shape to natural form. This repetition of movement will produce a dominate line. Use this approach throughout the tutorial.
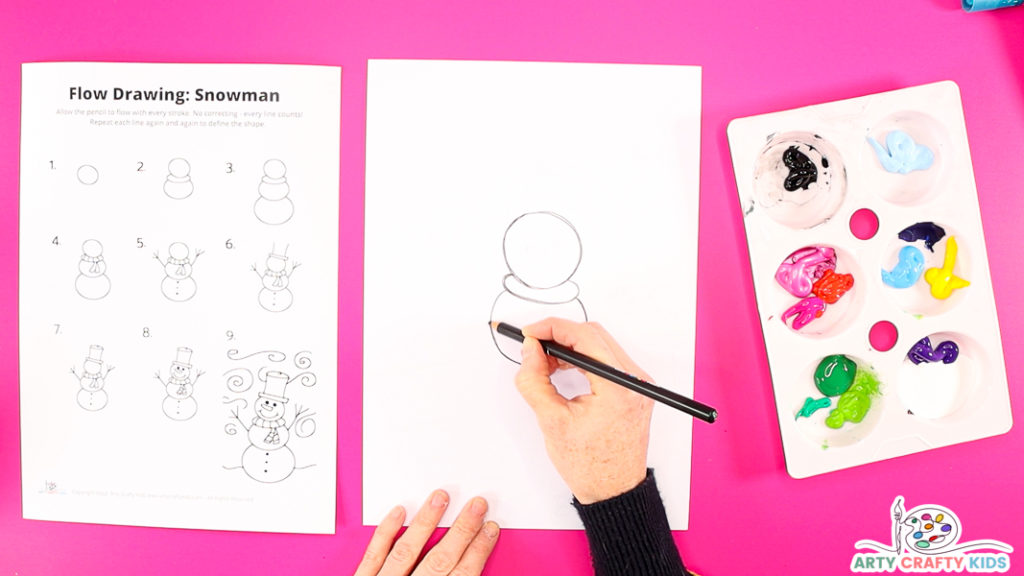
Step 2: Draw a flattened oval shape underneath the circle, followed by a large round circular shape
Each additional circle that forms the snowman should be slightly larger than the first.
In this instance, the second circle forms the snowman’s mid section – thinking about proportion, Arty Crafty Kids should be encouraged to think about the height, depth and width of their drawing and how the snowman will make use of the available space.
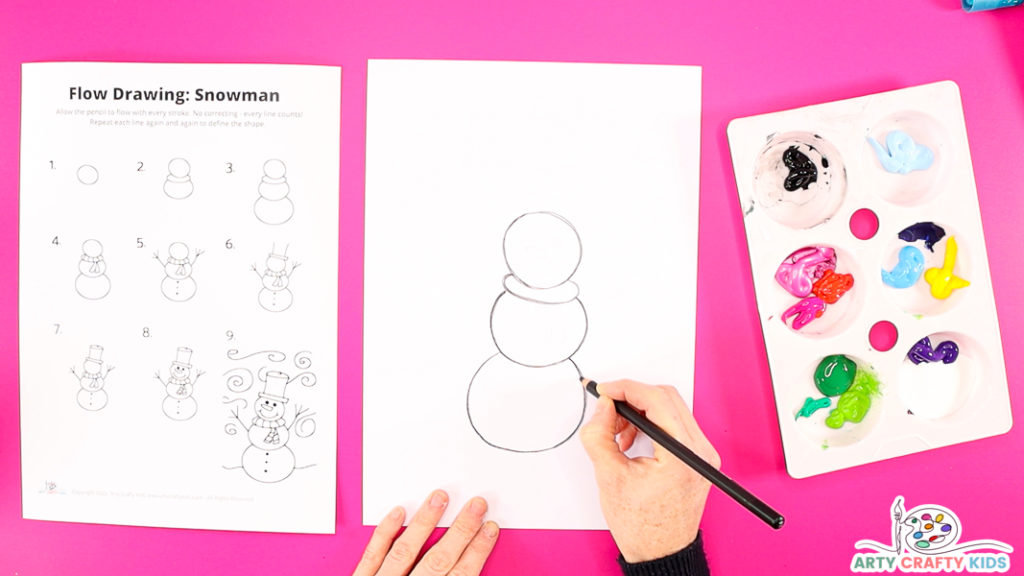
Step 3: Draw a third round circle to complete the snowman shape
The last round shape should be the biggest of all the sections and will form the base of the snowman.
The shapes do not need to be perfectly round or even perfectly linear, they can be wonky or however the children naturally form their snowmen!
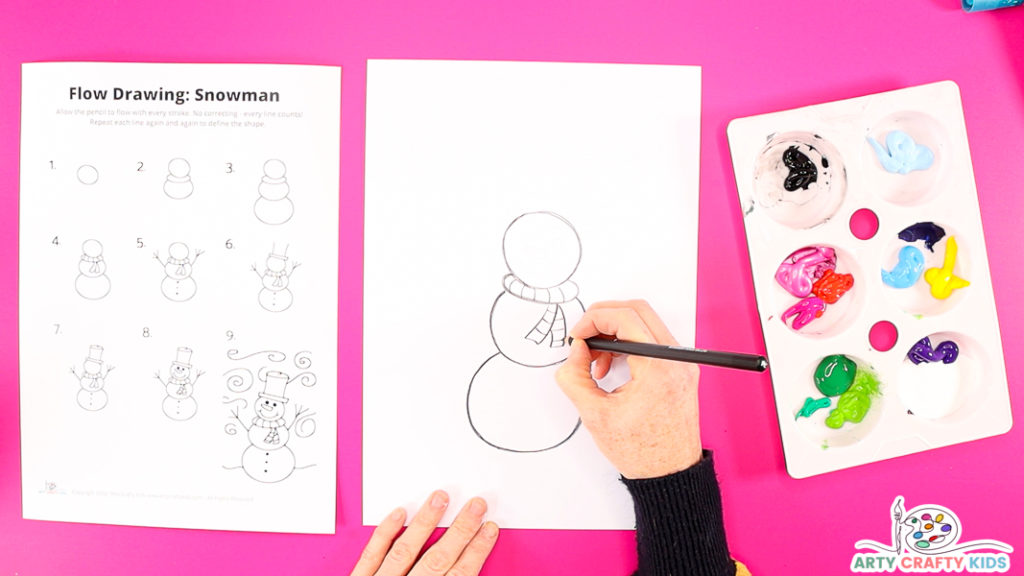
Step 4: Draw the snowman a scarf
Once the basic shape of the snowman is complete, draw the fun personalized extras!
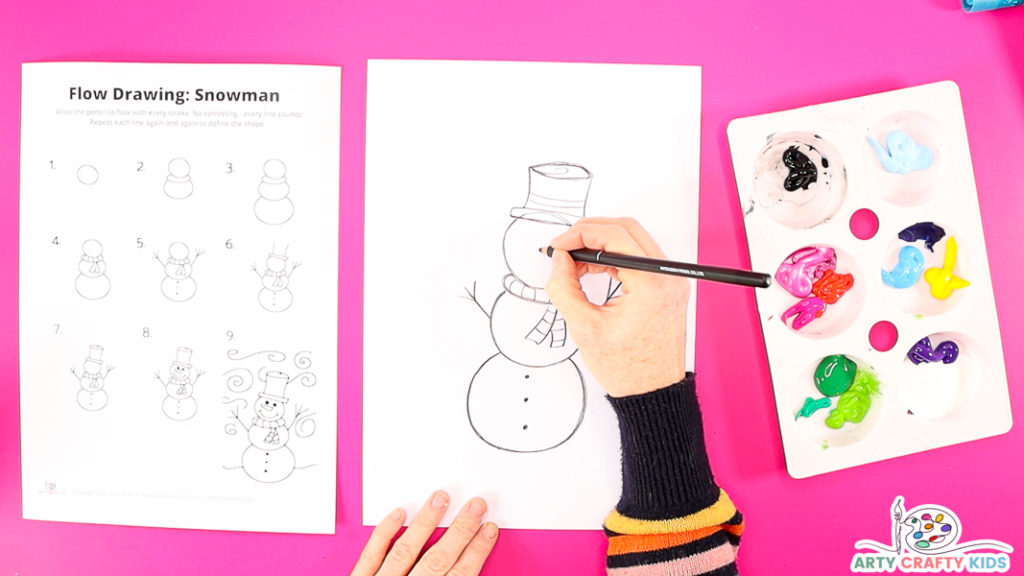
Step 5: Draw the Snowman’s Hat and Buttons
Options – Our example presents a snowman with a top hat, however the top of the snowman’s head could be easily partitioned to form a bobble hat!
Simply draw a line across the top of its head and draw a small round circle above to create a bobble.
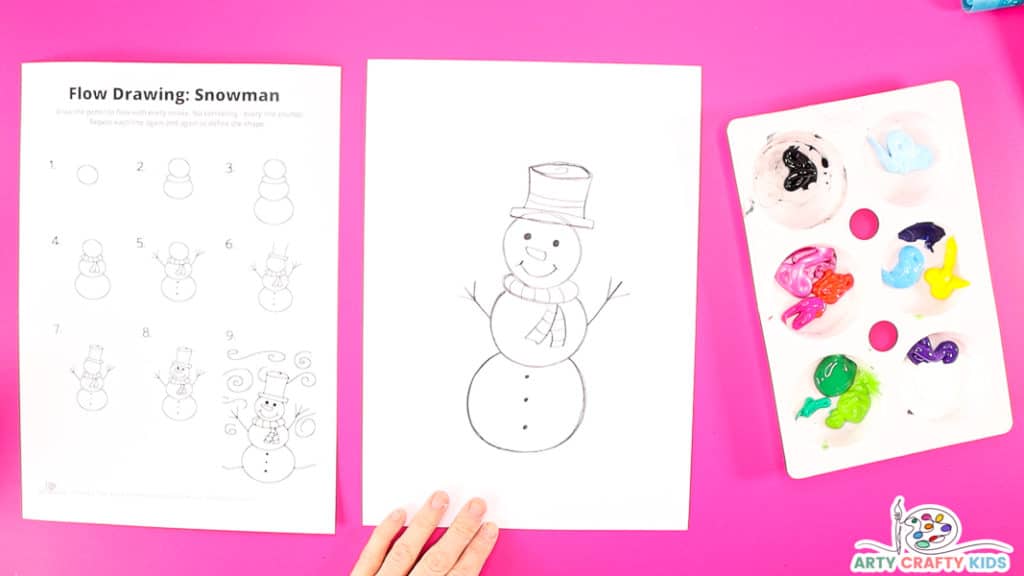
Step 6: Draw the Snowman’s Face
Add a pair of eyes, a carrot shaped nose, a smile and stick arms! These are all drawn with straight or simple round shapes.
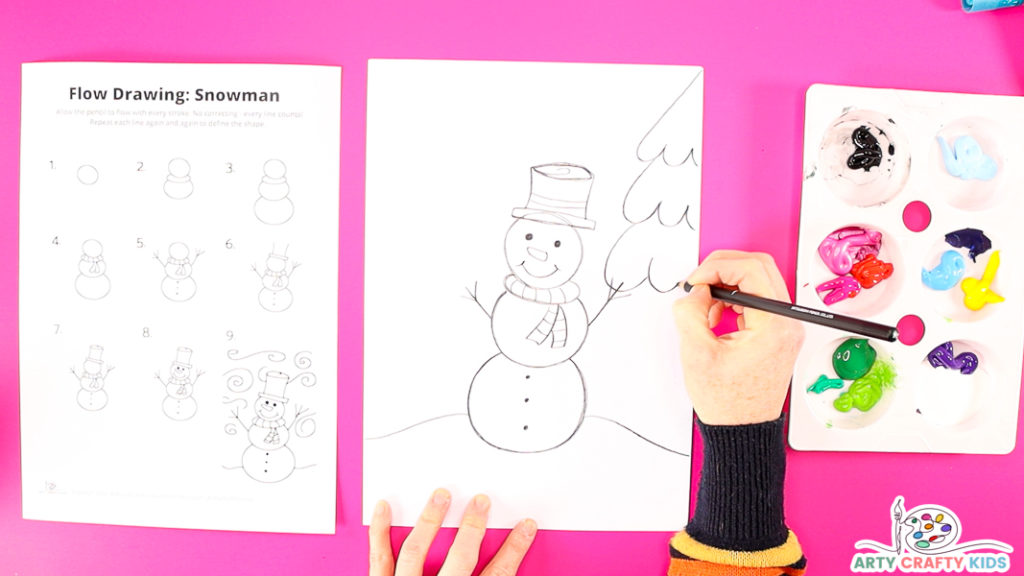
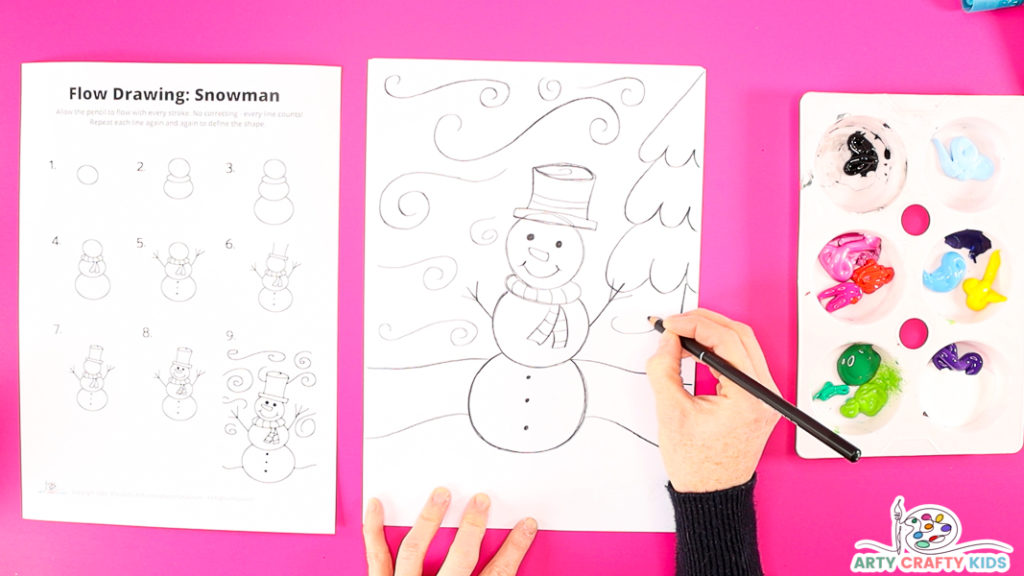
Step 7: Design a Wintery Background
A wintery background could include trees, swirls, snowflakes, dots for snow fall, more snowmen and much more – the options are limitless. Perhaps use our snowy Winter Tree tutorial for ideas!
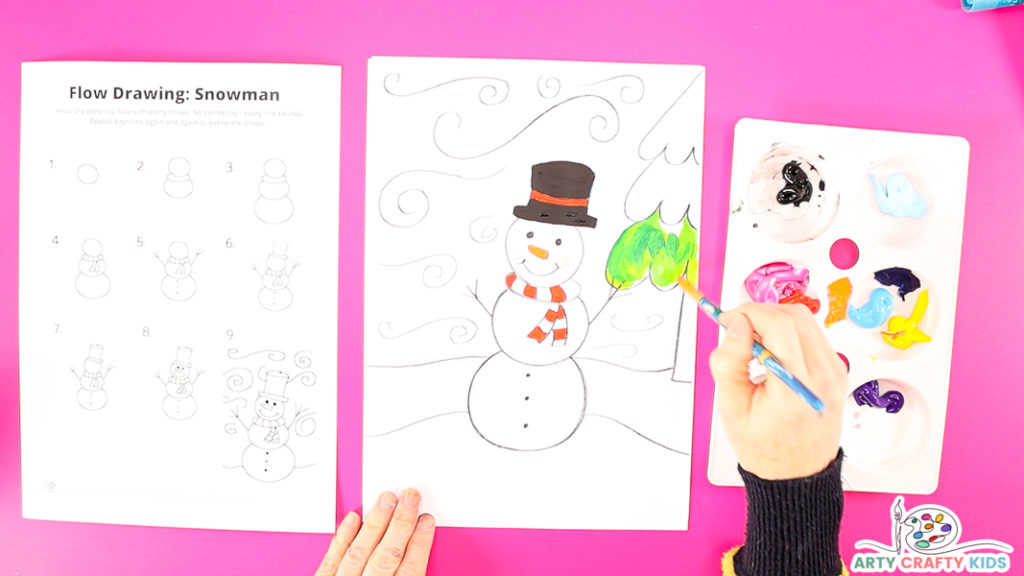
Step 8: Paint the Snowman and Experiment with Blending Colors
Paint the snowman using solid colors and use the background to contrast.
Using acrylic or tempura paint, experiment creating new colors and blending different shades of one color to create a sense of depth.
Colors can be lightened with white or darkened with black.
We’ve used light and dark shades of green to paint the tree with a sprinkle of white paint to suggest snowfall.
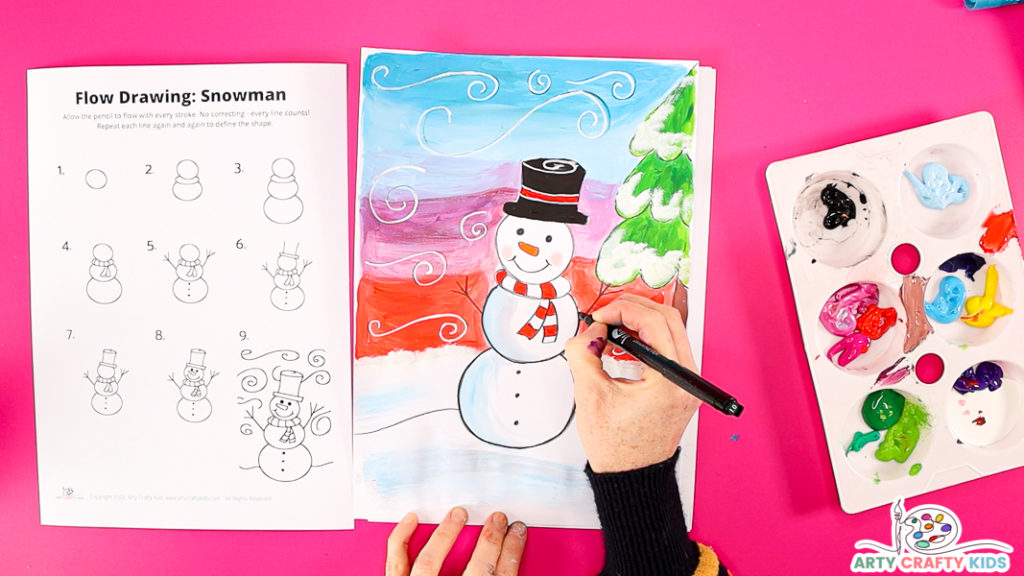
For the background, try spreading water across the page before applying the paint. This is a fun way to create a tonal spread and create interesting effects when second or third colors are added. Step 9: (Optional) Draw over the Snowman Lines with a Black Marker Pen
Simple Painting Suggestion: Use a small spread of light blue within the snowman itself that
Step 9: (Optional) Draw over the Snowman Lines with a Black Marker Pen
Once the snowman drawing is brimming with color, draw over the original lines with a black marker pen.
Also, use a white acrylic pen to emphasize the swirly background or/and add snowfall in the image of dots or snowflakes.
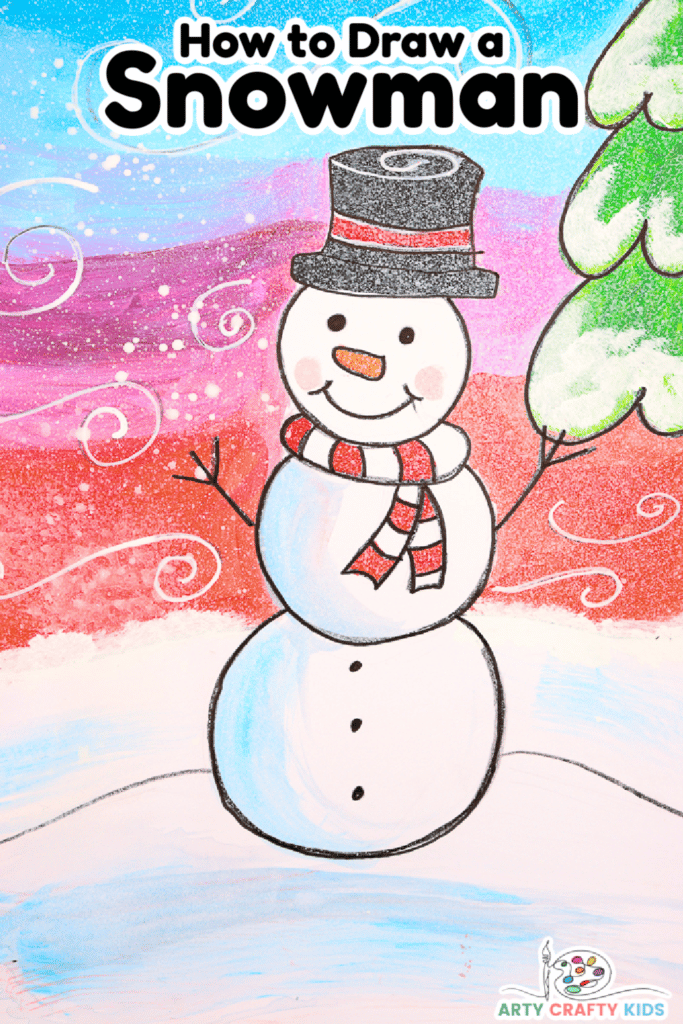
As a fun extra to try, fill a small spray bottle with white acrylic paint, add water and give the bottle a good shake. Then, gently spray the snowman to create a sense of snowfall.
As always, we love to Arty Crafty Kids’ creativity in action and if you happen to share their completed makes on social media, please do give us a tag or/and use the #artycraftykids – happy crafting!
What is Flow Drawing?
Flow Drawing is an art technique developed by us to encourage children to understand shapes and create illustrations, in a much ‘freer’ way.
By removing restrictions, flow drawing encourages children to fully engage in the moment and discover their natural flow, making every line count and bringing mindfulness to their creative process.
You can think of the flow drawing technique as a ‘how to draw’ guide with a difference – children won’t just draw a picture, they’ll create a unique work of art, right from their soul.
Flow Drawing Benefits:
Although the process of flowing more naturally in art might seem a little alien to children at first, it’s really worth encouraging them to have a go.
Flow drawing has so many benefits and helps little hands and minds to:
- Explore simple shapes and how they work together to create larger forms
- Discover their natural flow and rhythm through repetitive movements
- Learn how to combine mediums, with a fun and easy approach
- Build confidence in their own creative ability
- Combat ‘perfection-seeking’ in art, providing a much needed alternative to rigid ‘how to draw’ guides
- Bring mindfulness to the creative process and boost mental health
- Foster a love of art and self-expression.
More How to Draw Tutorials for Kids:
-
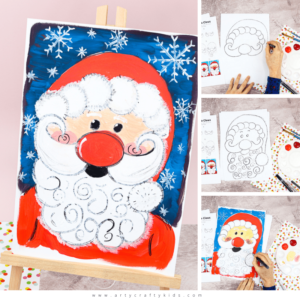
Flow Drawing and Paint Along: Santa Claus
-
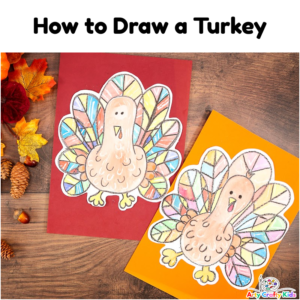
Flow Drawing: Turkey Tutorial
-
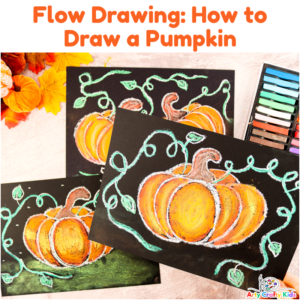
Flow Drawing: Pumpkin Tutorial
-
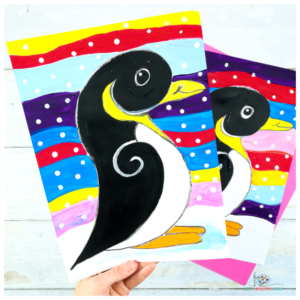
Flow Drawing Penguin Template
-
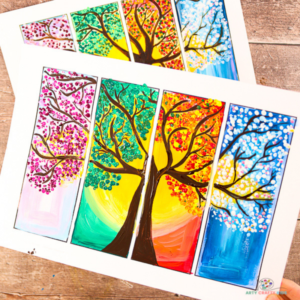
Four Seasons Tree Painting Templates
-
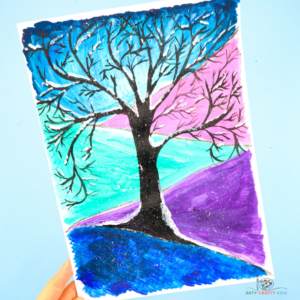
Flow Painting Snowy Winter Tree
-
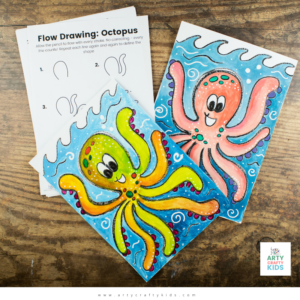
Flow Drawing Octopus Guide
-
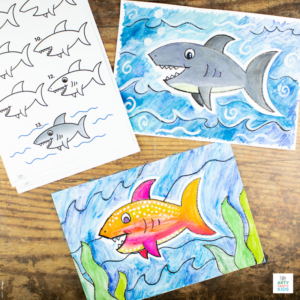
Flow Drawing Shark Tutorial
-
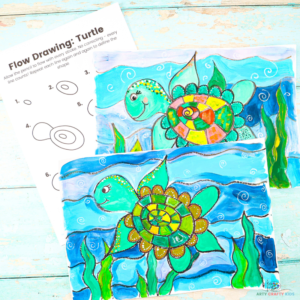
Flow Drawing Turtle Tutorial
-
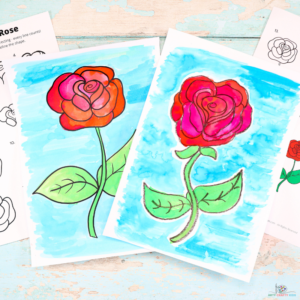
Flow Drawing: A Rose
-
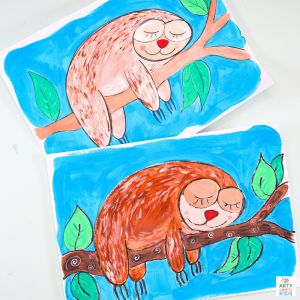
Flow Drawing: Step by Step Sloth
-
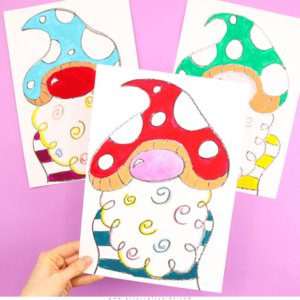
Flow Drawing: Toadstool Gnome
-
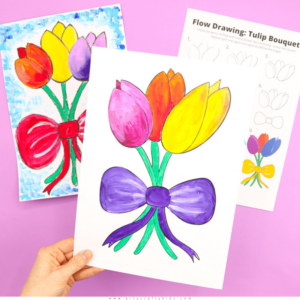
Flow Drawing: Tulip Bouquet
-
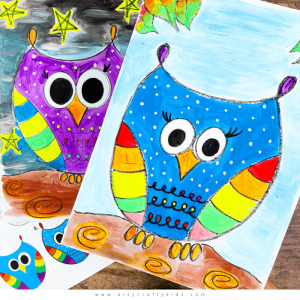
Flow Drawing: How to Draw an Owl
-
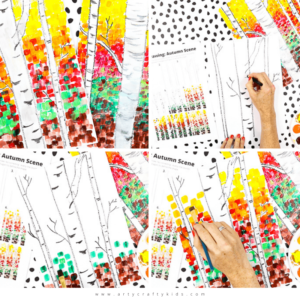
Flow Drawing: How to Paint an Autumn Birch Tree Scene
-
Flow Drawing: Sunshine Lion Art
-
Flow Drawing: How to Draw a Peacocks Head
-
Flow Drawing: How to Draw a Jellyfish
-
Flow Drawing: How to Draw a Poppy
-
Flow Drawing: How to Draw a Llama
-
Flow Drawing: How to Draw a Cat
-
Flow Drawing: How to Draw a Little Bird
-
Flow Drawing: How to Draw a Butterfly

