Sharing is caring!

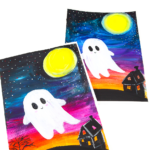
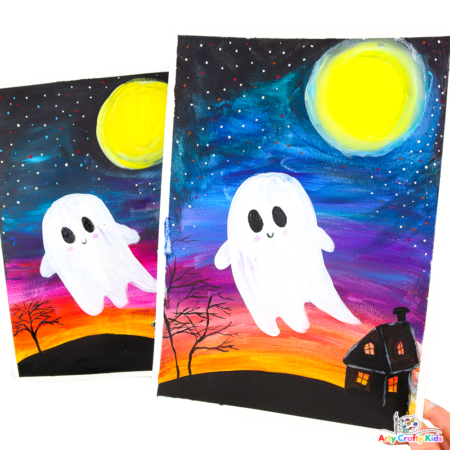
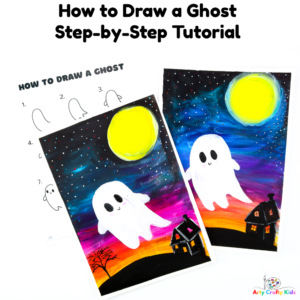
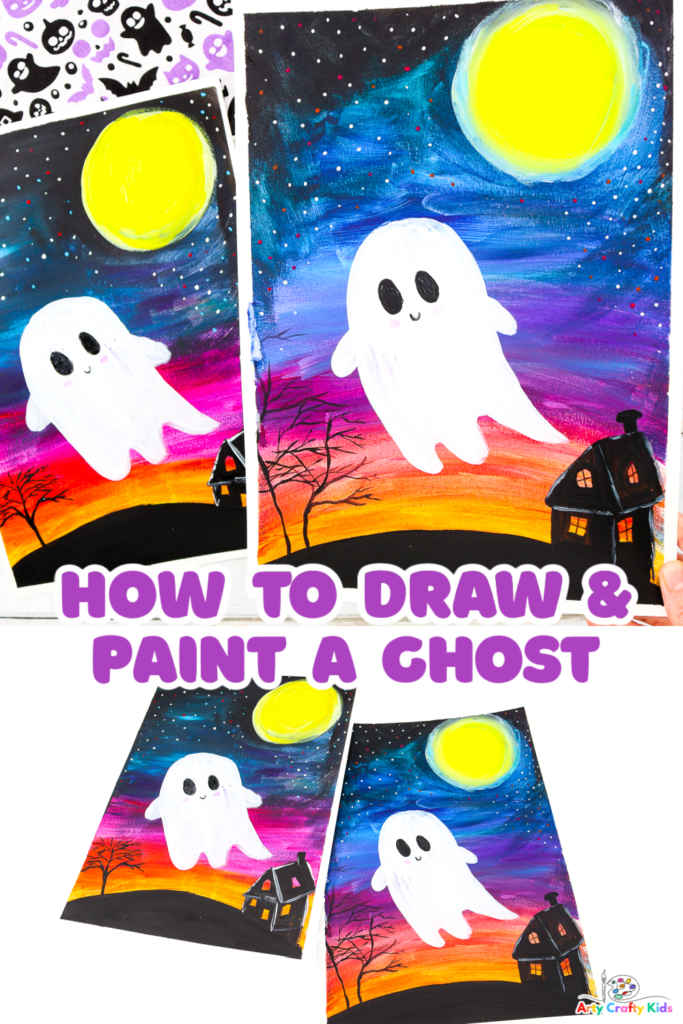
Learn how to draw a ghost and bring it life with our easy to follow and complete step-by-step painting tutorial!
This tutorial takes it a step further by providing an extensive guide on how Arty Crafty Kids can transform their newfound drawing skills into a complete piece of artwork!
It’s ideal for a Halloween-themed lesson adaptable for children of varying ages and skill levels.
It’s also the perfect art project to pair with a seasonal reading of There’s a Ghost in This House by Oliver Jeffers.
Related Ghost and Halloween Posts:
- Ghost Reveal Watercolour Resist Kids Art Project
- Paper Ghost Halloween Decoration
- Easy Bobble Ghost Halloween Craft
- Flow Drawing for Kids: Sun and Moon Art
- Black Cat Silhouette Art
- Owl Silhouette Art
Learn How to Draw a Ghost and Paint a Ghost
This painting tutorial is designed with young budding artists in mind, making it an ideal resource for children eager to explore the world of art and creativity.
The step-by-step guide to drawing and painting a cute ghost against a twilight backdrop is crafted to be easy to follow, making it perfect for children who want to experiment with paints and brushes.
Additionally, the inclusion of printable resources, such as a coloring page, caters to preschool-aged children, providing them with a canvas to craft their own backgrounds.
Materials:
- Canvas, Mixed-Media Paper or Cardstock
- Fine Tip and Flat Tip Paint Brushes
- Mixing Palettte
- Acrylic Paint
- Pencil
- Artist Tape
- How to Draw a Ghost Printable Step-by-Step Illustration & Coloring Page
Watch the Step-by-Step Drawing and Painting Tutorial:
How to Paint a Spooky Twilight Background!
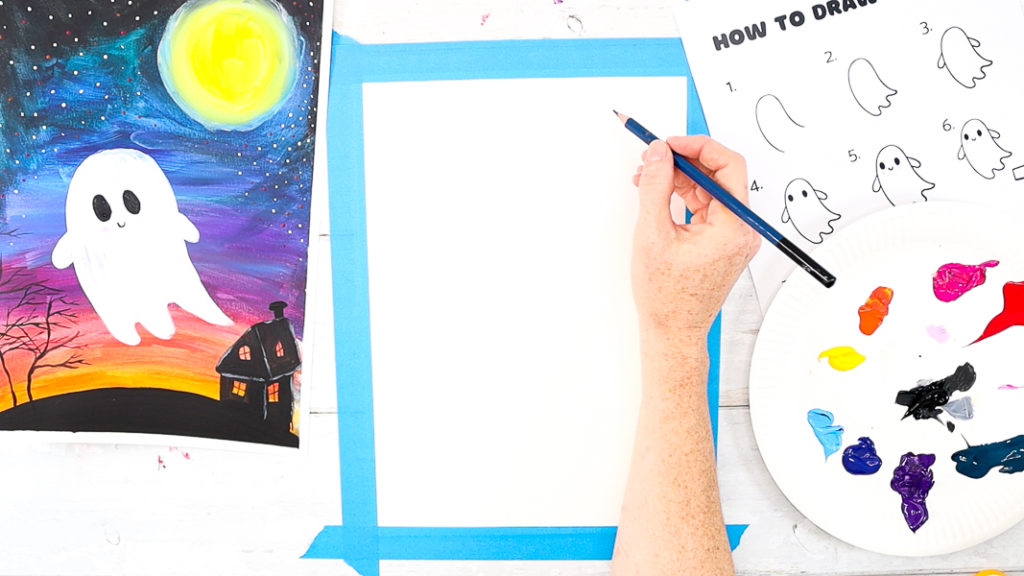
Step 1: Prepare the canvas and draw the moon.
Apply artist tape to the paper’s border.
Use a pencil to draw a moon in one of the top corners and then a small mound (semi-circle shape) at the bottom.
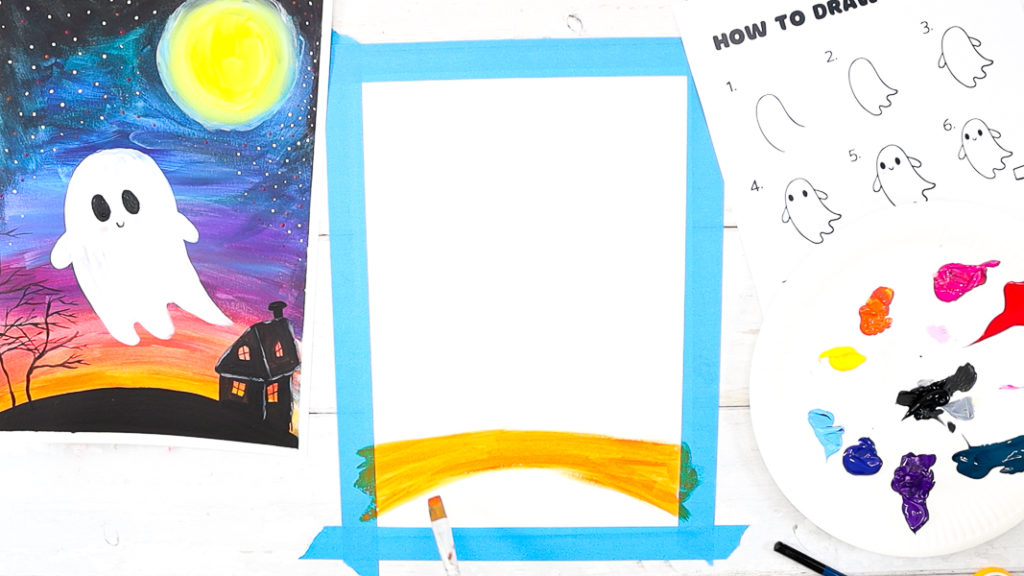
Step 2: Begin with a spread of orange paint.
Use a flat tip brush to spread the orange paint around the mound shape.
Add water to the brush to help spread the paint and texturize with light/darker hues.
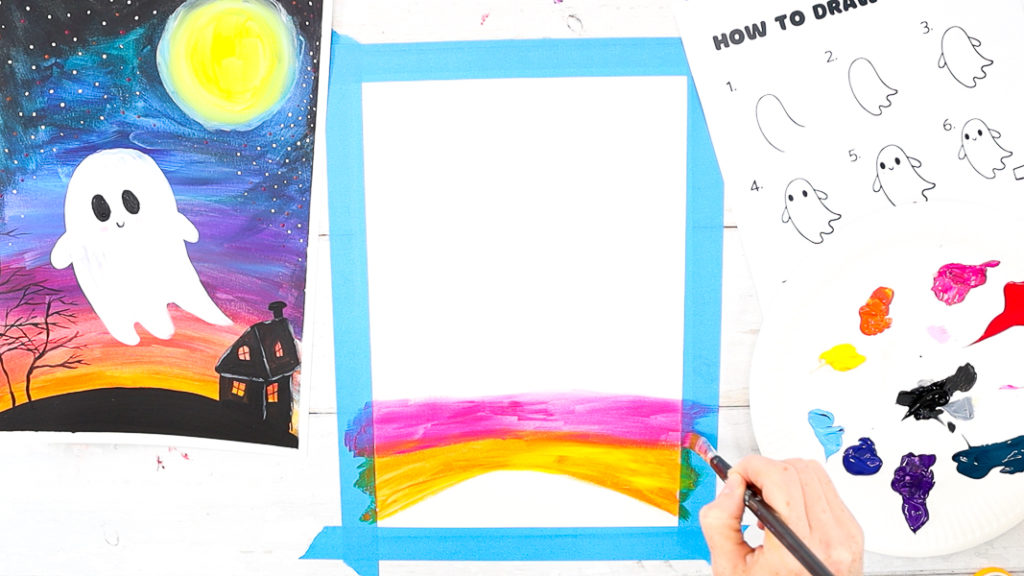
Step 3: Paint a layer of pink paint.
Moving up the canvas, blend shades of pink, red and purple paint, with colors darkening to create a sense of transition from day to night.
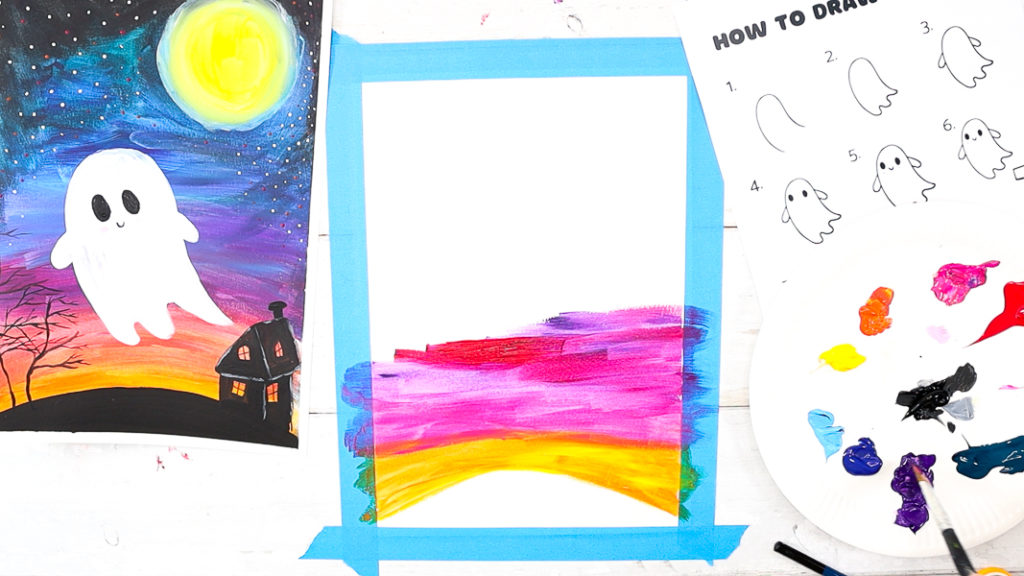
Continue layering the paint, adding additional water to help with the spread and reduce the opacity of parts to help create a transparent effect.
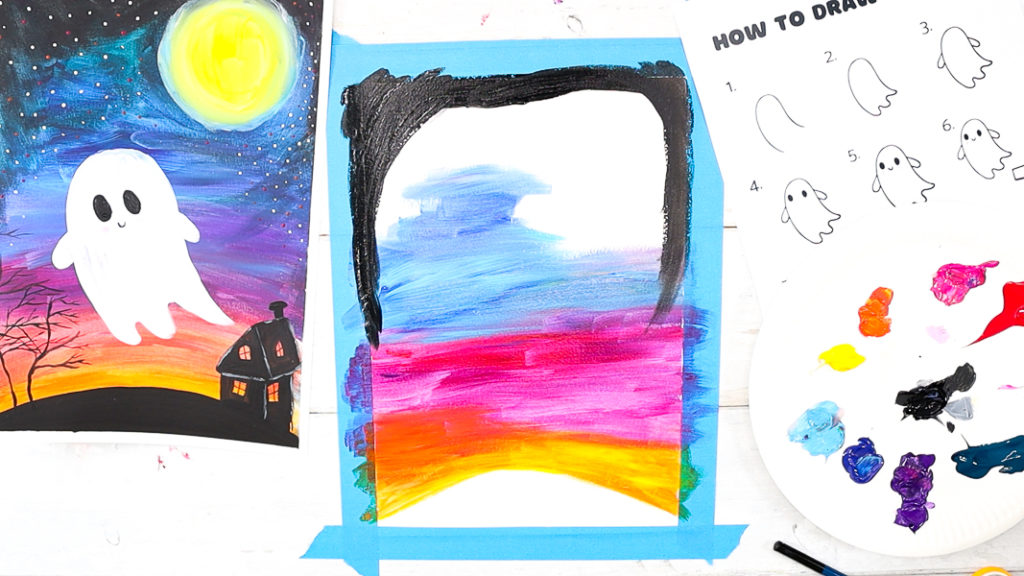
Step 4: Blend black and blue
Once the warm shades fill one half the canvas, apply black paint around the border edges and blend in shades of various shades of blue.
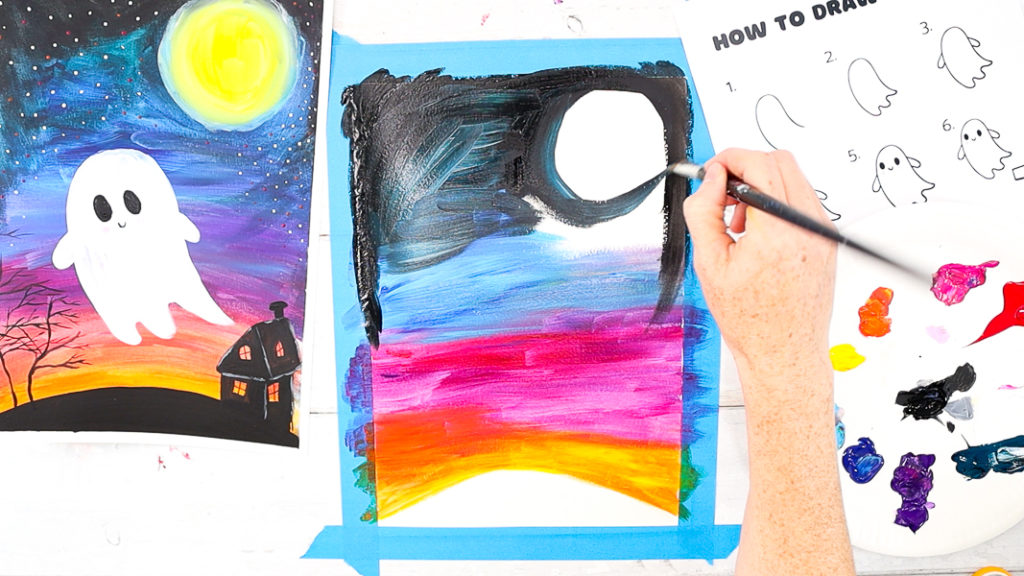
Continue blending the paint around the moon, adding water too thin it out and bring light shades to the surface.
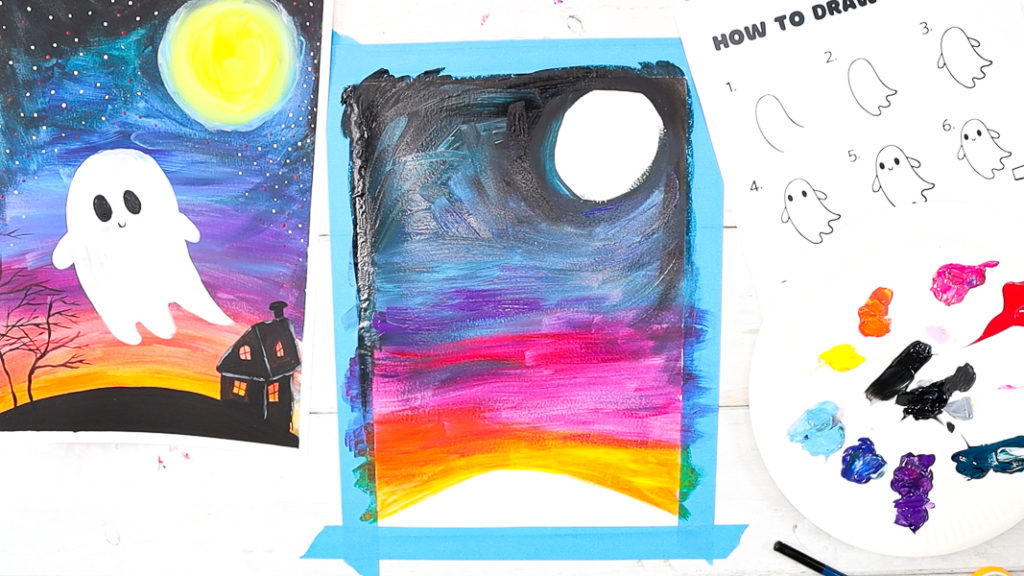
By layering paint and adding water to improve spreading and translucency, Arty Crafty Kids will witness the twilight sky gradually transforming into a stunning blend of hues, transitioning smoothly from warm tones to cool shades.
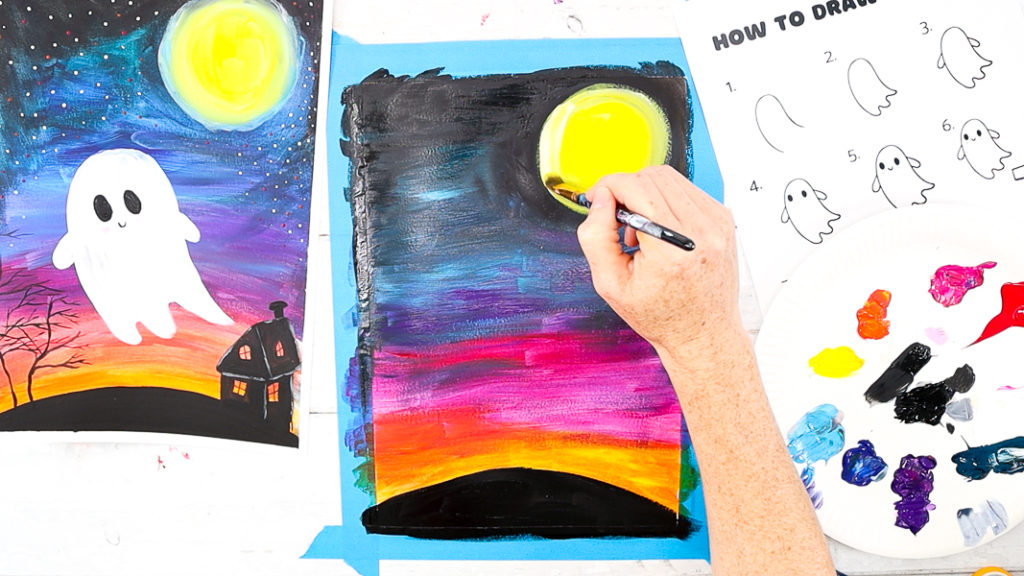
Step 5: Paint the moon.
Spread white paint around the perimator of the moon – this smooths the edges and adds a moonlit glow.
Fill moon with bright yellow painted blend with its white edges.
Paint the grassy mound silhouette black.
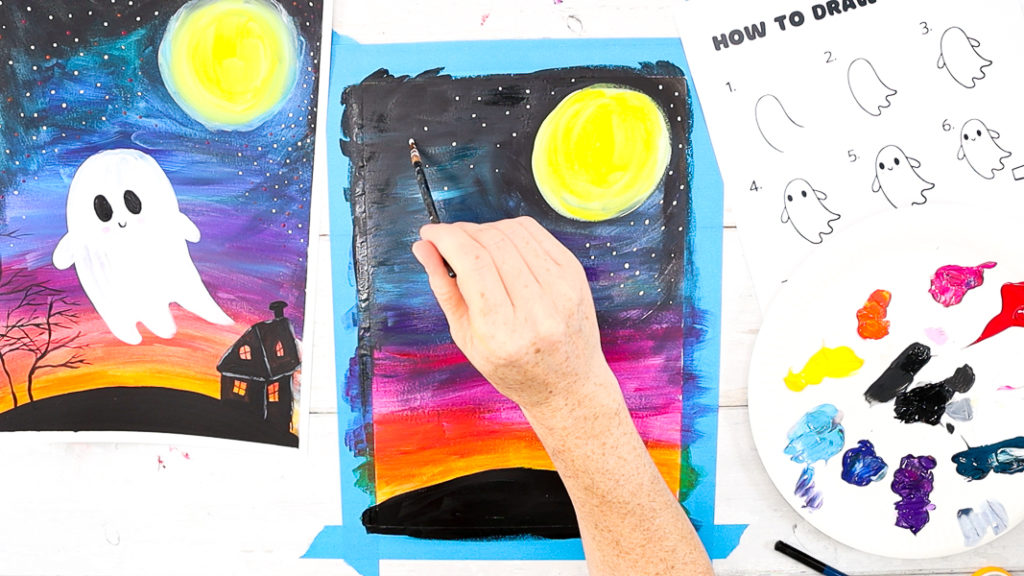
Step 6: Fill the sky with stars.
Use a fine tipped brush to a paint collection of little white dots.
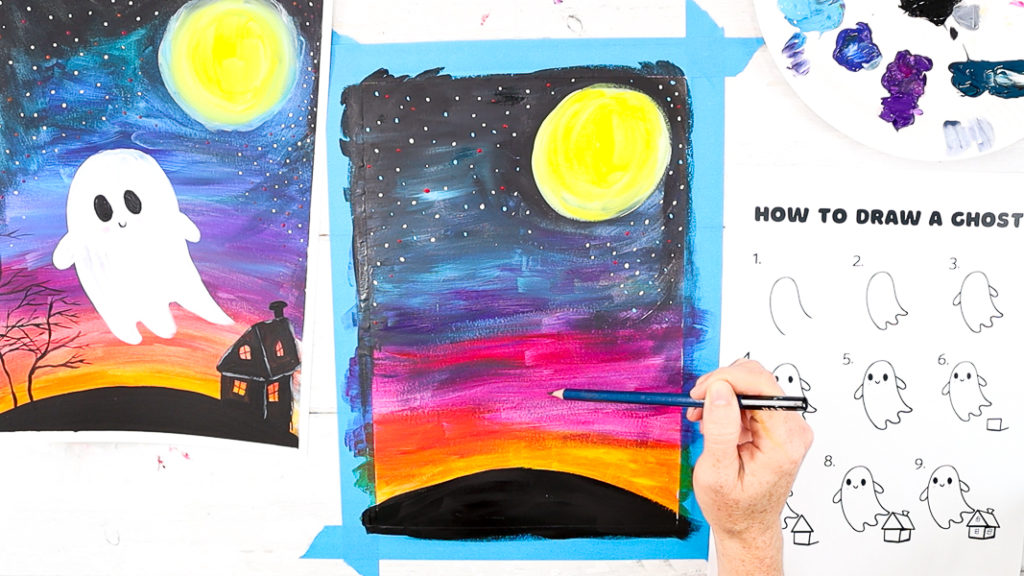
Step 7: Use our step-by-step and draw a ghost.
Use a pencil to draw a large ghost within the center of the twilight sky.
How to Draw a Ghost
1. Start by drawing a large oval shape for the ghost’s head and body.
2. Join the bottom ends with a squiggly line.
3. Draw two little arms.
Next, draw a little wonky house on top of the black mound – include window shapes!
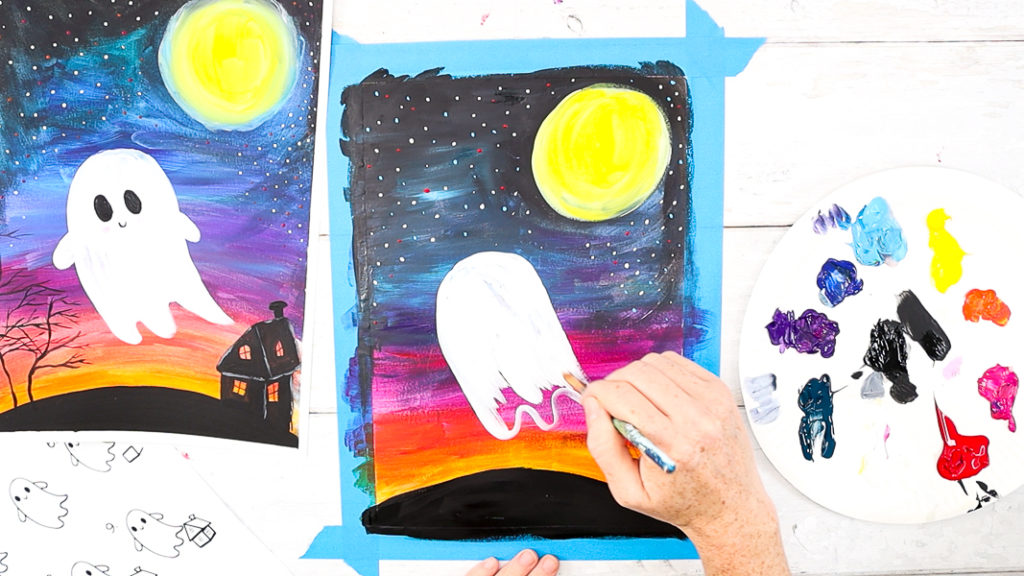
Step 8: Paint the ghost white.
Apply white paint to a watery flat tipped brush and spread.
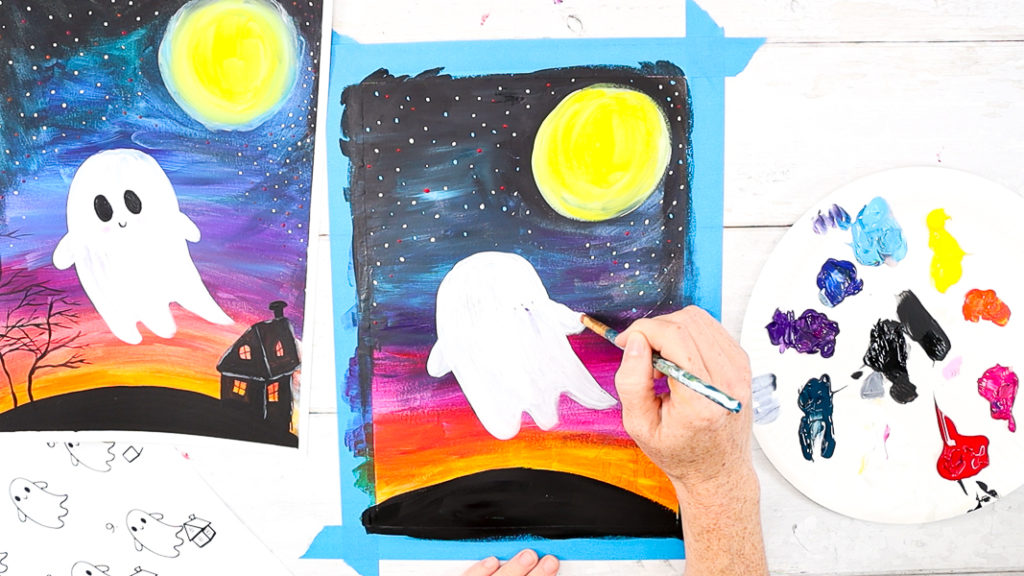
The watery paint will add a sense of transparency to the ghost.
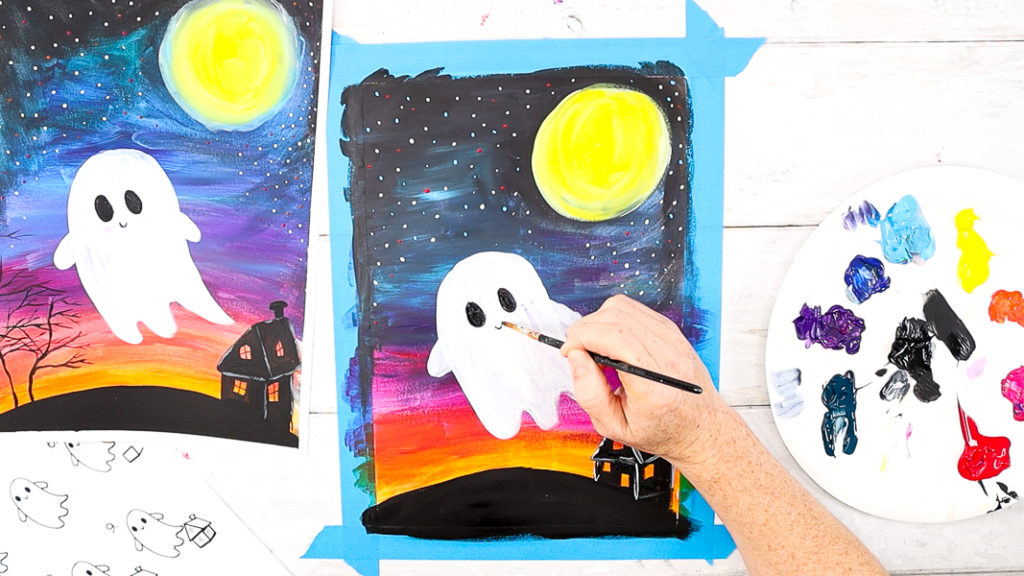
Step 9: Define the ghosts features.
Add two big, round eyes and a smiling mouth using black paint. Keep the features simple to maintain the cute and friendly ghostly appearance.
Paint a couple of round pink cheeks to enhance the cute factor.
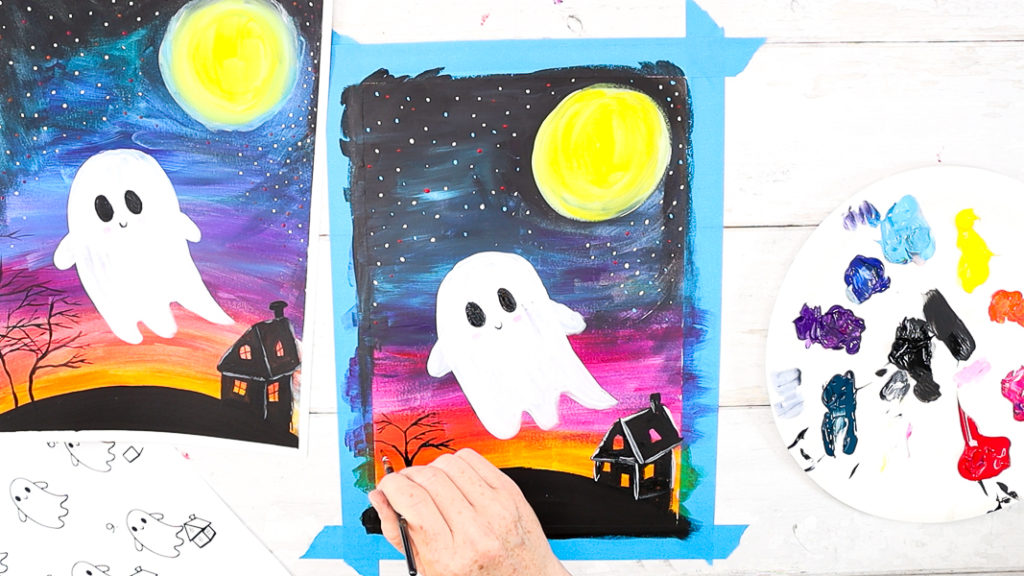
Step 10: Paint the Haunted House.
Paint the house black and define the edges with lines of white/gray paint.
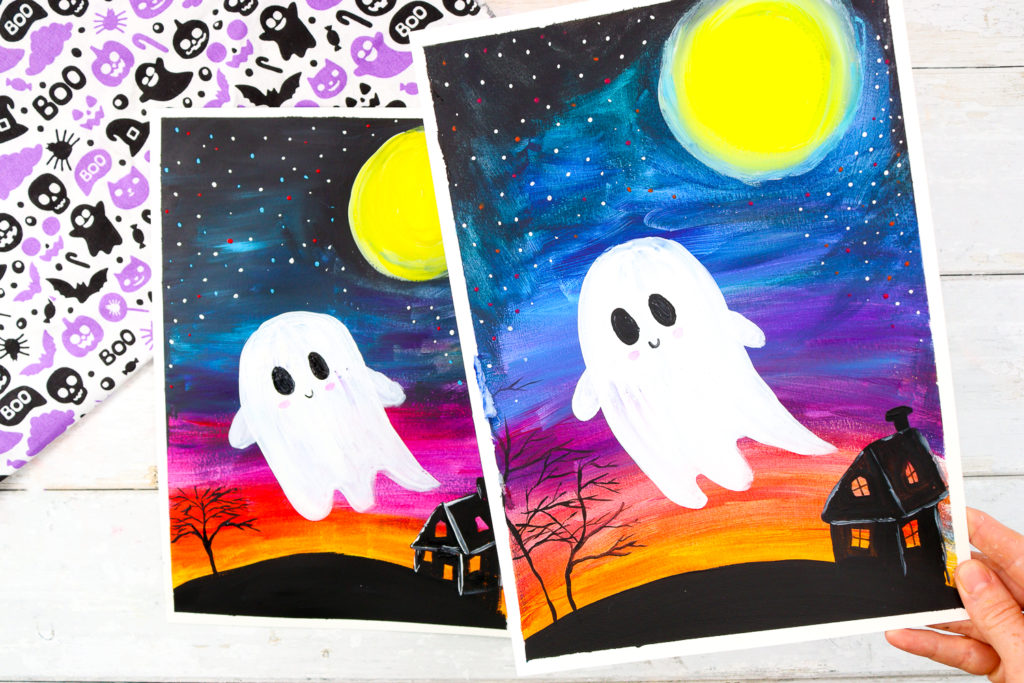
The ‘How to Draw a Ghost’ and painting tutorial is complete! Now that your Arty Crafty Kids have grasped the fundamentals, here are some creative suggestions to help personalize and add a unique touch to this art project.
How to Personalize the Ghost Art Project:
Customize the Ghost Shape and Expression:
Experiment with different shapes and expressions for the ghost. It could be a winking ghost, a surprised ghost, or any other expression that you find fun and playful.
Add Accessories or Props:
Have the ghost hold a prop like a pumpkin, a star, or a broomstick. You can also give the ghost a hat, a bow, or other accessories to make it more personalized and whimsical.
Arty Crafty Kids can utilize our How to Draw a Pumpkin and How to Draw a Bat tutorials to enhance their painting.
Change the Background:
Alter the background to your liking. It could be a starry night ( take a look at our Van Gogh Starry Night Tutorial), a spooky forest, or a haunted house.
Experiment with Colors:
Play around with different color schemes for the ghost and the background. Maybe you want a pink or blue ghost, or perhaps a more vibrant sky with greater emphasis on yellows, purples and pinks.

