Sharing is caring!
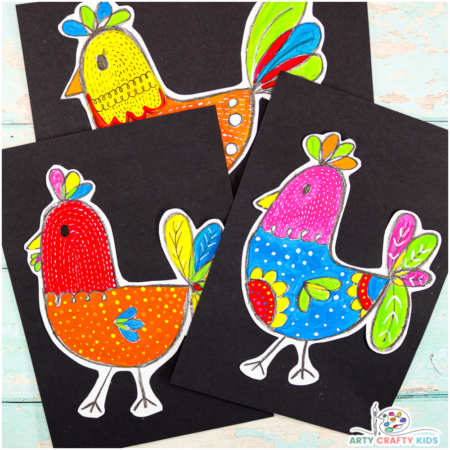
Learn how to draw a chicken in just a few simple steps!
This tutorial will teach you how to draw a chicken in just a few easy steps. Anyone can do it, even beginners! This step by step drawing lesson goes over all the necessary lines to make a full, understandable chicken.
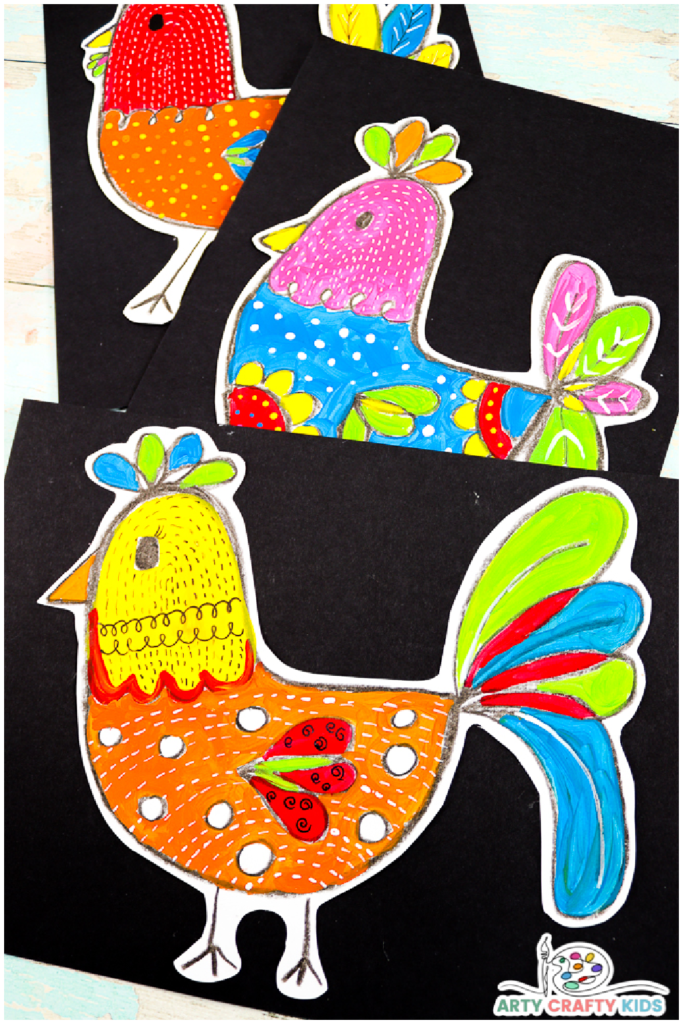
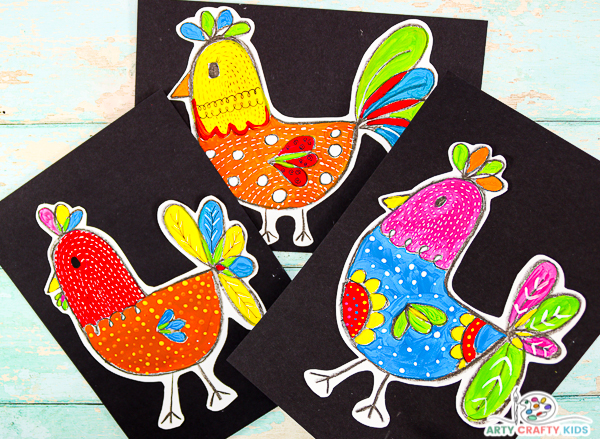
Inspired by the colors and patterns found in folk art paintings, our chicken design is open to every color under the sun and some serious creative license.
Our drawing tutorial encourages Arty Crafty Kids to explore pattern creation, colors and shapes to design a chicken that will stand out from the flock.
How to Draw a Chicken – An Easy to Draw Chicken
Materials
- White Card Stock or Mixed Media Paper
- Black Crayon or Oil Pastel
- Paint
- White Acrylic Marker Pen
Download the printable ‘How to Draw’ tutorial and templates:
The printable download includes a step-by-step tutorial and a full sized completed chicken for children to color or trace and a basic body shape for children to add too.
The templates are available to members of the Arty Crafty Kids club.
Members will need to log in to access the templates: https://www.artycraftykids.com/product/how-to-draw-a-chicken-templates/
Not A Member?
Draw a Chicken Video Tutorial:
Let’s Draw a Folksy Little Chicken!
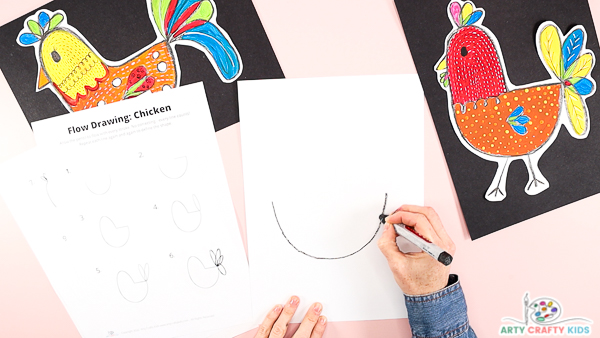
Draw Half a Circle
Our drawing tutorial begins with a large semi-cricle shape.
This forms the chest and body area of the chicken and can be wide, narrow and/or deep.
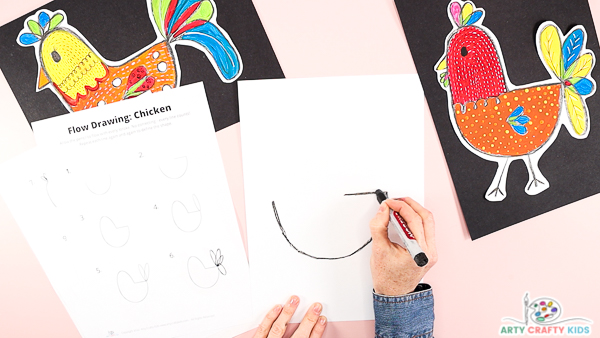
Draw a Short Straight Line
Next, draw a short vertical line from one of the tips of the semi-circle.
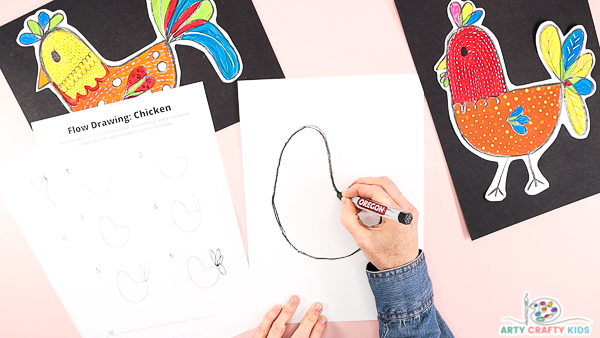
Draw an Oval to Complete the Chicken Shape
Draw a large oval shape to join all the lines.
This shape will become the chicken’s neck and head.
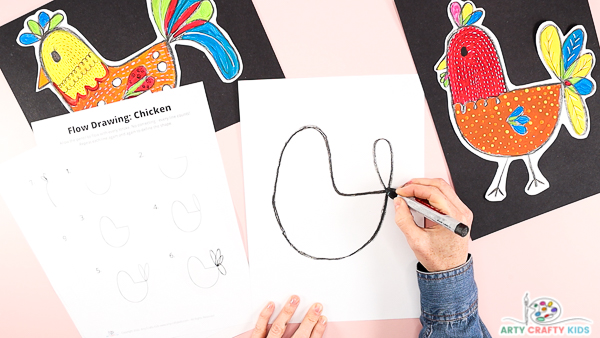
Draw the First Tail Feather
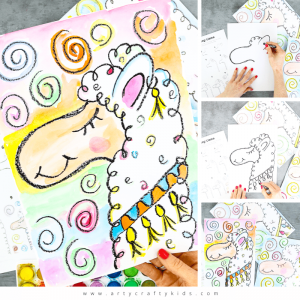
Using a similar technique found within our “how to draw a llama” tutorial, the chicken’s feather’s are made up of a few continuous loop the loops.
Instead of aiming for smooth lines, we’re looking for nice rounded squiggles! So before we put crayon to paper, let’s have a little practice. Loop the loop over and over to create that fluffy-looking texture. It doesn’t matter if your loops point up or down, just let your squiggles flow naturally.
How to Draw a Llama
Start with the first tail feather and draw one big loop in a continuous motion.
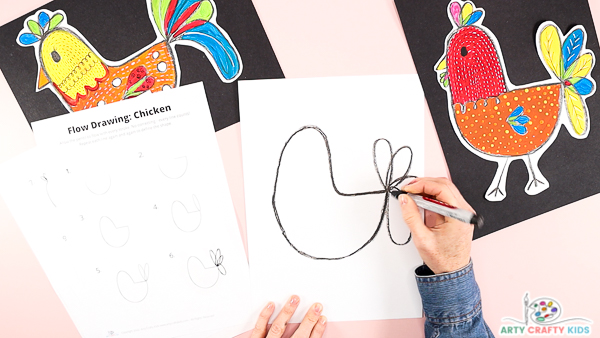
Draw “Loop-the -Loops” to Complete the Chicken’s Tail Feather’s
Without lifting the crayon, draw the second large loop and then another.
The loops introduce a lovely motion into the process.
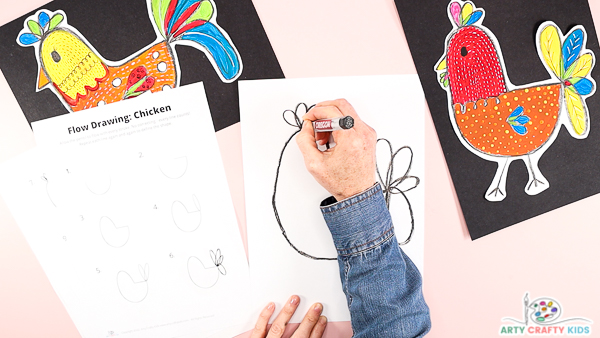
Draw Loop-the-Loop Head Feathers
Use the same loop-the-loop process to draw draw head feathers.
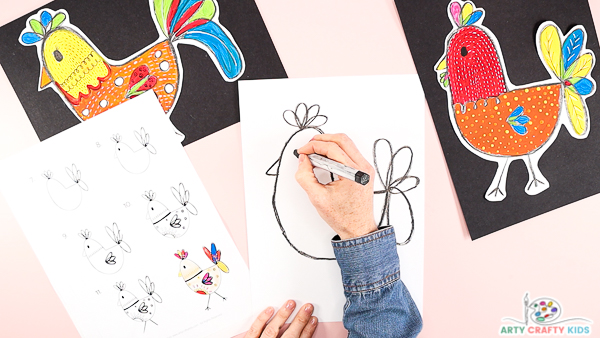
Draw a Beak and Eye
Next, draw a small triangular beak and a solid oval black eye.
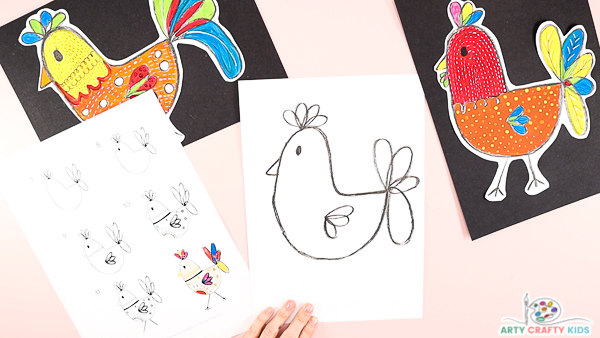
Draw Loop-the-Loop Wing Feathers
Draw loop-the-loop wing feathers.
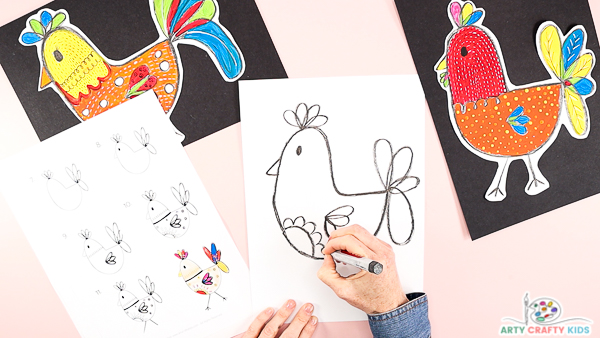
Decorate the Chicken
Inspired by some of the colorful and patterned aesthetics found in folk art, try filling the chicken’s body with flowers, spots, squiggles or anything else that takes your Arty Crafty Kids fancy.
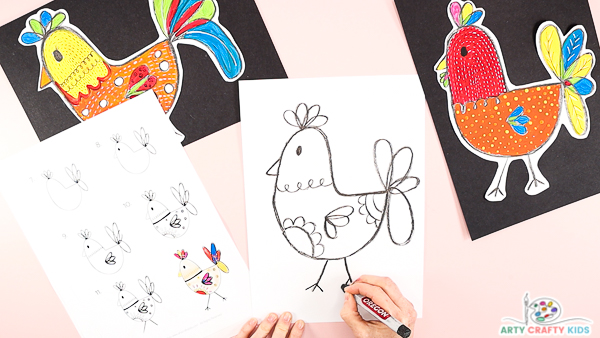
Draw a Pair of Chicken Legs
Once the chicken’s body is complete, draw a pair of twiggy legs.
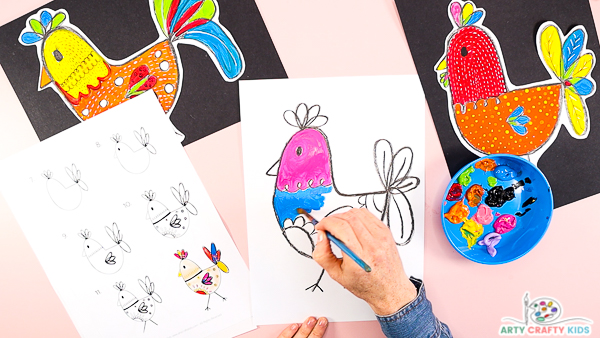
Paint the Chicken
Next, use bold and bright colors to paint the chicken.
In keeping with the folk art inspiration, our chicken’s are colored with bright complimentary shades.
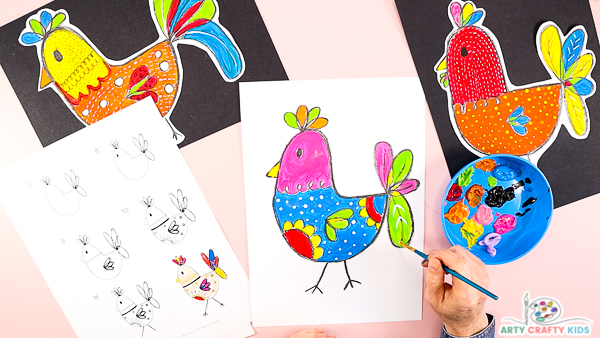
Once the base colors are painted, try using the the tip of a paintbrush to create dots or use a fine tipped brush to paint feather detail.
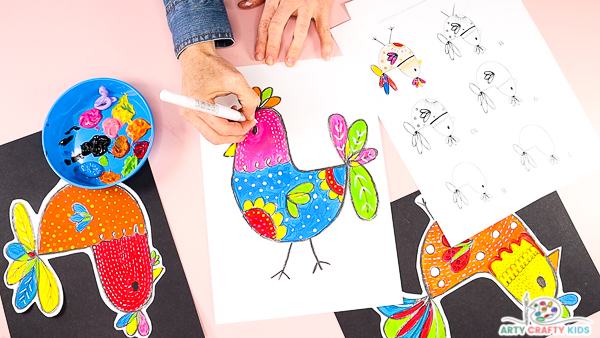
Draw a Few Extra Details
For finer detailing, try drawing with a contrasting (white) acrylic pen.
The How to Draw a Chicken tutorial is complete!
I hope your Arty Crafty Kids enjoy drawing their very own chicken’s and create some gorgeous, interesting and unique designs! As always, we love to see their creativity in action – If you share their works of art on social media, please do give us a tag!
Learn More about the Flow Drawing Technique:
What is Flow Drawing?
Flow Drawing is an art technique developed by us to encourage children to understand shapes and create illustrations, in a much ‘freer’ way. By removing restrictions, flow drawing encourages children to fully engage in the moment and discover their natural flow, making every line count and bringing mindfulness to their creative process.You can think of the flow drawing technique as a ‘how to draw’ guide with a difference – children won’t just draw a picture, they’ll create a unique work of art, right from their soul.
Flow Drawing Benefits:
Although the process of flowing more naturally in art might seem a little alien to children at first, it’s really worth encouraging them to have a go. Flow drawing has so many benefits and helps little hands and minds to:
- Explore simple shapes and how they work together to create larger forms
- Discover their natural flow and rhythm through repetitive movements
- Learn how to combine mediums, with a fun and easy approach
- Build confidence in their own creative ability
- Combat ‘perfection-seeking’ in art, providing a much needed alternative to rigid ‘how to draw’ guides
- Bring mindfulness to the creative process and boost mental health
- Foster a love of art and self-expression.
More How to Draw and Paintings Ideas for Kids:
-
Flow Drawing Penguin Template
-
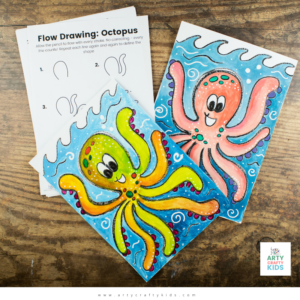
Flow Drawing Octopus Guide
-
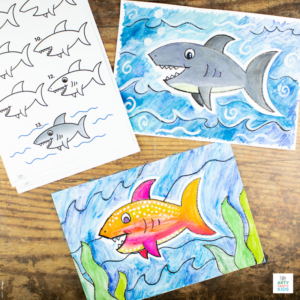
Flow Drawing Shark Tutorial
-
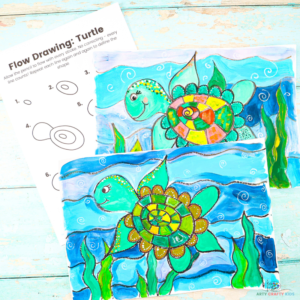
Flow Drawing Turtle Tutorial
-
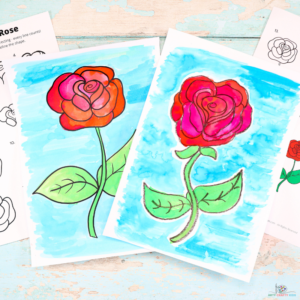
Flow Drawing: A Rose
-
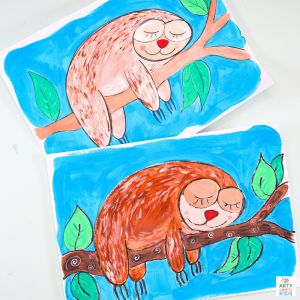
Flow Drawing: Step by Step Sloth
-
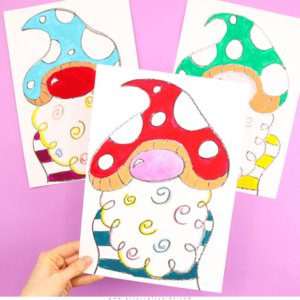
Flow Drawing: Toadstool Gnome
-
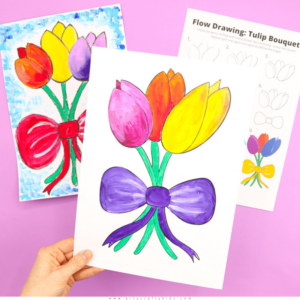
Flow Drawing: Tulip Bouquet
-
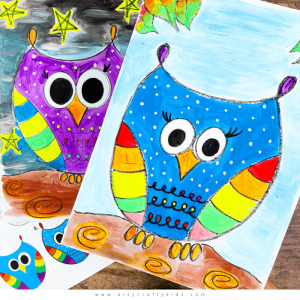
Flow Drawing: How to Draw an Owl
-
Flow Drawing: How to Paint an Autumn Birch Tree Scene
-
Flow Drawing: How to Draw a Peacocks Head
-
Flow Drawing: How to Draw a Jellyfish
-
Flow Drawing: How to Draw a Poppy
-
Flow Drawing: How to Draw a Llama
-
Flow Drawing: How to Draw a Cat
-
Flow Drawing: How to Draw a Little Bird
-
Flow Drawing: How to Draw a Butterfly

