Sharing is caring!
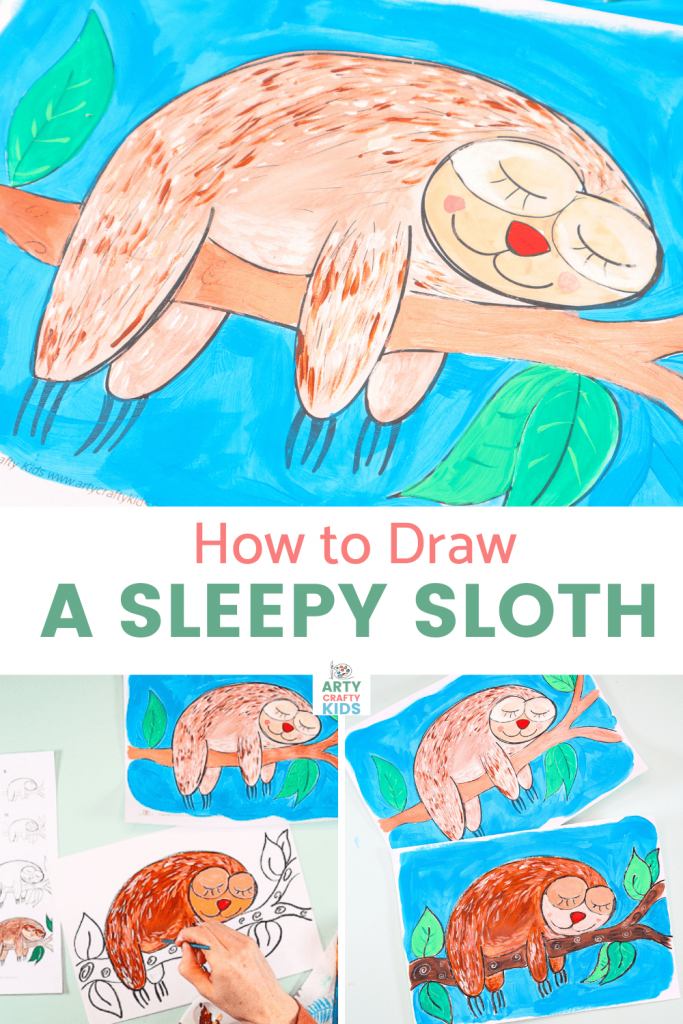
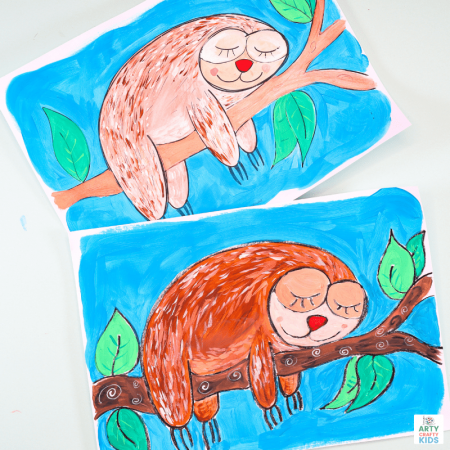
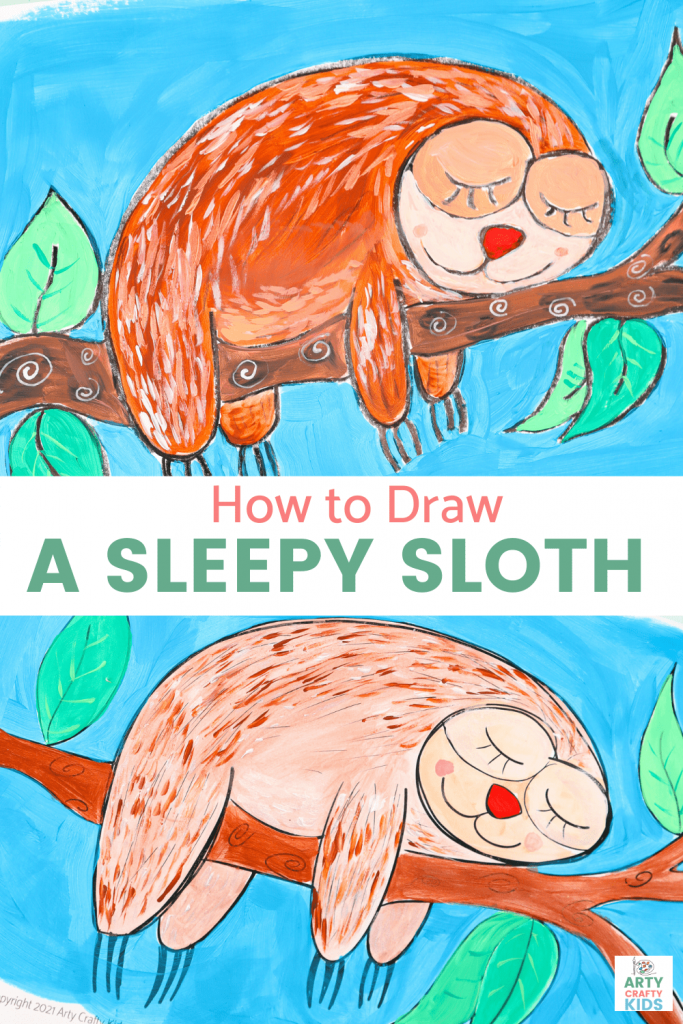
Flow Drawing: How to Draw a Sloth: Children will learn how to draw a cute sloth with our easy to follow step-by-step how to draw a sloth tutorial. Using the flow drawing technique, we encourage children to use simple shapes and lines to build their sloth, often repeating lines for greater definition. In this tutorial, the sloth’s face is the heart of the drawing and the piece comes together with just a few extra steps, making this smiley sloth a perfect introductory subject for children to tackle in their learning to draw adventures.
Once children have drawn the basic shape of their sloth, the how to draw guide explodes into a full sloth art project, demonstrating how children can create texture and depth with simple color contrast and paint strokes. Kids will get a lovely tactile introduction into shading – exploring light and shade without an over complicated process. It’s simply lots of little lines that create an amazing effect!
To support children’s learning and art lesson plans for teachers, our How to Draw Sloth tutorial can be accessed in many forms: A Step-by-Step Video tutorial, a blog post with photos and detailed directions, and finally a printable How to Draw a Sloth guide. These formats are designed to support different learning styles, which allows the tutorial to be delivered and adapted to suit of needs of your child(ren), regardless of age and ability.
What is Flow Drawing?
Flow Drawing is an art technique developed by us to encourage children to understand shapes and create illustrations, in a much ‘freer’ way. By removing restrictions, flow drawing encourages children to fully engage in the moment and discover their natural flow, making every line count and bringing mindfulness to their creative process.
You can think of the flow drawing technique as a ‘how to draw’ guide with a difference – children won’t just draw a picture, they’ll create a unique work of art, right from their soul.
Flow Drawing Benefits:
Although the process of flowing more naturally in art might seem a little alien to children at first, it’s really worth encouraging them to have a go. Flow drawing has so many benefits and helps little hands and minds to:
- Explore simple shapes and how they work together to create larger forms
- Discover their natural flow and rhythm through repetitive movements
- Learn how to combine mediums, with a fun and easy approach
- Build confidence in their own creative ability
- Combat ‘perfection-seeking’ in art, providing a much needed alternative to rigid ‘how to draw’ guides
- Bring mindfulness to the creative process and boost mental health
- Foster a love of art and self-expression.
How to Draw a Sloth Easy Step by Step
Materials
- Black Crayon or Oil Pastel
- Tempera Paint
Download the Step by Step Sloth Guide and Sloth Coloring Sheet:
The ‘How to Draw a Sloth’ PDF guide is available to members of the Arty Crafty Kids club.
Members will need to log in to access the templates: https://www.artycraftykids.com/product/flow-drawing-step-by-step-sloth/
Not A Member?
Watch the Step by Step How to Draw a Sloth Tutorial:
Let’s Draw a Sleepy Cute Sloth:
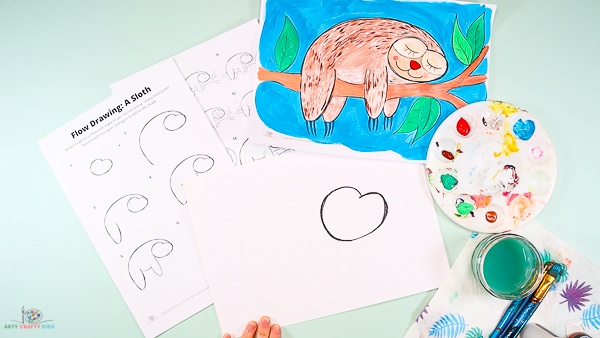
Draw a Rounded Heart Shape
Sloth’s have the most adorable little faces; content, happy and sleepy in appearance. To capture this characterisric, our sloth drawing tutorial begins with a rounded heart shape. A heart shape that’s not symmetrical and a little lop-sided, giving children lots of flexibility in the shape they will naturally form.
To simplify the sloth’s beginnings, children may prefer to draw its face as an oval.
Once the face is drawn, all lines and shapes to complete the sloth will flow from the heart of the drawing – the sloth’s sleepy face.
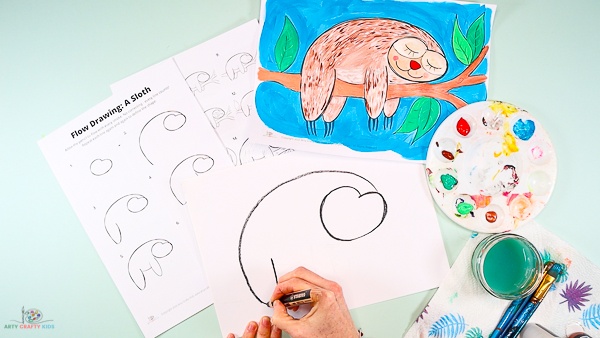
Draw a Large Round Arch
Next, draw a single over arching line that stems from the sloth’s face, across the page and down towards the bottom.
Draw a second, shorter line that travels back towards the over arching shape to create a rounded thick leg.
The sloth now has a face, a back and its first back leg.
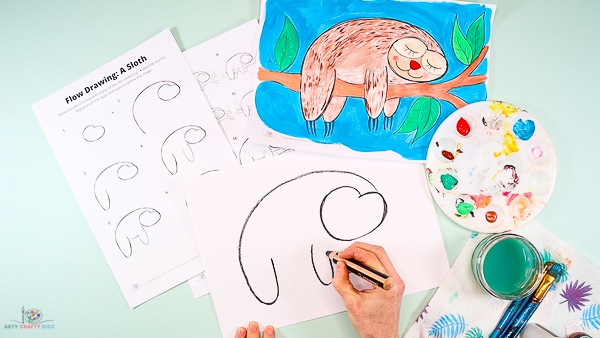
Draw a 2nd Leg
Draw a second rounded leg a short distance from the first and just before the bottom of the sloth’s face.
Add a Long Wavy Line
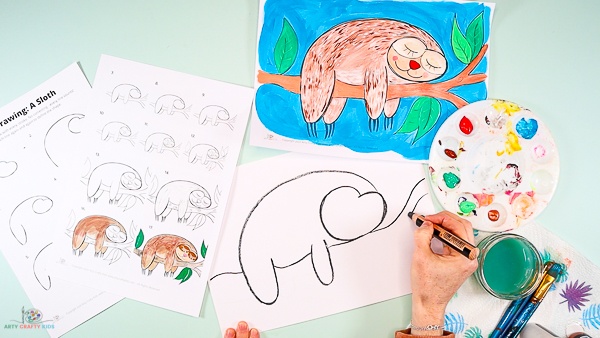
Next, draw a wavy line from edge of the page to the other, ensuring the line connects the two legs and falls just under the sloth’s head.
Arty Crafty Kids may wish to add an extended curve to their wavy line as they pass the sloth’s head – this line is the beginning’s of a tree branch.
Create a Branch for the Sleepy Sloth
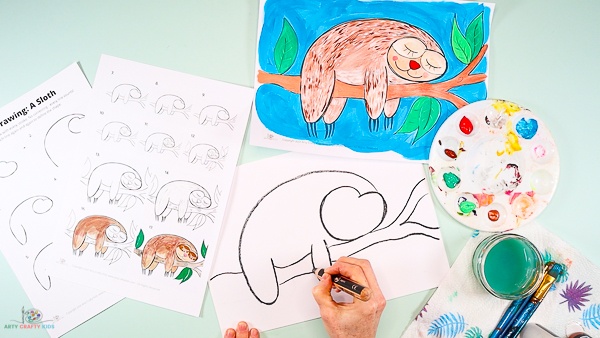
Draw a second wavy line across the page a small distance from the first.
If Arty Crafty Kids chose to extend the first wavy line with an extra upwards curve, this new line may begin as a an opposite – drawn from a downwards extended curve moving up. Add a wavy triangle shape between the two curves to create the impression of extra tree branches (see video tutorial for guidance).
Our sleepy sloth now has a comfy tree branch.
Draw the Sloth’s Face
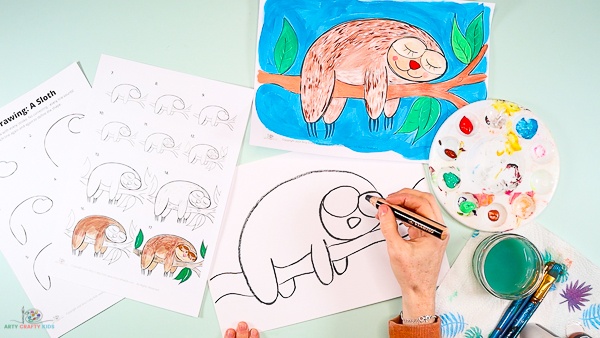
Let’s define the sloth’s face, starting with the eyes – drawing two circles that both divides the shape in half and creates two distinctive areas for the eyes.
Just below the newly drawn circles, draw an upside down rounded triangle for the nose.
Draw a semi-circle next to each dangling leg.
Complete the Sloth’s Face and Add Detail
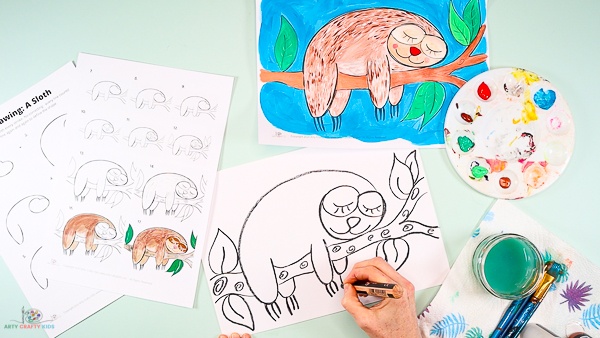
Now the basic sloth shape has been drawn, it’s time to add detail!
Add sleepy eyes, a natural sloth smile and the long signature claws to the sloth.
Complete the branch with random leaf shapes and twirly circles to create the impression of wood.
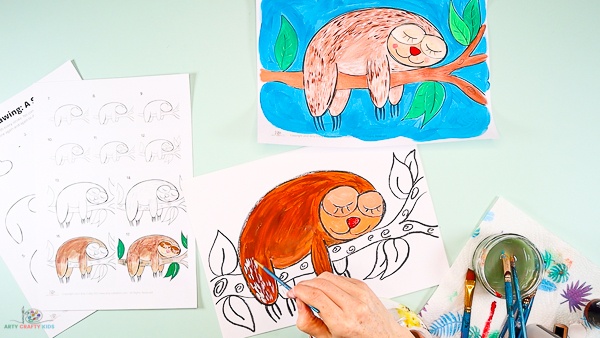
Add Texture to the Sloths Fur
The sloth’s textured fur is one of its stand out features.
Fun Fact: Did you know it doubles up as an eco-system for hundreds of moths, insects, algae and fungi?
To create the impression of a dense furry coat, we’ve painted small white lines across the solid brown, starting from the foot and working our way up, following the curve of the sloth’s back.
Here we’re creating texture with color contrast and perspective by creating a sense of flow of fur across its back.
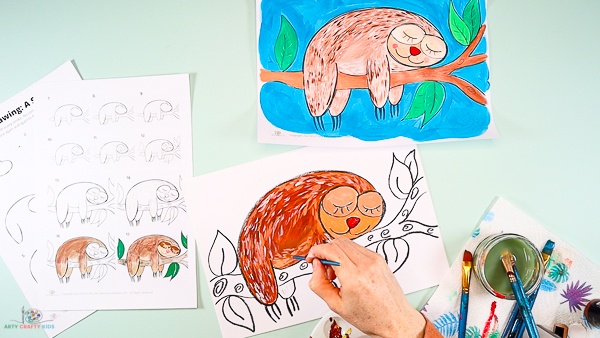
Add Definition and Shape to the Sloth’s Fur
For further depth, we’ve added another strip of little paint strokes across the sloth’s back and tummy, this time using lighter shades of brown.
Using this simple technique of creating short lines with paint strokes, children can explore and work out how to simply add a sense of movement, perspective and depth in their painting.
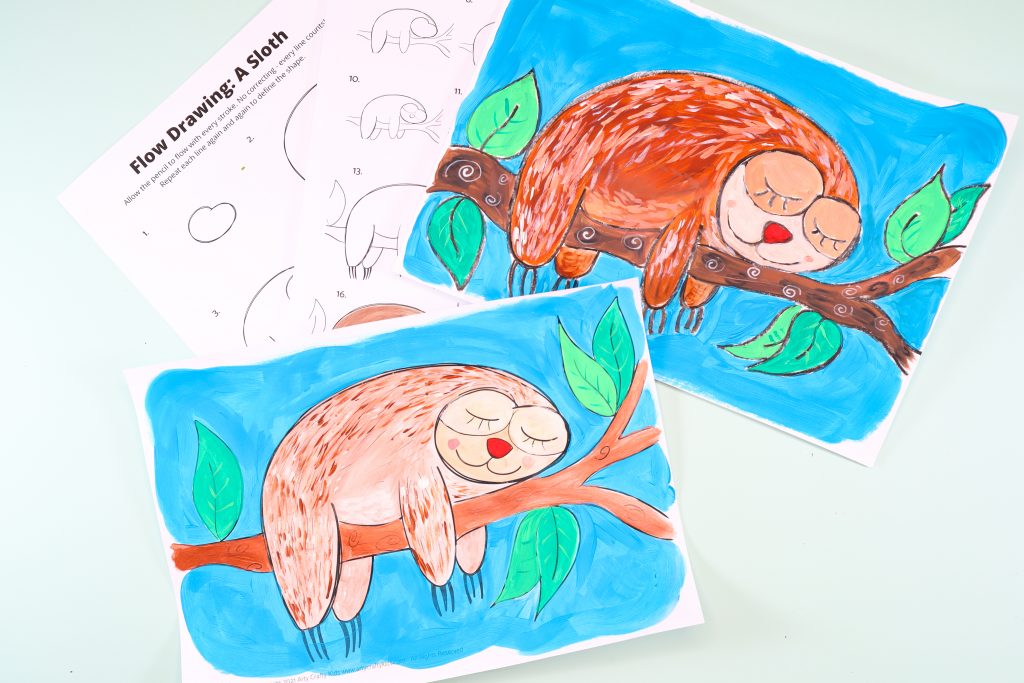
Continue Painting the Sloth to Completion
Continue filling the cute sleepy sloth with paint until the sloth drawing is bursting with color!
Children may create contrast with bold solid colors against blended or watered down paint.
And now your gorgeous artwork is complete! Whether you give it to Mom, teacher or friend, or hang it on the wall, we’d love for you to share and tag us on social media, and let us know if you’ve enjoyed exploring How to Draw a Sloth with our latest flow drawing guide. Maybe there’s another animal you would like us to tackle next?
