Sharing is caring!
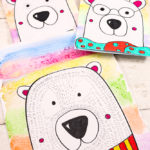
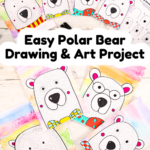
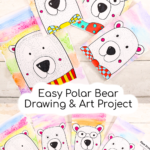

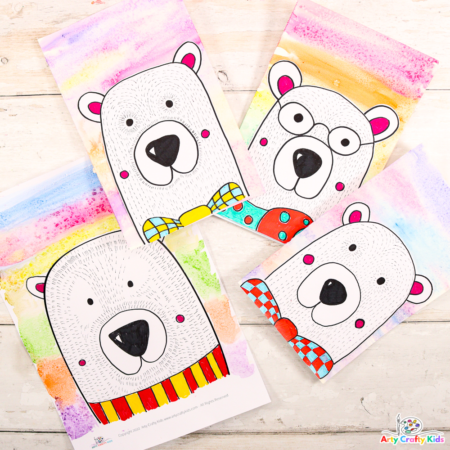
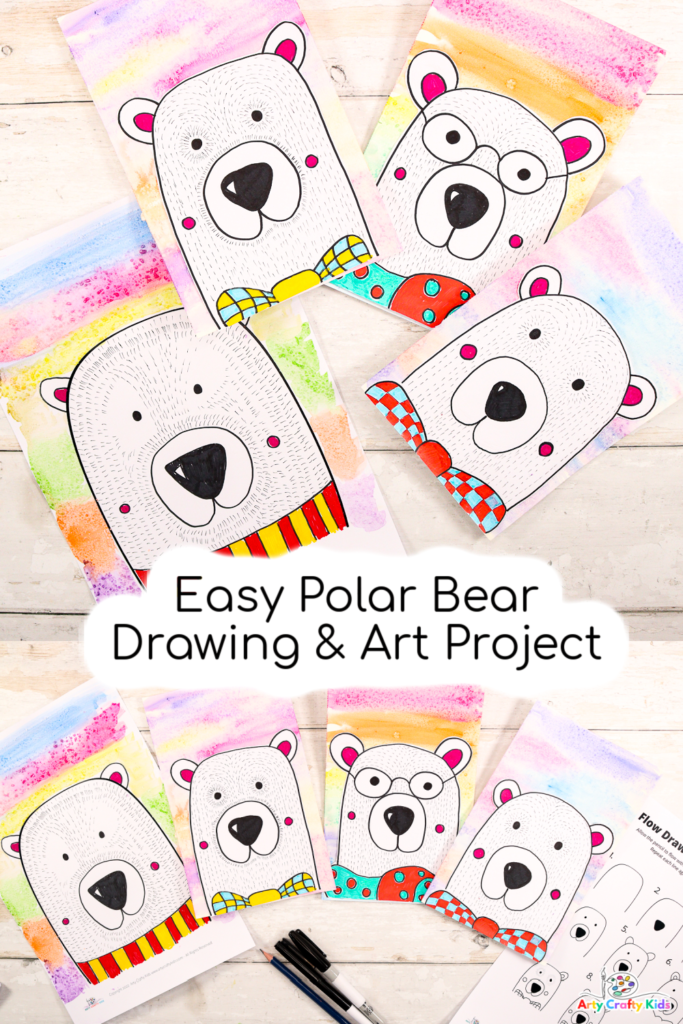
Our easy polar bear drawing tutorial is perfect for kids to follow; providing a step-by-step visual how to draw a polar bear guide, a video demo and various polar bear coloring pages and drawing prompts to accommodate every age and ability level!
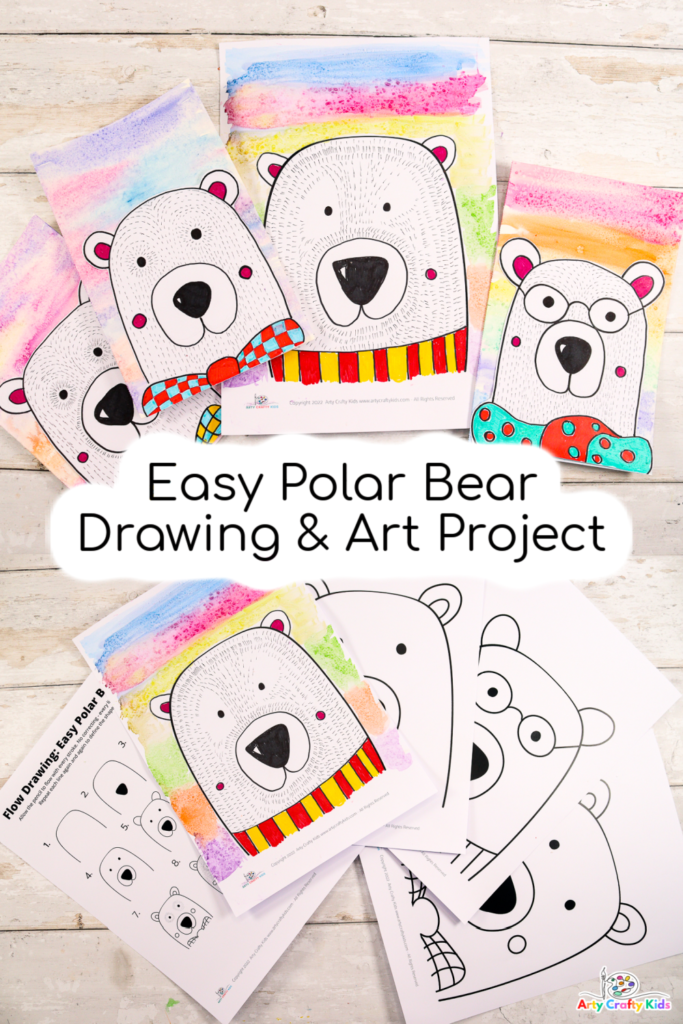
This is such a lovely and fun Winter art project for kids, with children not only learning how to to draw a simple polar bear but how to transform their drawing into a complete work of art!
Children will be introduced to a simple watercolor resist technique that uses rock salt. It’s a quick and easy way to make a wintery backdrop for the polar bears and encourages children to play with color mixing.
How to Make the Easy Polar Bear Drawing and Art Project
Materials
- White Cardstock for the Coloring the Polar Bear Printables
- White Cardstock for Drawing the Polar Bear
- White Paper for Printing the Step-by-Step Drawing Guide
- Black Marker Pen
- Fine Tipped Black Pen
- Colored Marker Pens
- Watercolor or Mixed Media Paper
- Watercolor Paint
- Rock Salt
- Scissors
- Glue Stick
Download the Polar Bear Step-By-Step Drawing Tutorial and Supporting Printable Templates:
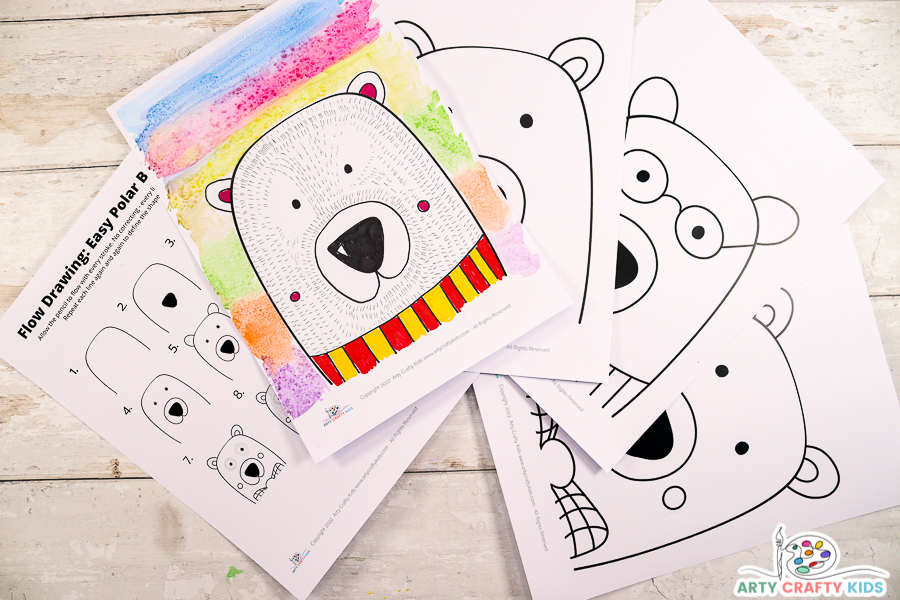
To ensure the art project is open to children of all ages and abilities, we have created a range of printable resources, including:
A Step-by-Step How to Draw a Polar Bear Guide
A Printable Arch to use as a Drawing Prompt
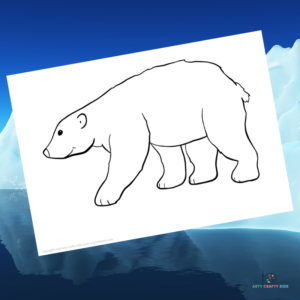
Two Polar Bear Coloring Pages for Children to Color or Trace
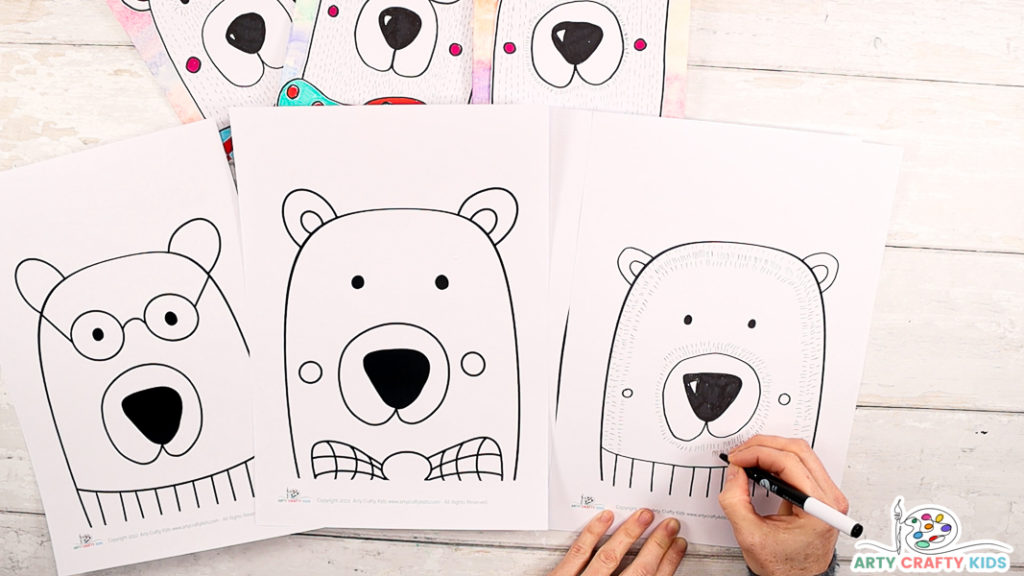
The Polar Bear printables are available to members of the Arty Crafty Kids club.
Members will need to log in to access the templates: https://www.artycraftykids.com/product/easy-how-to-draw-a-polar-bear-templates/
Not a Member?

Watch the Step-by-Step Tutorial to Help you Draw a Polar Bear!
Let’s Draw a Polar Bear!
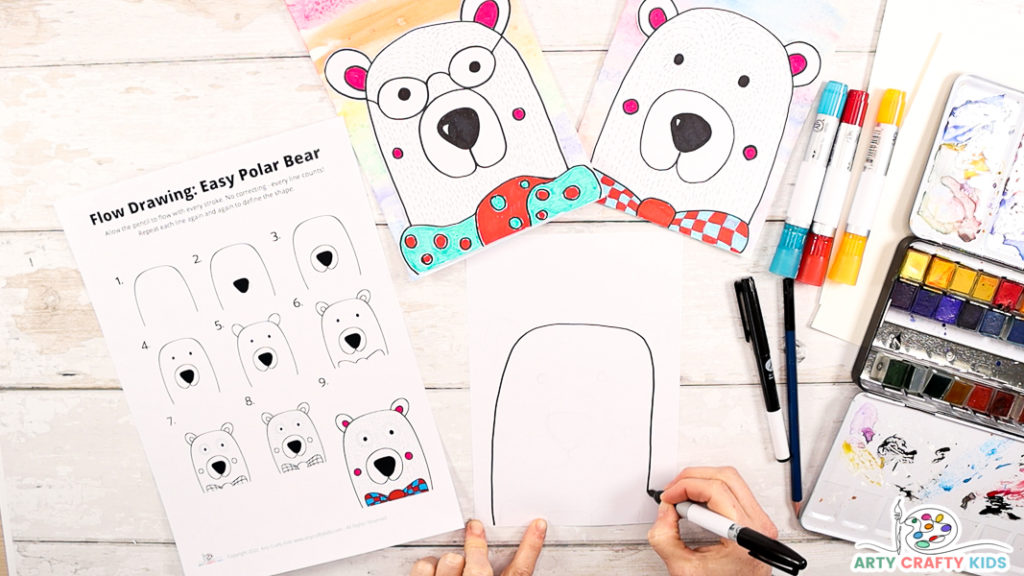
Step 1: Draw a large rainbow arch to form the beginnings of our Polar Bear
Draw a large slightly squared off rainbow arch from the bottom of the sheet of cardstock.
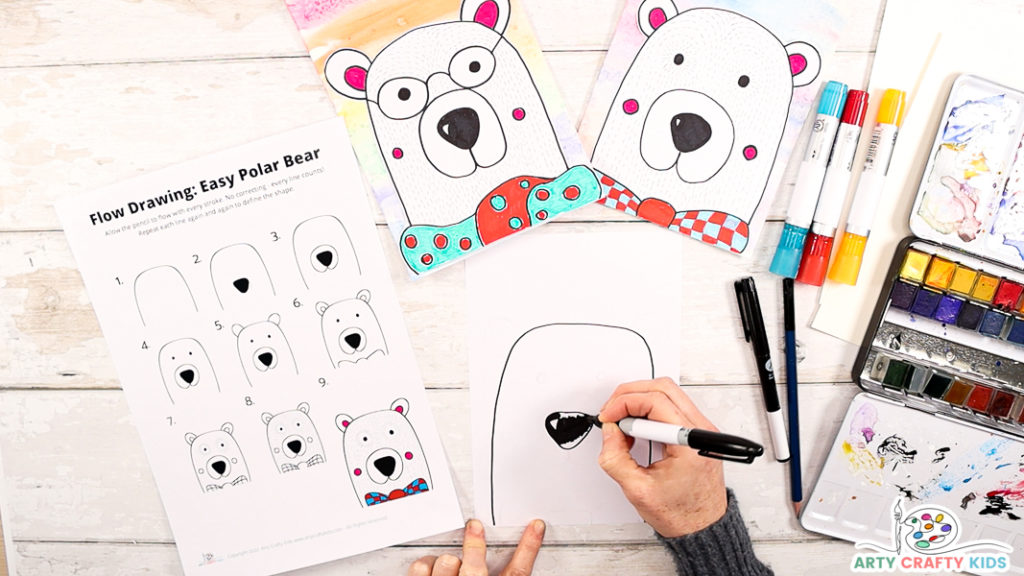
Step 2: Draw a central large nose and color it in
Next, draw a large central nose shape and color it in, leaving a small white triangular space to create the impression of a glean off the nose.
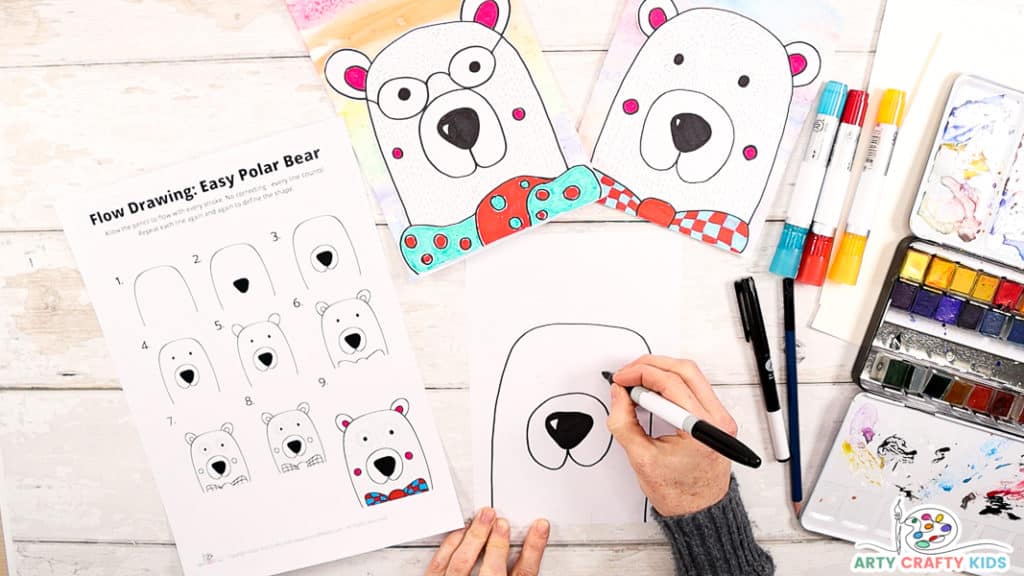
Step 3: Frame the Polar Bears nose with a rounded upside down heart shape
Starting from the bottom top of the nose, draw a rounded shape around it to create the polar bear’s muzzle.
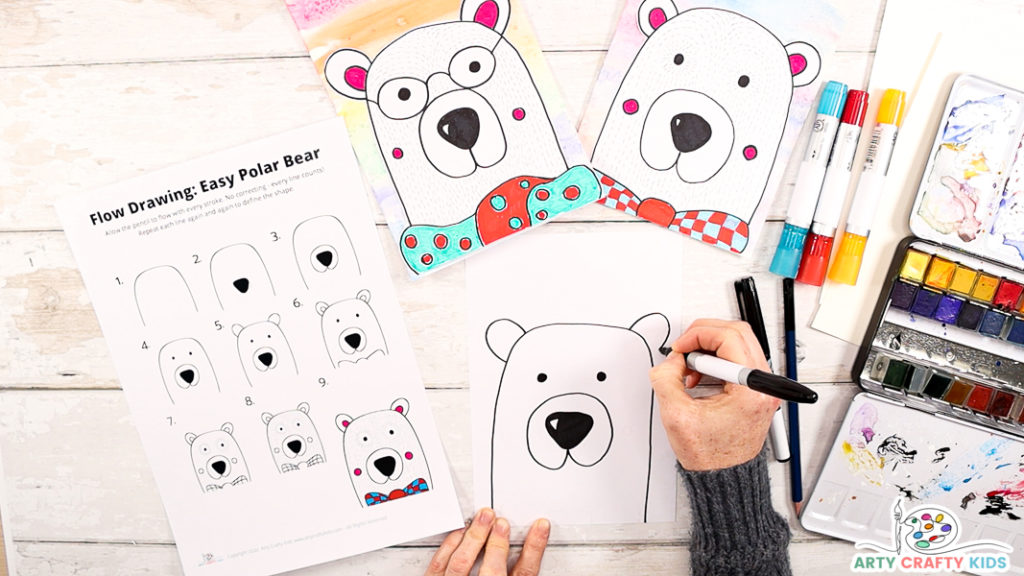
Step 4: Draw a pair of round dotted eyes and small arches for ears
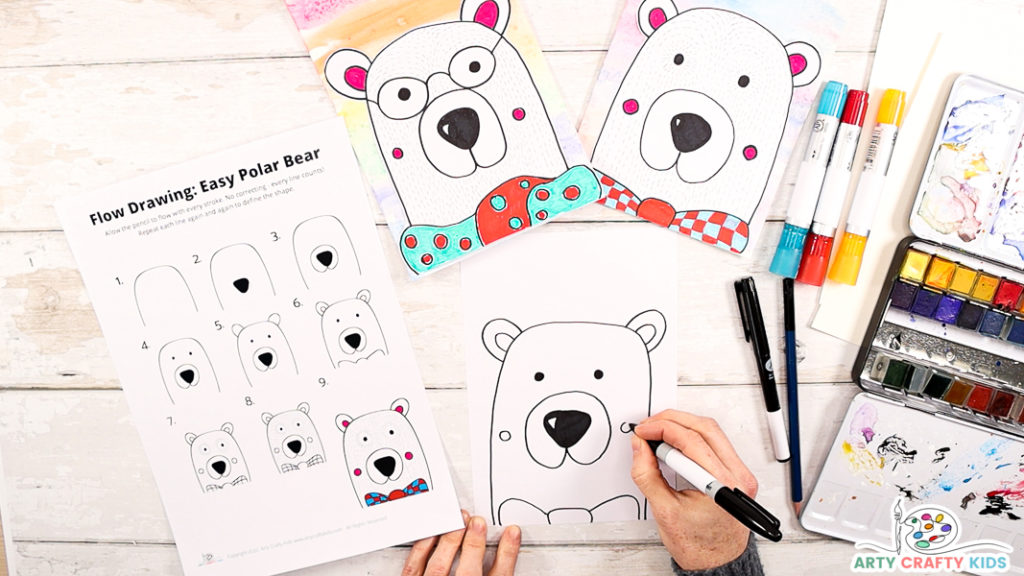
Step 5: Add some personal touches to the Polar Bear design
Personalize the polar bear with a unique extra; this could be a bow tie, a scarf, flowers around the ears, sunglasses, a bobble hat or anything else springs to your Arty Crafty Kids minds.
This creates a fun cartoon quality to the polar bear drawing.
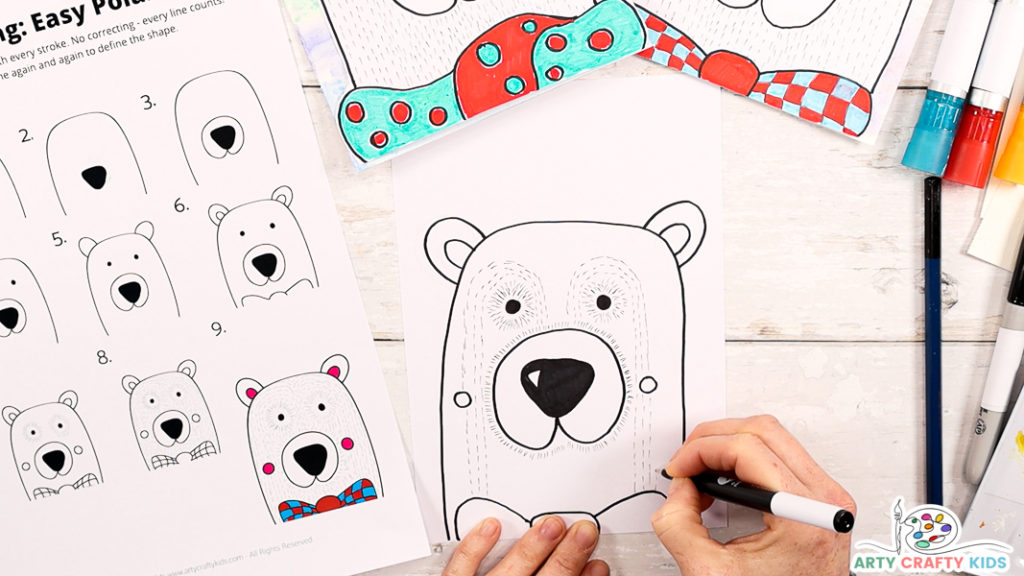
Step 6: Use a fine marker to draw fur-like detail
Use a fine tipped marker to add some detail to the white space.
This could be circles around the eyes and muzzle and/or continuous straight lines within the white space of the polar bear’s head.
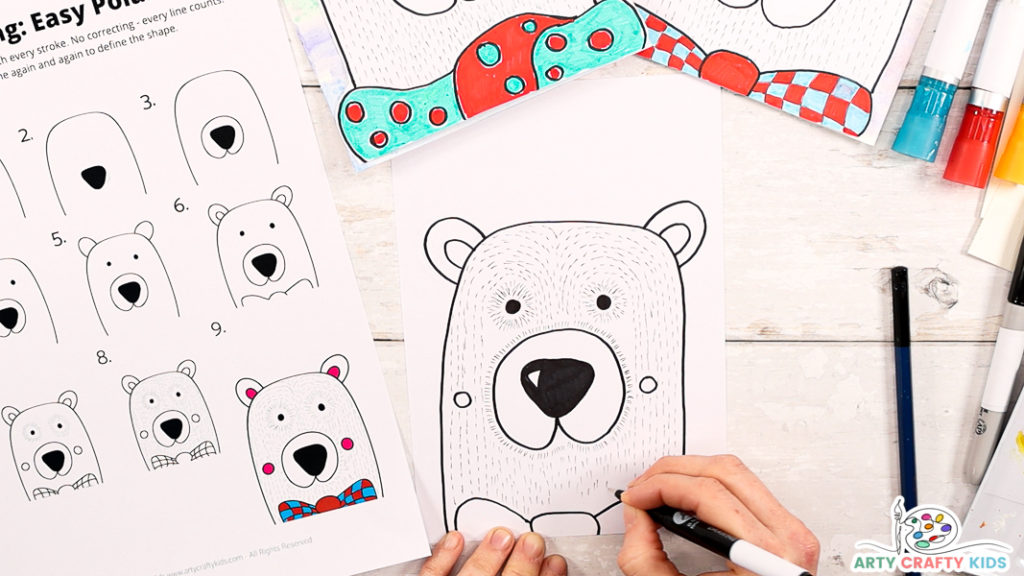
Step 7: Frame the Polar Bear’s features with little black lines
The little dotted lines not only help to create depth and detail to the polar bear’s face, but also adds a gorgeous contrast against the small injection of color and wintery background; helping to lift the polar bear design.
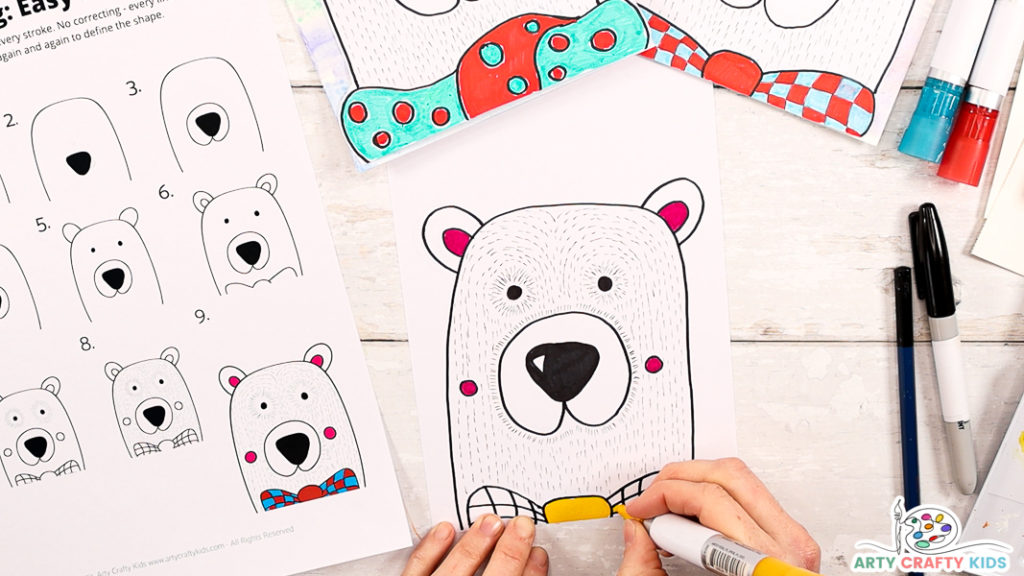
Step 8: Use a marker pen to add some color
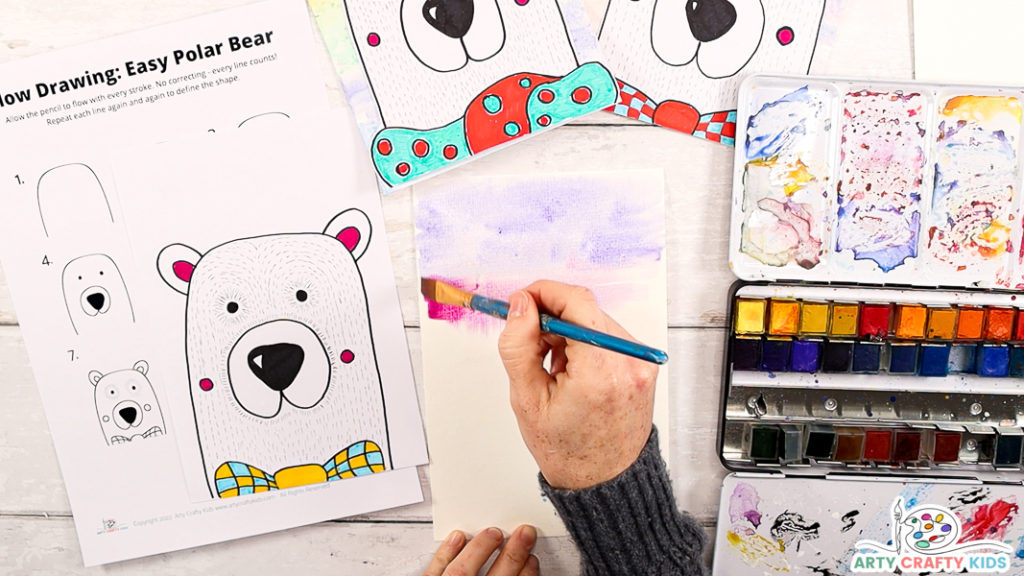
Step 9: Create a watercolor wintery background
Using watercolor or mixed media paper, spread a generous amount of water directly across the sheet.
Next, with a watery brush add some watercolor paint and watch the paint travel across the sheet.
Continue adding lots of different colors until the whole sheet is paper is painted.
This element of the art project is designed to be fairly quick, which is quite freeing from a creativity perspective.
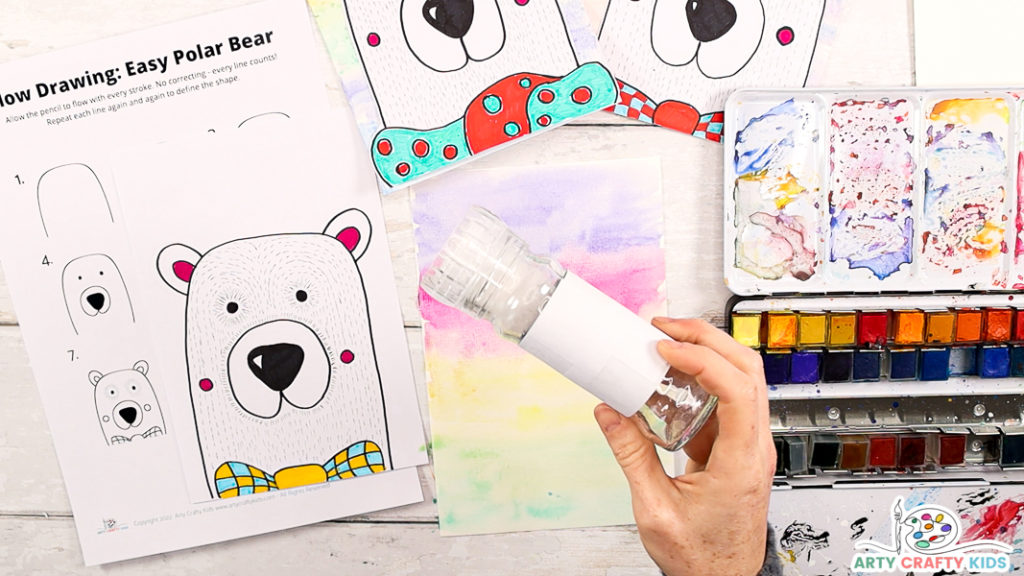
Step 10: Sprinkle salt onto the wet watercolor paint
Before the watercolor paint dries, sprinkle rock salt across the painted sheet.
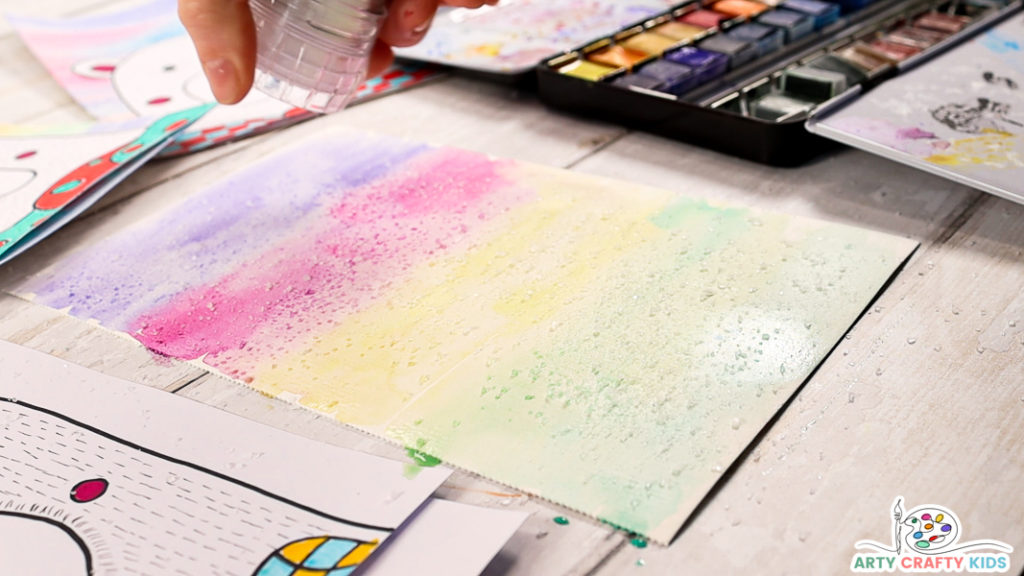
Step 11: Sprinkle the salt and leave the background to dry
The rock salt acts as a resist, absorbing the paint to leave lighter spots that are surrounded by darker pigment.
This is such a fun art process to combine with our polar bear drawing and is an easy way for the children to create a lovely wintery backdrop for their polar bears.
Once the backdrop has dried, simply brush off the rock salt to reveal the resist effect.
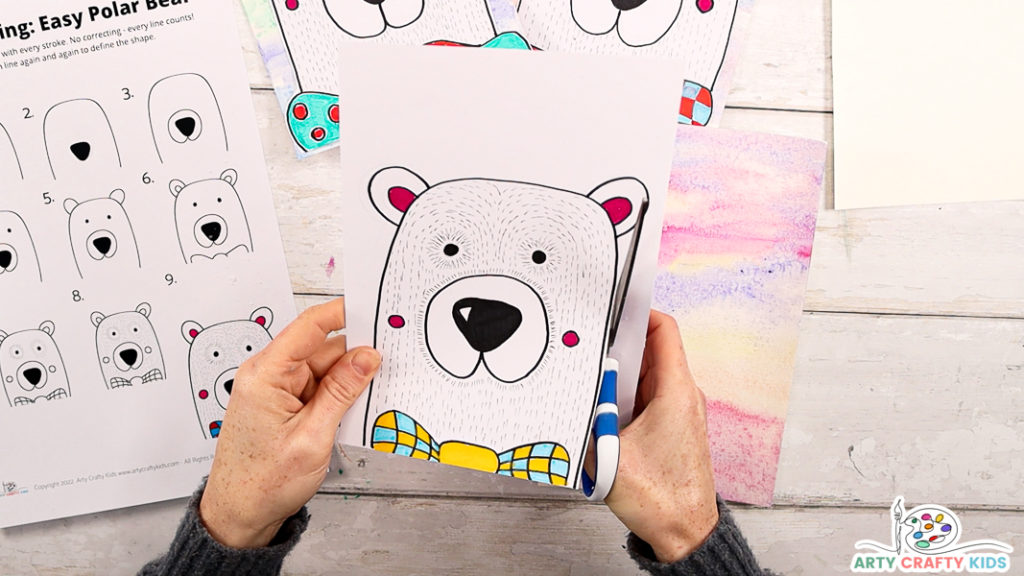
Step 12: Cut out the Polar Drawing
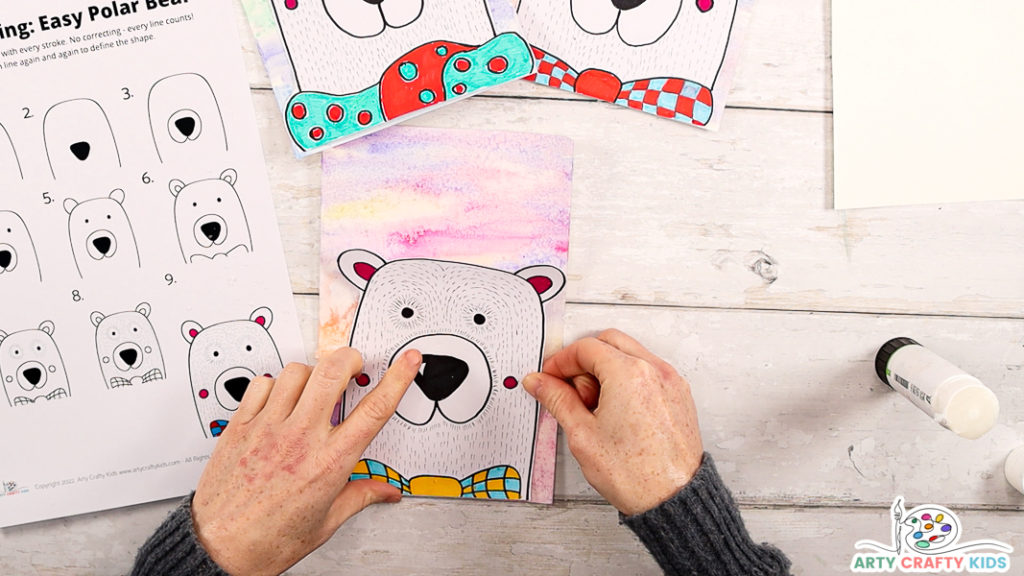
Step 13: Glue the Polar Bear Drawing to the Wintery background
And ta-da, the polar bear drawing and art project is complete!
As always, we love to Arty Crafty Kids’ creativity in action and if you happen to share their completed makes on social media, please do give us a tag or/and use the #artycraftykids – happy crafting!
More Winter Art and Craft Project for Kids
-
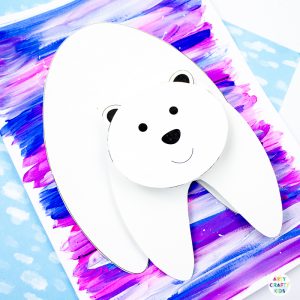
3D Polar Bear
-
Flow Drawing Penguin Template
-
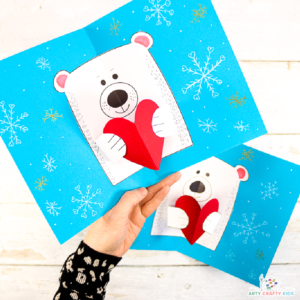
Polar Bear Card Template
-
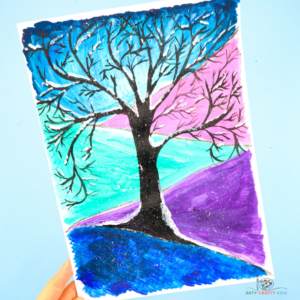
Flow Painting Snowy Winter Tree
-
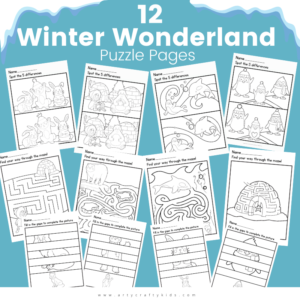
12 Winter Wonderland Puzzle Pages
-
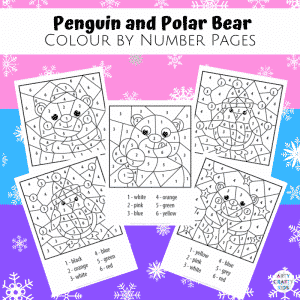
Polar Bear and Penguin Color By Number Bundle
-
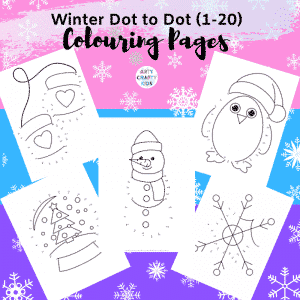
5 Dot-to-Dot Winter Coloring Pages
-
Penguin Dot-to-Dot Winter Coloring Page
-
Mittens Dot-to-Dot Winter Coloring Page
-
Happy Feet Penguin Craft
-
Polar Bear Outline
-
Family of Penguins£0.00
-
How to Draw a Penguin£0.00

