Sharing is caring!
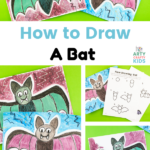
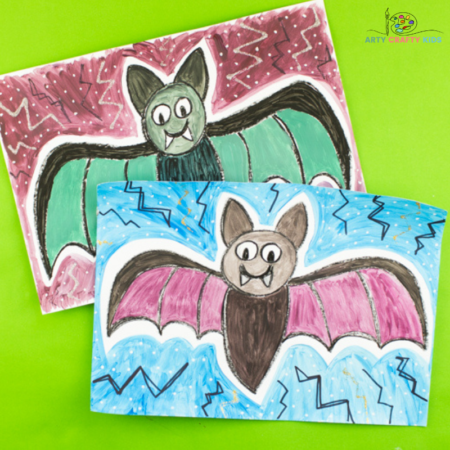
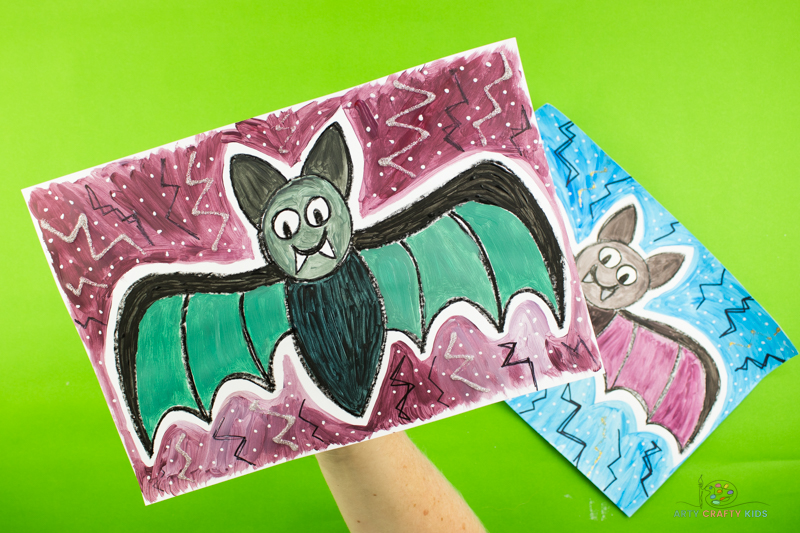
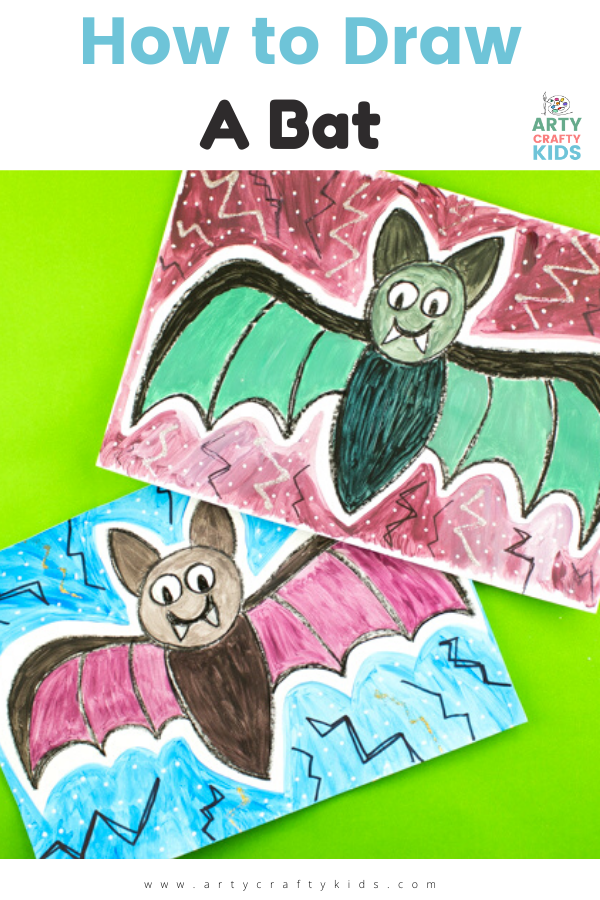
Perfect for beginners and kids this Halloween, our bat how to draw guide is easy to follow and uses simple lines to create a cartoon styled bat.
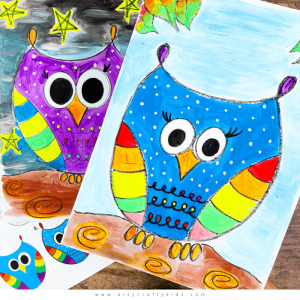
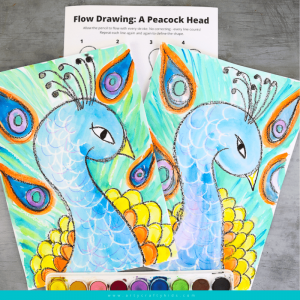
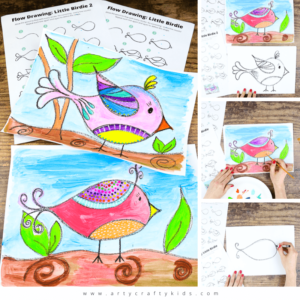
This bat how to draw guide is the latest addition to our growing collection of flow drawing tutorials, which focuses on the creation of free flowing lines to create easy animal drawings.
Children are encouraged to use playful colors to complete their bats and create unique backgrounds to frame their fabulous drawings!
To help children master the basics of learning how to draw their bats, we have created a step-by-step video tutorial, a printable how to draw guide and written instructions!
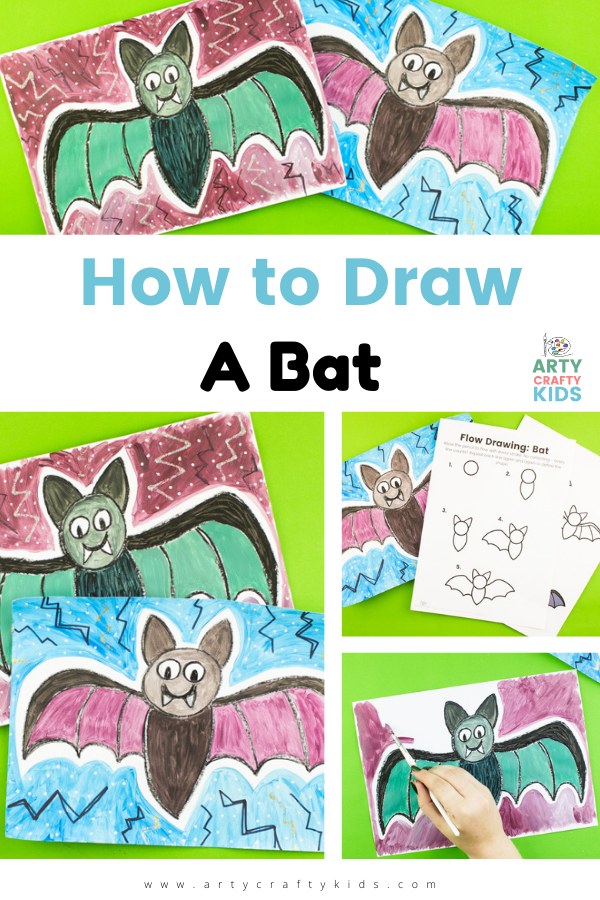
How to Draw a Bat – Easy Step by Step Drawing Tutorial
Materials:
- White Card Stock
- A Black Crayon, Oil Pastel or Pen
- Acrylic Paint OR a Favorite Medium for Coloring
- Glitter glue pens and/or an acrlyic paint pen
Download the Bat How to Draw Printable:
The templates are available to members of the Arty Crafty Kids club.
Members will need to log in to access the templates: https://www.artycraftykids.com/product/how-to-draw-a-bat-template/
Not A Member?
Watch the Bat How to Draw Video:
Let’s Draw a Bat!
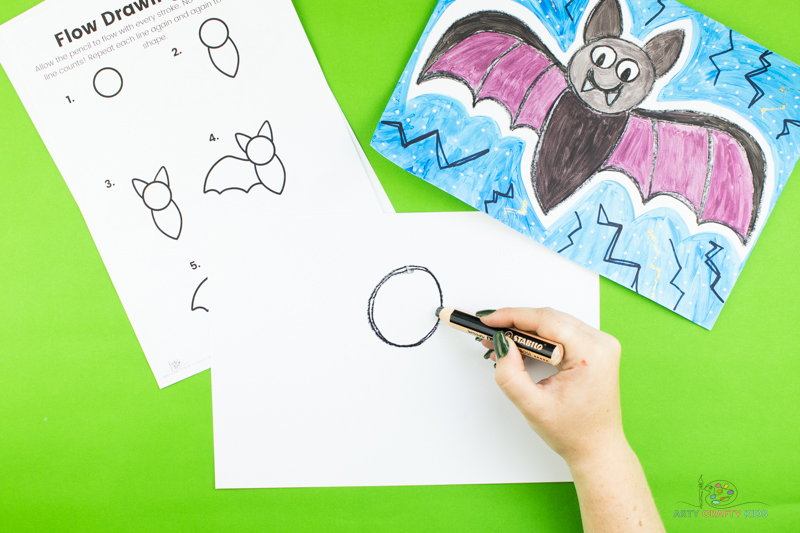
Draw a Circle – The Bat’s Head
Start by drawing a circle in the center of the canvas for the bat’s head.
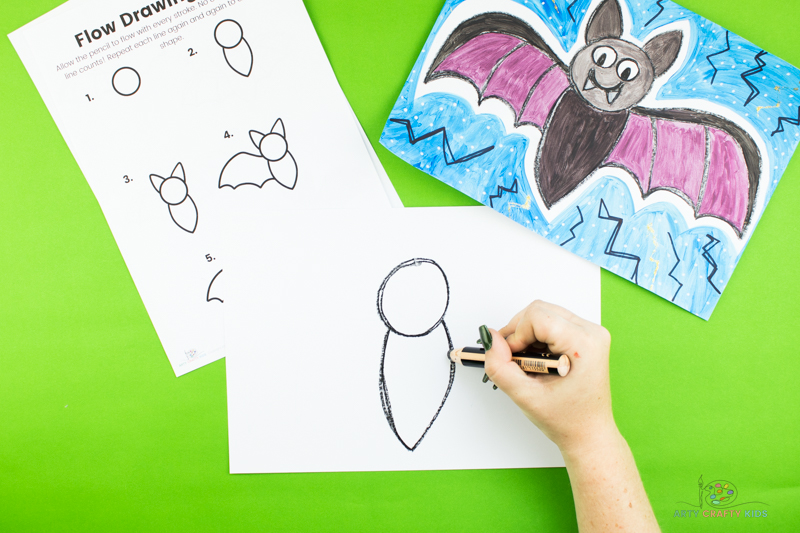
Draw the Bat’s Body
Draw an upside down tear drop shape to create the body. Position this underneath the head.
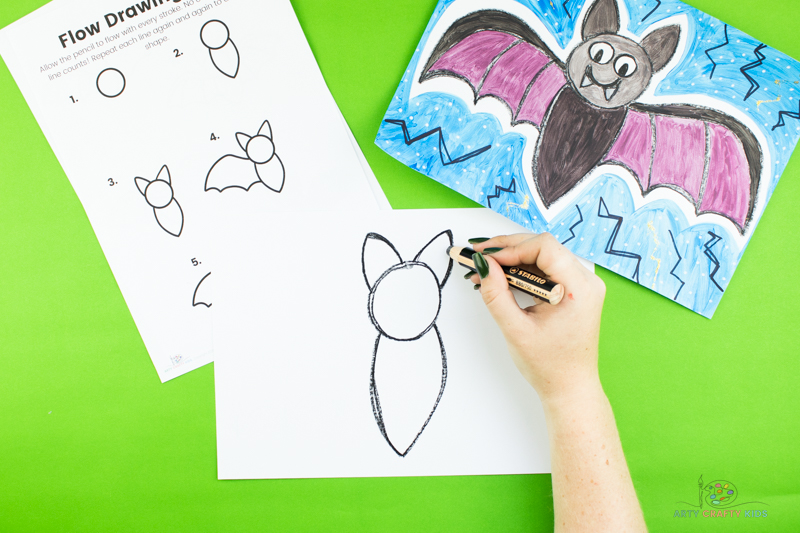
Draw Two Triangular Shapes – The Bat’s Ears
Draw two triangular shapes on top of the bat’s head to create ears.
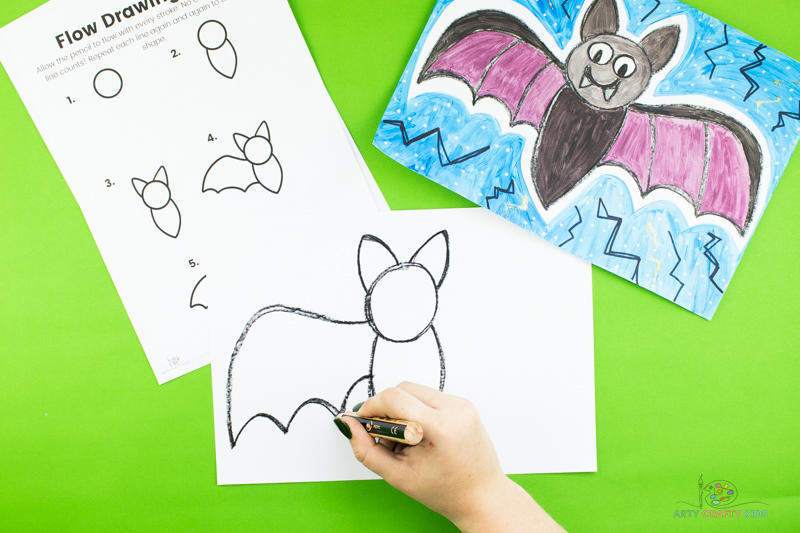
Draw the Left Wing
Next, we will draw the bat’s wing in two parts:
1) From the circular head draw a flowing line across the page and then take a sharp turn downwards to create a large arch.
2) Starting from the bottom point, draw two and half semi-circle shapes back to the bat’s body, creating a further two points along the way. For this step, imagine how the movement of a bouncy ball might be drawn – this could be a helpful visualization for children.
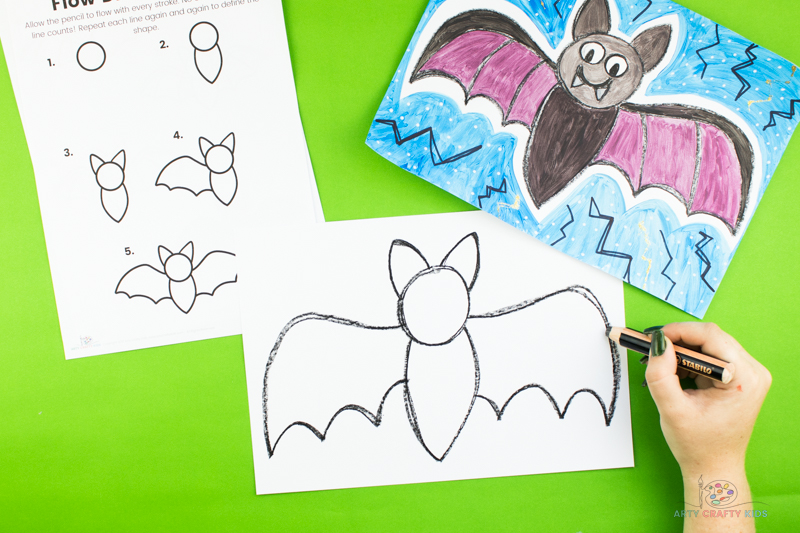
Draw the right wing
Now use the same process to draw the right side of the wing.
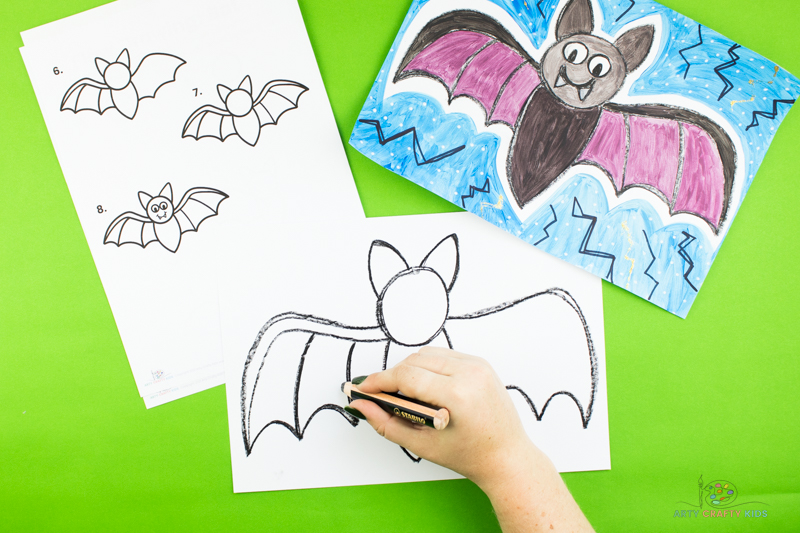
Draw Detail to the Left Wing
Draw a line underneath the top of the wing.
Draw two vertcial lines joining the points of the wings to the top – this creates the impression of webbed segments within the bat’s wing.
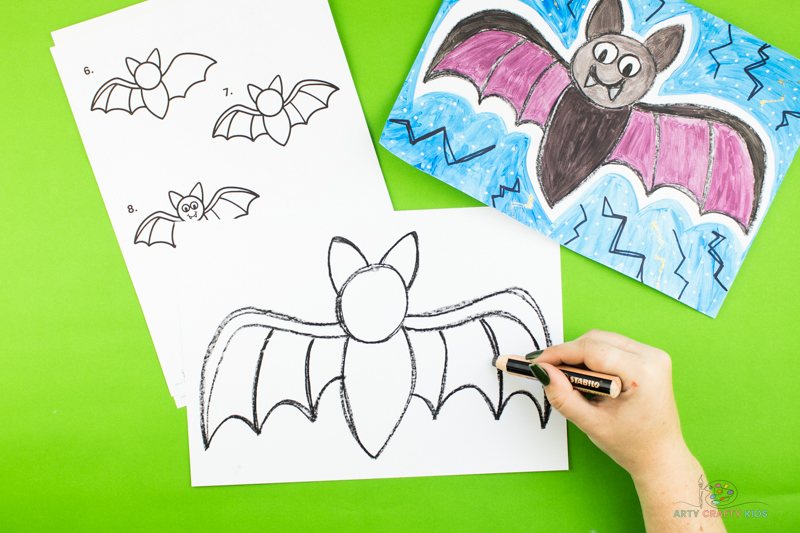
Draw Detail to the Right Wing
Repeat the previous step on the right side to complete the bat’s wing.
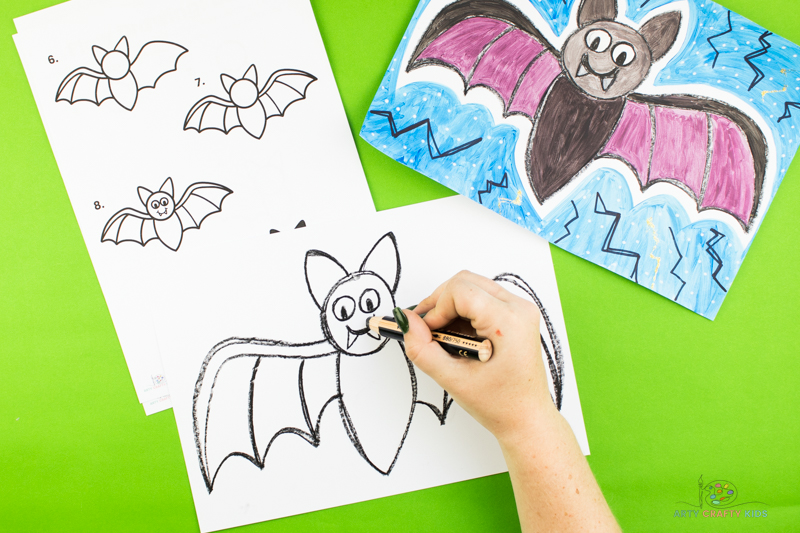
Let’s Draw the Bat’s Face
Draw two circles for the bat’s eyes and add the pupil.
Since our bat is drawn in a friendly, cartoon style, draw a smile line. Draw two downwards pointing triangles – the bat now has fangs!
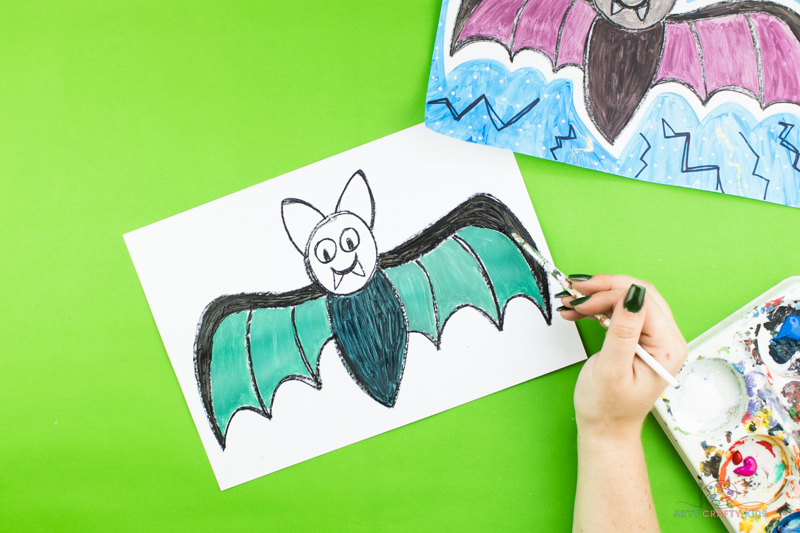
Color in the Bat
Let’s bring the bat to life with color!
Use contrasting colors to emphasise the different elements of the bat.
Painting fine black and white lines within the body will help to create the impression of fur.
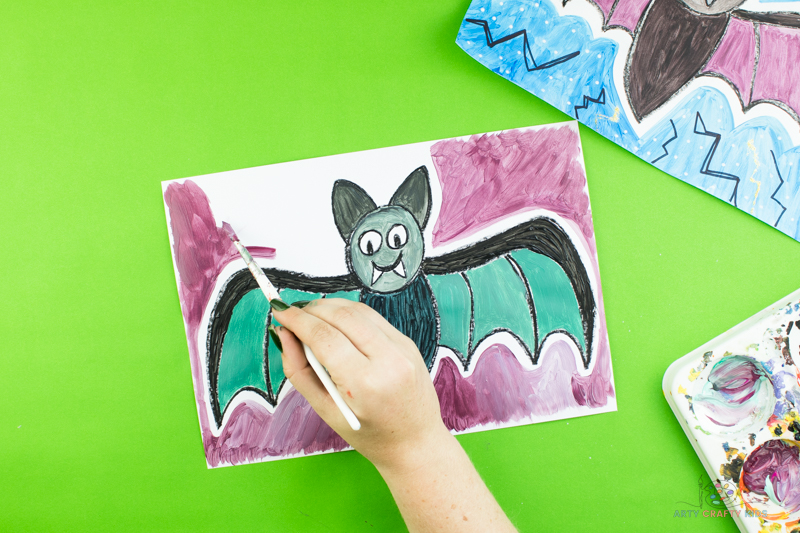
Paint a background
Add a bold color to the background! Leave some white space between the bat and the background color to really make the bat stand out.
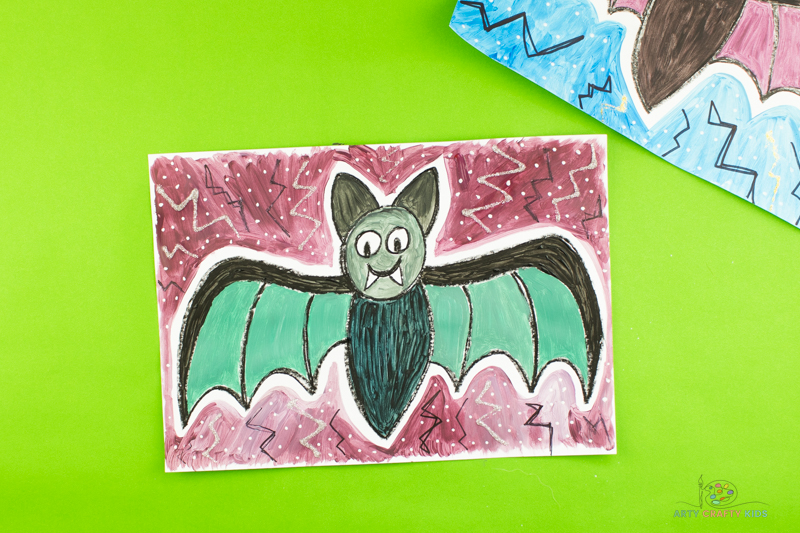
Let’s Make the Background Unique and Striking
Add some finishing touches to the background of your creation. We’ve added sparkly silver glitter glue and used a black marker to draw zig zags, along with some white spots.
Alternatively, play with color to create twilight, Halloween vibes similar to those found with our Bat Silhouette Art Project and Spooky Circle Art Project.
The Drawing Tutorial is Complete!
I hope your Arty Crafty Kids loved following our Bat How to Draw Step by Step Tutorial.
As always, we love to see the your children’s arty crafty creations. If you happen to share their makes on social media, give us a tag!
Learn More about the Flow Drawing Technique:
What is Flow Drawing?
Flow Drawing is an art technique developed by us to encourage children to understand shapes and create illustrations, in a much ‘freer’ way.
By removing restrictions, flow drawing encourages children to fully engage in the moment and discover their natural flow, making every line count and bringing mindfulness to their creative process.
You can think of the flow drawing technique as a ‘how to draw’ guide with a difference – children won’t just draw a picture, they’ll create a unique work of art, right from their soul.
Flow Drawing Benefits:
Although the process of flowing more naturally in art might seem a little alien to children at first, it’s really worth encouraging them to have a go. Flow drawing has so many benefits and helps little hands and minds to:
- Explore simple shapes and how they work together to create larger forms
- Discover their natural flow and rhythm through repetitive movements
- Learn how to combine mediums, with a fun and easy approach
- Build confidence in their own creative ability
- Combat ‘perfection-seeking’ in art, providing a much needed alternative to rigid ‘how to draw’ guides
- Bring mindfulness to the creative process and boost mental health
- Foster a love of art and self-expression.

