Sharing is caring!
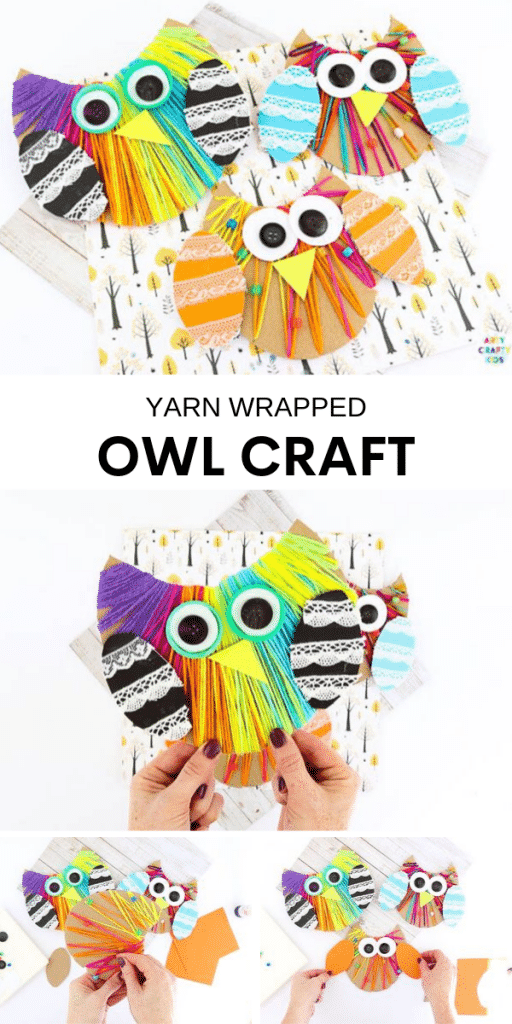
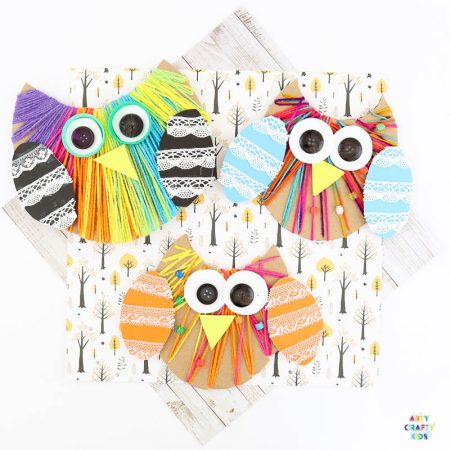
This yarn wrapped owl craft reuses scrap materials and is a fantastic fine motor activity for children from preschool age to kindergarten and early years.
With an emphasis on wrapping, threading, cutting and sticking, kids are given an opportunity to work and develop their fine motor skills.
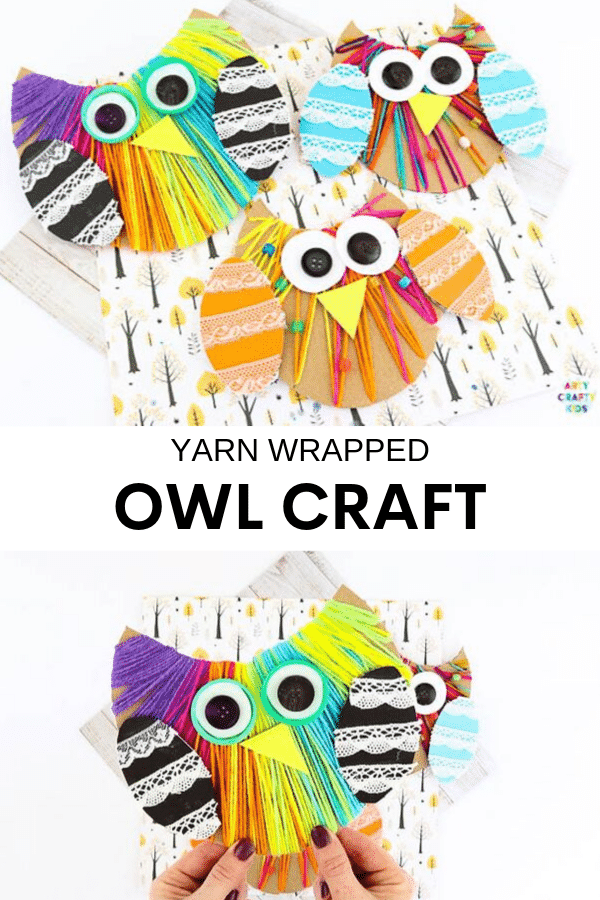
A printable owl template can be found within the Arty Crafty Kids members area, making this craft super easy to complete at home or school.
How to Make a Yarn Wrapped Owl Craft
Supplies :
- Scrap Cardboard
- Scrap Paper
- Yarn
- Scrap Ribbon/Lace
- Wide Beads eg. Pony Beads
- Large Black Buttons
- Optional: Bottle Tops
Download the Owl Template
Our Owl Template (and many more!) is available to members of the Arty Crafty Kids club and can be accessed via the link below: https://www.artycraftykids.com/product/yarn-wrapped-owl/
Not A Member?
Printing Instructions:
Download and print the Owl Template from the Arty Crafty Kids members area.
The template can be downloaded onto good quality paper or card stock.
If you opt for cardstock, remember to check your printer settings for a recommended weight. Most printers prefer card stock less than 220gsm.
Step by Step Instructions:
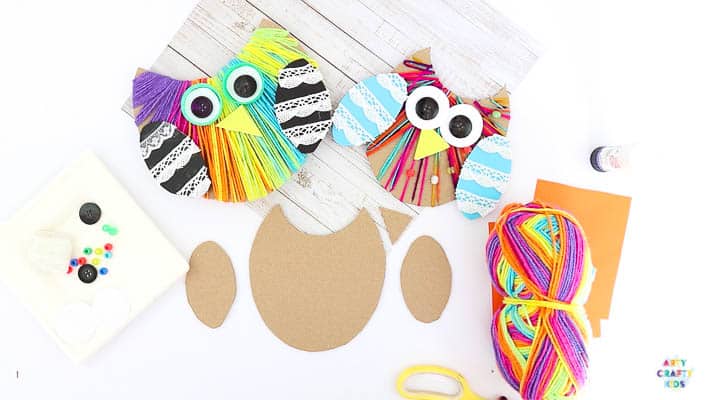
Trace the Owl Template Elements
Step 1: Cut out the template elements.
Step 2: Using scrap cardboard, trace around the elements and cut the owl shapes out – this will include two wings, a body, beak and a pair of white circles.
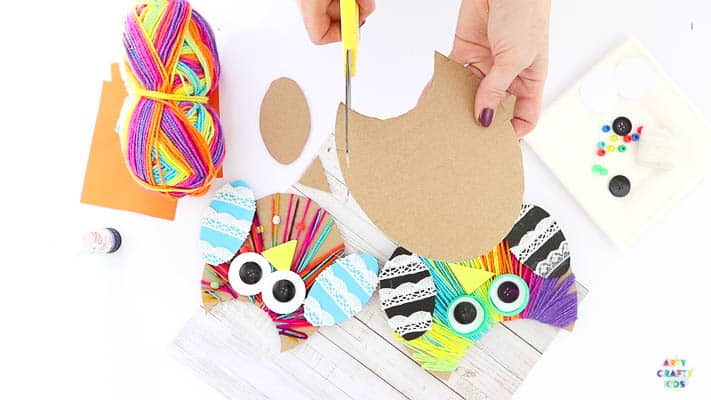
Indent the Card for Yarn Wrapping
Step 3: Cut a number of small cuts along the edges of the cardboard body.
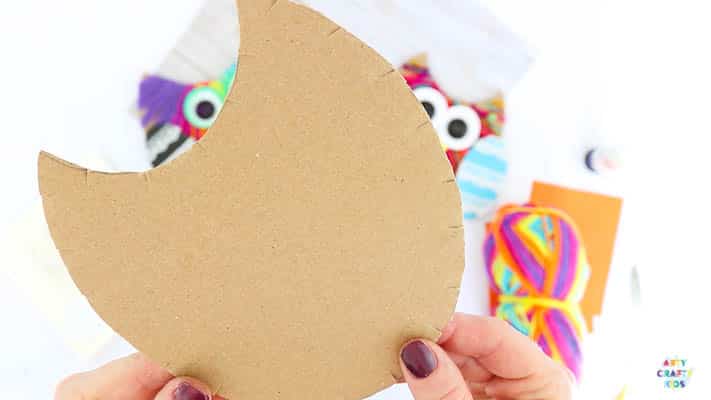
Step 4: Work around the entire body.
For older children, leave about a thumbs distance between each slit.
Younger children may benefit from more defined (longer ) and fewer slits.
For best results, encourage the Arty Crafty Kids to cut their own and decide for themselves!
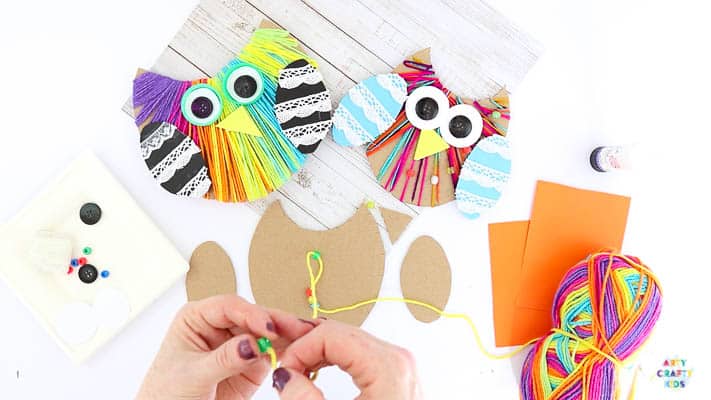
Thread some Beads
Step 5 (optional): This step works best with fine yarn and pony beads or beads with large threading holes.
Without cutting the yarn from the ball, thread the beads. Not cutting the yarn will add some weight to the strand, keeping it and make (should) the process of threading and wrapping easier – it will also stop the beads from falling off the other end!
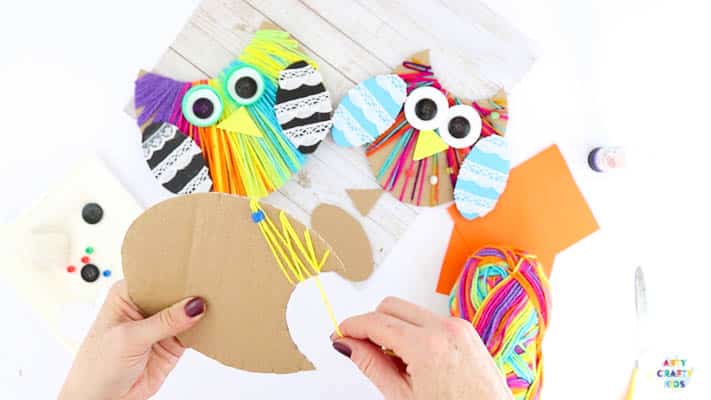
Wrap the Yarn
Step 6: Start from one of the owls ears and thread the end of the yarn strand through one slit and then across the cardboard to an opposite cut.
Wrap the yarn around the cardboard to join the starting point.
Repeat this process, working around the owl, threading from one slit to an opposite and wrap around the back.
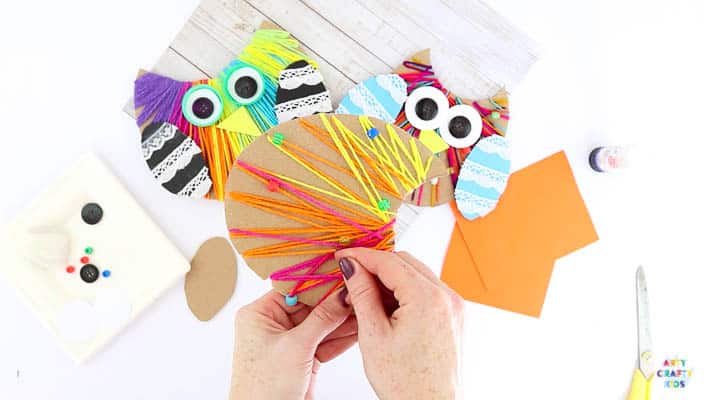
Step 7: Continue wrapping the yarn around the body and occasionally, manoeuvre a bead to the front of the owl.
Once the owl is wrapped in yarn, cut the yarn from the ball and secure the end to another thread at the back of the owl’s body.
Variations in Yarn Wrapping
Once your Arty Crafty Kids feel comfortable with the process of yarn wrapping, they can get creative with the ‘how to’.
Here’s a few ideas:
- They can create compact wraps and cover all the cardboard.
- Experiment with cris-crossing the threads. Rather than thread opposite to opposite, they can move up one or two slits and then go back on themselves to create something similar to the image above.
- Stick with opposites but spread them out. Grab some coloured paper or ribbon and then weave between the threads.
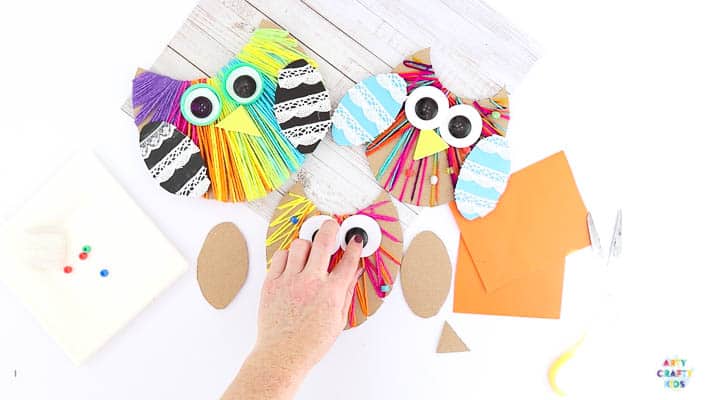
Add a Pair of Eyes
Step 8: Glue the large white circles to the template and add two large buttons to their centres.
This step can be adapted to suit the materials you have to hand. If you don’t have buttons, use a black pen/crayon. Alternatively, reduce the size of the circles and place them inside a bottle. This will give the eyes more emphasis.
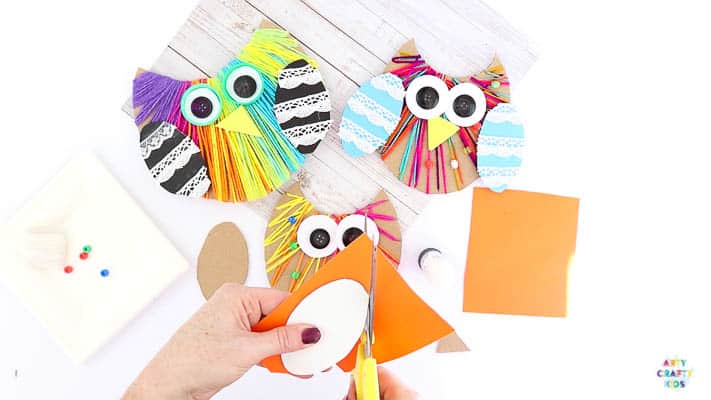
Add a Pair of Wings
Step 9: Glue some coloured scrap paper to the wing cut outs and trim to shape.
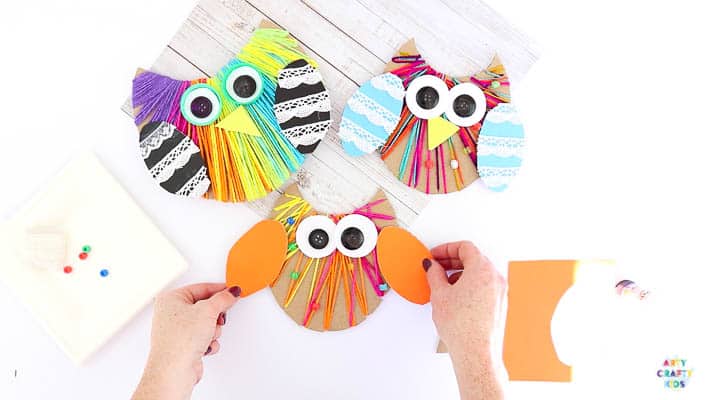
As a variation, children can simply colour in the template wings!
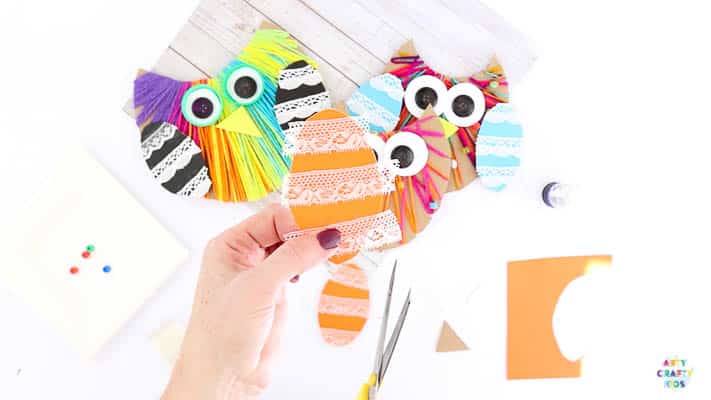
Decorate the Owls Wings
Step 10: Here we’ve added some scrap lace to our wings. If you don’t have lace, decorate the wings with materials you do have!
Here’s a few decorative suggestions:
- Buttons
- Ribbons
- Sequins
- Fingerprints
- Bubble Wrap Prints
- Splats
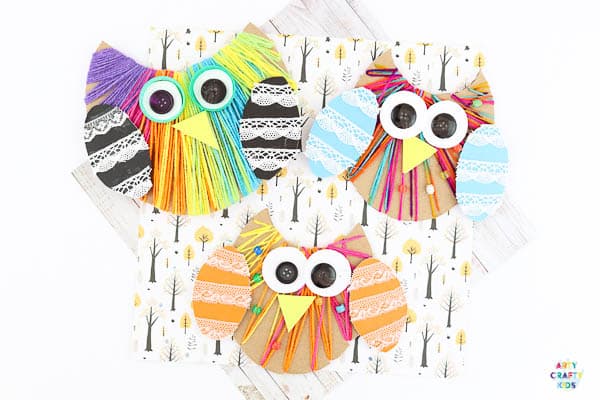
Add a Beak to Complete the
Yarn Wrapped Owl Craft!
Step 11: Finish of the Yarn Wrapped Owl Craft with a yellow beak!
More Creative Owl Crafts for Kids:
Toilet Paper Roll Owl
With the nights drawing in and the air becoming cooler, the toilet paper roll owls are an ideal Autumn craft for kick-starting the season and use materials you’re likely to already have within the recycling bin and craft box.
https://www.artycraftykids.com/craft/toilet-paper-roll-owls/
Black Glue Owl Art
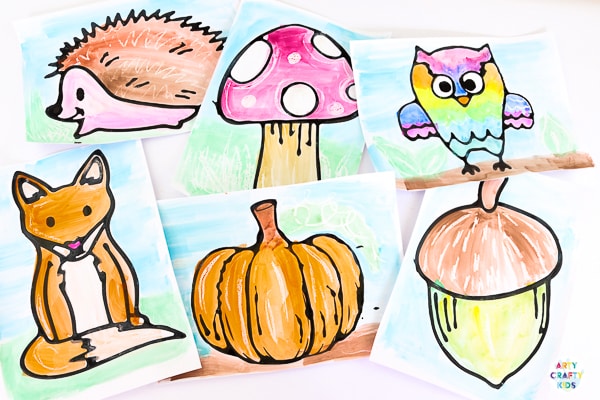
Bobble Head Owl Craft
Bobble Head Owl Craft – Colourful, fun and interactive, this is an Autumn craft that kids will love!
https://www.artycraftykids.com/craft/bobble-head-owl-craft/
With its handprint wings, the craft doubles up as a gorgeous seasonal keepsake.
Happy Crafting!
