Sharing is caring!
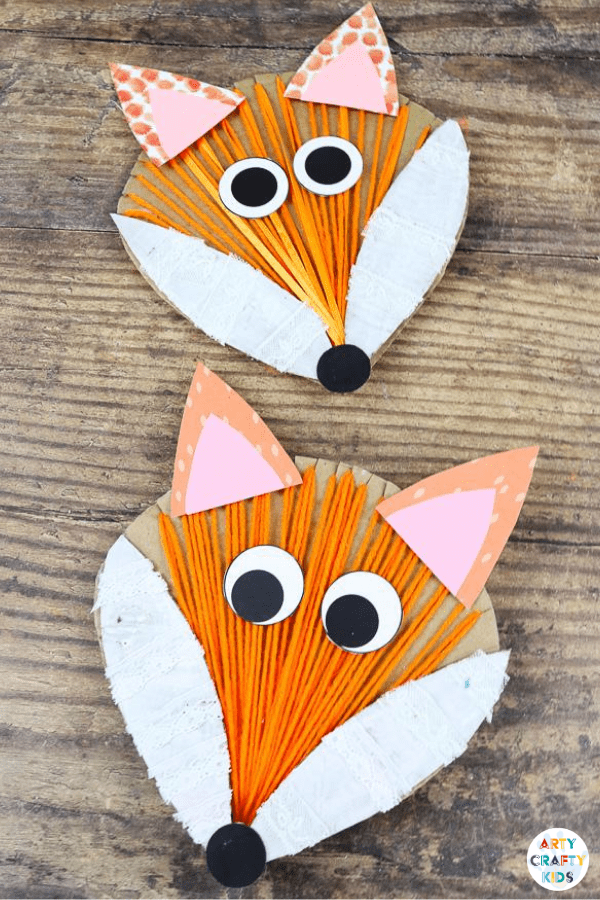
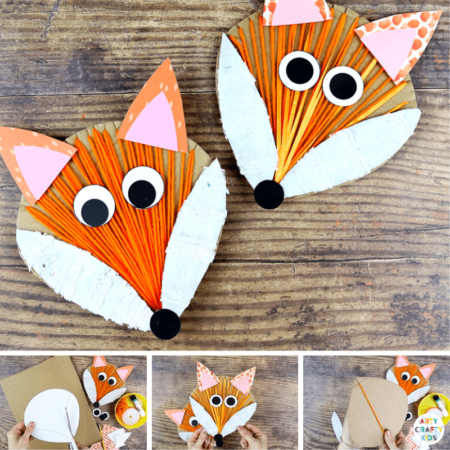
School has (finally?!) started again. If you’re looking for a simple and interactive craft to help ease pre-schoolers or school early years children back into the swing of things, then this lovely yarn wrapped fox craft is for you.
Incorporating drawing, cutting, painting, gluing and threading, it’s a wonderful refresher for those all important fine motor skills. The engaging and tactile craft can be used to support school learning topics, or perhaps as a mask for a forest animals inspired performance at home?
You could even combine it with our yarn wrapped bird craft and encourage children to create their own little woodland creatures display.
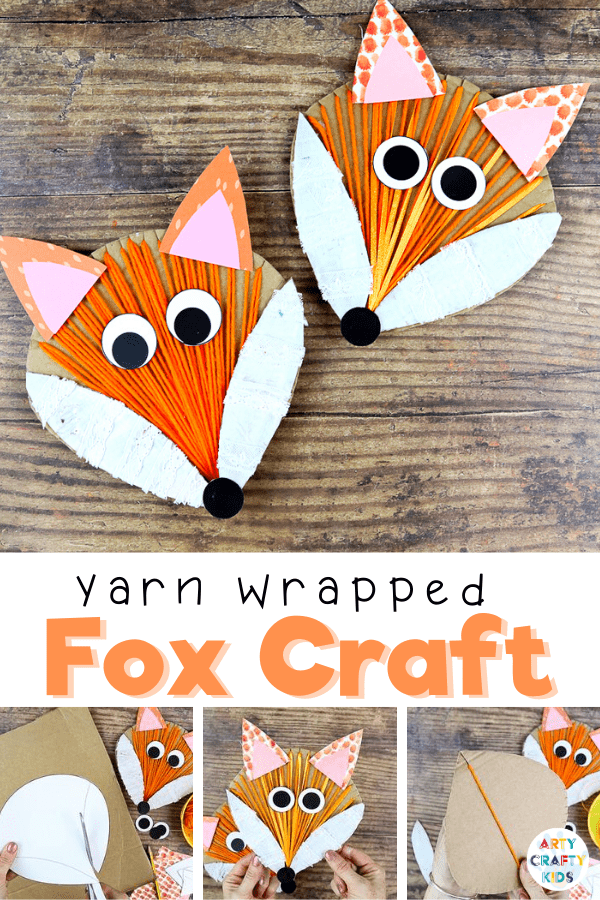
How to Make a Yarn Wrapped Fox Craft:
Supplies:
Scrap Cardboard (an old Amazon is perfect)
White Paper or Cardstock for Printing
Yarn or Ribbon
Scrap Paper ( Patterned/Colored)
White Paint
Gluestick or PVA Glue
Pencil
Scissors
Download the Fox Template:
The Fox Template is available to members of the Arty Crafty Kids Club. Join the members area to access our complete online library of art and craft templates.
Members can access the template here (remember to login!): https://www.artycraftykids.com/product/yarn-wrapped-fox/
Members will need to log in to access the templates!
Not A Member?
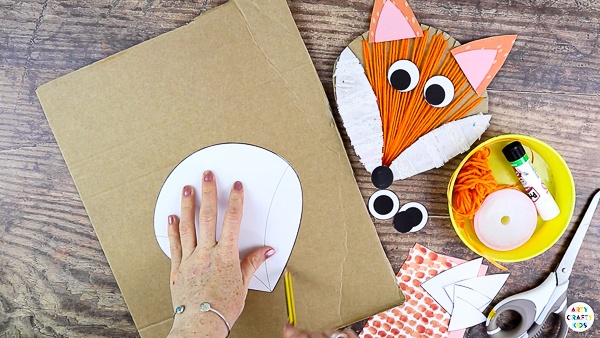
Cut out the Fox Elements & Trace
Carefully cut out all of the fox elements from the template, then draw around the head onto thick brown cardboard.
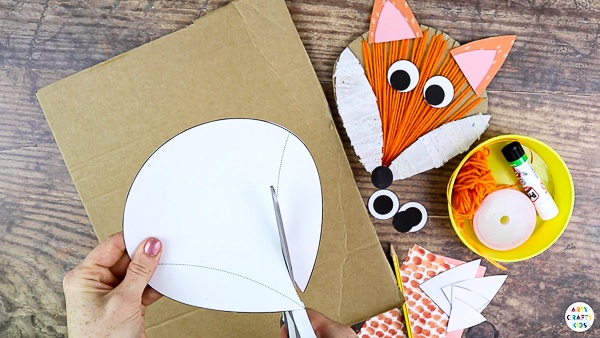
Remove the Cheeks, Trace & Cut
Then, cut the cheeks from the paper template, and draw around those on thick brown cardboard too.
Finally, cut out the head and cheeks – take your time though, this kind of thick brown card is a little trickier to cut than paper or thin cardstock.
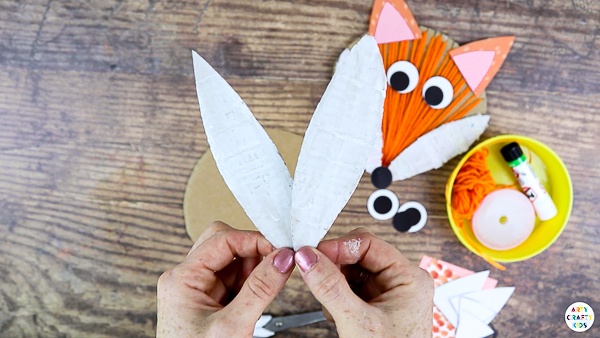
Paint the Cheeks White
Paint the cheeks white so they look nice and fluffy – they may need two coats of paint to fully cover the card.
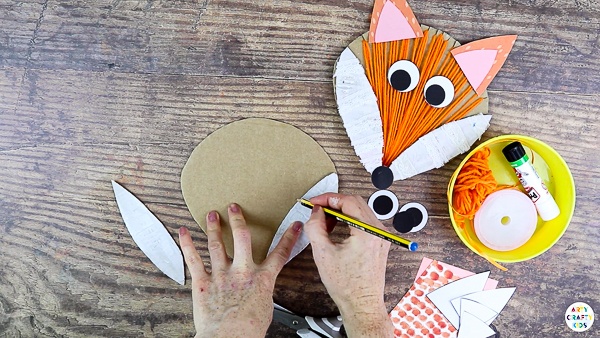
Position and Trace
Place the cheeks back in their original position on the head and draw around them lightly in pencil. This will help to create markers for the slits and yarn.
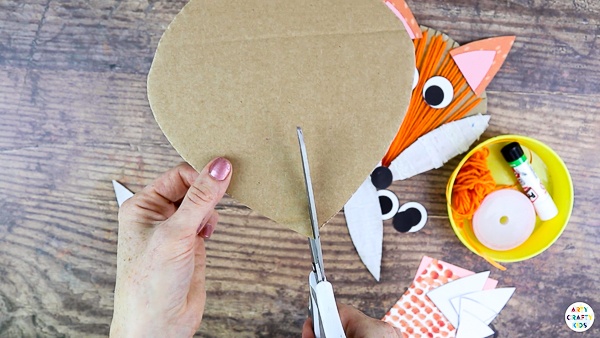
Cut in One Large Slit
Now to make the slits. Start with a large one at the bottom of the head.
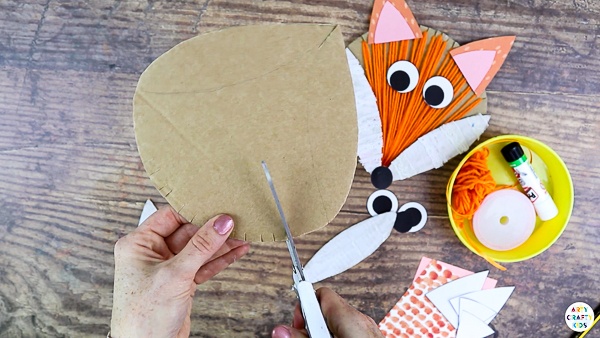
Add Smaller Slits to the Head Area
Then snip smaller slits, about a centimeter apart, all around the head, stopping at the pencil line you drew for each cheek.
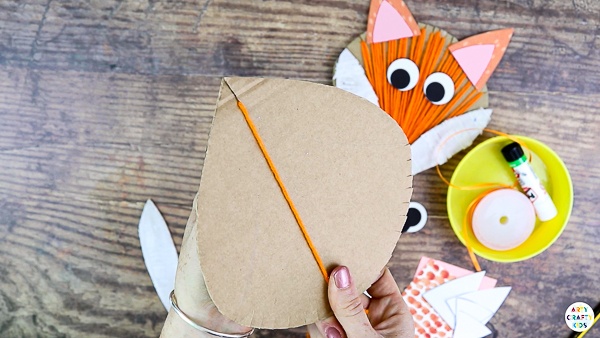
Begin Wrapping the Yarn
Secure one end of the yarn in the larger slit at the bottom of the head and start wrapping.
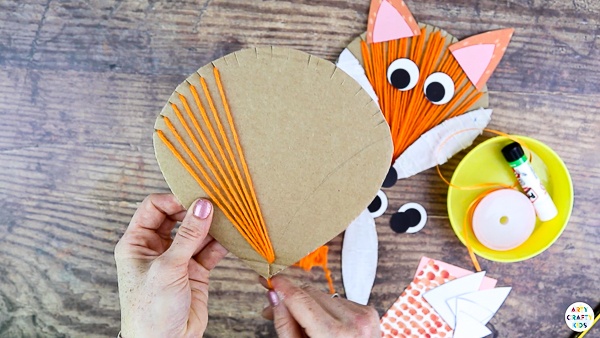
Continue wrapping the yarn all around the head – we want our fox to have a full coat of fur! If you can, try and get all of the yarn in the same direction, it’ll make your finished fox even more impactful.
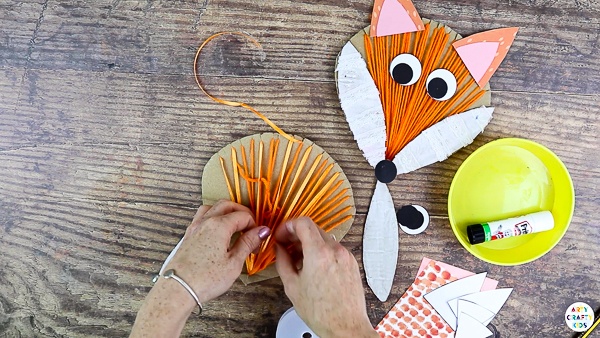
Secure the Yarn
Once you’ve wrapped all the way around, secure the loose end of the yarn by tying a small knot and tucking it inside.
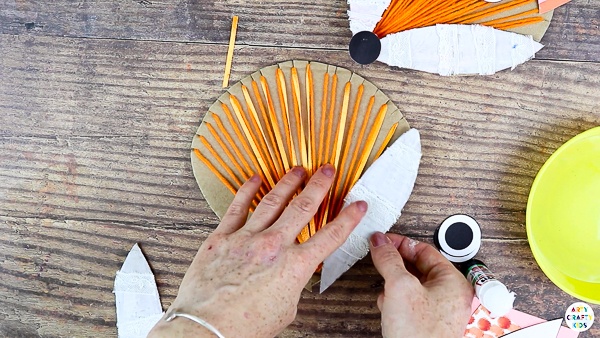
Secure the Cheeks
Now glue the painted cheeks back into position on the head.
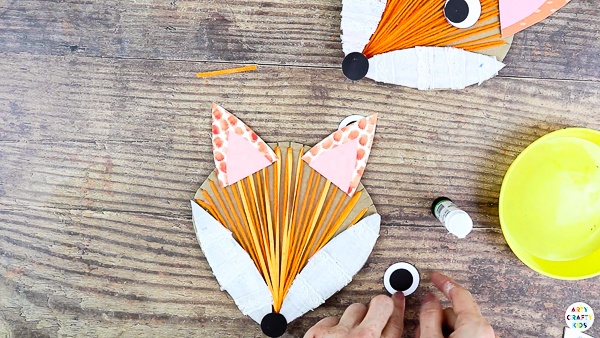
Add Facial Elements
Pop a cute black nose at the bottom of the fox’s head (and the bonus is that it covers the join to!), some big wide eyes and two proud pointy ears. Don’t forget to decorate them for that extra bit of foxy personality.
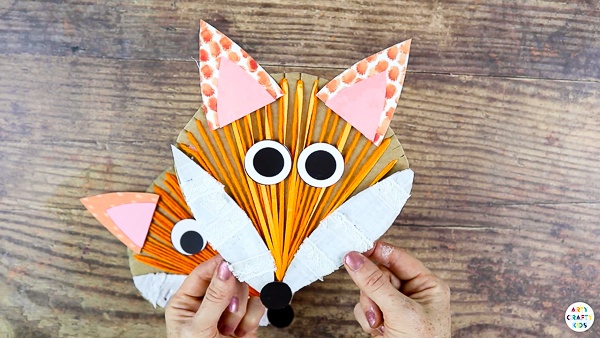
The Yarn Wrapped Fox Craft is Complete
Have fun playing with your furry, friendly, adventurous fox!
More Fox Crafts for Kids:
Moving Eyes Fox Craft:
Whether they’re learning about the sly fox who ate the gingerbread man, or reading the weird and wonderful Fantastic Mr Fox, this is a simple and playful paper craft that will really engage and capture little imaginations.
https://www.artycraftykids.com/craft/moving-eye-fox-craft/
Paper Roll Fox Craft
Make this adorable Toilet Paper Roll Fox Craft with the kids today with materials you’re likely to already have in the recycling bin and craft box.
https://www.artycraftykids.com/craft/toilet-paper-roll-fox-craft/
Happy Crafting!
