Sharing is caring!
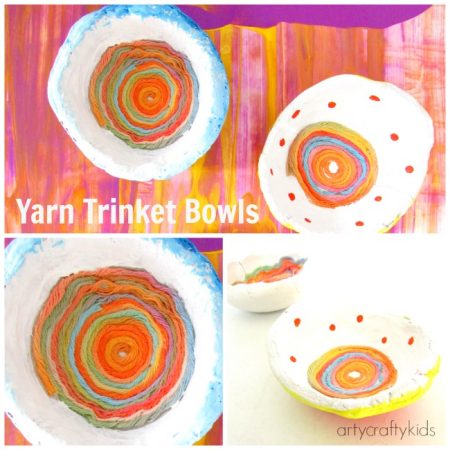
These Yarn Trinket Bowls are our quirkiest craft to date.
And you’re going to LOVE how they came to be….
During a clay modelling session, my toddler abruptly ran off in mid-flow and returned with a toy wooden hammer in one hand and some scrap yarn in the other.
You can imagine my surprise when she started pounding the yarn into the clay!
As the bashing of the yarn and clay continued, one thing led to another and I started playing with the yarn.
Between myself and the girls, we came up with this yarn trinket bowl and I adore everything about it!
I love the childish irregular shapes. The imperfections, the central yarn swirl and their quirky appearance.
They really are just a bit of fun and realistically, they’re ideal for older children or tweens.
With some support, they’re do-able with younger kids, although they may prefer my toddlers technique!
MATERIALS: Yarn Trinket Bowls
This post contains affiliate links
Please see the disclosure statement for more info
Air Dry Clay (US Link / UK Link ) – The product we used is one of the easiest air dry products we’ve ever used!
Multi-coloured Yarn (US Link / UK Link )
PVA Glue (US Link / UK Link )
Acrylic Paint (US Link / UK Link )
A Tea Spoon
A Small Ball
A Small Bowl
Rolling Pin
Knife
Cling Film/Cling Wrap
An Egg Cup or something to support a round object
Let’s Make It!
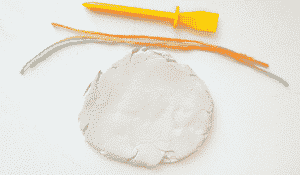
Cut 1/4 of your 500g of clay and knead it with your hands to soften.
Roll the clay into ball and roll it into a flat round shape with approx 1cm depth.
Cut a few short strands of yarn (about 10cm).
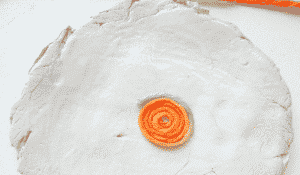
Using a small amount of PVA glue, lightly cover the clay surface – this will hold the yarn in place as you begin to swirl it around itself.
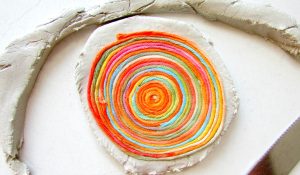
Try to find the central point of your clay surface and begin swirling the yarn around itself.
To avoid any gaps, adjust the yarns positioning with your finger tip as the yarn is lowered.
Add another strand of yarn starting from the finishing point of the last strand and continue in a circular motion.
I found it much easier to work with shorter strands of yarn rather than one long continuous piece. It quite simply gives you more control and you’re less likely to get into a messy muddle!
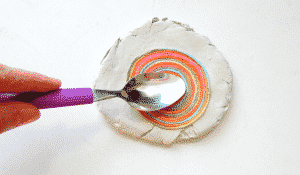
Once you’re happy with the yarn centre, gently push it into the clay using a metal spoon.
TIP: If the yarn sticks to the spoon, push the spoon down firmly into the clay and slide it off – this should prevent any disruption to the yarn pattern.
Remove the excess clay and smooth the edges with your finger.
Give the yarn some time to dry before moving onto the next step (max 15min).
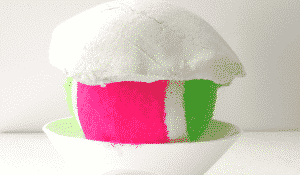
Shape the clay around the bowl and carefully remove straight away!
As discovered through trial and error, the yarn is more likely to stick to the ball if left to dry on the ball.
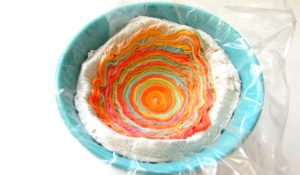
Line a small bowl with some cling film and place the yarn trinket bowl inside.
Leave to dry in a warm place for 24hrs. Depending on the thickness of your clay, it may take longer
Once the clay is firm to touch from the inside, remove the yarn trinket bowl from the bowl, turn it upside down and remove the cling film.
If necessary, leave to dry until the remainder of the bowl is firm to touch.
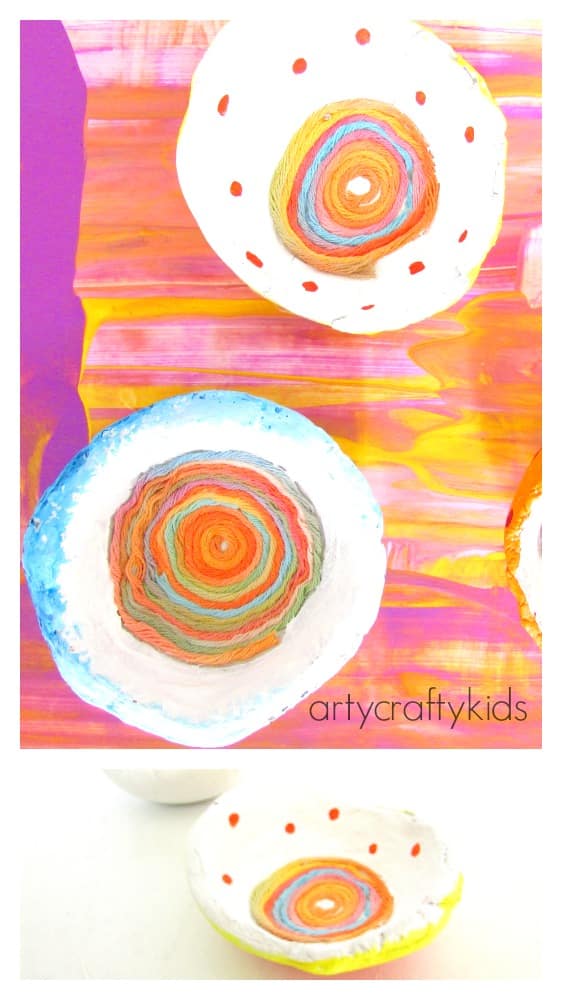
Once the yarn trinket bowl is completely dry, it’s time to get the acrylic paints out!
TIP: As you can see from the above picture, the outer swirls of the yarn frayed near the edge of the yarn trinket bowl. For future bowls, I think less is more and the yarn should be contained to what will be the bottom of the bowl. This will prevent it getting bent out of shape!
And that’s how you make Yarn Trinket Bowls !
I hope you love them as much as I do!
I have a feeling my kids will be making a few as Christmas gifts to the grandparents this year.
Next, I would love to try this concept with the buttons – What do you think, will it work?
SIGN UP and join the Arty Crafty Kids Club to receive our latest updates!

