Sharing is caring!
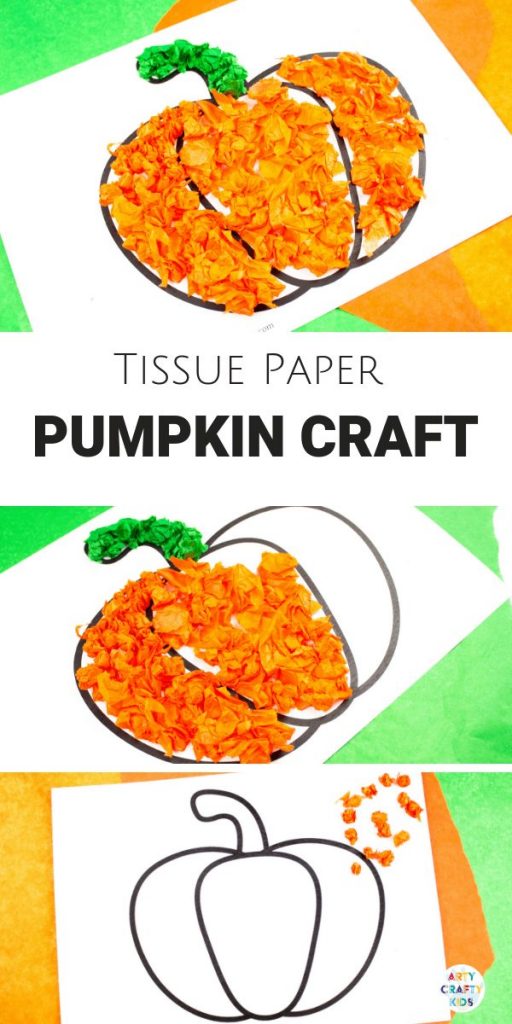
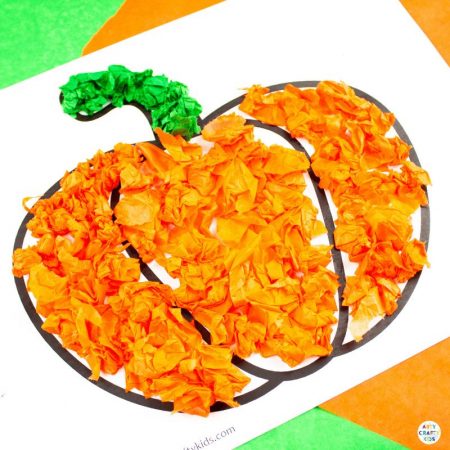
This Tissue Paper Pumpkin Craft has been designed with preschoolers and very young children in mind. The process of tearing, scrunching, rolling and sticking is wonderful for fine motor skills (or dexterity).
Fine motor skills refer to the coordination of small muscles within the hands, wrists and fingers that are essential for picking objects up and writing.
Crafts that involve a simple and repetitive process, such as our cute little pumpkin craft, give those fine motor skills a fabulous workout.
Tissue Paper Pumpkin Craft: Materials
Green and Orange Tissue Paper
PVA Glue
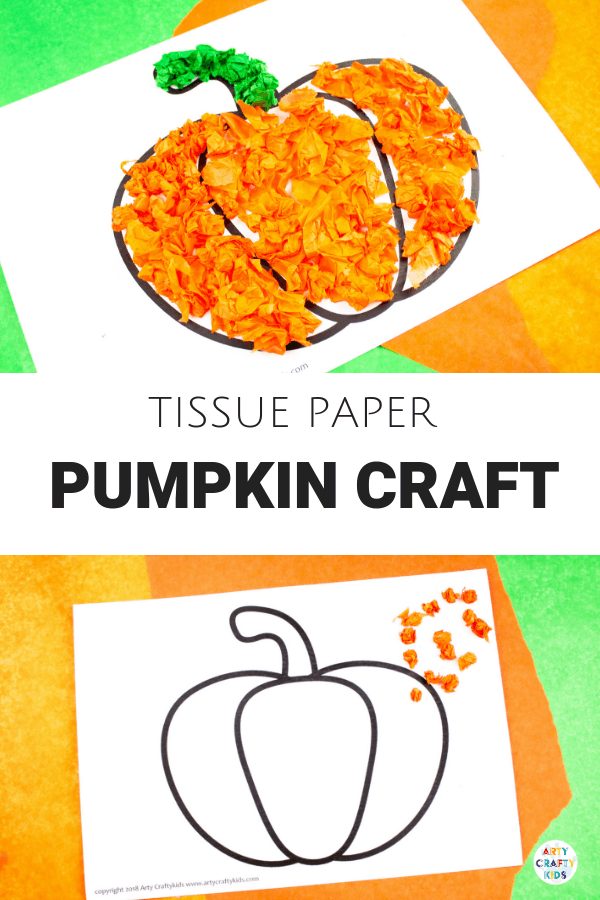
Pumpkin Template –
This pumpkin template is part of our exclusive content found within the
Arty Crafty Kids members area.
What’s the in the Arty Crafty Kids Members Area:
- Art and Craft Template
- Colouring Pages
- Silhouettes
- Animal and Shape Outlines
- How to Draw guides and Drawing Prompts
Tissue Paper Pumpkin Craft: Tutorial
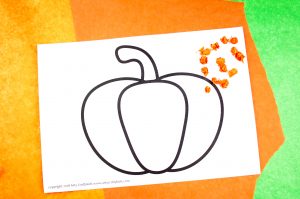
Step 1: Download the template from our members’ area or create your own.
Print the template on to good quality paper or white cardstock. Preschoolers are often generous with their glue application. Cardstock tends to be much better at absorbing the excess and prevents the craft turning into a soggy mess!
[fruitful_btn link=”https://www.artycraftykids.com/arty-crafty-kids-club/” size=”large”]JOIN HERE[/fruitful_btn]
Begin tearing tissue paper and rolling/scrunching into balls.
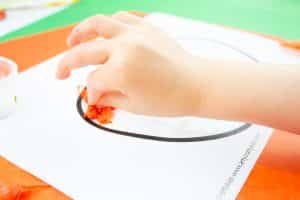
Step 2: Coat a section of the template in a thin layer of PVA glue (liquid form or glue stick) and stick the balls of tissue paper within the pumpkin template.
The size of the tissue paper balls is wholly dependent on your preschooler. They may like teeny tiny balls or big open scrunchy ones – both options are perfect!
Notice from the picture the use of the pincer grip. Without even thinking about it, your infants and preschoolers will be strengthening their little muscles and improving their coordination throughout the craft.
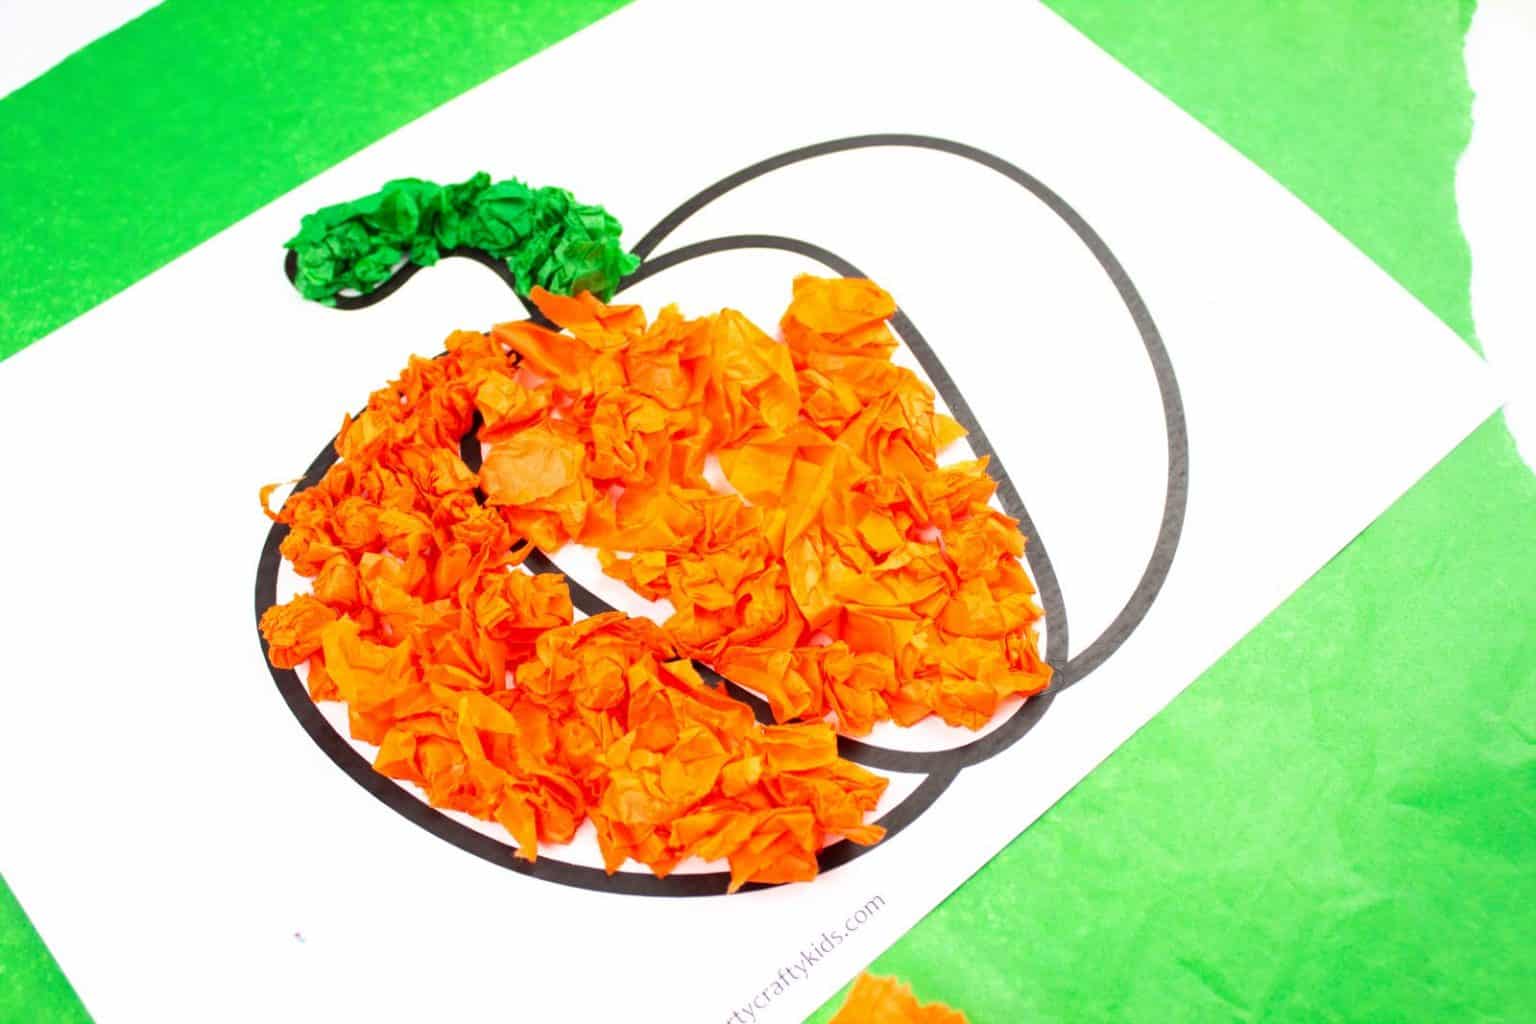
Step 3: Continue filling the pumpkin with tissue paper.
Encourage your Arty Crafty Kids to follow the lines of the pumpkin template and fill the white space by placing the tissue paper balls as closley together as possible. This is great for hand-eye coordination!
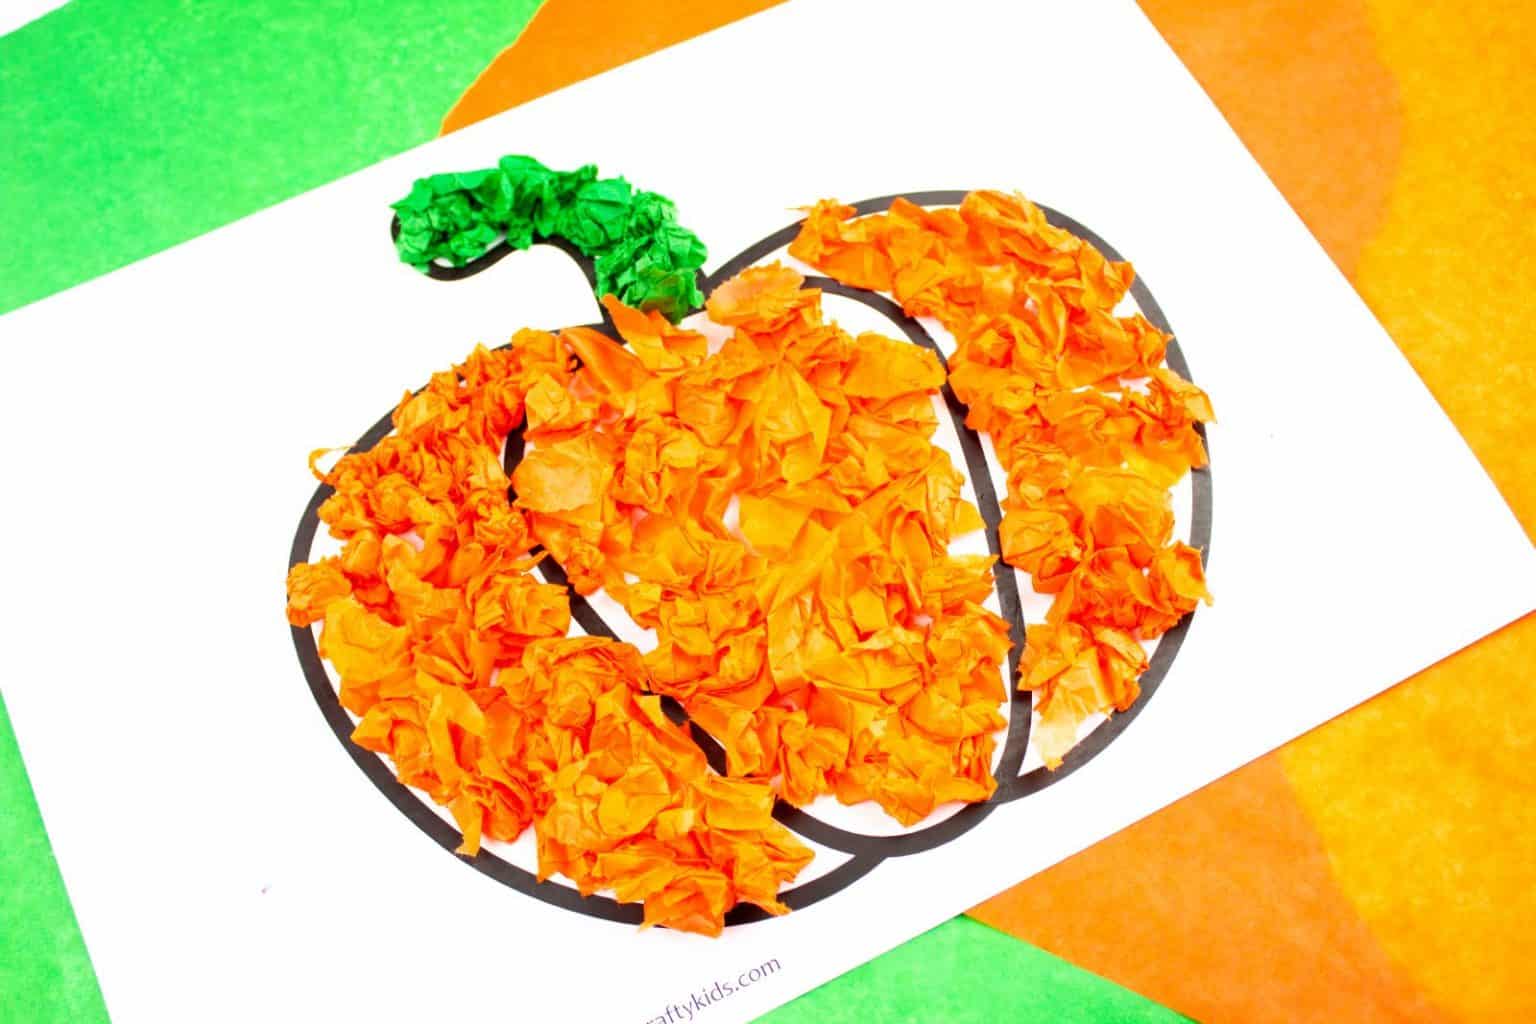
Step 4: Keep going until the pumpkin is completely full!
OPTIONS:
We love to give our Arty Crafty Kids choice and filling the pumpkin template with tissue paper is just one option!
Here are a few extra ideas:
- For older children, take the magazine challenge! This involves using the paper from one magazine and filling the template with torn paper. This adds texture to the finished piece and Arty Crafty Kids use their creativity repurposing prints and images to create art. Example: Butterfly Collage
- Sticking to a collage theme, perhaps paint the pumpkin template in its appropriate colours first and ask your Arty Crafty Kids to find matching coloured items (buttons, sequins, tissue paper etc) to fill the pumpkin.
These ideas can be applied to many of the templates on offer within the Arty Crafty Kids members area and can be downloaded as many times as you like!
For more Autumn inspiration, check out these following posts:
Pin for Later!
