Sharing is caring!
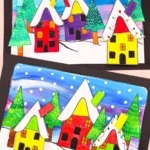
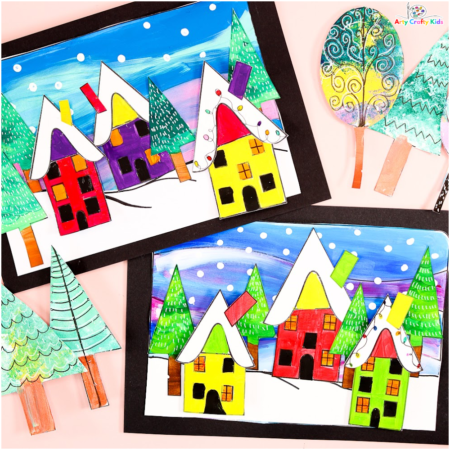
As we’re readying our homes for the Christmas season, this Snowy Winter Wonderland Art and Craft Idea is a lovely project to try for both the build up to Christmas and during the midst of Winter.
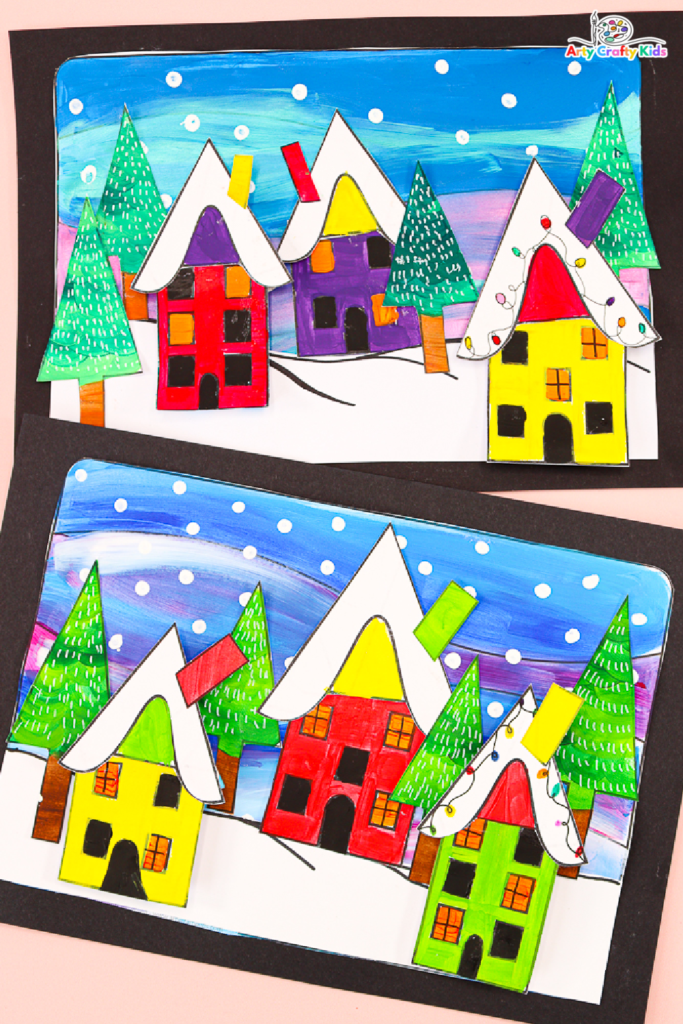
This is a fun and dynamic wintery project that encourages kids’ to experiment with color, printing, doodling, cutting, sticking and 3D effects to create a gorgeous winter landscape.
Our Winter Wonderland scene has all the elements for a fun filled and creative afternoon, and can be adapted to suit children of all ages, from preschool to elementary and beyond!
While on the theme of the Winter, why not combine the wonderland project with our Christmas/Winter Tree Art and How to Draw a Snowy Tree Tutorial.
How to Make the Snowy Winter Town Art and Craft Idea
Materials:
- Card Stock for Printing
- Black Backing Card Stock
- Acrylic Paint
- Paint Brush
- Black Fine Tipped Marker Pen
- White Marker Pen
- Paper Straw (optional)
- Eco Q-Tip
- Glue Stick
- Scissors
Download the Winter Tree Templates:
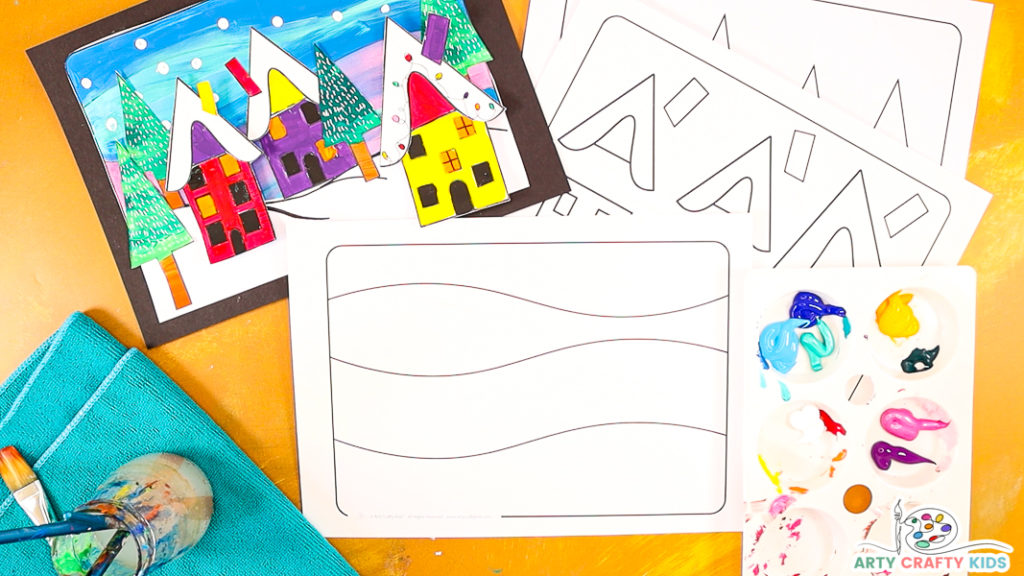
The printable download includes house and tree designs to paint and decorate,
and a Winter backdrop.
The templates are available to members of the Arty Crafty Kids club.
Members will need to log in to access the template: https://www.artycraftykids.com/product/snowy-winter-wonderland-art-craft-templates/
Not a Member?

Watch our Video to Learn How to Craft Snowy Winter Town Art
Let’s Make a Snow Filled Winter Town!
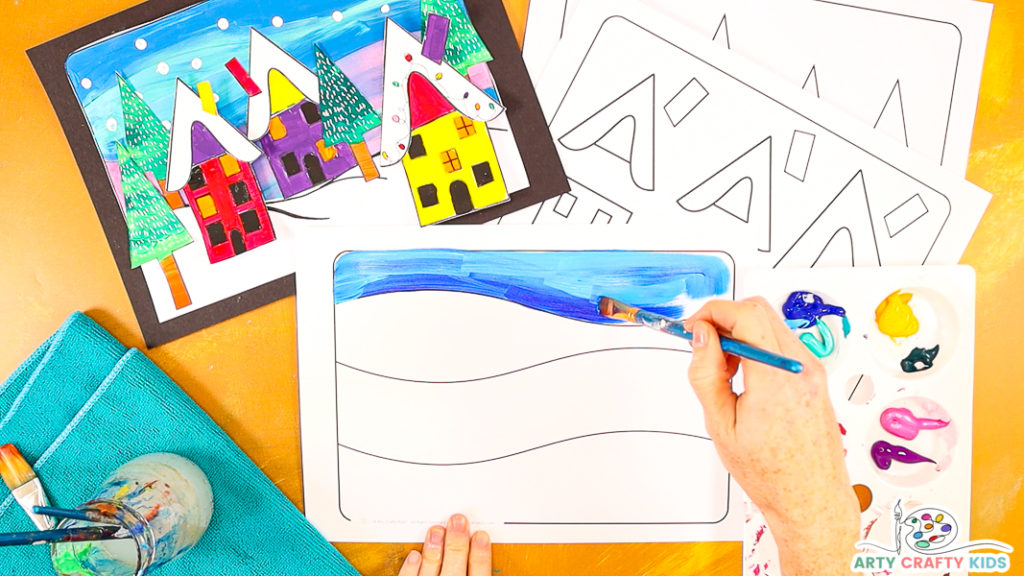
Step 1: Use the Lines within the Template to Paint a Tonal Winter Background
What does tonal mean in art?
In simple terms, “tonal” refers to how light or a dark a color is on the scale of white or black.
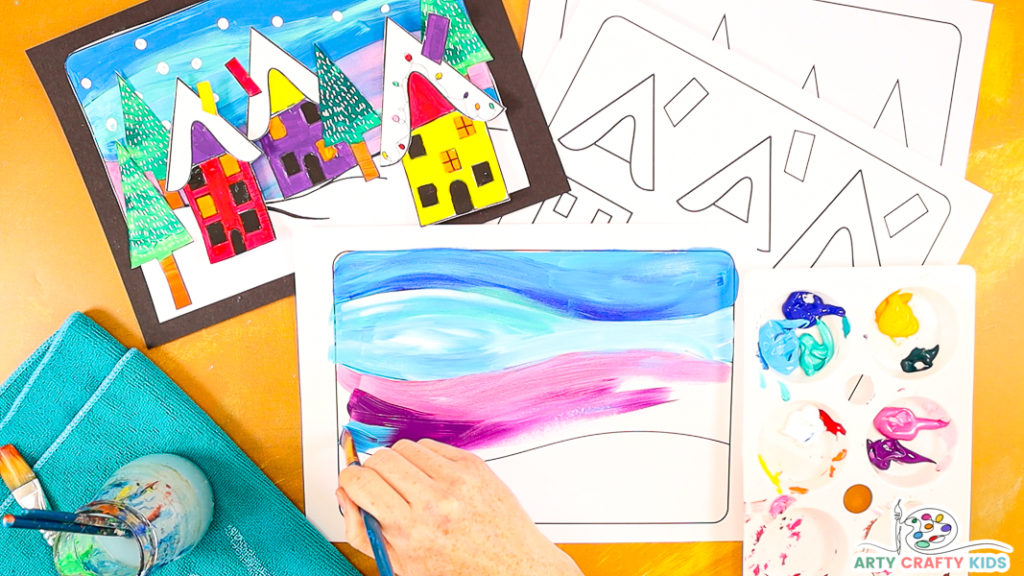
Use the segments within the template to explore different shades of blue, pink and purple; merging light and dark hues of the same color to create the tonal effect.
Colors can be made lighter or darker by added white or black.
How many different shades of one color can your Arty Crafty Kids make?
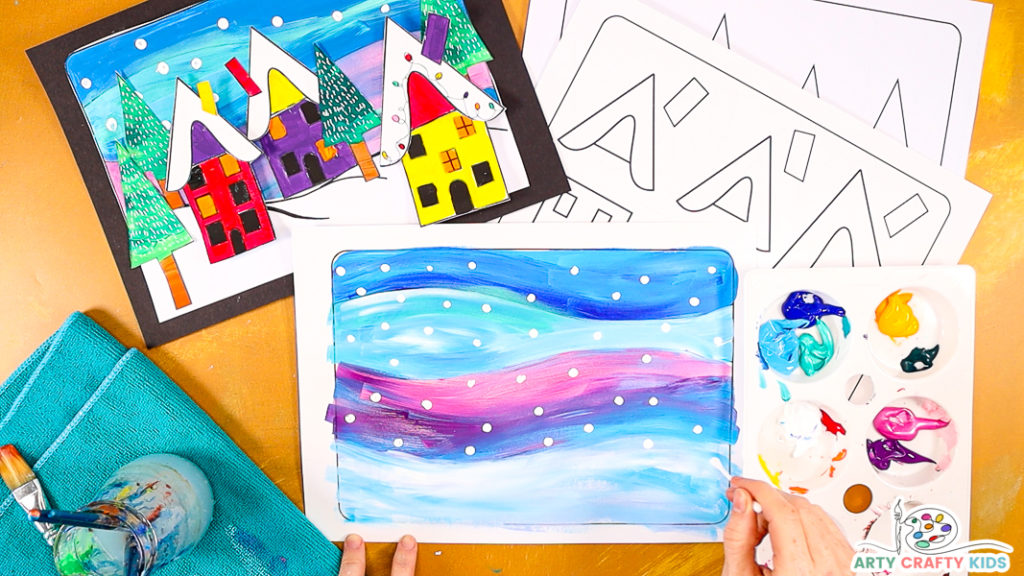
Step 2: Use an Eco Q-Tip to Print Snow Fall
Once the tonal wintery waves are complete, dip an Eco Q-Tip (one made from bamboo or paper) into white paint and print white spots across the sky.
The spots will become snow.
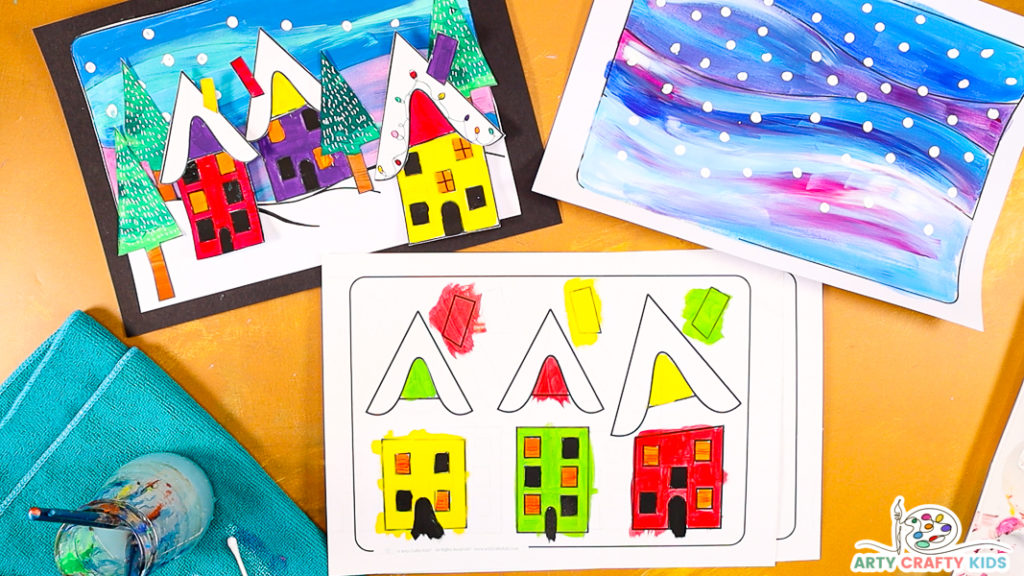
Step 3: Color in and Decorate the House and Tree Templates
Use paint or colored pens/pencils or crayons to color in the town houses.
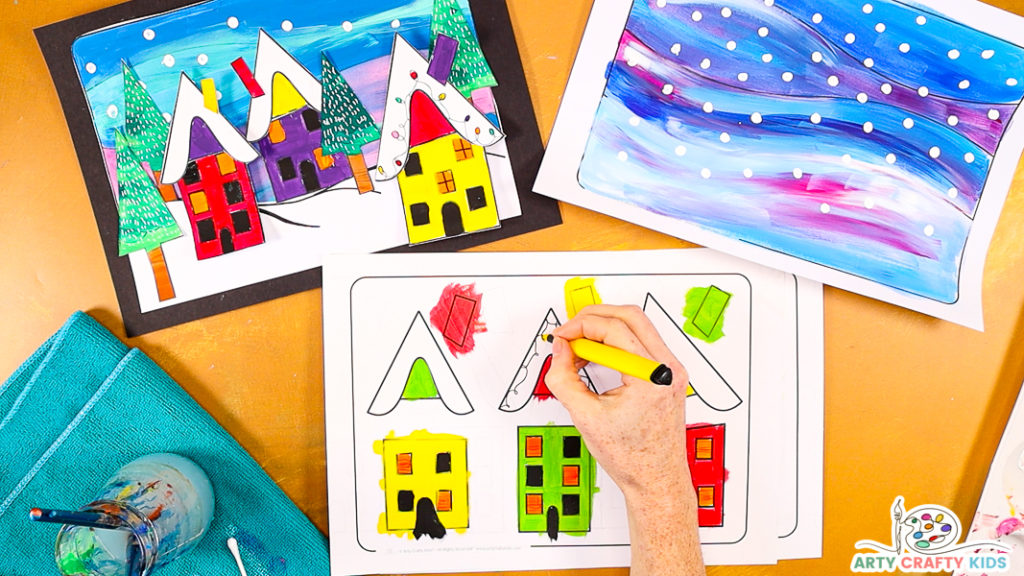
Use a black marker pen and marker pen to draw Christmas lights or any other pattern that takes your Arty Crafty Kids fancy.
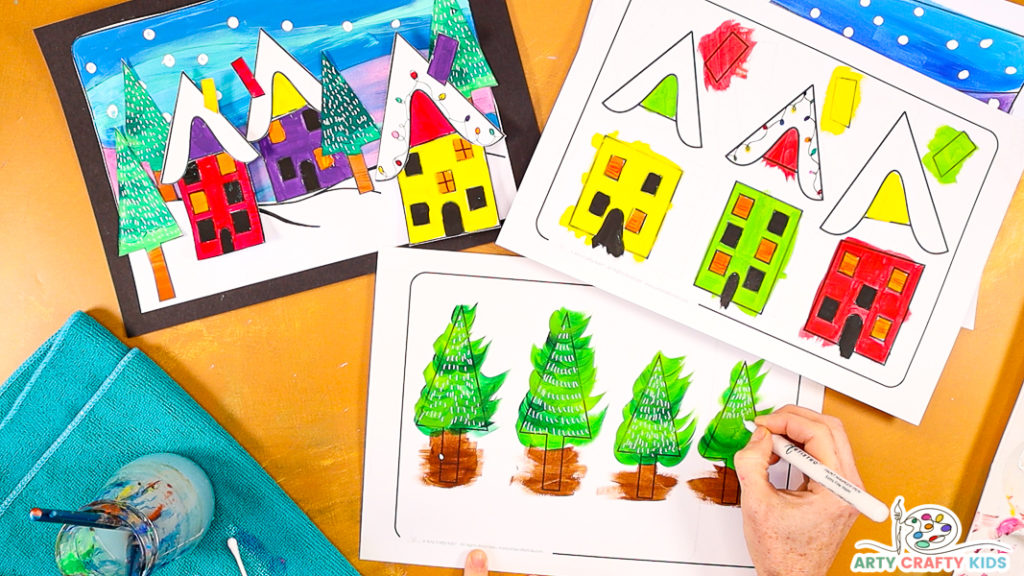
Paint the trees various shades of green with brown trunks.
Once draw, add detail or doodles with a white marker pen.
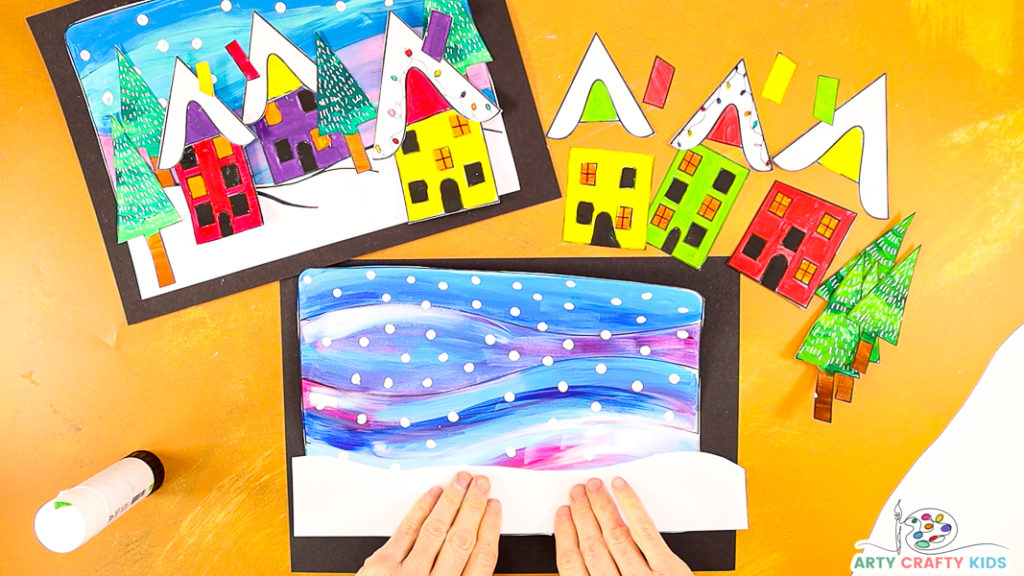
Step 4: Cut out all the Town Elements and Make a Snowy Hilltop
Cut out all the town and tree elements, as well as the Winter backdrop.
Cut out a wide wave from a sheet of paper and glue this to the bottom of the Winter backdrop. This will become a snowy hill for town houses.
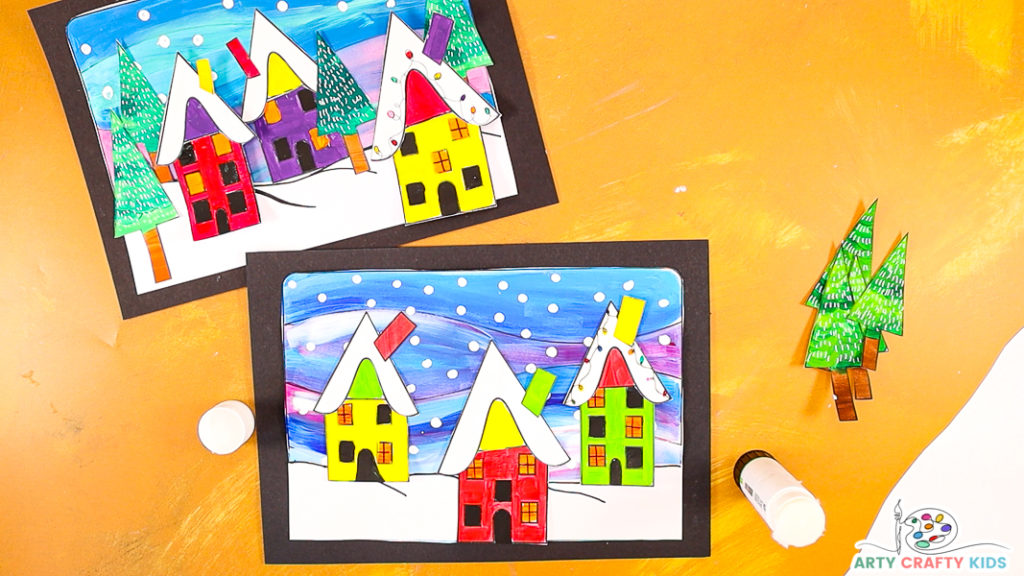
Step 5: Assemble the Town Houses
Assemble the houses, mixing and matching the roof tops.
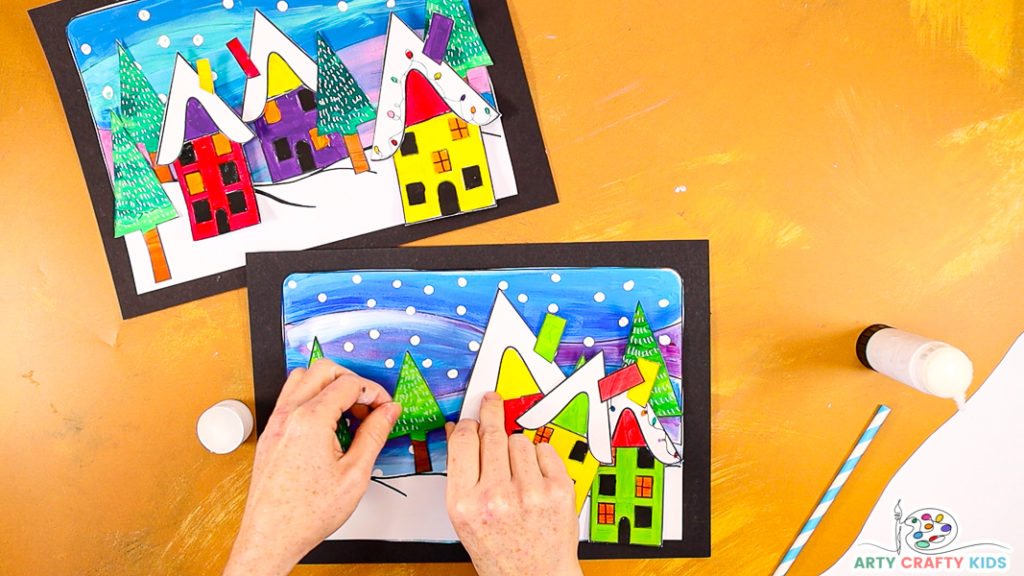
Step 6: Begin Crafting the Winter Scene
Position the elements of the Wonderland onto the backdrop.
Once your Arty Crafty Kids are satisfied with their placement, begin affixing the pieces with glue ( tip: start with the trees!
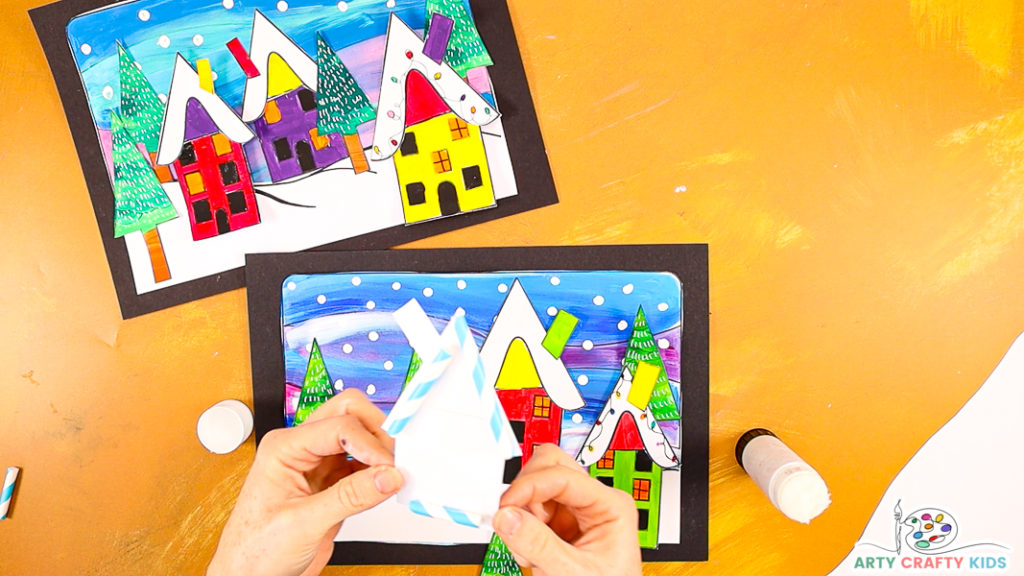
Step 7: Use Straws to Create a 3D Effect
To create a 3D effect, cut up a paper straw into smaller pieces and glue a few to the back of a house.
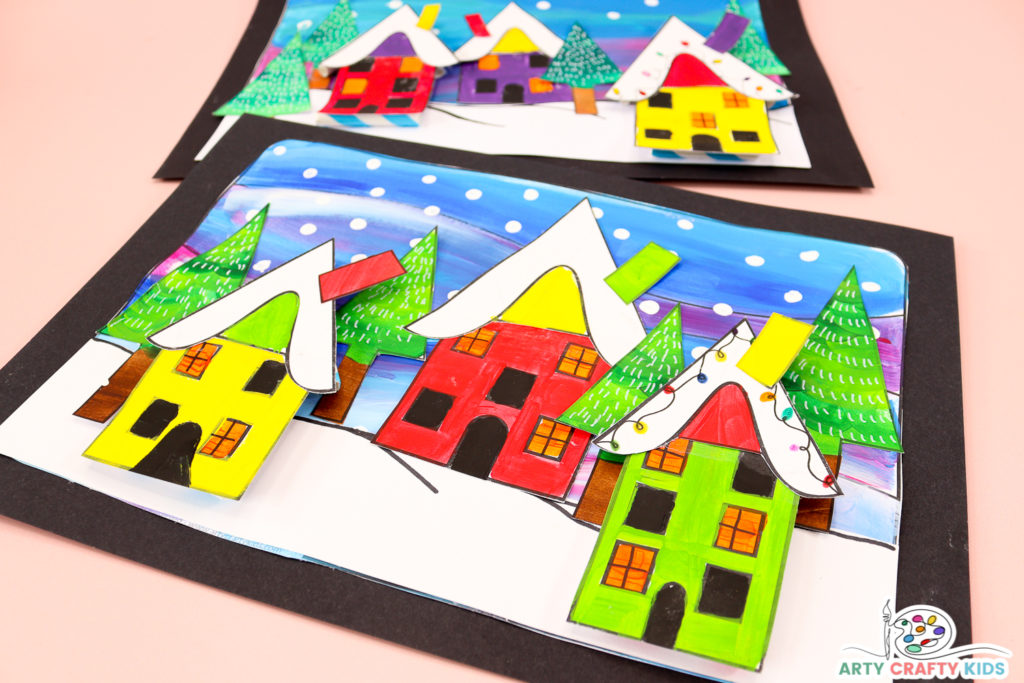
Apply lots of the glue to the newly affixed straws and secure it to the backdrop.
The straw will add a simple lift to some of the trees and add a sense of dimension to the finished art project.
Continue glueing all the pieces until the Winter Wonderland is complete!
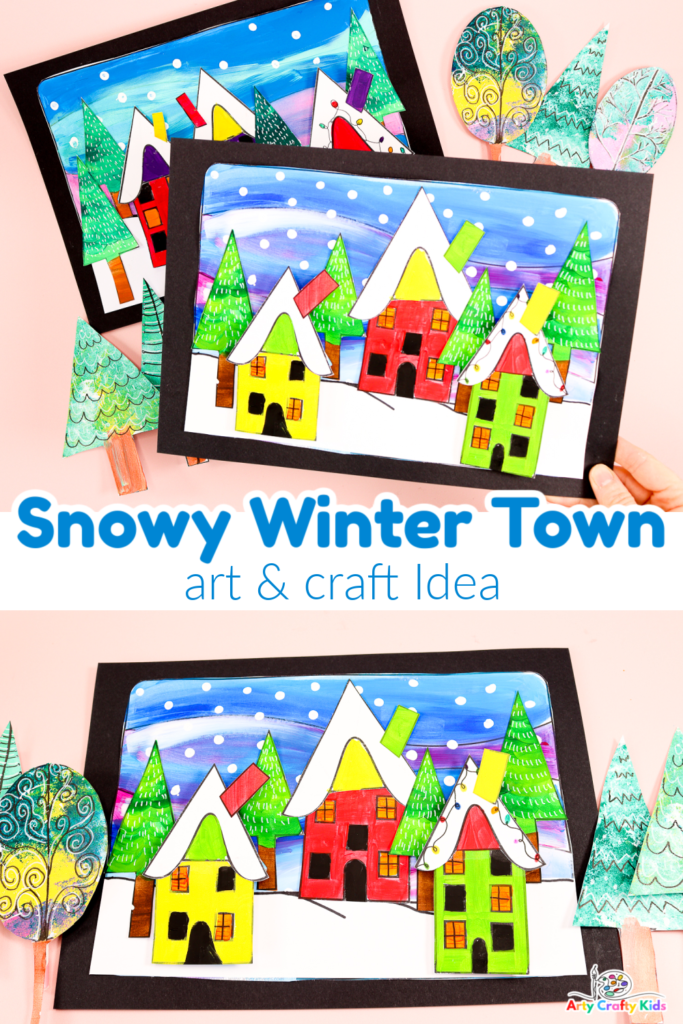
As always, we love to see Arty Crafty Kids’ creativity in action and if you happen to share their completed makes on social media, please do give us a tag or/and use the hashtag #artycraftykids.

