Sharing is caring!
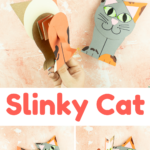
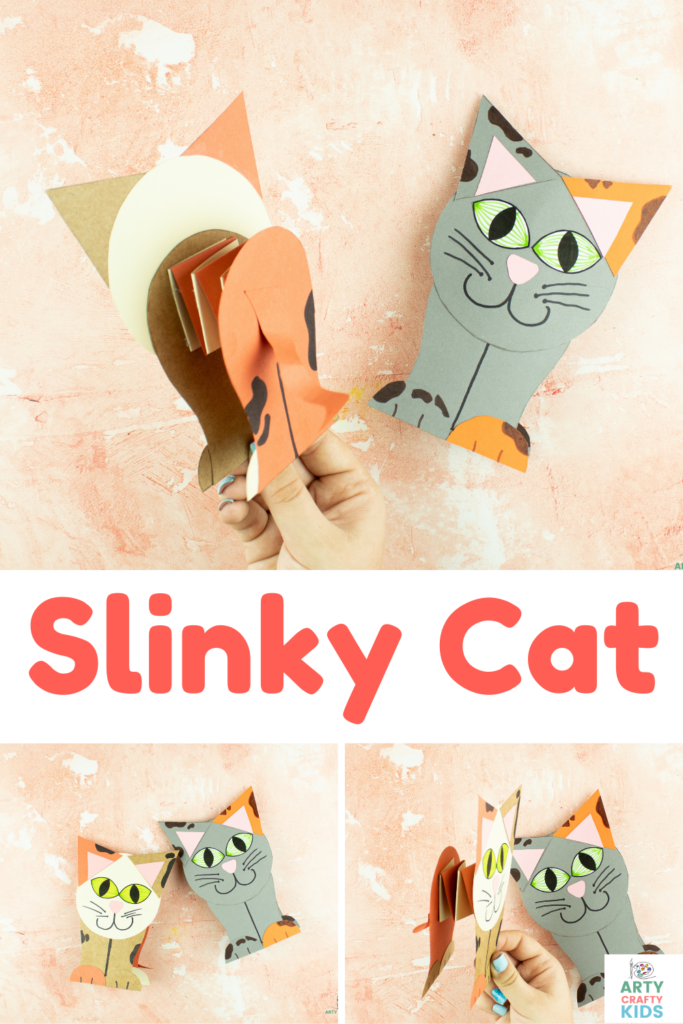
Our playful Slinky Cat Craft is so easy and fun to make, with the cat template giving children the option to create their own feline design in colors and patterns of their choosing. Whether your children prefer cats over dogs or dogs over cats, we have both preferences covered. Our slinky cat craft can made alongside slinky dog, inspiring play with creativity!
Using very simple and easy to cut out shapes, the slinky cat craft encourages children to craft and create independently. This cat craft is especially good for preschoolers who beginning to hone their fine motor skills.
The design element of the craft gives children the opportunity to tap into their creativity. Will they give their cats tabby stripes, tuxedo markings or even rainbow spots? Perhaps children could design their own catty best friend or use their own cat as inspiration.
How to Make the Slinky Cat Craft
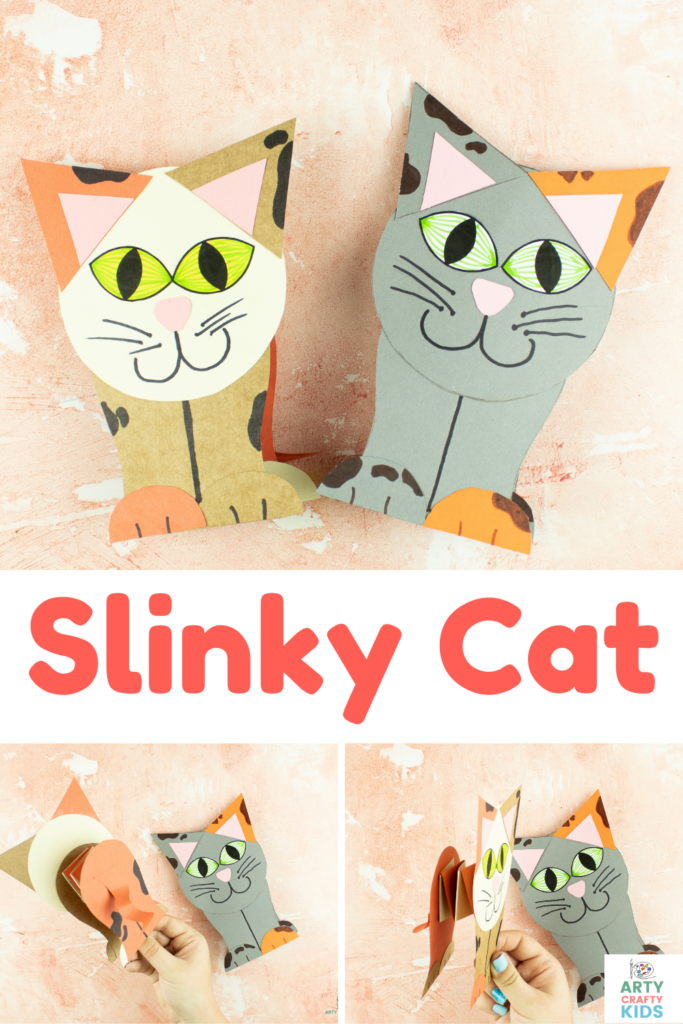
Materials
- Colored Card Stock
- Marker Pens
- Pencil
- Scissors
- Glue Stick
Download the Slinky Cat Template
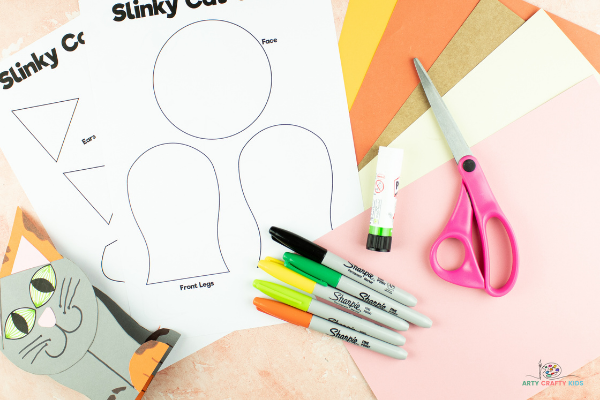
The ‘Slinky Cat’ template is available to members of the Arty Crafty Kids club.
Members will need to log in to access the templates: https://www.artycraftykids.com/product/slinky-cat-template/
Not a Member?
Watch the Step by Step Slink Cat Tutorial
Let’s Make a Slinky Cat Craft!
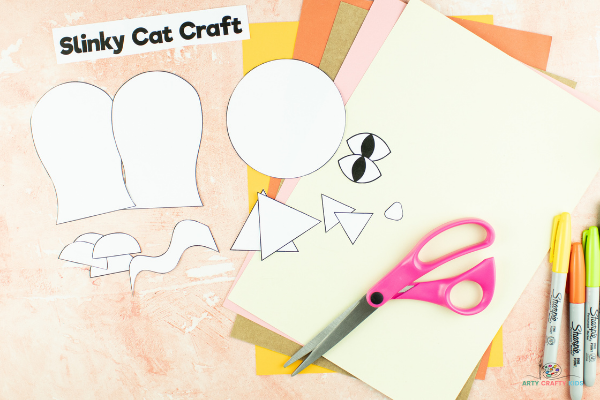
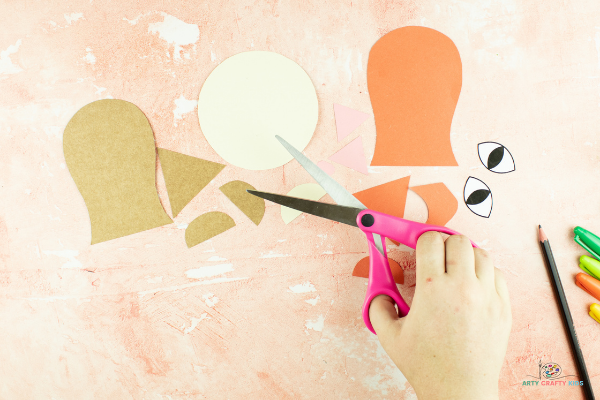
Cut out the Slinky Cat Template Elements
To begin the slinky cat craft, cut out the cat elements from the template and trace onto colored card stock.
Alternatively, children can color in the template in colors and patterns of their choosing. If they choose this option, make sure the template is printed onto white card stock.
Add Some Cute Cat Markings and Assemble the Cat
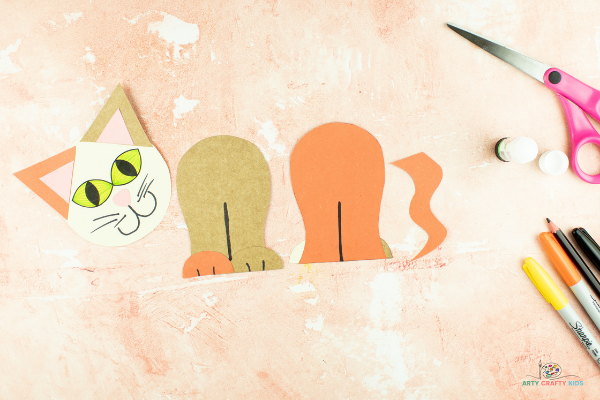
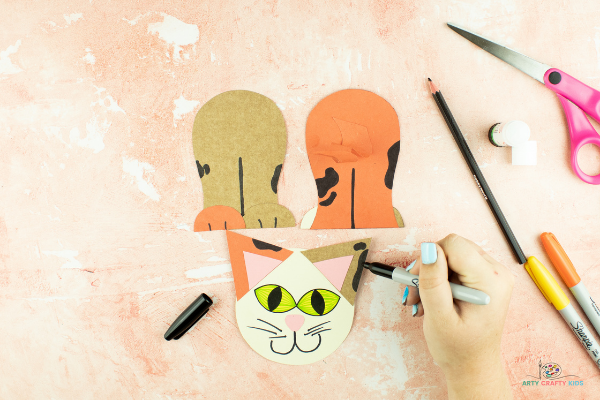
Using colored marker pens, personalise the cat with markings, a line for leg dividers, whiskers and a smiley cat mouth.
Color in the cats eyes and add little lines to the paws to create cat claws.
Assembling the Cat
Layer the triangles to create cat ears and glue the features to the circle shape.
Affix the semi-circles to the feet.
Glue the the tail to the cats back legs and the head to the front legs.
Make an Accordion Fold – Paper Spring/Slinky
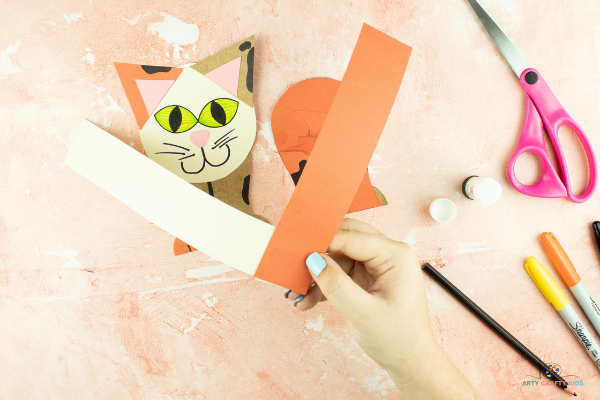
Using scissors or a paper cutter, cut out two even strips of colored paper. Strips of card do give a better bounce but are a bit trickier for kids to fold, so if you give card a go, a bit of adult help might be needed!
To create the right sized strip, we recommend cutting the paper from the shortest side of an A4 piece of paper – or the longest side of a piece of card – and making the strips at least an inch or so wide.
Take the two strips and position them in a 90° angle, like the corner of a picture frame (as shown above), and glue the connecting papers together.
Fold the bottom strip over the top and crease the fold along the edge. This will make the accordion fold nice and tight!
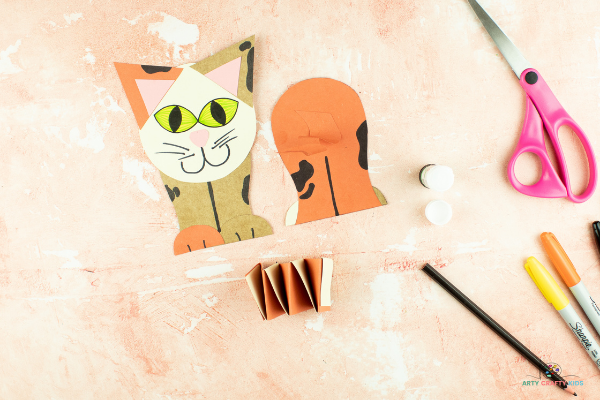
Continue this process, folding the bottom over the top and creasing, until all the paper has been folded up.
Then seal the ends with glue so your accordion fold doesn’t come undone.
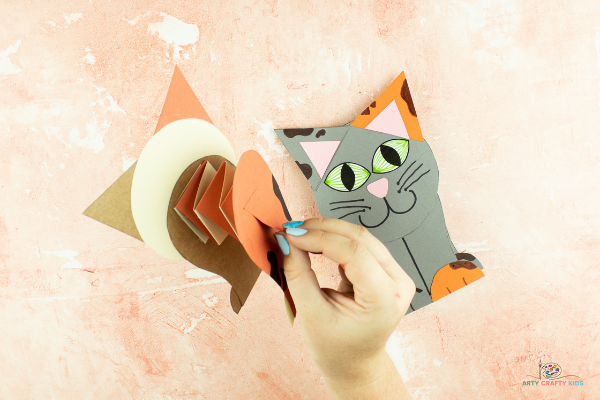
Affix the Slinky to the Cat
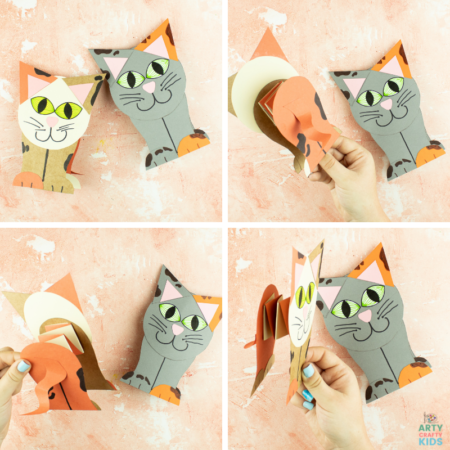
Glue one end of the accordion fold to the front of the slinky cat and other to its back.
The cat’s body will retract and contract to create a wonderful movement that brings the slinky cat craft to life.
To make the slinky cat longer, simply create more springs and attach them to each other.
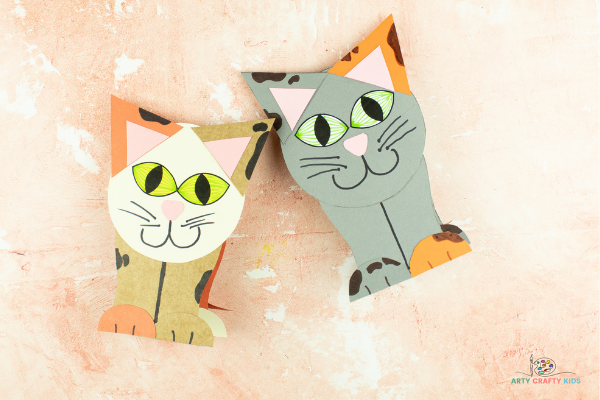
The Slinky Cat Craft is Complete
The slinky cat craft is now complete! I hope your Arty Crafty Kids enjoy making and designing their cats. As always, we love to see their finished creations, so if you happen to share, please do tag us on social media!
If your children would like another cat themed craft to try, take a look at our Newspaper Cool Cat Art and 3D Paper Cat Craft.
