Sharing is caring!
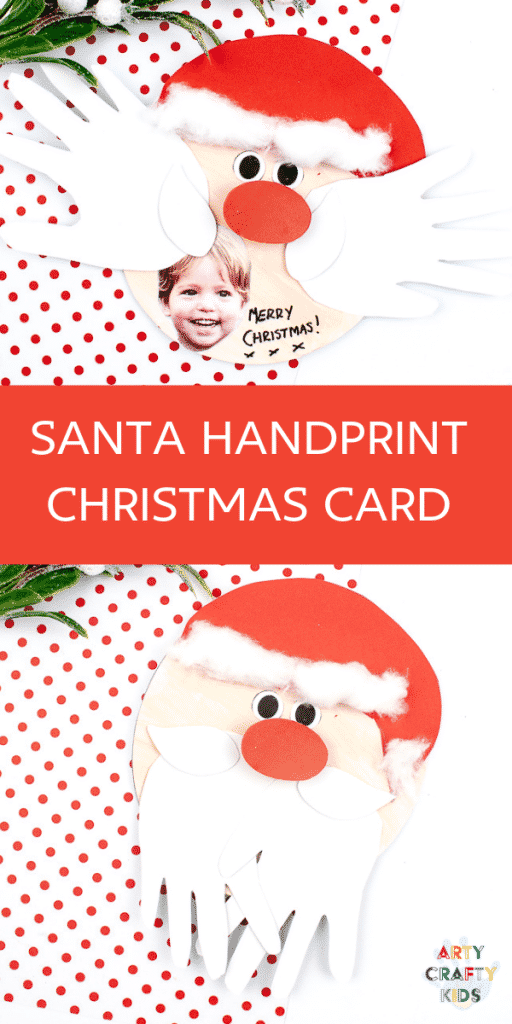
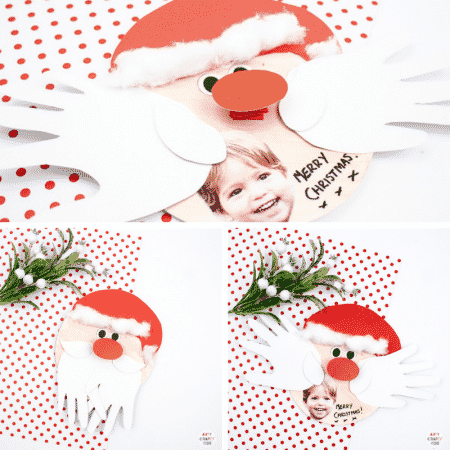
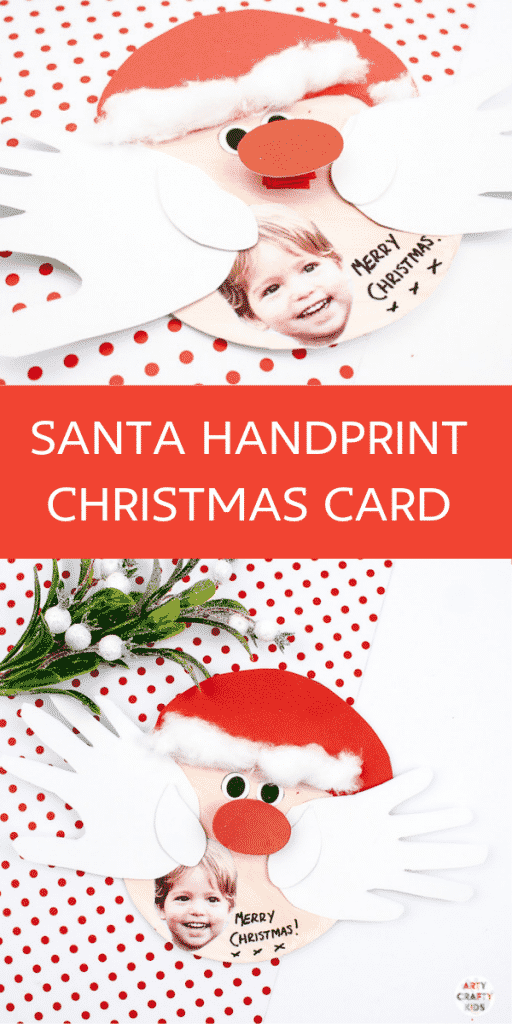
A charming printable Santa Handprint Craft for kids to make and gift to loved ones this Christmas.
Simply open Santa’s handprint beard to reveal your Arty Crafty Kids festive greeting and photo. A gorgeous keepsake craft that will be treasured for years to come.
To get started, download the Santa Handprint Craft printable from the Arty Crafty Kids Club!
Santa Handprint Craft: Materials
White Card Stock x2
Red Card Stock
Red Paper
Paint or Colouring Pencils
Cotton Wool
Black Pen
Photo
Glue Stick
Split Pins (Brads/Paper Fasteners)
Printable Santa Template – This can be accessed via the Arty Crafty Kids Club, where you can also download colouring pages, how-to-draw guides and prompts, art & craft templates and ready made seasonal activity booklets!
Already a member? login HERE
Santa Handprint Craft: Tutorial
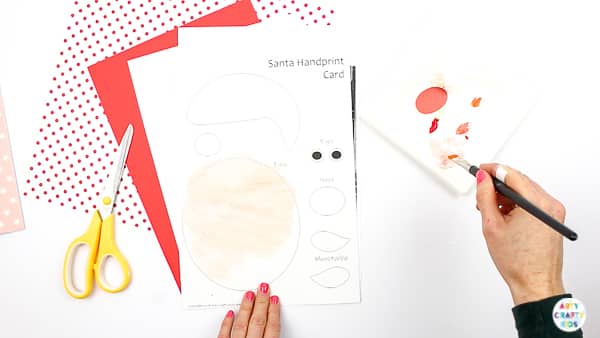
Step 1: Download and print the Santa Handprint Craft template onto white card stock! This can be accessed via the Arty Crafty Kids Club.
Paint the large oval a skin toned colour and leave to thoroughly dry.
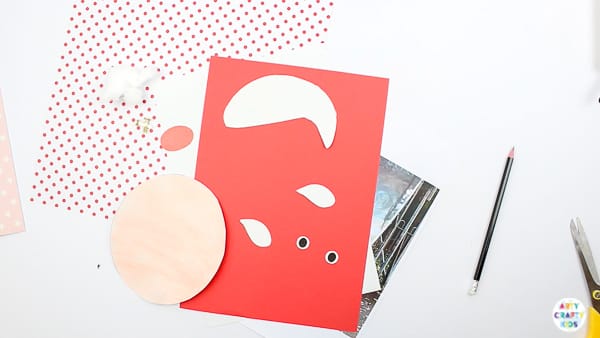
Step 2: Cut out the Santa elements.
Using red paper, trace around Santa’s hat.
Using red card stock, trace around the big red nose!
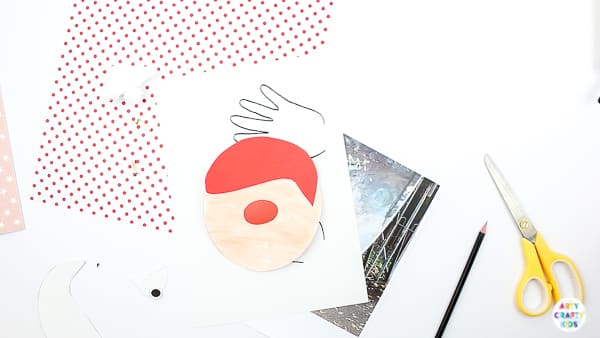
Step 3: Stick Santa’s hat to the top of the oval.
Step 4: The Big Bouncy Red Nose!
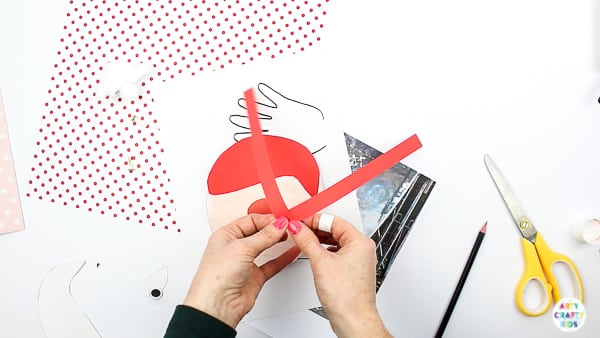
Using scissors or a paper cutter, cut out two even strips of red paper – ideally, the strips will be no more than 1cm wide and for length, I would recommend cutting the paper from the shortest side of an A4 piece of paper.
Take the two strips and position them in a 90° angle as shown above. Glue the connecting papers together.
Simply fold the bottom strip over the top and crease the fold along the edge. This will make the accordion fold tight!
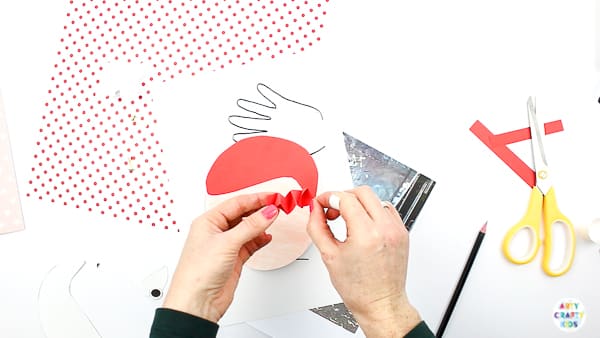
Step 5: Continue alternating the strip folds until you’ve used half of the available paper. Once you’re half way, seal the end with glue and cut off the remaining paper.
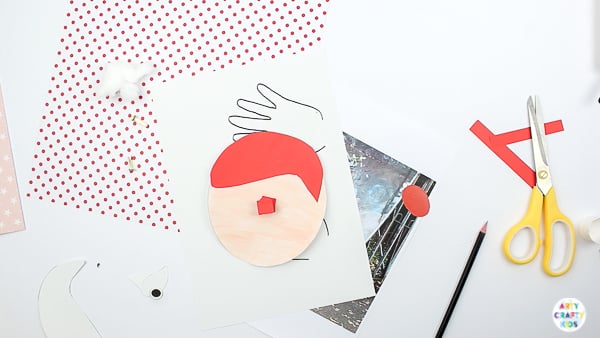
Step 6: Glue the bottom of the accordion fold just below the hat, leaving lots of room at the bottom of the oval.
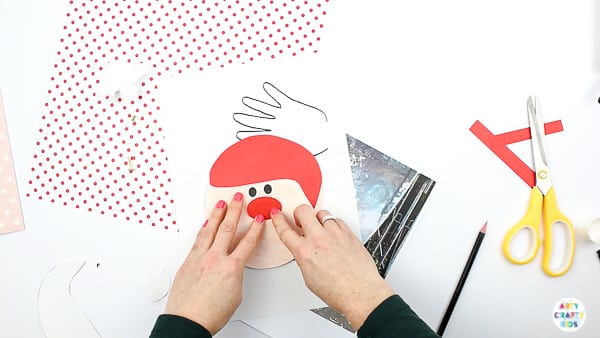
Step 7: Stick the red big nose to the top of the accordion fold. The nose will now stretch and bounce, and will give the handprint beard space to open and close!
Add eyes!
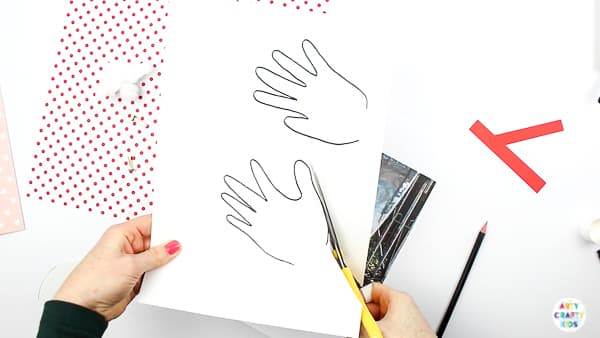
Step 8: Using white card stock, trace around a pair of arty crafty hands and cut out.
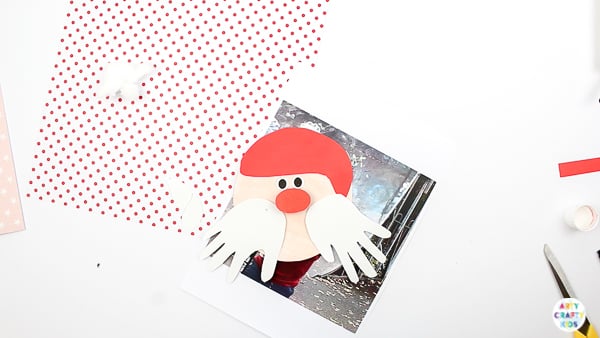
Step 9: Position the hands as shown above.
There needs to be a good amount of space between the hands to allow the photo to fully revealed upon opening.
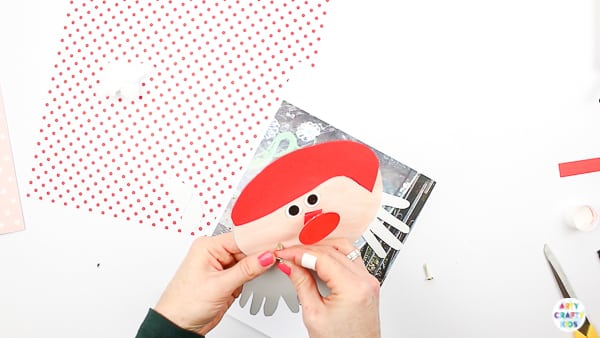
Step 10: Once you’re happy with the positioning of the handprints, secure each handprint with a split pin.
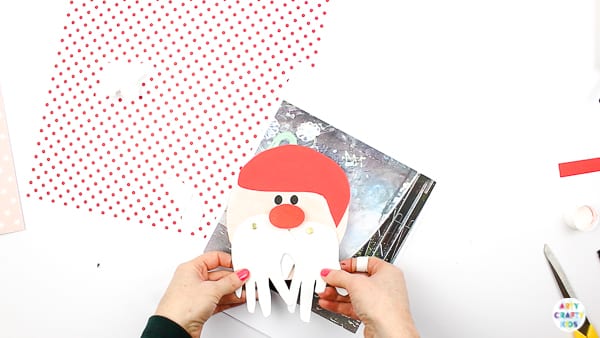
Step 11: Open and close the hands to ensure they move easily.
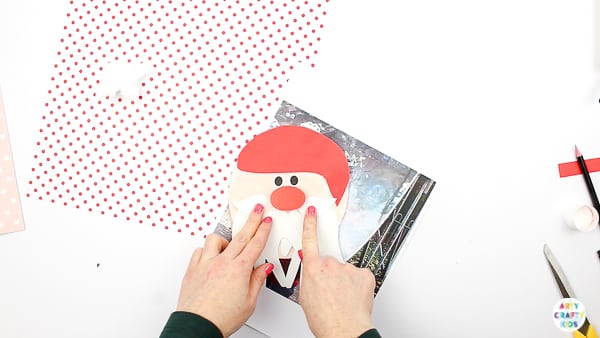
Step 12: Conceal the split pins with Santa’s moustache!
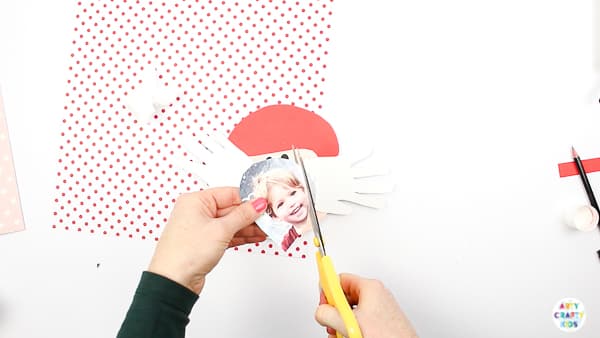
Step 13: Select a photo your Arty Crafty Kid and cut to size.
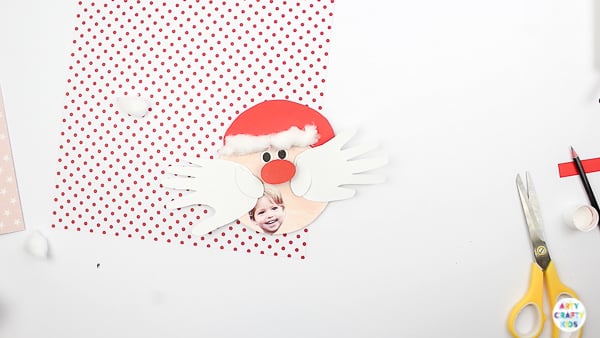
Step 14: Stick the photo between the hands.
Add cotton wool to the Santa’s hat.
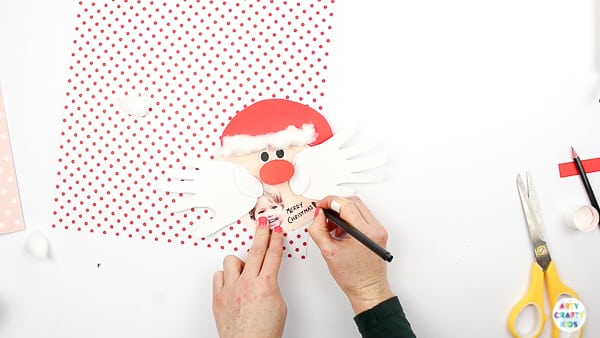
Step 15: Complete the Santa Handprint Craft with a festive message.
And have a very Merry Christmas!
Arty Crafty Kids Club
Perfect for educators and parents!
A choice of hundreds of printable templates to download and enjoy with your Arty Crafty Kids!

For more interaction and engaging Paper Christmas Crafts, check out this seasons most popular:
Melting Snowman (FREE Template)
Fingerprint Christmas Tree Art (FREE Template)
