Sharing is caring!
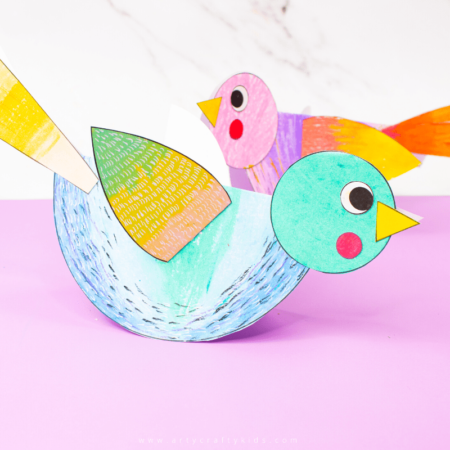
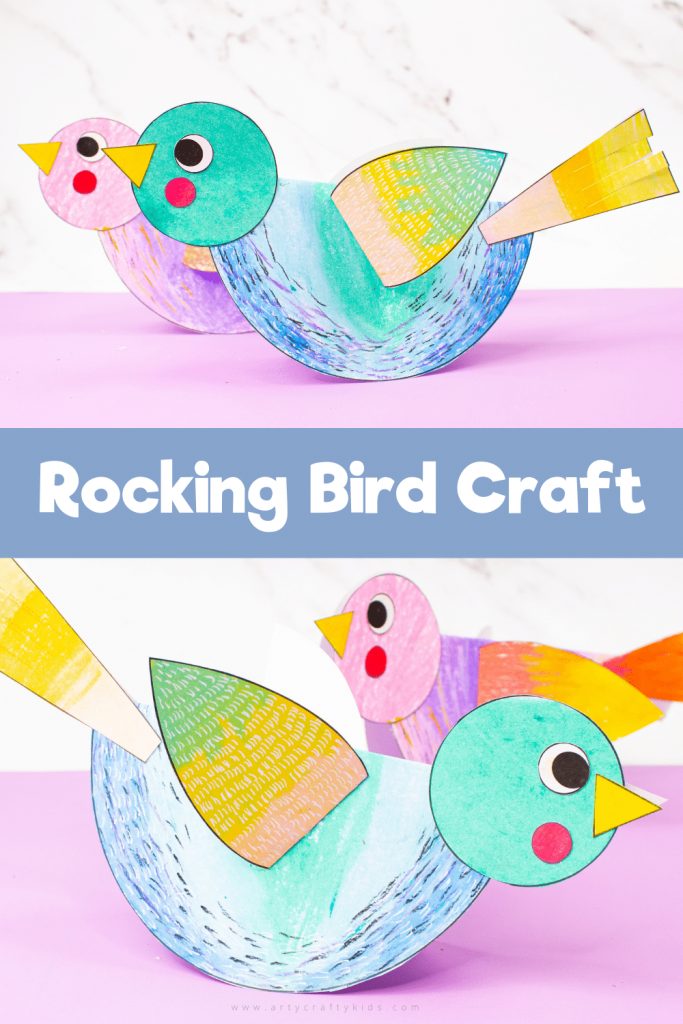
Learn how to make the Rocking Paper bird Craft with our step-by-step tutorial for kids! Combing, creativity and learning, this super fun, tactile and easy to make paper bird craft is sure to be a hit with the kids!
The first half of the paper craft is all about creativity, as children get to grips with oil pastels to explore color, through blending, shade and tone, and texture. Oil pastels are a brilliantly tactile medium and will help children to really maximise their artistic expression and creativity.
Then learning is made fun in the second half of our easy kids craft. Children will get an engaging and interactive introduction to STEM subjects, as they use basic shapes to build a 3D craft that incorporates balance, maths and careful attention to detail.
Simple enough for pre-schoolers, yet engaging enough for older children too, our easy paper bird craft is the activity with everything, making it absolutely perfect for the classroom; there are so many areas that can be used as jumping off points for further learning. But as with all of our projects, it would work just as well as a craft idea for kids at home, and would be a lovely spring activity to do with siblings, especially over the half term break.
How to Make a Rocking Paper Bird:
Materials
- White Card Stock for Printing
- Oil Pastels
- Scissors
- Glue Stick
Download the Paper Bird Template
The ‘Rocking Paper Bird’ template is available to members of the Arty Crafty Kids club.
Members will need to log in to access the templates:
https://www.artycraftykids.com/product/rocking-paper-bird/
Not a Member?
Watch the Video Tutorial:
Let’s Make a Rocking Paper Bird!
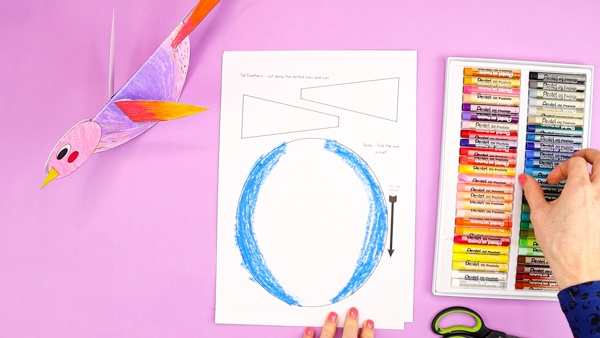
Color the Bird Template
For this easy paper bird craft, we’re going to use oil pastels. We usually tell you to use whatever kind of paint or crayon you like – and of course, you still can! – but oil pastels are a really great medium to use for this craft.
You don’t have to be neat, as coloring roughly with the pastels gives you great texture which is perfect for blending. And not only does using pastels in this way help to really capture the depth and texture of the ruffled feathers of a bird, this technique also gives you a wonderfully artistic opportunity to create expressive and colorful designs.
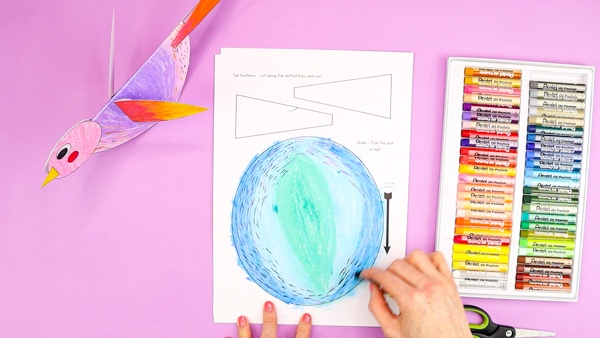
Blend with a Sponge and Add Detail
Once you’ve added the base layer of color onto your paper bird craft, use a sponge to blend the colors together. Why not try experimenting to see what kinds of effects you can achieve, by varying the pressure you use with the sponge, or by blending in different directions.
Then, add some extra detail to your paper bird craft. We’ve drawn lots of little dashes, to give the idea of speckled feathers. You could use different pastel strokes to create longer or fuller feathers, or of course you could add any fun, abstract pattern that you like.
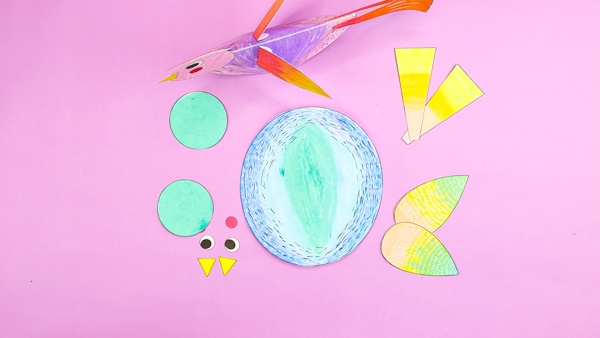
Cut out the Rocking Bird Elements
Once you’re happy with the detail on your paper craft bird, carefully cut out all of the elements from the template.
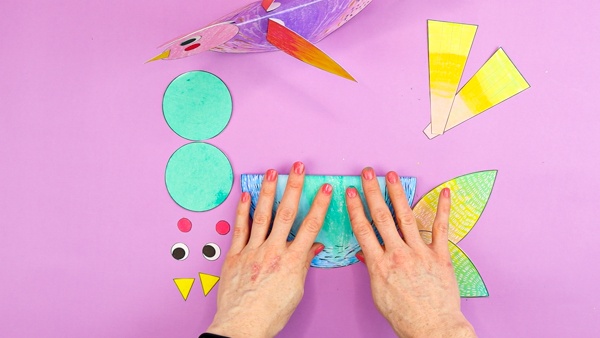
Found the Oval in Half
Now we’re going to make our paper bird craft 3D! Start by folding the large oval body in half lengthways.
Assemble the Birds Face
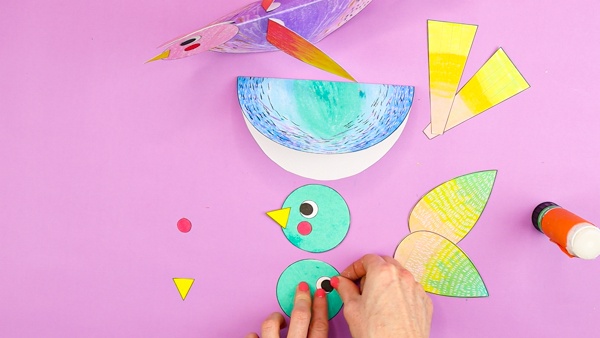
Then, we need to assemble the two sides of the bird’s face. Stick an eye, beak and rosy cheek onto the left side of one small circle, so the bird is looking left. Then do the opposite with the other small circle: stick an eye, rosy cheek and beak onto the right side, so the bird is looking right.
Fold the Flaps on Wings
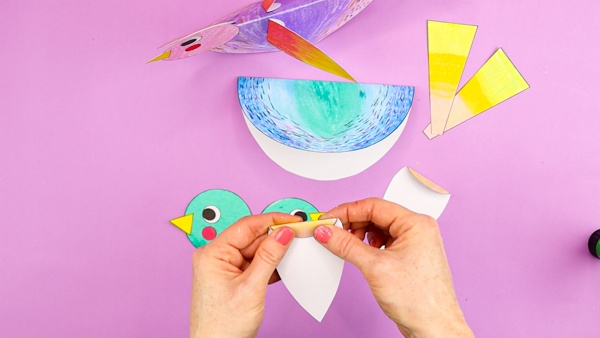
Next, fold the flap over on each of the bird’s teardrop-shaped wings so we can secure them to the body.
Create Tail Feathers
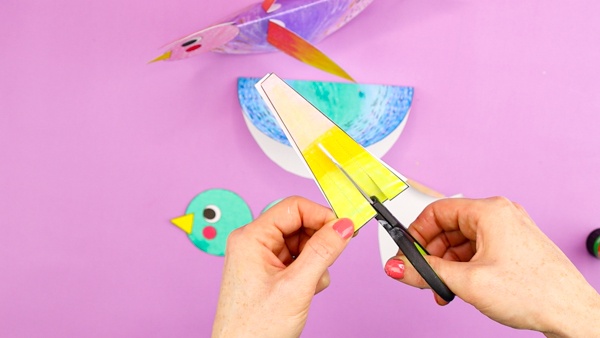
Finally, create lovely ruffled tail feathers by carefully making a few long cuts up from the base of the two tail feather pieces.
Assemble the Bird
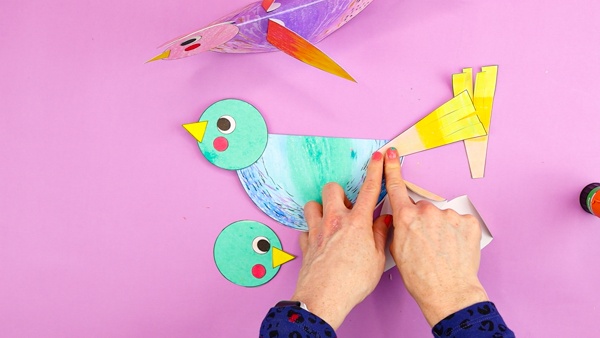
Now it’s time to assemble our paper bird craft! On one side of the bird’s folded body, stick a face and tail element at each end, and the wing in the middle (remember to only glue the flap, not the entire wing, otherwise it won’t flap!)
Then turn the bird over and stick on the second face, feather and tail elements. Use the pieces from the other side as a guide to line them up.
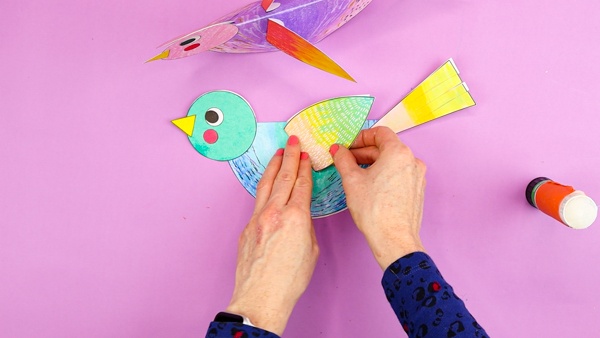
Now stand your paper bird craft up, on its folded body. Can you see how lining up the two sides of the face makes a whole? And how your textured tail and folded wing makes the bird 3D? Amazing!
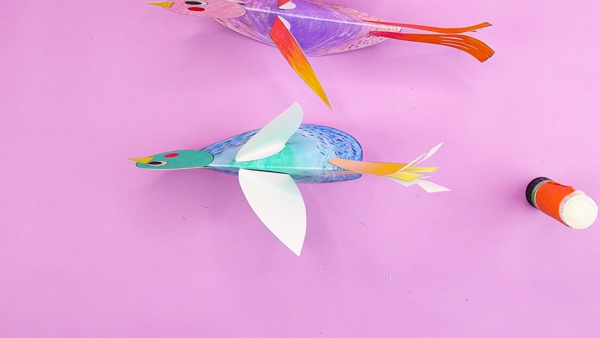
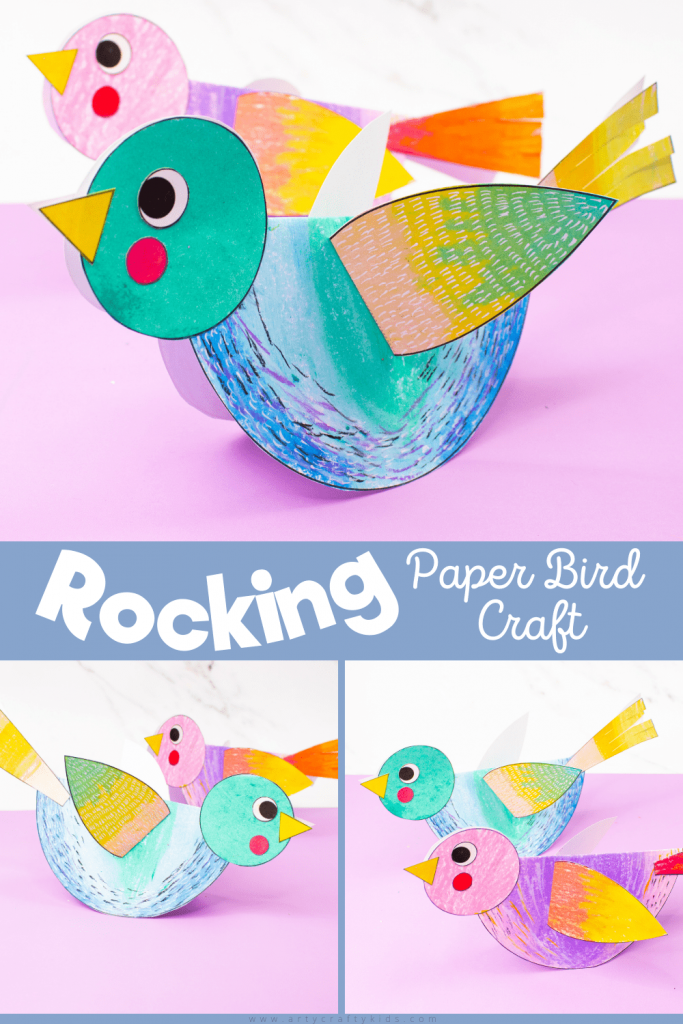
The Rocking Paper Bird is Complete
Now your easy paper bird craft is complete, it’s time to play! Why not give it a gentle push and see it rock happily on its folded body. Tweet tweet!
As always, don’t forget to share on social media and tag us, we love to see your crafty creations!
And before you go, take a look at our super cute Rocking Crab Craft!
More Paper Crafts for Kids:
Paper crafts for kids are a speciality of ours and particularly enjoy paper crafts that are interactive, fun and easy to make. Take a look at a few of our favorite paper animal crafts!

