Sharing is caring!
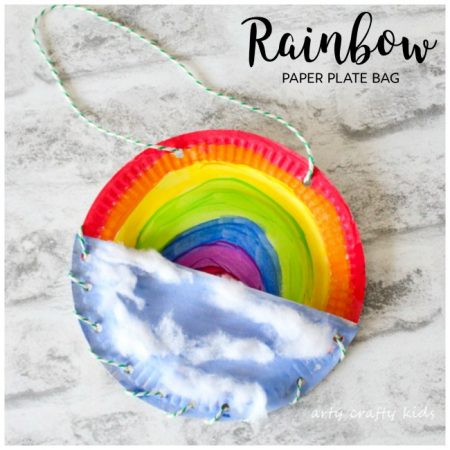
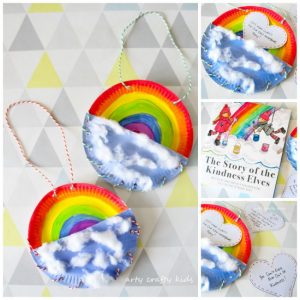
Today’s cheerful Rainbow Paper Plate Bag craft has been inspired by ‘The Story of the Kindness Elves’, written by Anna Ranson (from the fabulous blog ‘The imagination Tree’) and Benjamin Byrne.
So let’s dive straight in and discuss kindness.
I think we can all be agreed that there can never be enough kindness in this world.
It’s something that just happens, right?
Wrong.
Kindness can be taken for granted and sometimes, it’s something we have to work at.
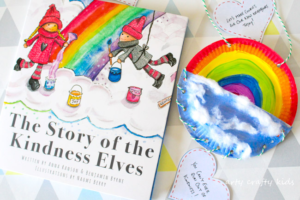
And this is what I love about the concept and story of The Kindness Elves – it focuses the mind on small acts of kindness that can happen in every day life.
For example, noticing the lonely child in the playground and including them in a game.
Or, visiting an elderly neighbour who spends much of their time alone.
My six year-old daughter read the book before I had an opportunity to look at it and her reaction told me everything I needed to know about ‘The Story of the Kindness Elves’.
She gushed all the way through and passionately talked about the theme of kindness and the examples presented within the text.
Her enthusiasm for the book was infectious and as she set to work writing her own notes of kindness, the entire family soon became drawn into discussing kindness, using our own real-life examples.
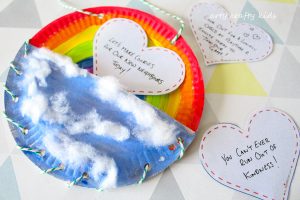
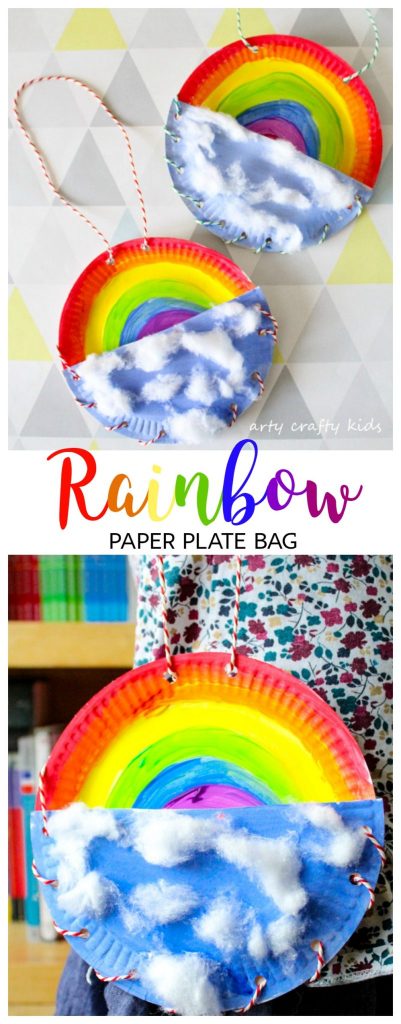
This leads me onto our Rainbow Paper Plate Bag – also dubbed as “The Kindness Bag”, which is designed to store special kindness affirmation letters and ‘kind ideas’ to give to friends, to help spread the message of the kindness elves.
To find out more about “The Story of the Kindness Elves” and associated fun activities, visit the dedicated site here!
Rainbow Paper Plate Bag
This post contains affiliate links
[mv_video aspectRatio=”16:9″ key=”dx12zfqz0dvgs9bzfdmi”]
SUBSCRIBE to our NEW YouTube Channel!
Supplies:
2 Paper Plates
Kid Friendly Washable Paints
Twine
A Hole Puncher
PVA Glue
Cotton Wool
A Pair of Scissors
Directions: Rainbow Paper Plate Bag
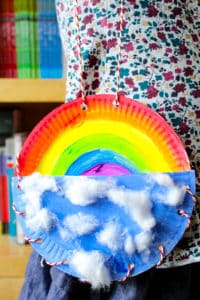
- Cut one paper plate in half, turn over and align with the whole paper plate and create multiple holes around the circumference with a hole puncher.
- Paint the upper half of the whole paper plate in rainbow colours, following the natural curvature of the plate.
- Paint the back of the half paper plate a ‘sky blue’ colour.
- Cut two pieces of twine and thread the lower half of the paper plate and secure at the back with a knot.
- Add the second piece of twine at the top of the paper plate to create a ‘handle’.
- With a small amount of PVA glue attach cotton wool onto the blue paper plate to create wispy fluffy clouds.
To see the craft in action, check out our youtube video!
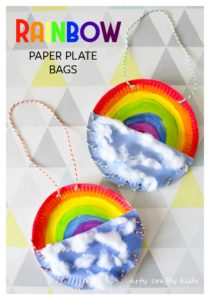
I hope you’ve enjoyed our Rainbow paper plate craft and for more Rainbow inspired fun, take a look at our Straw Blowing Rainbow, Paper Plate Rainbow and Scrape Painted Rainbow!
Pin for later!
This is a sponsored post and we received the book for free to review. All opinions are my own and reflect an honest account of our experience of The Story of the Kindness Elves. For more information, see our full disclosure.

