Sharing is caring!
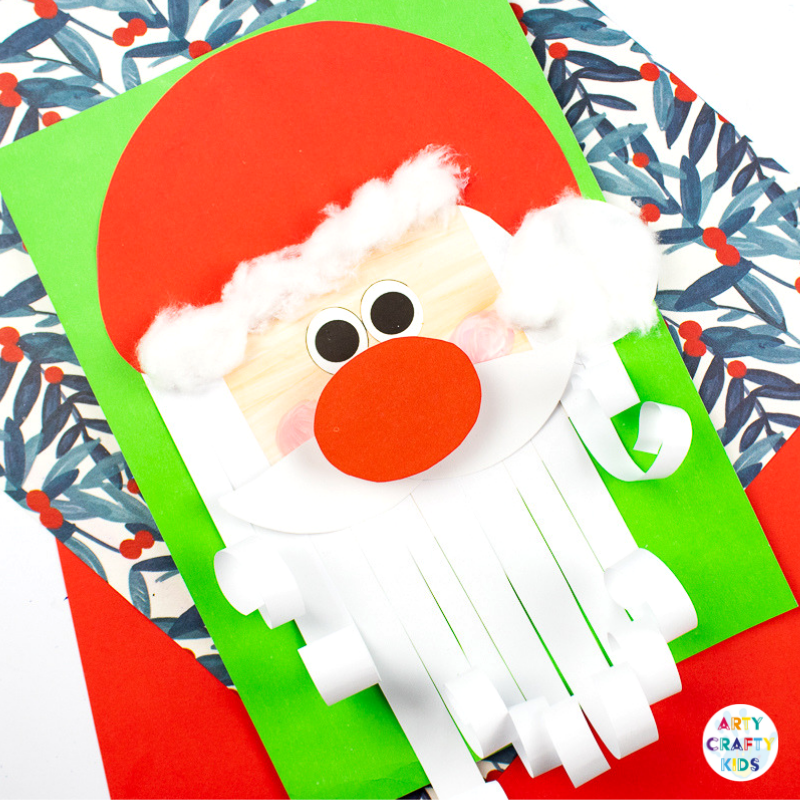
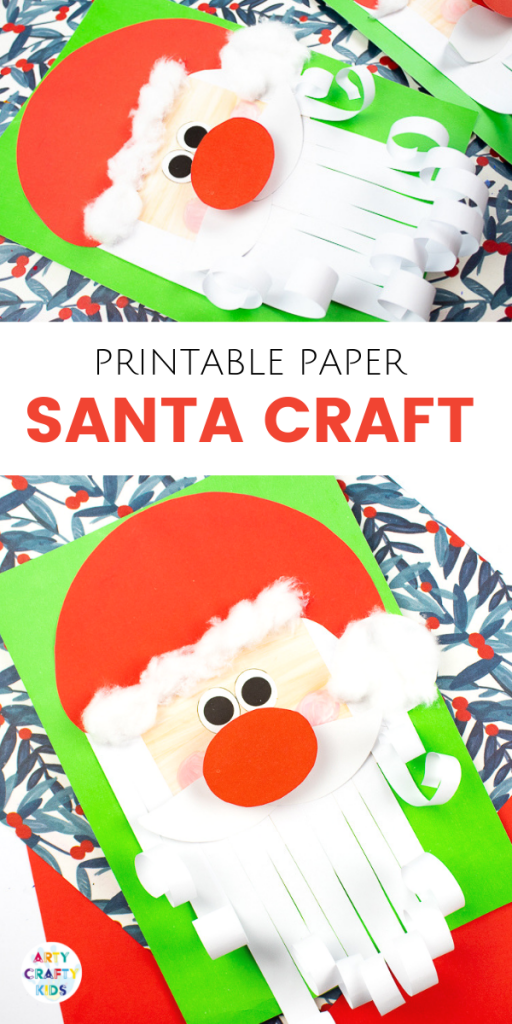
This adorable Printable Paper Santa Craft adds to a growing collection of 3D Christmas crafts for kids, which so far includes a paper Rudolph and Melting Snowman craft.
This series is all about playful creativity, with interactive elements to make the characters pop from the page!
The templates make the crafting process super easy and can be conveniently downloaded from the Arty Crafty Members Area.
Printable Paper Santa Craft: Materials
Santa Printable – Elements 1 & 2
White & Red Card Stock + Backing Card Stock (any colour)
White & Red Paper
Paint
Cotton Wool
Scissors
Glue Stick
The Santa Elements can be accessed via the Arty Crafty Kids Club!
Already a member? login here!
Printable Paper Santa Craft: Tutorial
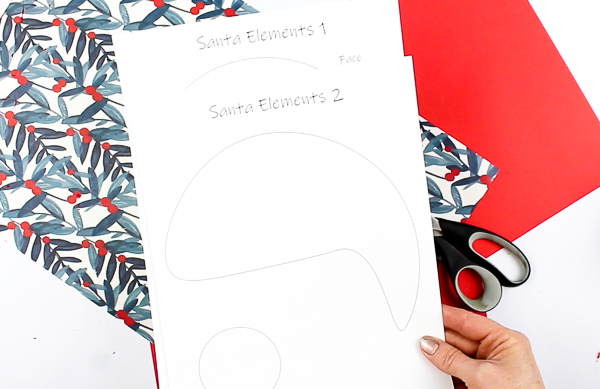
The Santa Elements can be accessed via the Arty Crafty Kids Club!
Already a member? login here!
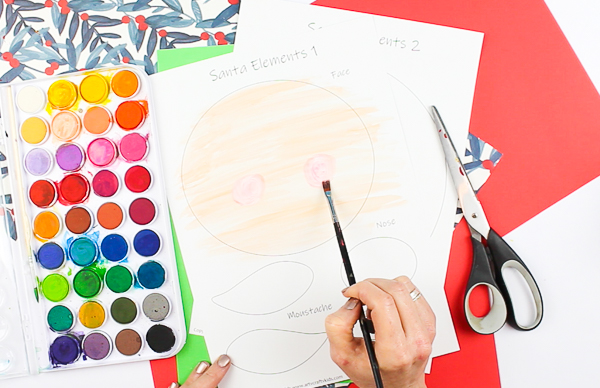
Step 2: Paint the Santa’s face a flesh colour, adding rosy cheeks.
We used a light covering of watercolour paint – it dries quickly and isn’t too heavy, creating a nice skin tone.
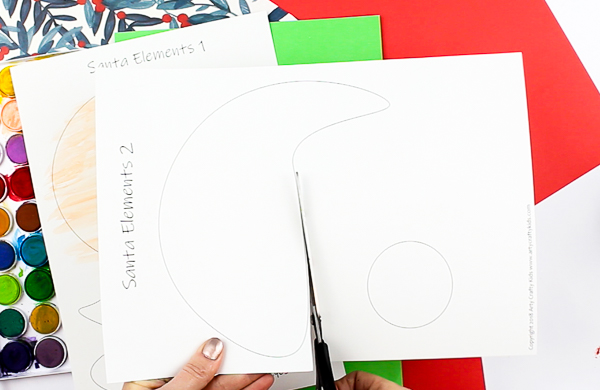
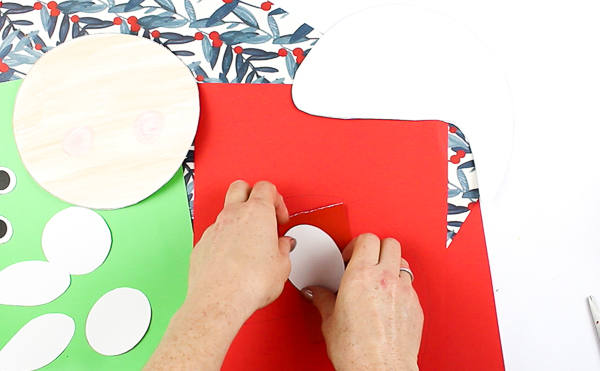
Step 4: Trace the nose onto a piece of red card stock. If you’re like me, I tend to keep all the off cuts of previous crafts and have a stock pile of ‘scrap’ that’s perfect for projects like this!
Trace the hat onto red paper and cut out.
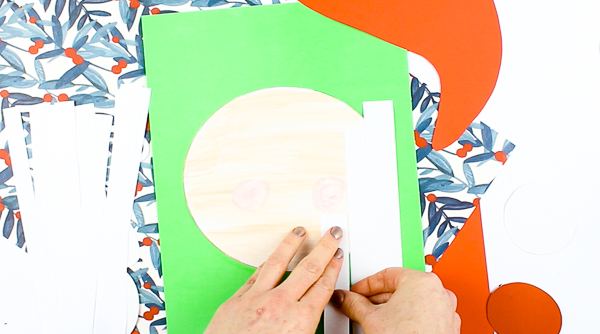
Step 5: Glue to the face onto the backing card.
Using a paper cutter or scissors, cut a piece of white paper into several strips (approx 1cm wide).
Glue the tops of each strip around the the face as shown above.
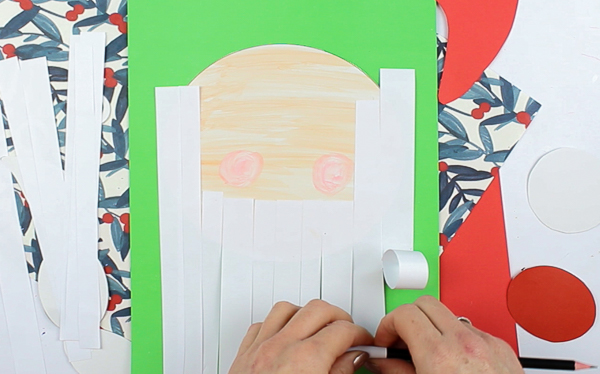
Step 6: Curl the ends of each white strip around the paper and release to create a bouncy curl.
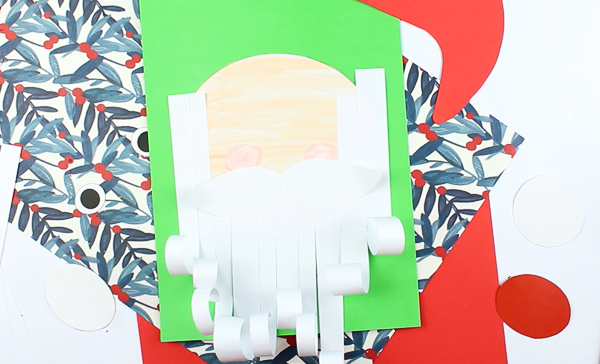
Step 7: Cover the strip ends with the moustache. Try to position them just below the rosy cheeks.

Step 8: Let’s make a big bouncy red nose!
Using scissors or a paper cutter, cut out two even strips of red paper – ideally, the strips will be fairly wide and for length, I would recommend cutting the paper from the shortest side of an A4 piece of paper.
Take the two strips and position them in a 90° angle as shown above. Glue the connecting papers together.
Simply fold the bottom strip over the top and crease the fold along the edge. This will make the accordion fold tight!
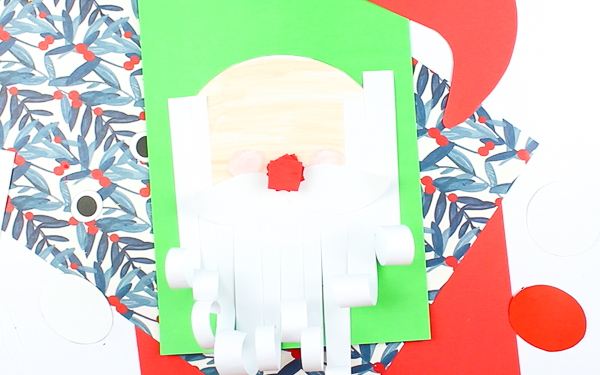
Step 9: Keep alternating the strip folds until you run out of paper and seal the ends with glue.
Glue one end of the completed accordion between the rosy cheeks.
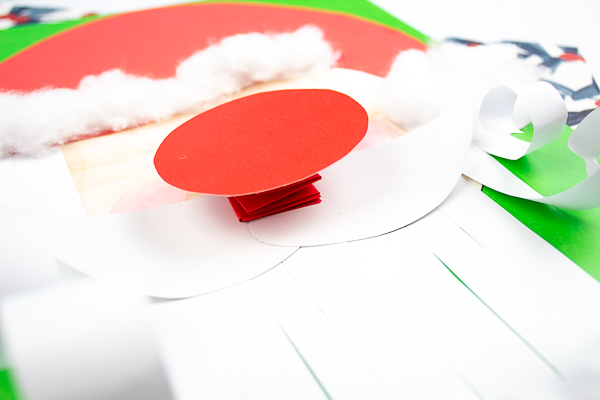
Step 10: Glue the big red nose to the other end.
This nose can now be stretched and bounced, as well as adding a 3D element to Santa’s face.
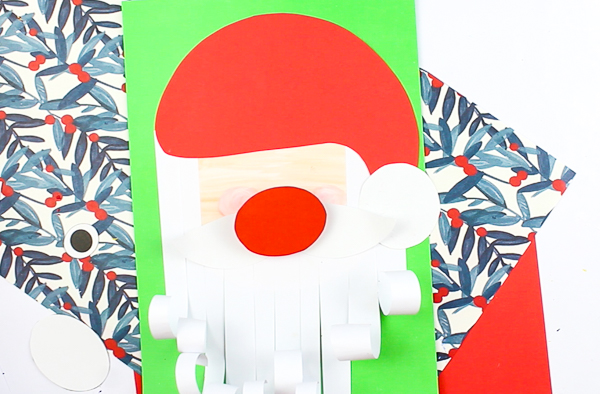
Step 11: Glue the hat and bobble. Santa is now coming together nicely!
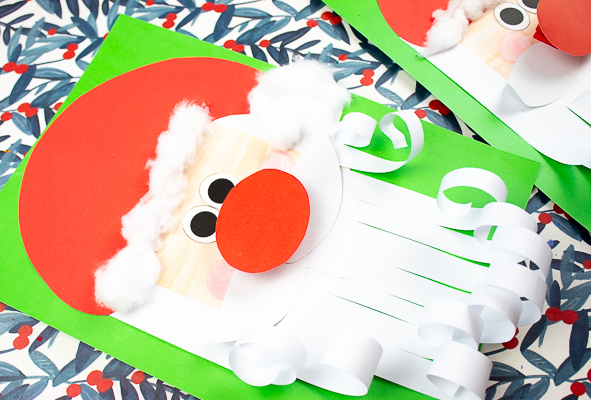
Step 12: Add cotton wool to the hat and complete his face with a pair of eyes
[fruitful_sep]
Get a free Christmas Colouring Page when you sign up to our newsletter!
Or you can access all our colouring pages and crafts by joining the Arty Crafty Kids Club!
[fruitful_sep]
I hope your Arty Crafty Kids enjoy this Printable Paper Santa Craft and colouring pages!
Pin for Later!

