Sharing is caring!
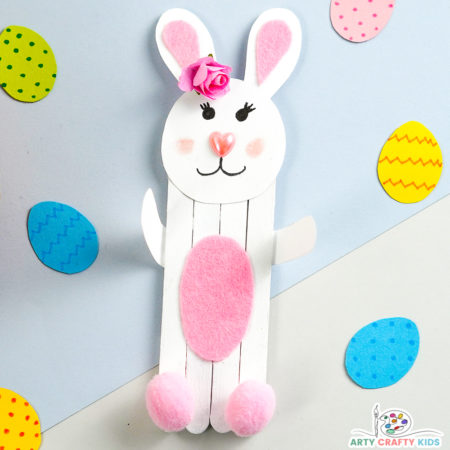
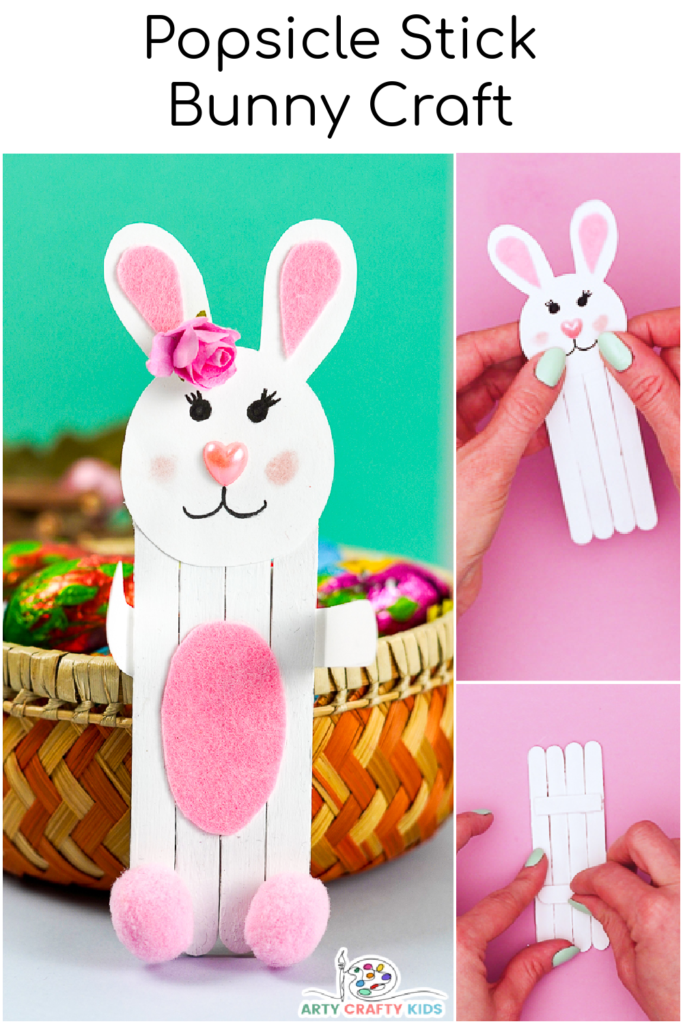
If you’re looking for a quick and easy Easter craft for the kids, then we have you covered! This Popsicle stick bunny craft is not only adorable but super fun to make and can be customized by your Arty Crafty Kids!
The bunny craft is particularly good for younger children, who will enjoy the tactile experience and challenge of assembling the bunny with sticks, paper and pom-poms.
And to take the craft one step further, children have the option of designing an Easter egg for the bunny to hold in its paws.
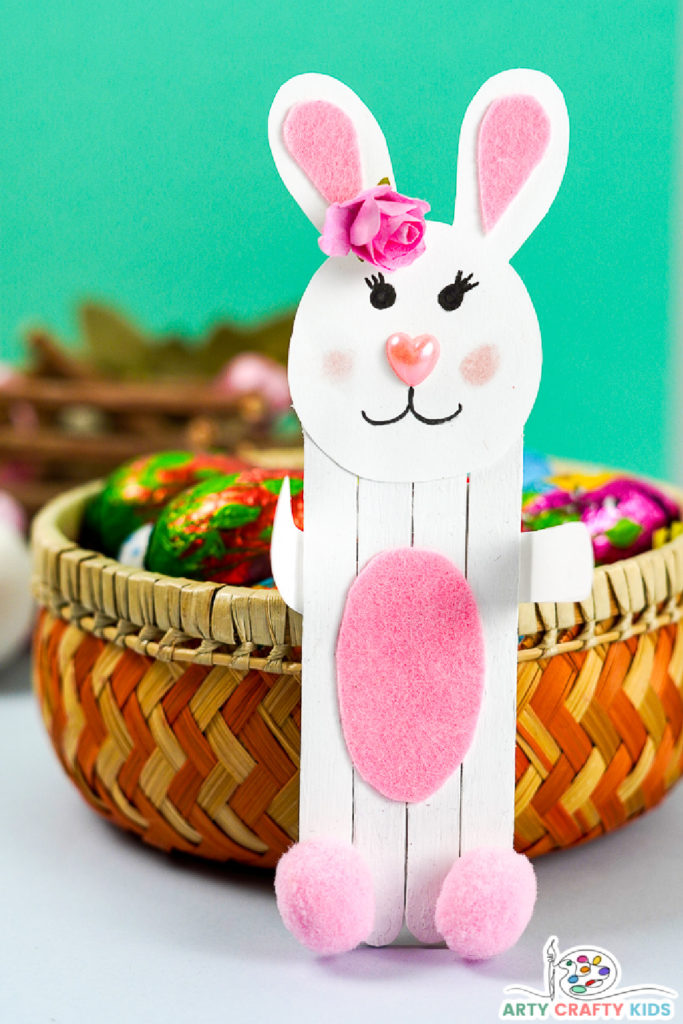
How to Make a Popsicle Stick Bunny Craft for Easter
To make a Popsicle stick bunny with the kids this Easter you will need just a handful of materials!
Materials:
- Popsicle Sticks
- Large Pom-Poms
- White Paint
- Marker Pens – Black & Colored
- Glue Stick
- Pink Felt or Paper
- Scissors
Optional Printable Template:
Download the Easter Bunny Template:
The Popsicle Stick Easter Bunny template is available to members of the Arty Crafty Kids club.
Members will need to log in to access the templates: https://www.artycraftykids.com/product/popsicle-stick-bunny-template/
Watch the How to Make a Popsicle Stick Bunny Video Tutorial:
Let’s Make an Easter Bunny!
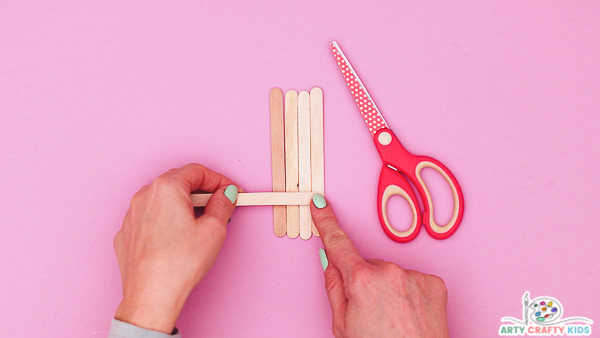
Prepare the Popsicle Sticks
Align four Popsicle sticks side by side as shown above.
Place another Popsicle stick across the lined up pieces and cut to size.
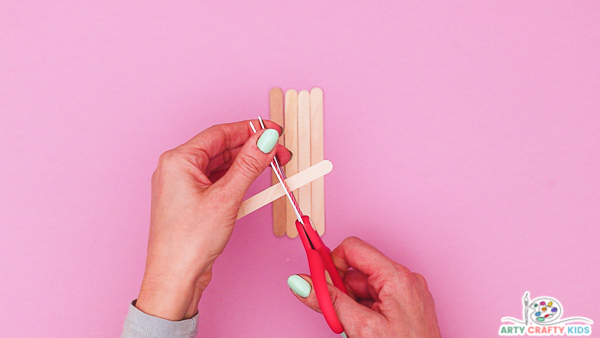
Create Two Supporting Sticks
Cut two pieces of Popsicle stick to fit the width of the group.
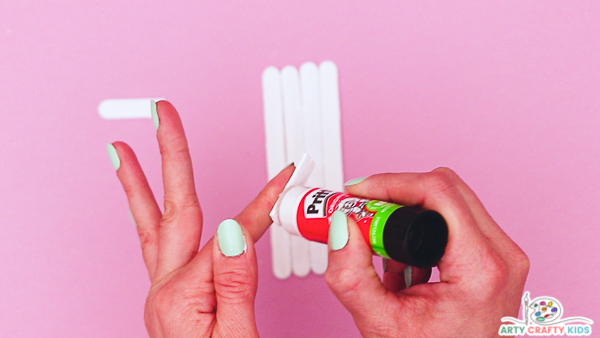
Paint the Popsicle Sticks White
Paint all the Popsicle sticks white.
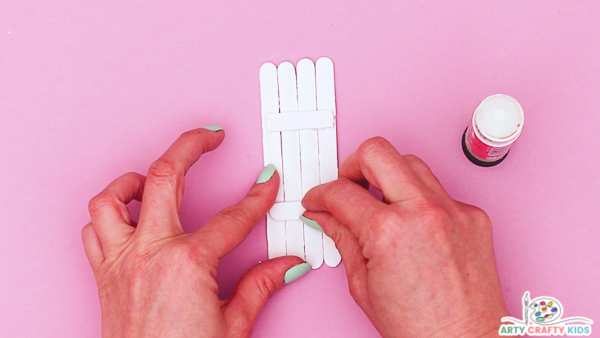
Arrange and Secure the Popsicle Sticks
Once the Popsicle sticks are dry, align the group of four and secure with the two supporting pieces of Popsicle sticks.
A generous application of glue from an ordinary glue stick should be enough to hold the group in place.
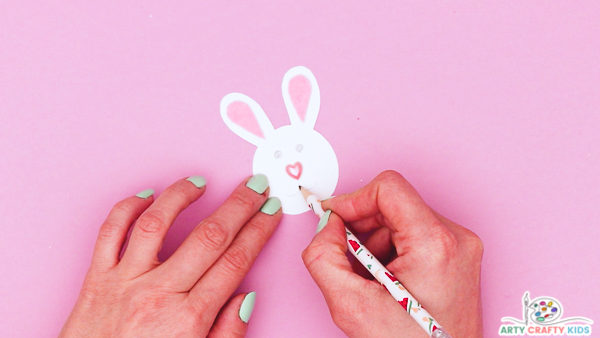
Cut out the Template and Draw a Bunny Face
Next, cut out the bunny’s head from the template (or draw your own!) and design a little bunny face – adding a pair of eyes, a nose, a mouth and a contrasting color for the inner bunny ear.
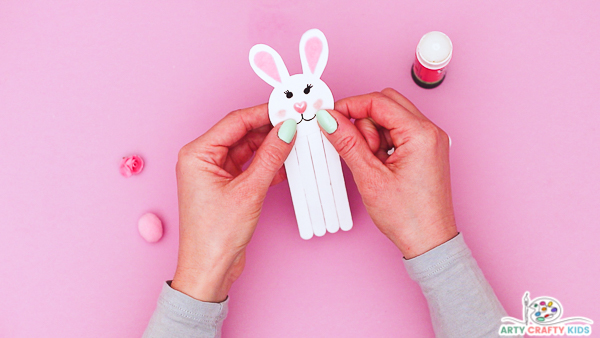
Glue the Bunny’s Head to the Popsicle Stick Body
Glue the completed bunny’s head to the top of the grouped Popsicle sticks.
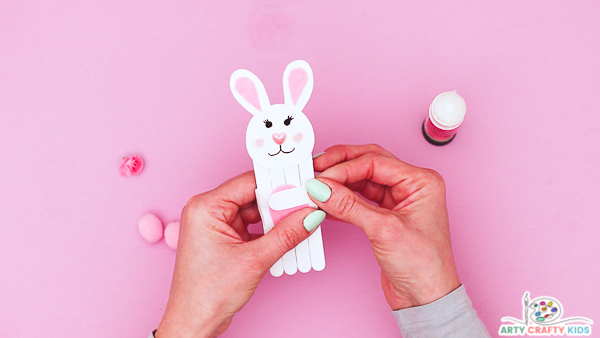
Glue the Bunny’s Arms and Tummy
Cut out the arms and create a small fold at the end of each.
Apply glue to the folds and attach the arms to the bunny’s back, folding the remaining paper across its tummy.
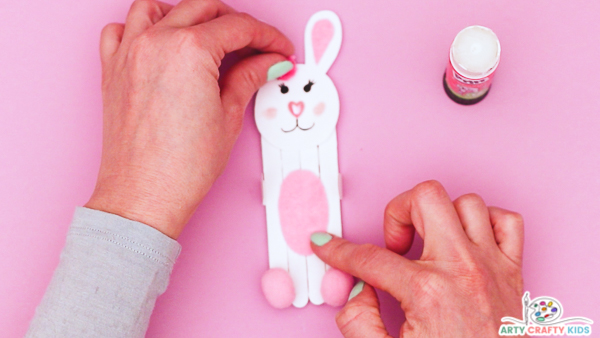
Complete the Easter Bunny with a Pair of Pom-Pom Feet
Complete the Easter bunny craft with a pair of large pom-poms for the feet and a pink tummy area.
I I hope your Arty Crafty Kids have a fabulous time creating their own Easter Bunnies (and have a wonderful Easter!). If you happen to share their creations online, please do give us a tag on social media – we would love to see their unique makes!
More Easter Crafts for Kids to Make
Easter is such a fun time for crafting with kids and here at Arty Crafty Kids, we have loads of ideas from card making to bunny crafts and a variety of Spring themed art and craft ideas that fit beautifully within the Easter theme.
-
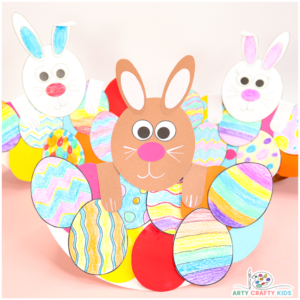
Rocking Easter Bunny Craft Template
-
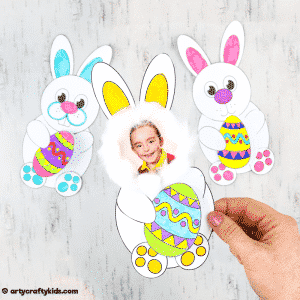
Easy Easter Bunny Cards
-
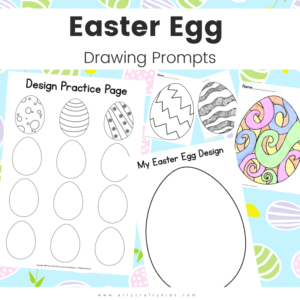
Easter Egg Drawing Prompts
-
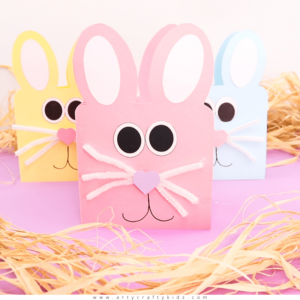
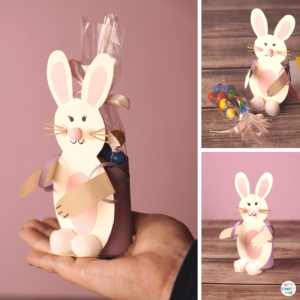
Easter Bunny Treat Craft
-
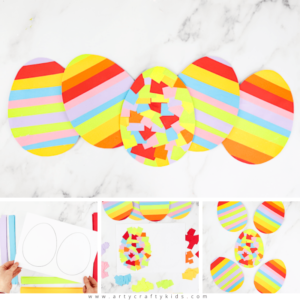
Rainbow Easter Egg
-
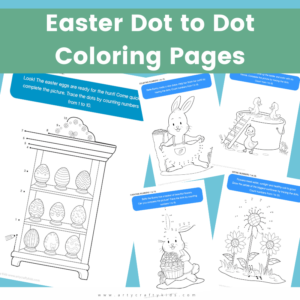
Easter Dot to Dot Colouring Pages
-
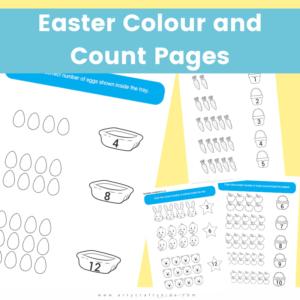
Easter Colour and Count Pages
-
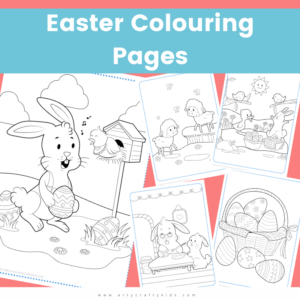
Easter Colouring Pages
-
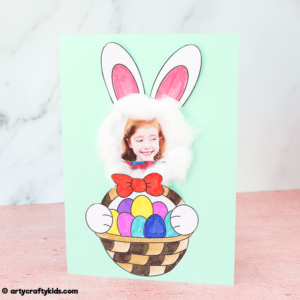
Easter Bunny Photo Card
-
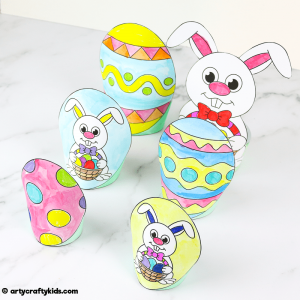
Easter Stacking Toy
-
Easter Bunny Cards
-
Photo Surprise Easter Egg Card
-
Roll the Dice and Draw Easter Egg
-
NEW Easter Bunny Silhouettes
-
Easter Egg Outline

