Sharing is caring!
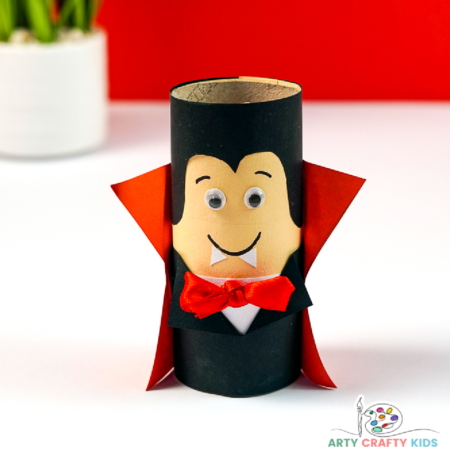
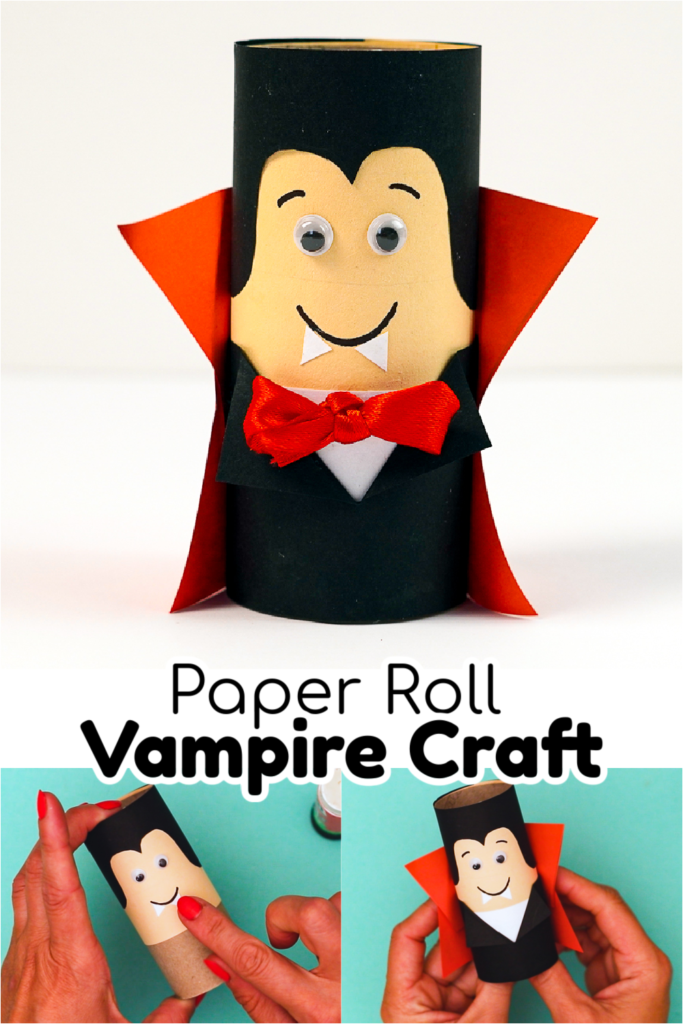
Halloween is the perfect time to get crafty with your kids and make some fun decorations for the home. This simple paper roll vampire craft is dedicated to one of Halloween’s favorite characters – Count Dracula!
Made using a paper roll and a few pieces of scrap paper, our Dracula design is totally kid friendly and can be easily recreated at home or within the classroom.
So if your looking for a friendly not spooky craft for your children this Halloween, our rather adorable vampire is ideal!
And while in the creative spirit, why not extend the fun and explore our Moving Eyes Vampire Craft, Rocking Paper Witch Craft or Blow Art Monsters – keeping your kids busy throughout the Halloween season!
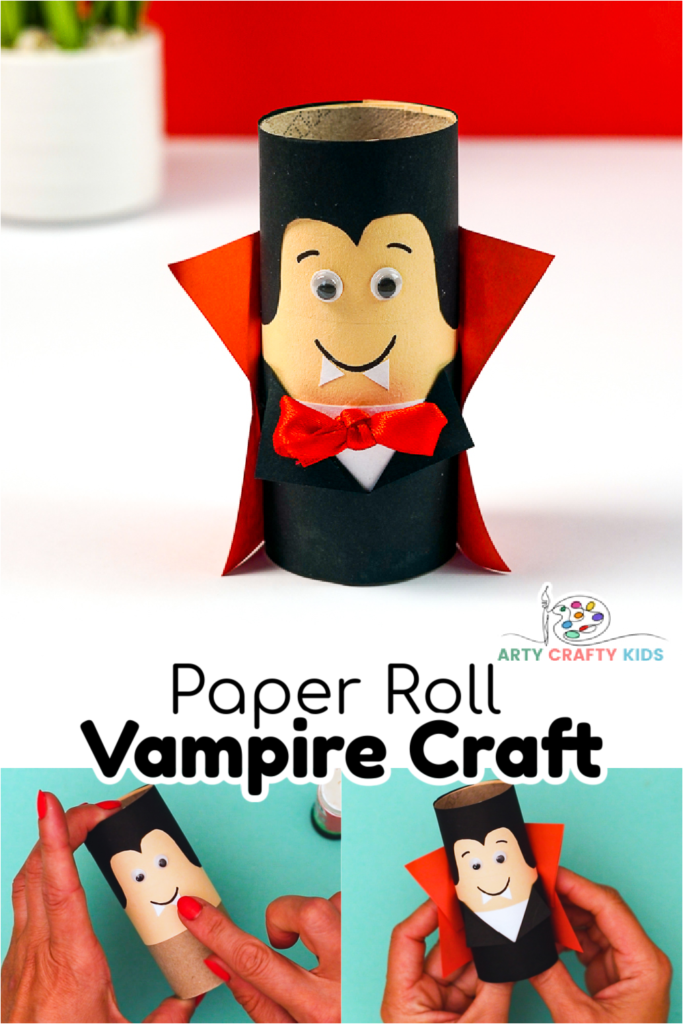
How to Make a Paper Roll Vampire Craft
Materials:

- Paper Roll
- Black, White, Skin Toned and Red Paper
- Scissors
- Googly Eyes
- Glue Stick
- Red Ribbon
- Black Marker Pen
Watch the Step-by-Step Tutorial
Let’s Make a Vampire!
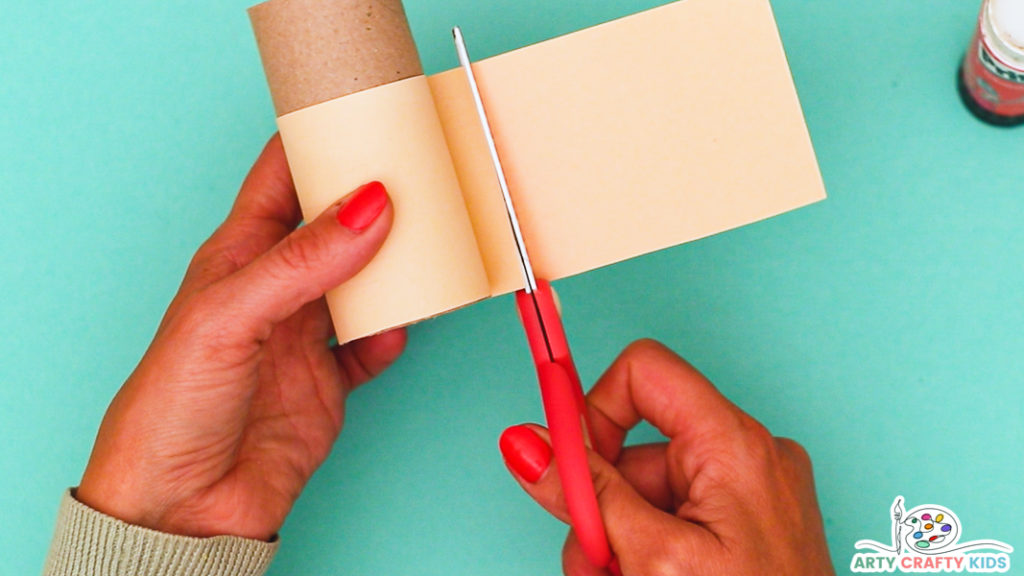
Step 1: Wrap Half of the Paper Roll in a Skin Toned Colored Piece of Paper
Select a skin colored piece of paper and cut a strip to fit half of the paper roll.
Wrap the paper around one half of the paper roll and secure with glue.
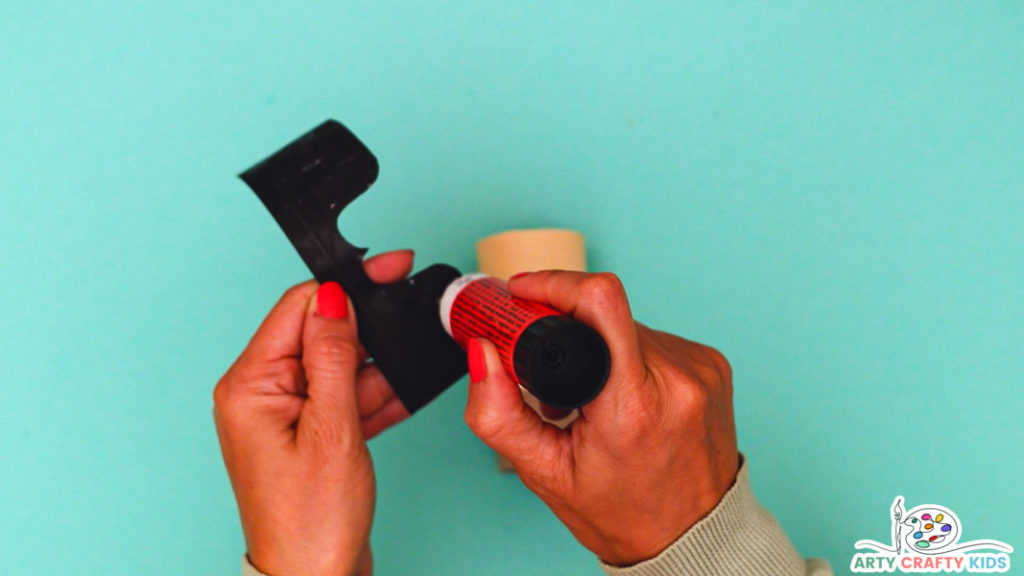
Step 2: Use Black Paper to Create Hair for the Vampire
Cut a second strip of black paper to fit one wrap around the top of the paper roll.
Draw a hair shape (half a heart shape) in the middle of the paper strip and cut it out.
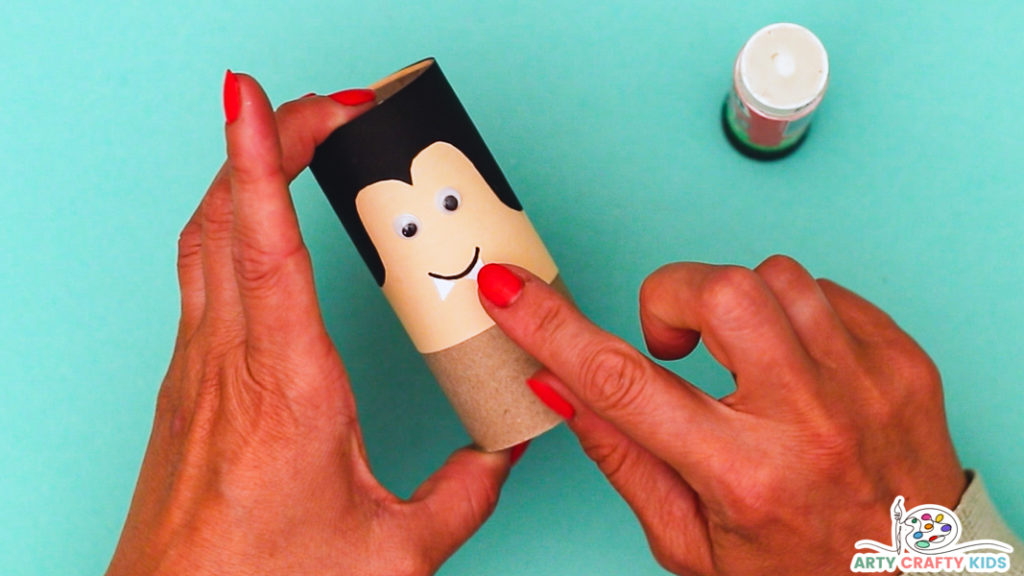
Step 3: Affix a Pair of Eyes, Draw a Smile and Make Paper Fangs
Wrap the hair strip over the top of the skin colored piece of the paper.
The cut out hair feature will frame Dracula’s face and create his signature sleek hair look.
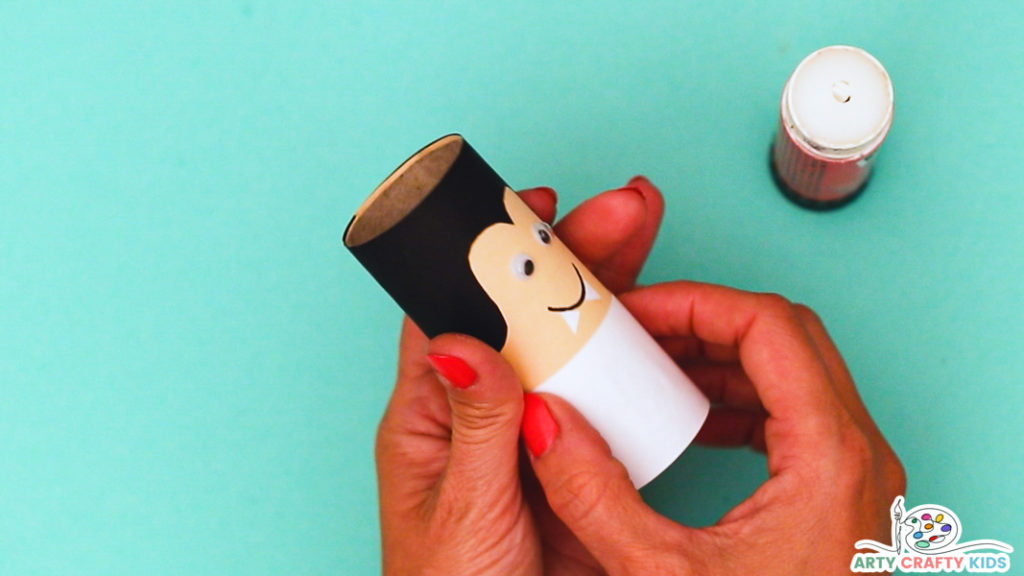
Step 4: Wrap a Piece of White Paper Around the Bottom Part of the Vampire
Cover the remaining half of the vampire with a strip of white paper.
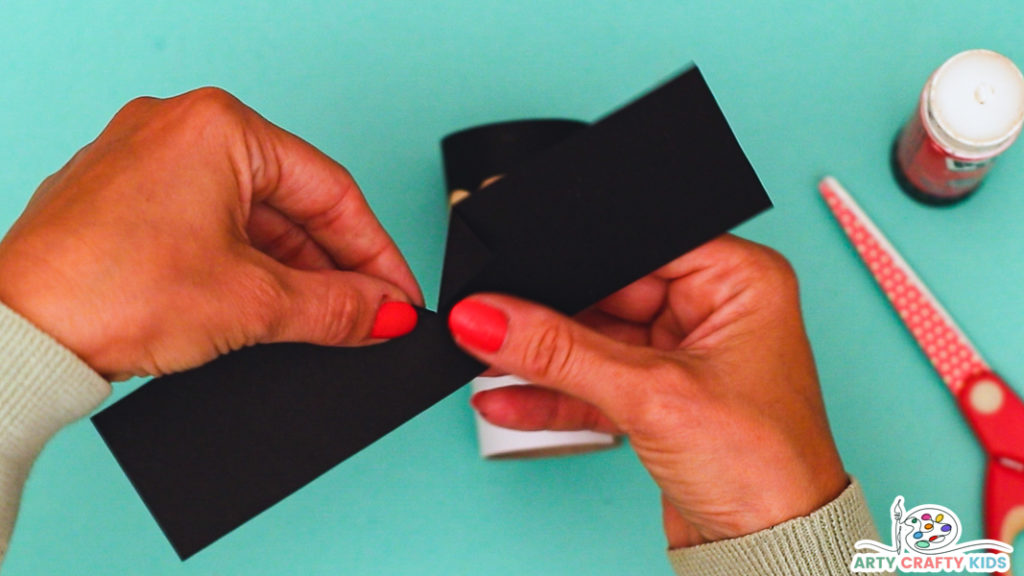
Step 5: Create Black Waistcoat and Collar
Cut out a strip of black paper and a single slit in the middle.
Fold the newly created corners down to create collars.
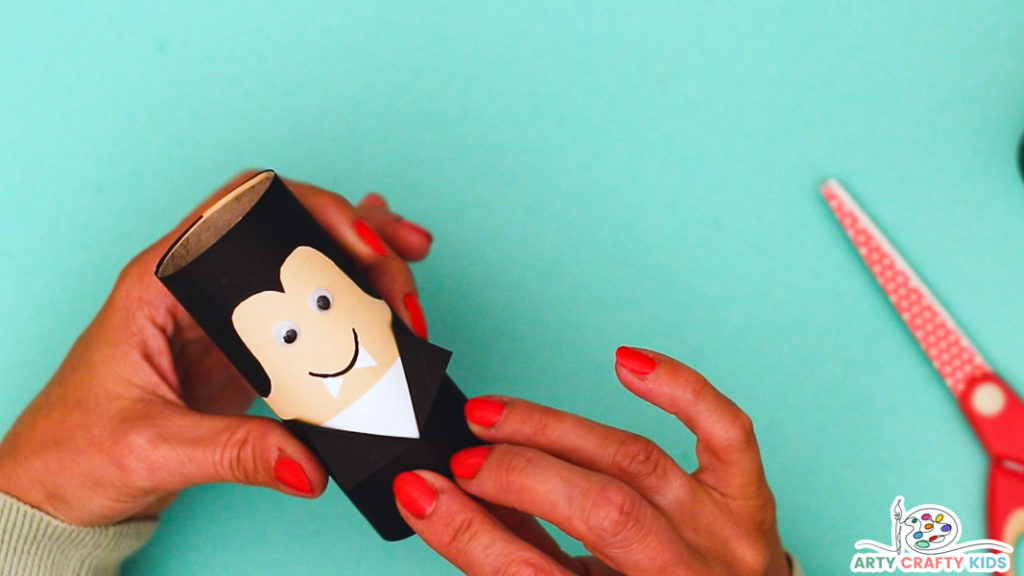
Step 6: Affix the Vampire’s Waistcoat
Glue the newly created black waistcoat on top of the white paper shirt.
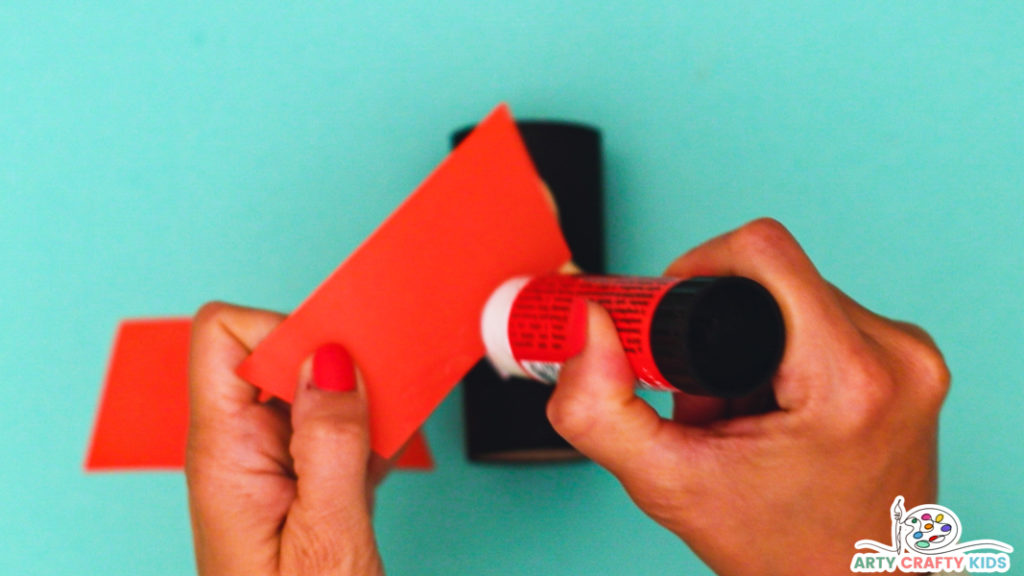
Step 7: Create a Large Red Collar for the Vampire’s Cape
Next, draw to trapezoid shapes from a piece of red paper – one will be the collar and the other, Dracula’s cape!
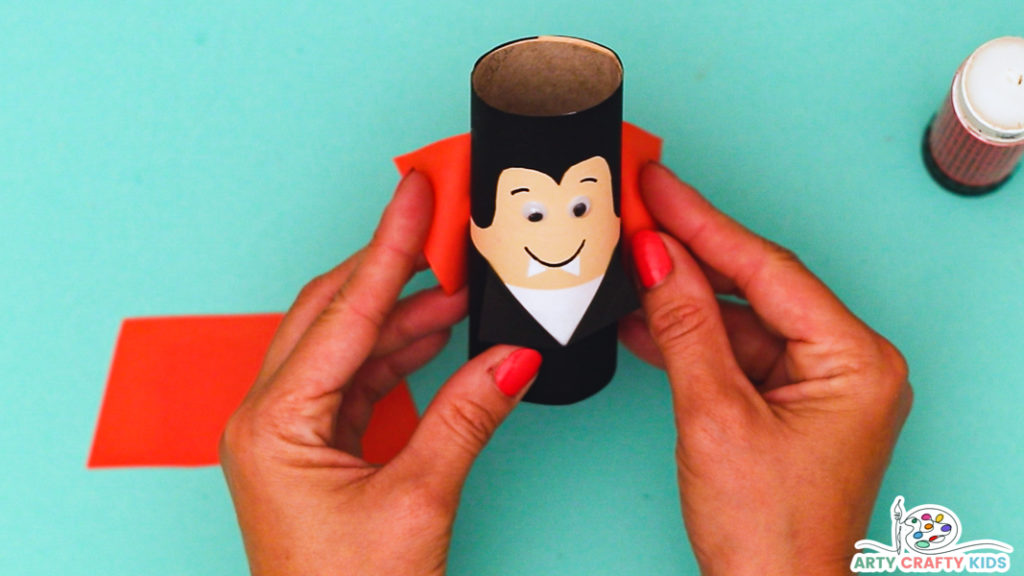
Step 8: Affix the Cape
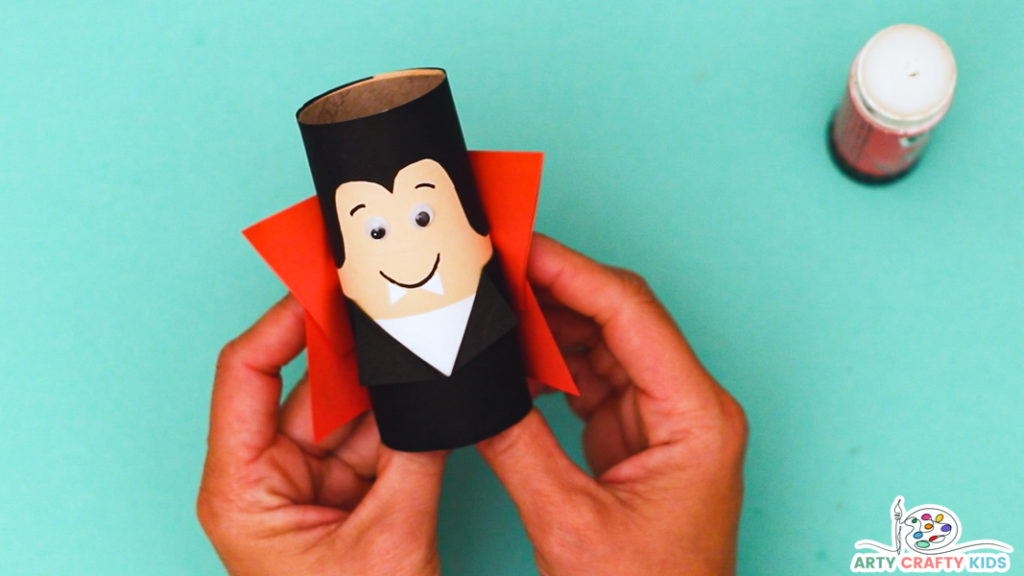
Step 9: Create and Affix the Vampire’s Cape
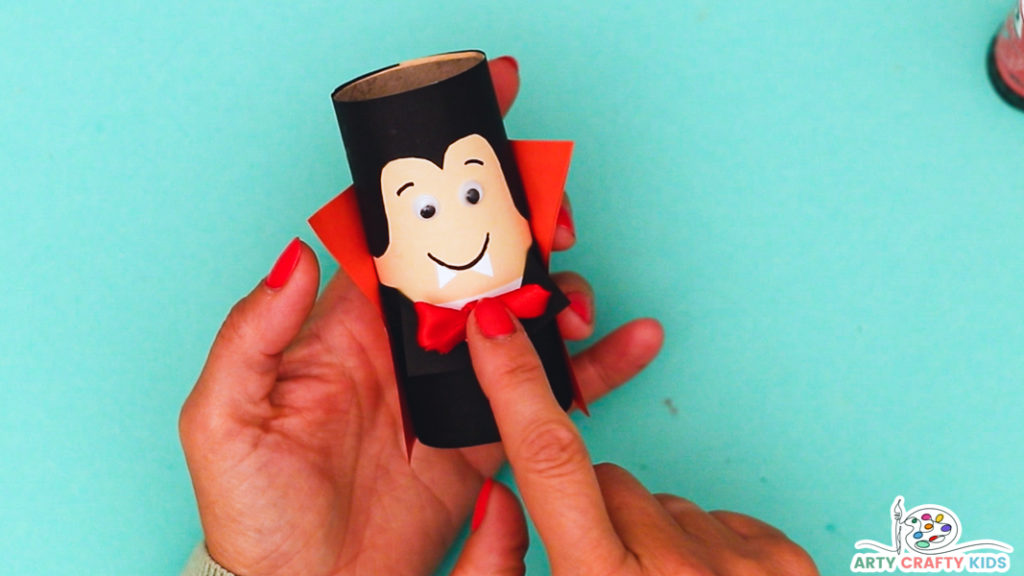
Step 10: Complete the Vampire with a Small Red Bow
Complete Dracula’s look by creating a tiny bow from a piece of red ribbon and glueing it to the top of his white shirt.
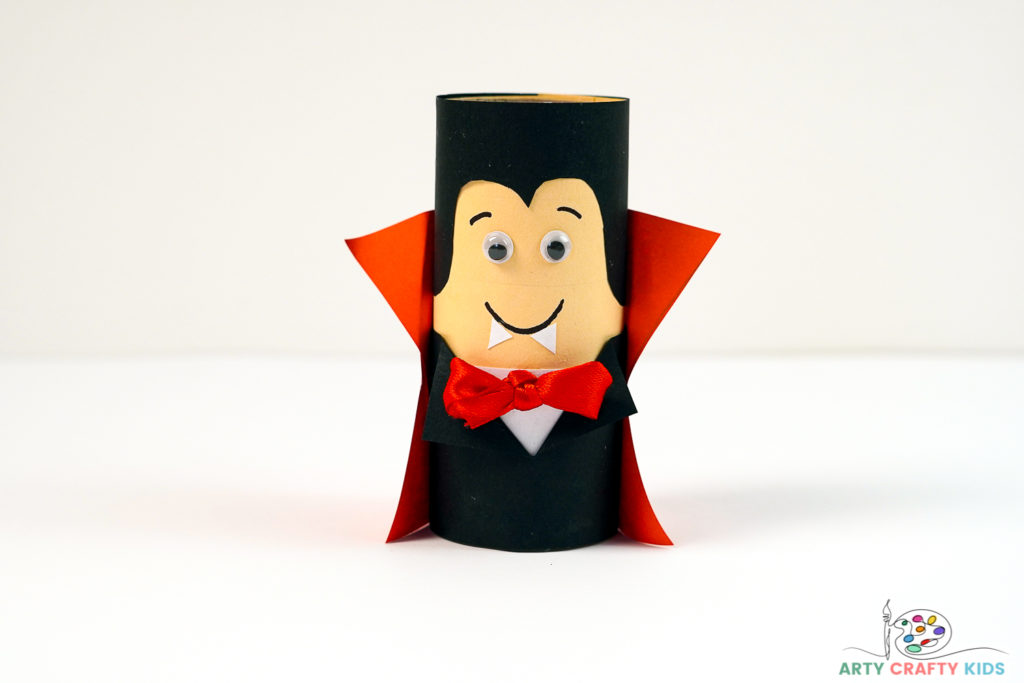
I hope your little vamps enjoy making their very own mini Count Dracula’s!
As always, we love to Arty Crafty Kids’ creativity in action and if you happen to share their completed makes on social media, please do give us a tag or/and use the #artycraftykids – happy crafting!
More Halloween Crafts for Kids:
Are you looking for more fun and creative arts and crafts to try with your Arty Crafty Kids? Take a look at what our exclusive membership has to offer! we have lots of Halloween crafts to keep your creative kids busy throughout the season and beyond.
-
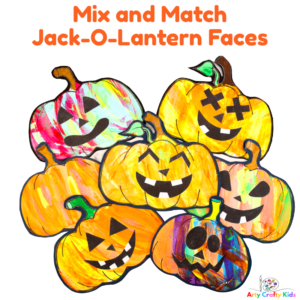
Mix and Match Jack-O-Lantern Faces and Pumpkins
-
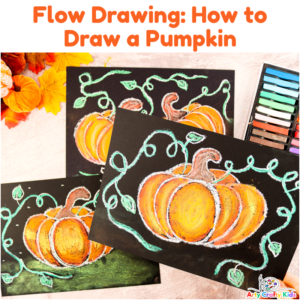
Flow Drawing: Pumpkin Tutorial
-
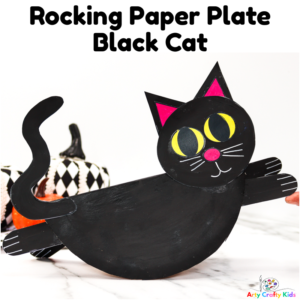
Rocking Paper Plate Black Cat Template
-
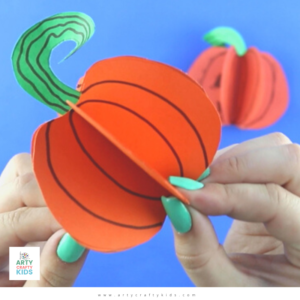
3D Pumpkin Template
-
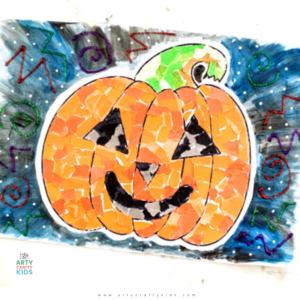
Collage Pumpkin Template
-
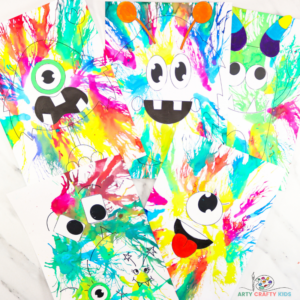
Blow Painting Mix and Match Monster Templates
-
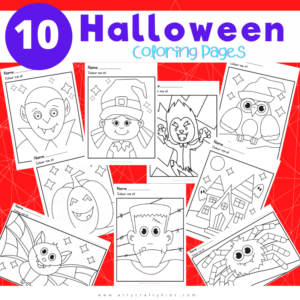
10 Halloween Coloring Pages
-
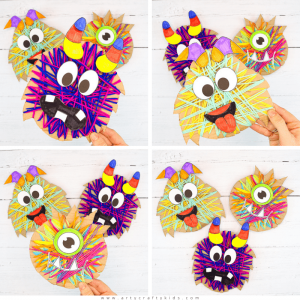
Yarn Wrapped Monsters
-
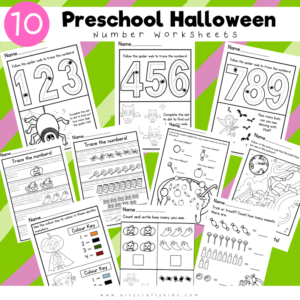
10 Halloween Number Worksheets for Preschoolers
-
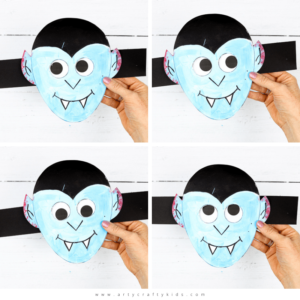
Moving Eyes Vampire Craft
-
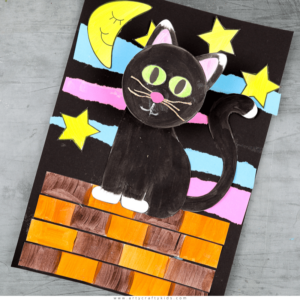
Bobble Black Cat
-
Monster Drawing Prompt
-
Surprise Long Leg Black Cat
-
Autumn Hedgehogs and Pumpkins

