Sharing is caring!
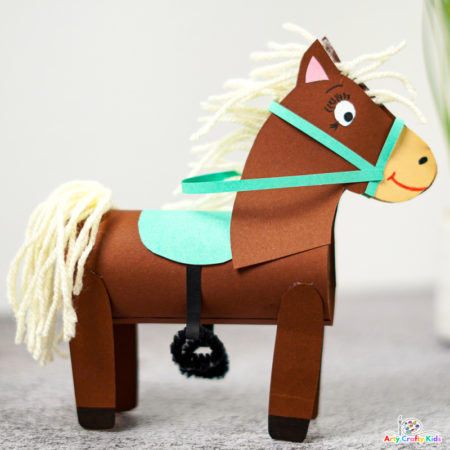
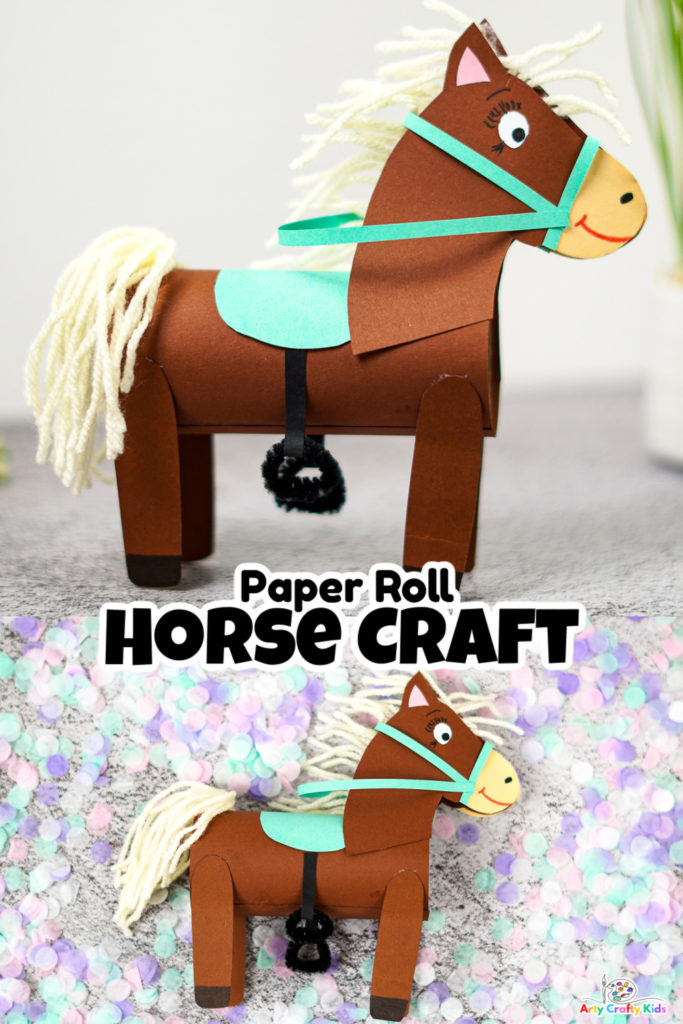
This paper roll horse craft is easy to make, and great to play with – helping to teach children the art of crafting with recyclable materials.
It’s also a fantastic craft for farm-themed activities, play or for preschoolers and kindergarteners covering farmyard topic within a learning environment.
Paired with our printable horse template, this craft couldn’t be easier to recreate and your children will enjoy the fine motor challenge of tracing, cutting and sticking to make their very own playful horse.
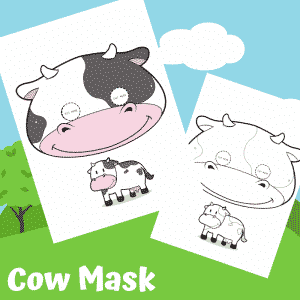
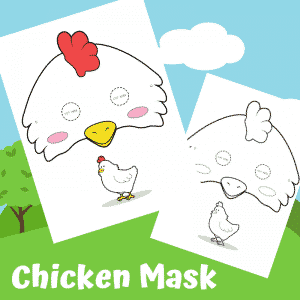
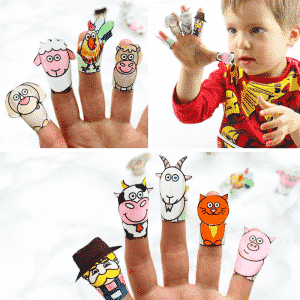
And if you’re looking to extend the fun with more farm animal themed craft and play, we also have animal masks and finger puppets available for download!
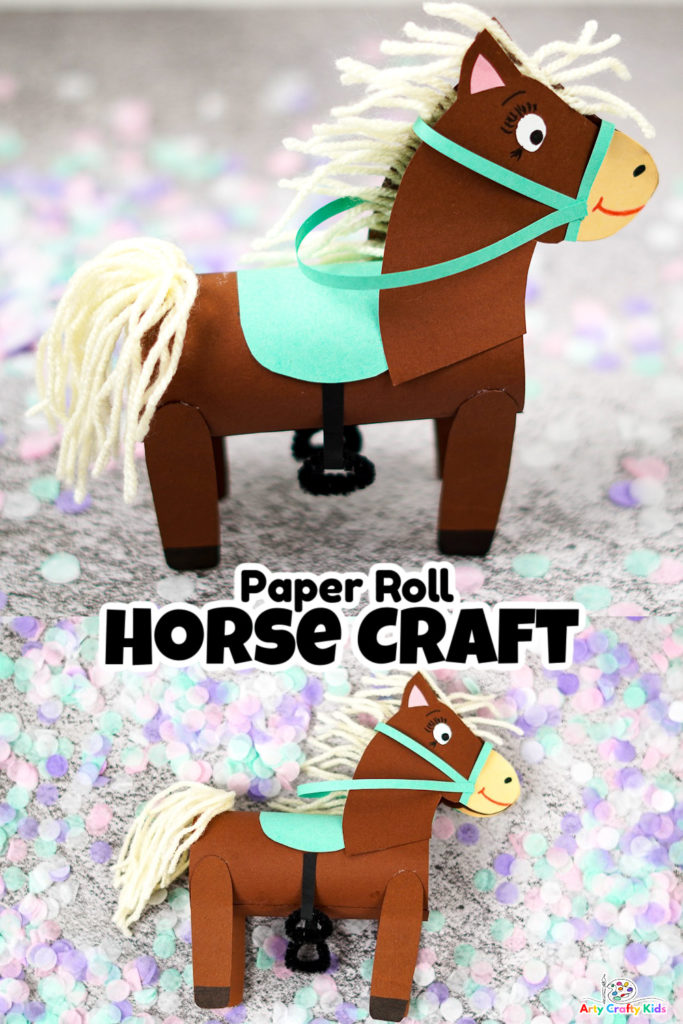
How to Make the Paper Roll Horse Craft
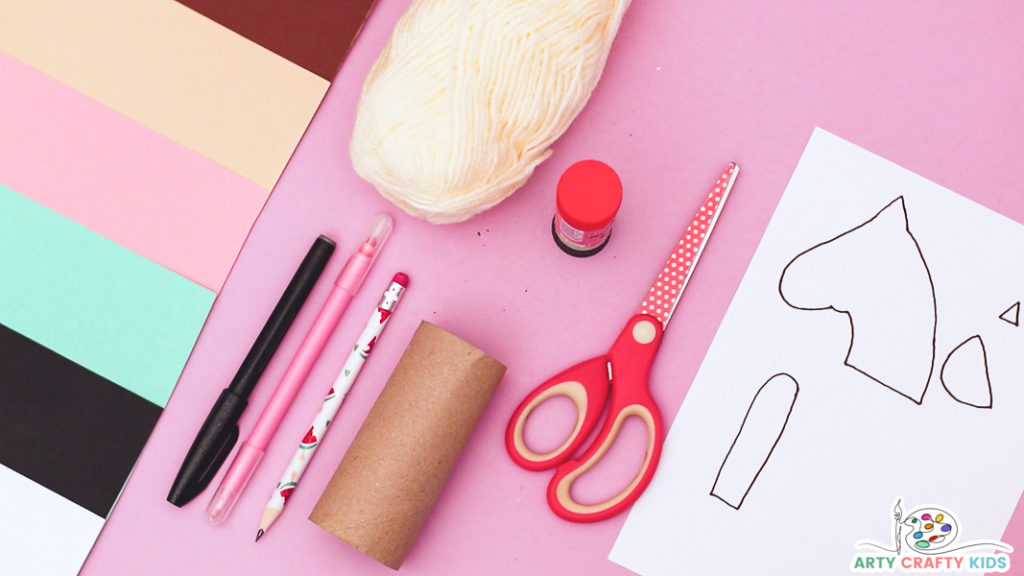
Materials
- Paper Roll
- Brown, Black, Green, Beige and Pink Paper
- Pencil
- Glue Stick
- Scissors
- Black and Pink Marker
- Beige Yarn
- Black pipe cleaner
Download the Horse Craft Template
The Horse Template is available to members of the Arty Crafty Kids club.
Members will need to log in to access the templates: https://www.artycraftykids.com/product/paper-roll-horse-craft-elements-template/
Not a Member?

Watch the Step-by-Step Video for How to Make a Horse
Let’s Make a Horse!
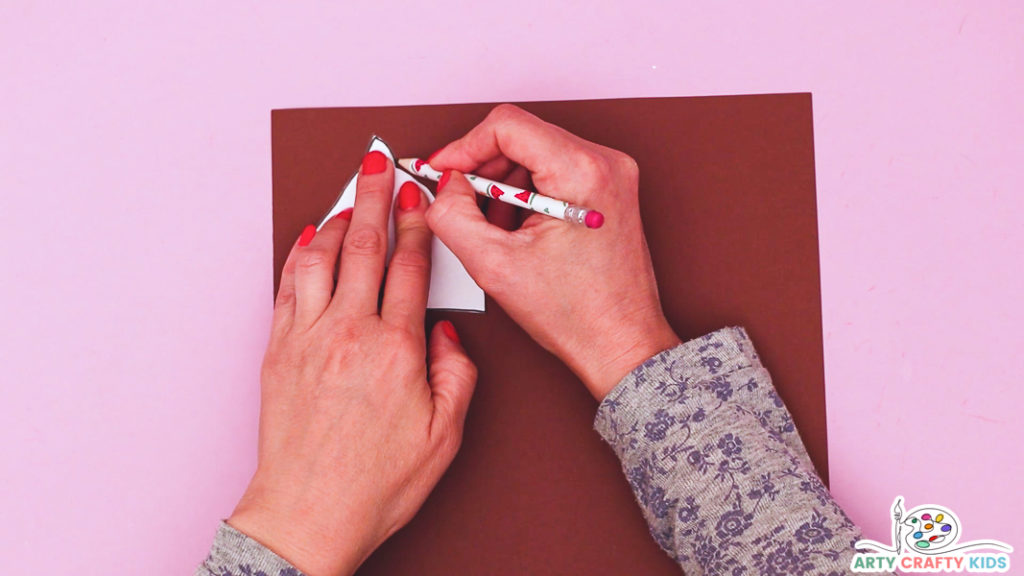
Cut Out the Horse Elements and Trace onto Card Stock
Cut out the elements from the horse template provided.
Using a pencil, trace the horses head twice onto brown card stock or paper.
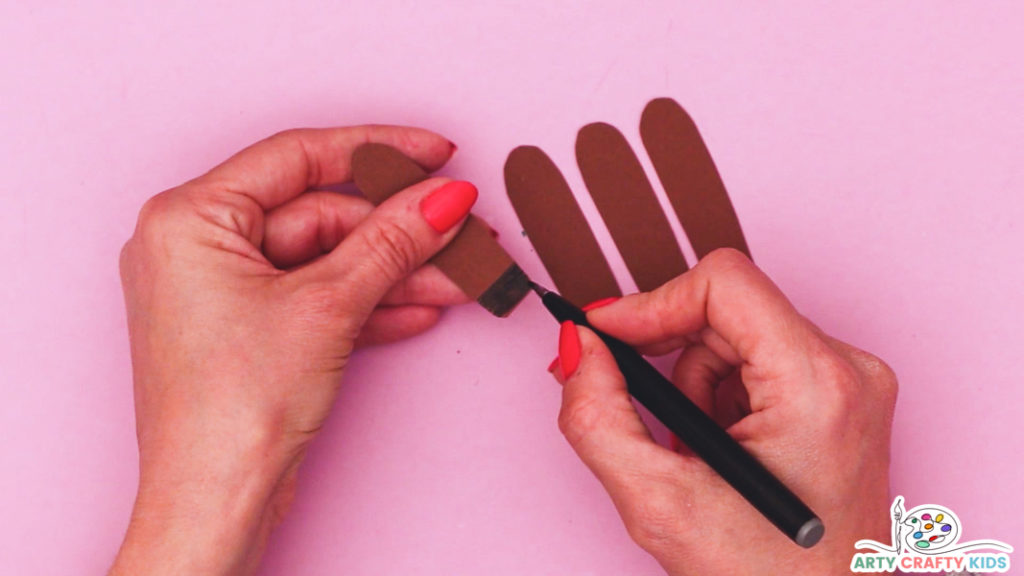
Cut out and Color in the Hooves
Trace the horses legs (four times) onto brown card stock (the enable the horse to stand, Arty Crafty Kids will need to use card stock).
Next, carefully cut out the legs and color in foot area to create hooves with a black marker pen.
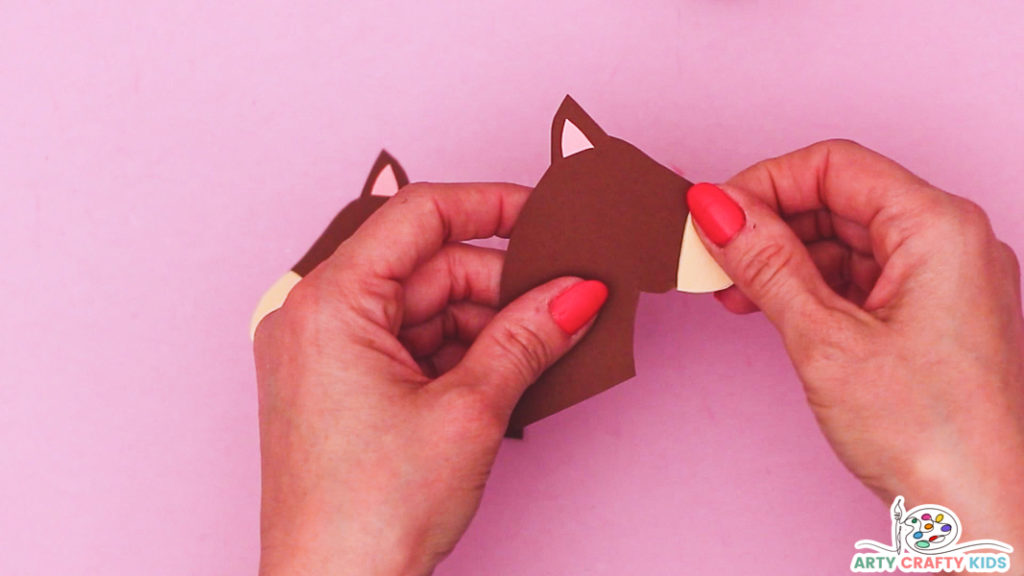
Define the Horses Head with a Constrasting Nose and Inner Ears
Trace the nose element (twice) onto beige paper. Carefully cut out the nose and secure to horses brown head. Repeat for both heads!
Trace the inner ear element (twice) onto pink paper. Carefully cut out the triangles and secure to the horses ear. Repeat for both heads!
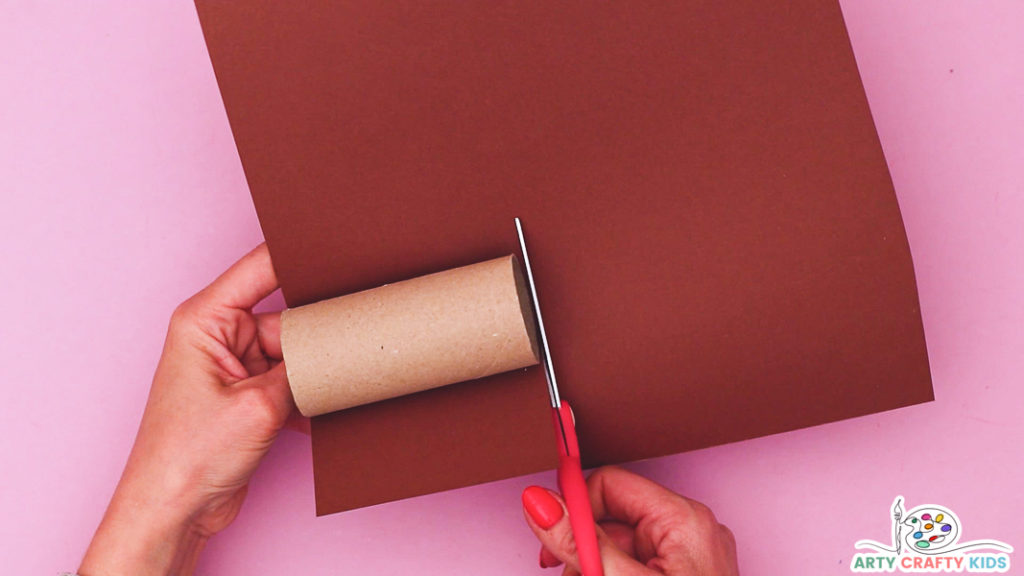
Wrap a Paper Roll in Brown Paper
Next, select a paper roll from the recycling bin.
Align the paper roll against a sheet of brown paper to measure its width and proceed to cut a long strip of paper – the strip should be long enough to wrap around the paper roll.
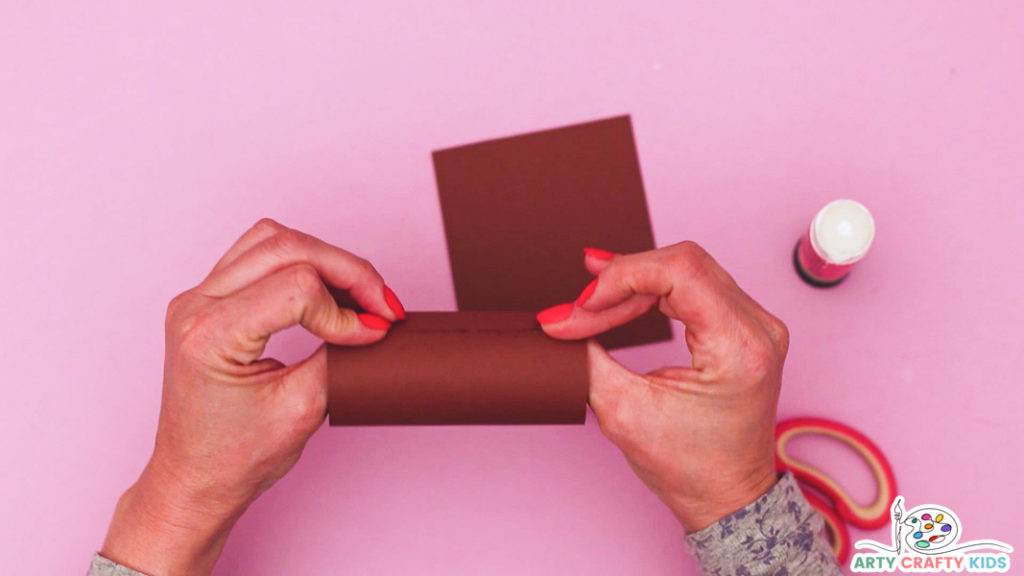
Secure the Brown Paper to Create the Horses’ Body
Once the entire roll is covered in paper, secure the paper end with glue – this will complete the craft base and horses’s body.
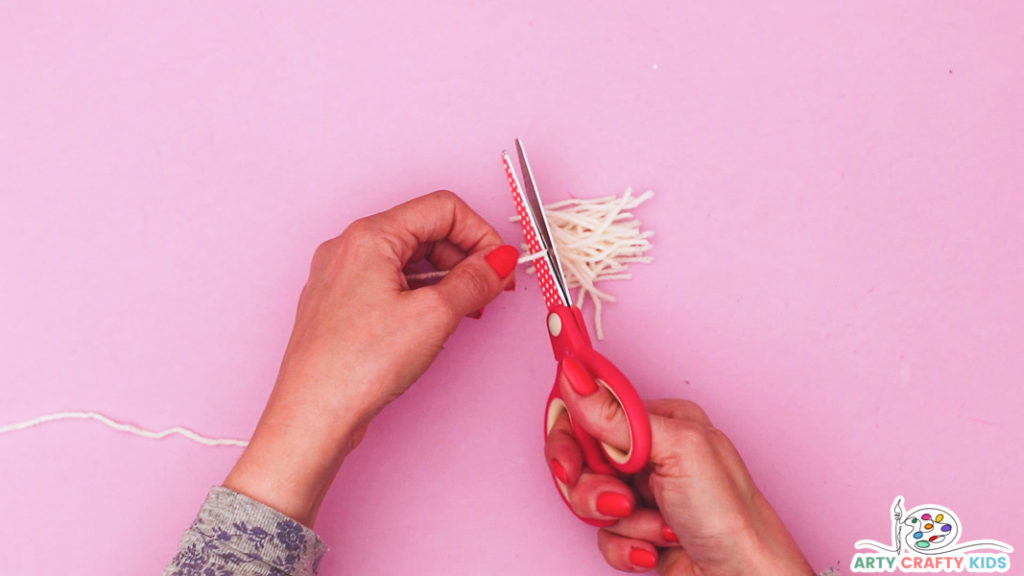
How to Make a Horses’ Mane
A strand of beige yarn into lots of smaller pieces.
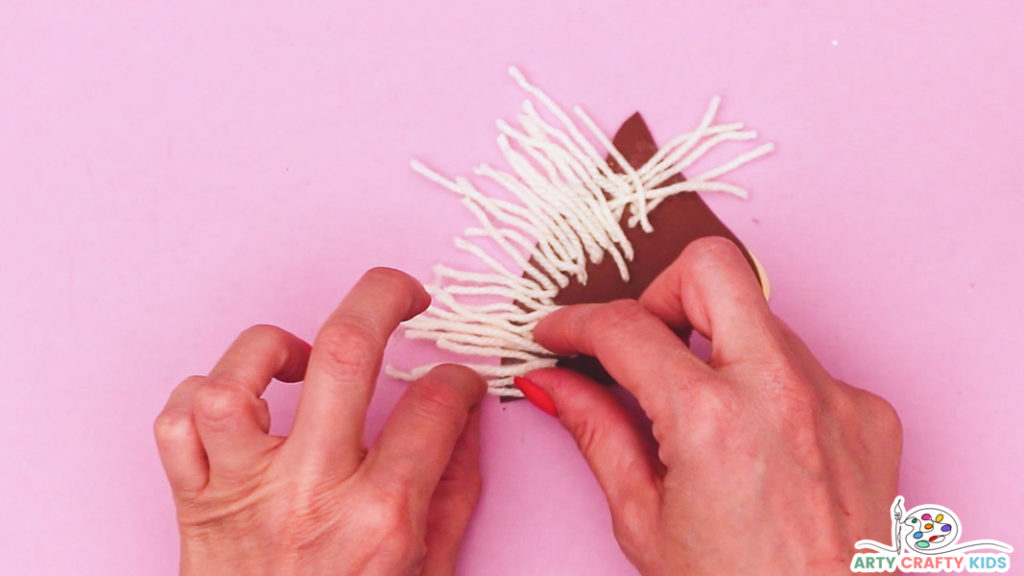
Glue the Yarn to the Horses’ Head
Select one of the horse’s heads and turn it over (so the nose and inner ear cannot be seen).
Apply a generous amount of glue along the back of the next and affix the strands of yarn.
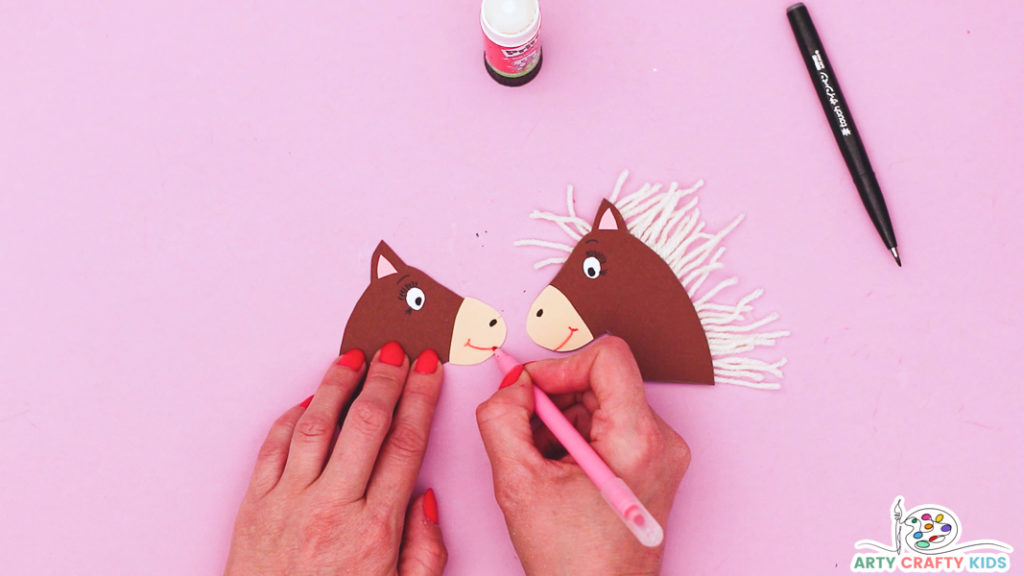
Add Detail to the Horse’s Face
Glue a single eye onto each head and draw a little smile with a pink marker pen.
Add a black dot for a nostril and little lashes to the eyes ( horse’s have big eye lashes!).
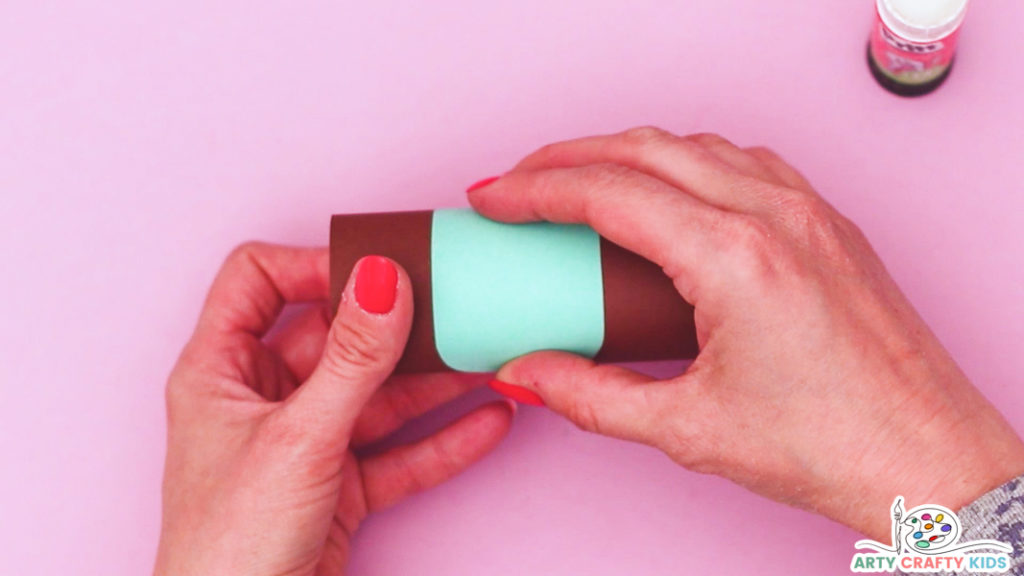
Glue the Saddle onto the Horses’ Back
Trace the saddle element on the a contrasting colored paper, cut it out and glue onto the horses’ back.
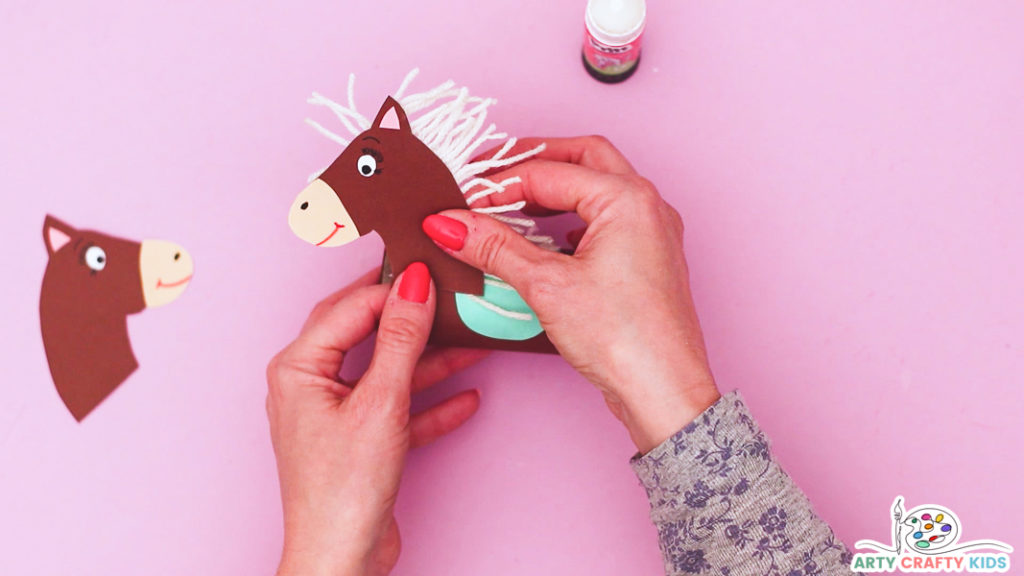
Affix the Horses’ Head onto the Paper Roll
Apply lots of glue to the bottom of one of the horses’ head and affix it to the side of the paper roll.
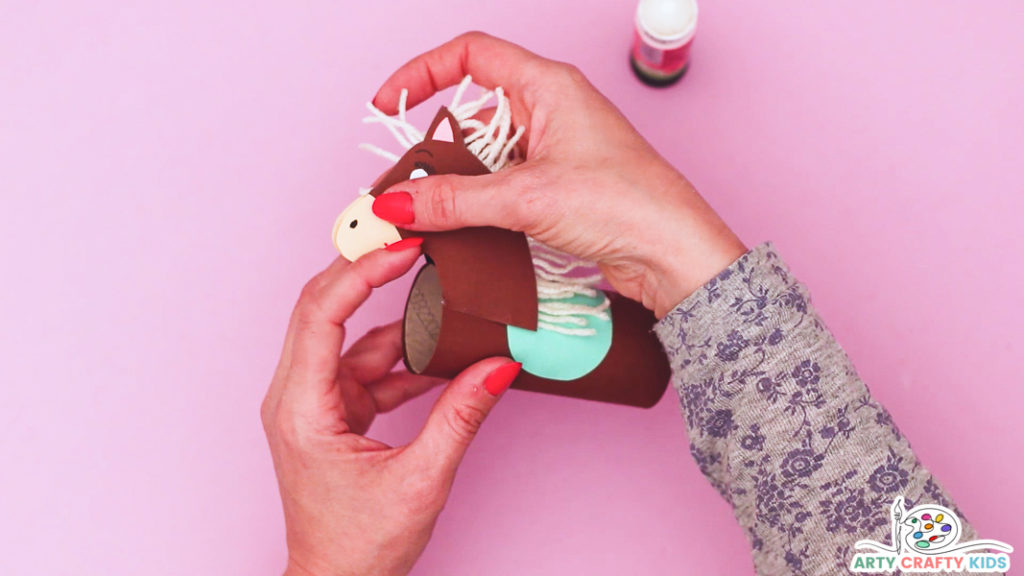
Align the Horses’ Head to Create One!
Next apply lots of glue to the inside of the second head and affix it to the other side of the paper roll.
Adjust the heads so the tops glue together and the noses’ touch.
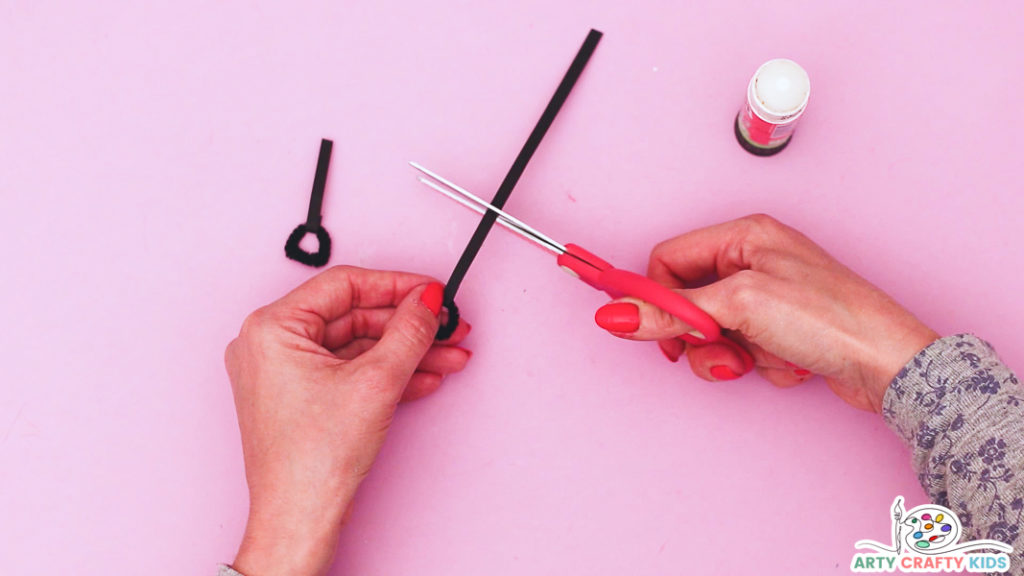
Make Two Stirrups
Bend two short pieces of black pipe cleaner into a pair of stirrups.
Cut to strips of black paper.
Fold one end of the black paper around the pipe cleaner and secure with glue to complete the stirrup. Complete this process for both.
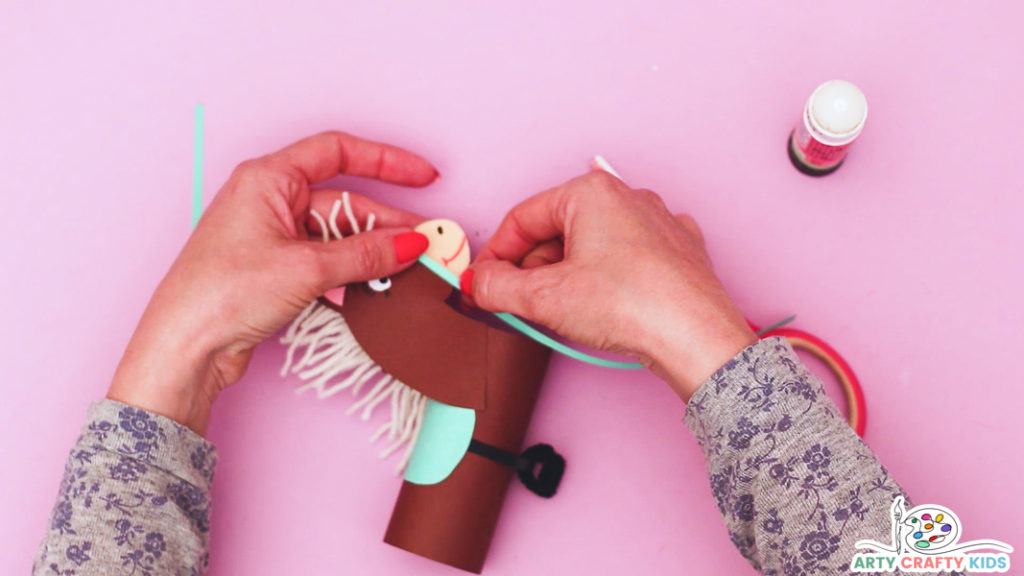
Affix the Stirrups and Make Bridle
Glue the stirrups to the bottom of the saddle on either side of the horses’ body.
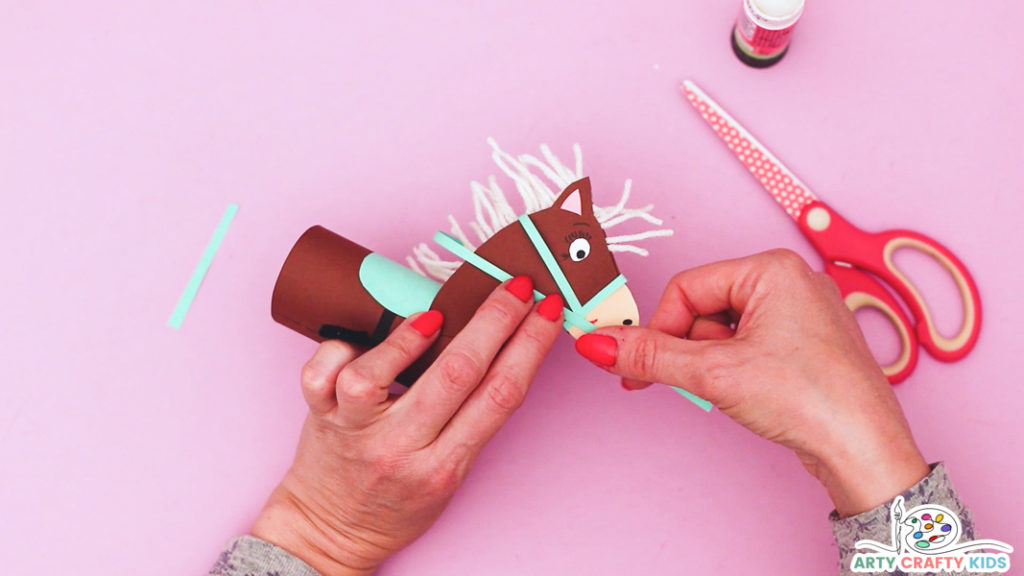
Cut a thin strip of green paper to make a bridle and glue it around the horse’s head.
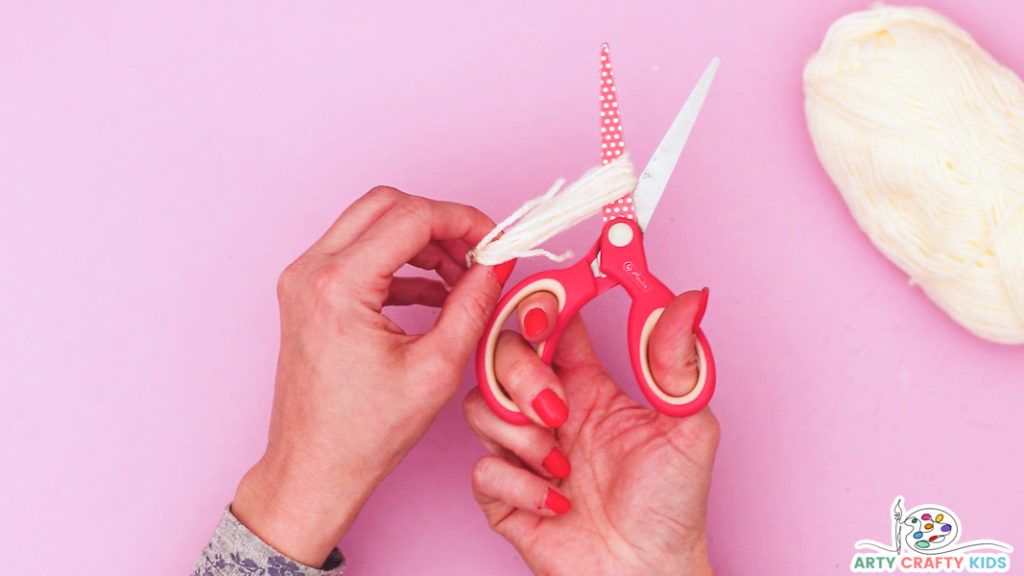
Make a Yarn Tail for the Horse
Wrap a length of beige colored yarn around your fingers, then tie a small piece of yarn to one end of the bundle.
Cut the bundle in half at the other end to make the tail, glue it to the horses’ bottom.
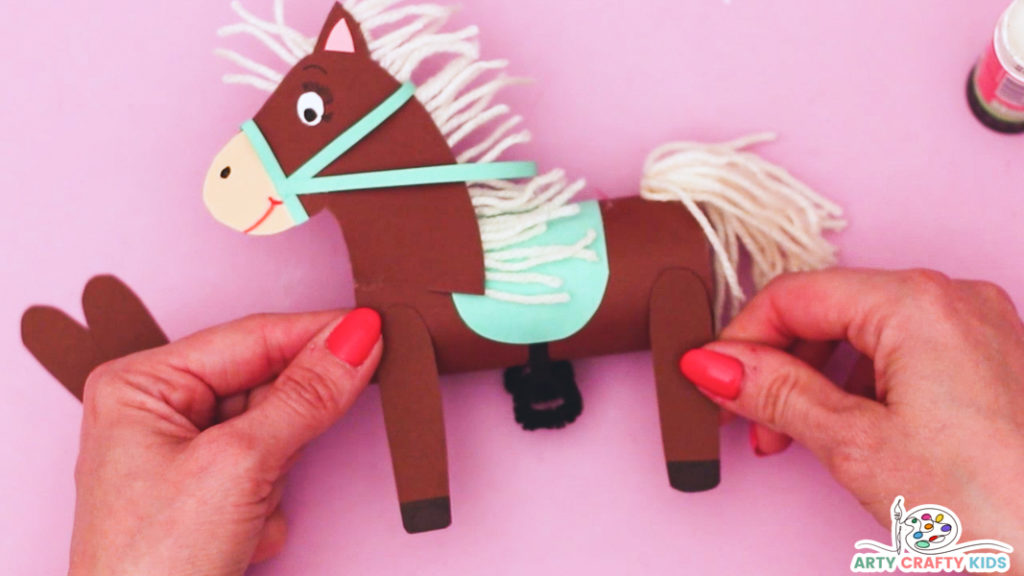
Complete the paper roll horse craft by gluing on the legs!
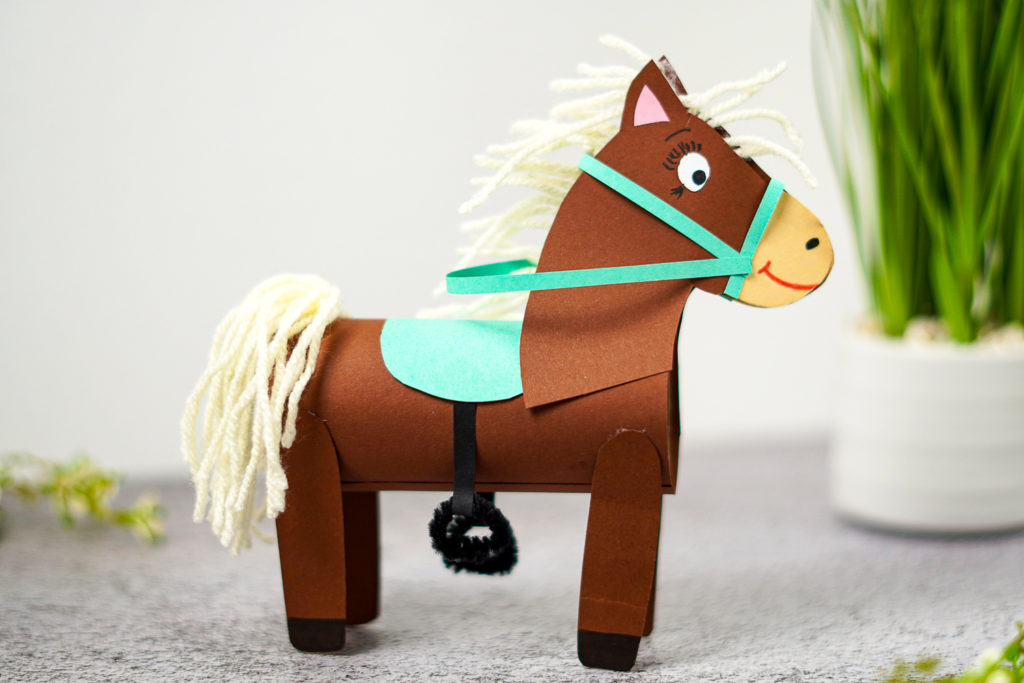
The Paper Roll Horse Craft is Complete!
The paper roll horse craft is complete! I hope your little people have the most wonderful time recreating this simple paper roll craft.
As always, we love to Arty Crafty Kids’ creativity in action and if you happen to share their completed makes on social media, please do give us a tag or/and use the #artycraftykids – happy crafting!
More Fun and Easy to Make Animal Crafts for Kids
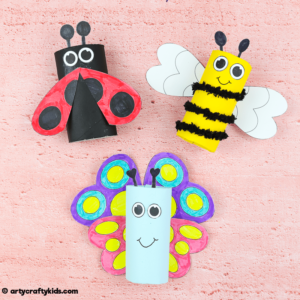
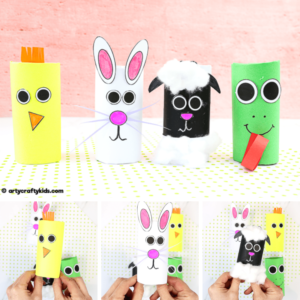
Children love animal crafts and at Arty Crafty Kids we have a plethora of creative ideas to keep kids entertained for hours! Take a look at some of the favorites…

