Sharing is caring!
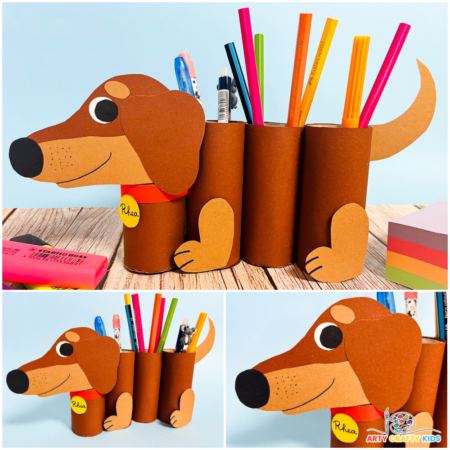
Get ready for back to school with a fun and creative project: a paper roll dog pencil holder!
This crafty make is inspired by my favorite dog breed, the dachshund, and it’s a perfect way to keep your stationery organized.
This project is great for kids of all ages to enjoy, whether they’re making it on their own or with a little help – we’ve included a printable template to make it even easier.

For more pet-themed crafty fun, check out our Paper Plate Dog and Cat crafts, as well as our Playful Pup Newspaper Project.
How to Make a Paper Roll Dog Pencil Holder
Materials:
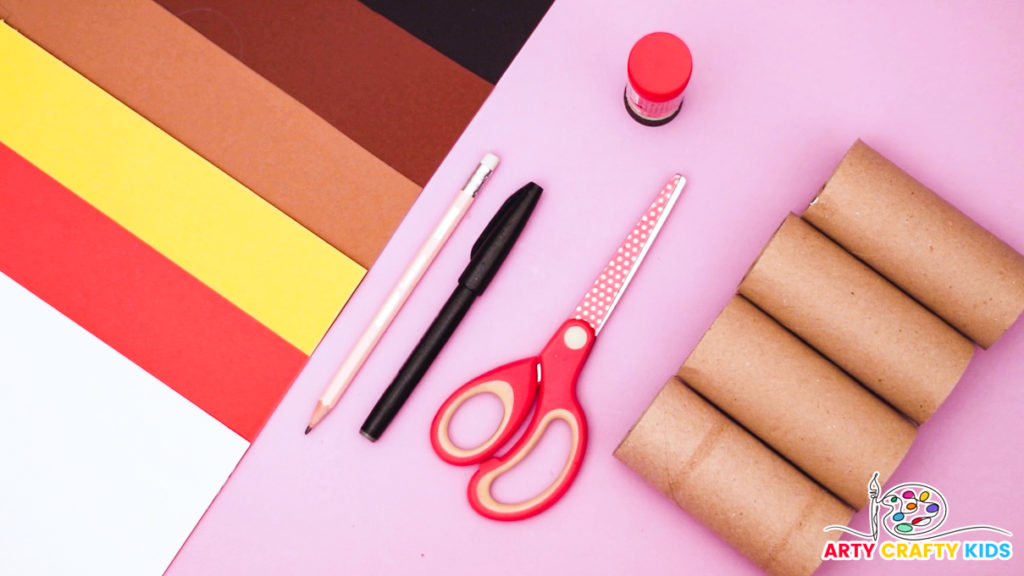
- x4 Paper Rolls
- White Paper for Printing
- Brown, Red, and Yellow Paper
- Brown, Beige, and Black Card Stock
- Glue Stick
- Scissors
- Black Marker Pen
- Dog Pencil Holder Template (members will need to log in to access the template).
Not a Member?
Join the Arty Crafty Kids club to access the Dog Pencil Holder Template, along with more than 1000 Art and Craft templates, How to Draw Guides, and Coloring Pages.

Dog Pencil Holder Step-by-Step
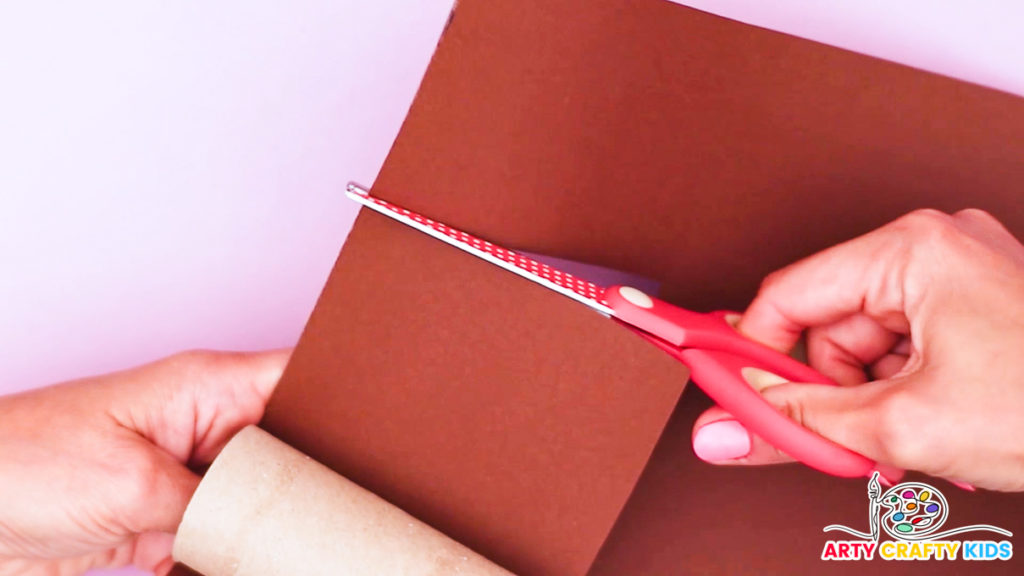
Step 1: Wrap the paper rolls.
Start by wrapping each paper roll in brown paper (or a color of your choice). Align the paper roll horizontally on the paper and cut a strip long enough to cover it.
Fold any excess paper into the ends of the roll to keep the edges tidy.
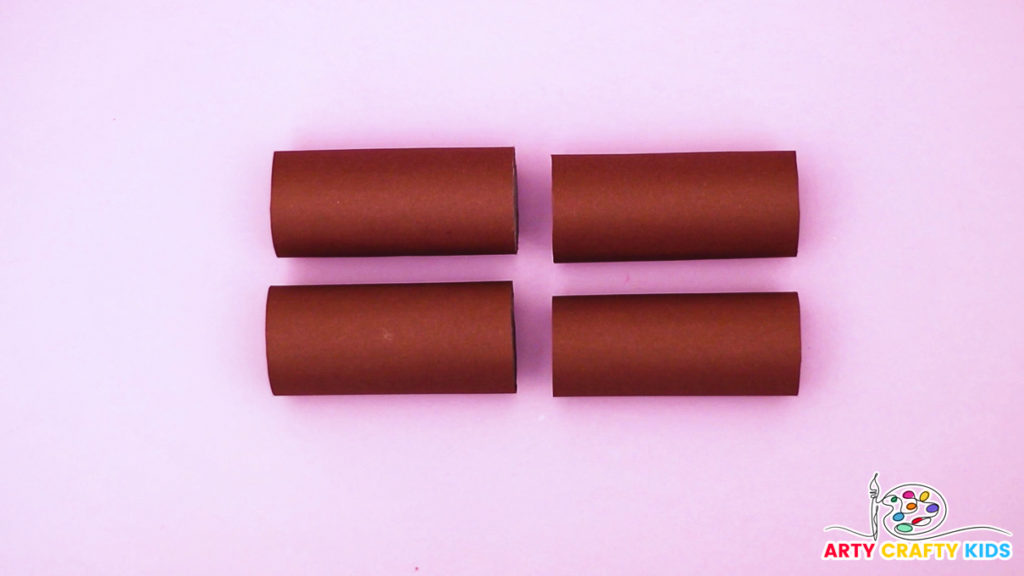
Wrap all four paper rolls; you can use more if your Arty Crafty Kids want to create an extra-long dachshund (also affectionately known as a wiener dog or sausage dog).
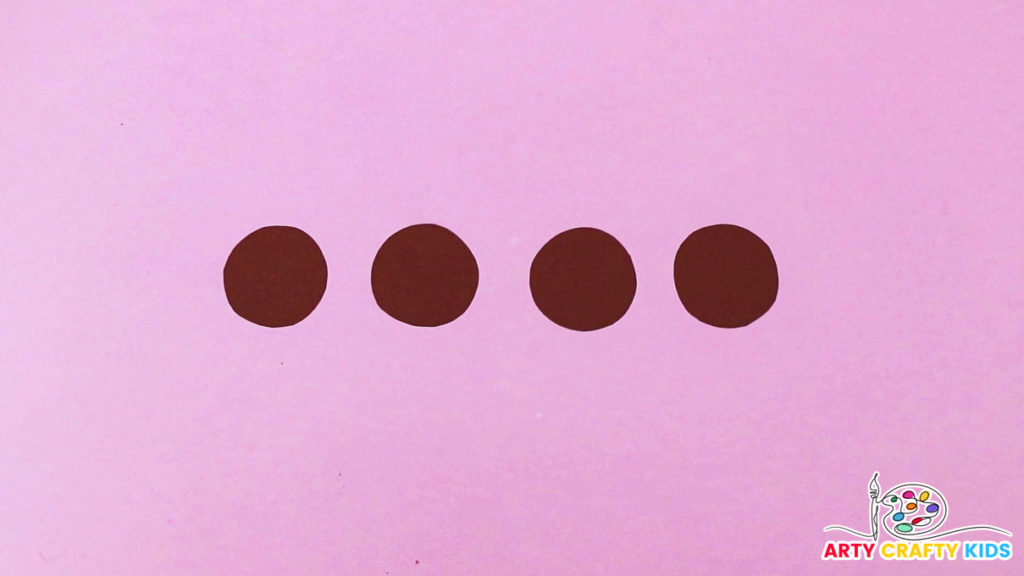
Step 2: Attach bases to each paper roll.
Trace around the base of the paper roll with a pencil four times, then cut out the circles.

Apply glue to the edges of each circle and stick one onto the bottom of each paper roll.
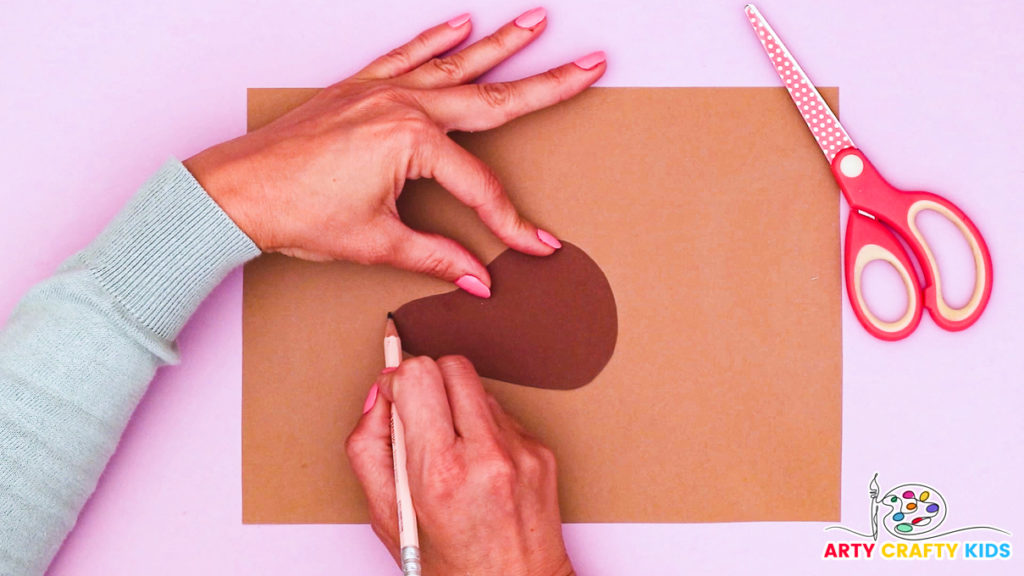
Step 3: Trace the dog’s head onto colored cardstock.
Trace the dog’s head onto matching colored cardstock for the body, and then trace it again onto a lighter shade.
Dachshunds, known for their distinctive two-toned faces, are being recreated here using brown and beige paper to capture this characteristic of our favorite dog breed.”

Cut the lighter shade of cardstock in half and affix it to the lower portion of the dog’s head.

Step 4: Affix the dog’s eye, ear and nose, and draw a smile!
Affix all the dog’s facial elements (we’ve even included their expressive brows!) and use a black marker pen to draw a cute, animated smile.
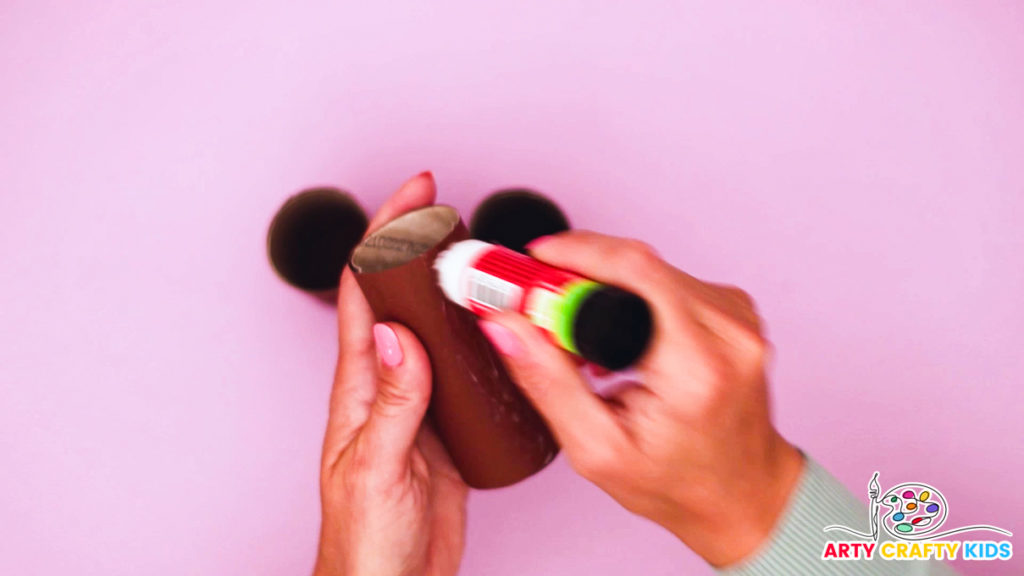
Step 5: Connect the paper rolls to form the pencil holder.
Apply a generous spread of glue to the side of each paper.

One by one, glue them all together, firmly pressing the pencil holder at both ends to ensure they stick. If necessary, secure the joints with a paper clip or clothespin.

Step 6: Make a dog collar.
Every dog needs a collar and a name dog tag – ours is named after my pet dachshund!
Use a strip of colored paper to create a collar and then a yellow circle for the name tag.
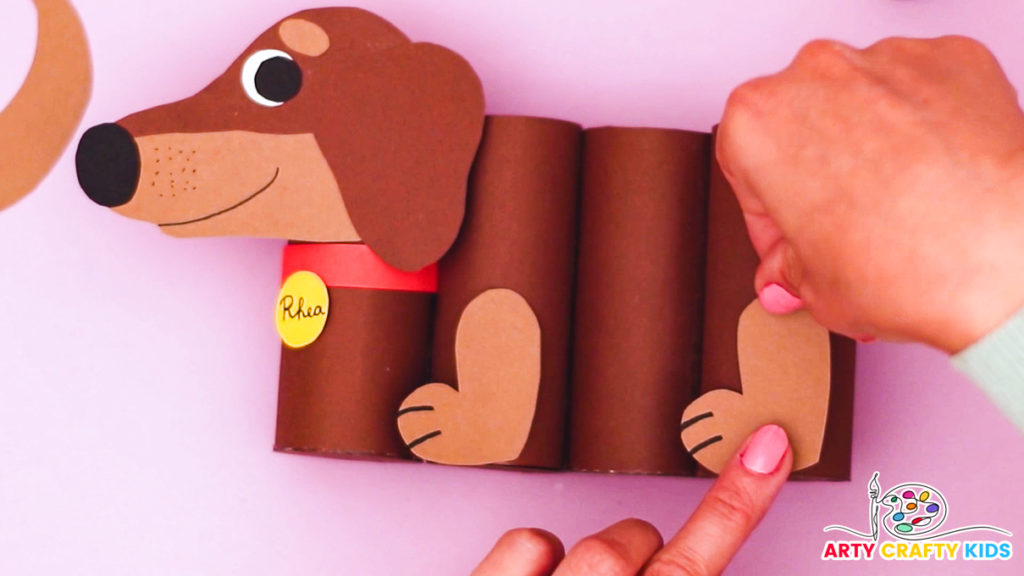
Step 7: Affix the dog’s legs to the pencil holder.
Trace the legs onto colored paper, ideally the same color as the lower portion of the dog’s mouth. This will help create contrast against the dog’s body.
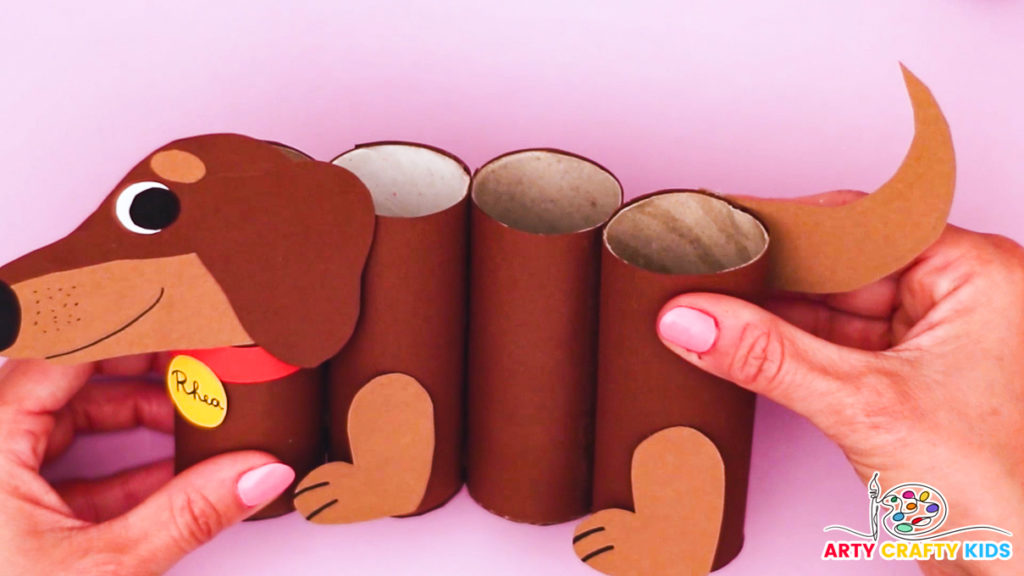
Step 8: Affix the dog’s tail.
Using the same colored paper as the legs, affix the tail to the end paper roll to complete the dog pencil holder.
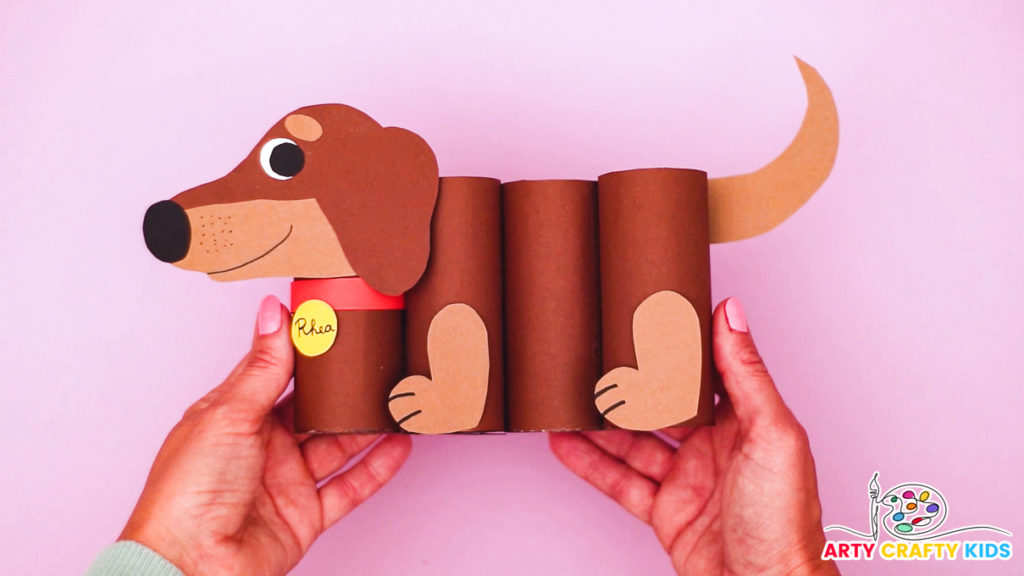
The paper roll dog pencil holder is complete and ready to be loaded with school supplies. This adorable and practical craft will keep your stationery organized and add a touch of personal flair to your desk as you head back to school. Enjoy your new companion for the school year!

Download the Dog Pencil Holder Template:
” Make an adorable paper roll dog pencil holder with our printable template! Perfect for kids of all ages, this easy craft helps create a charming dachshund-inspired desk accessory.
Ideal for back-to-school prep, the template includes simple instructions for a fun and creative activity.”

