Sharing is caring!
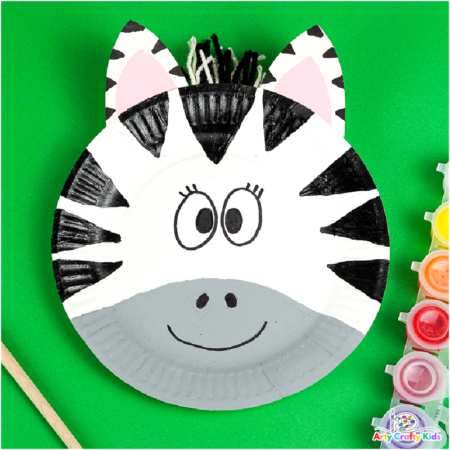
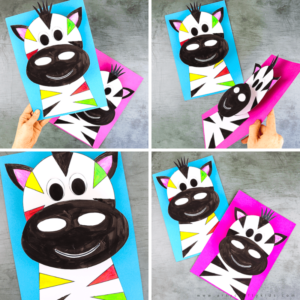
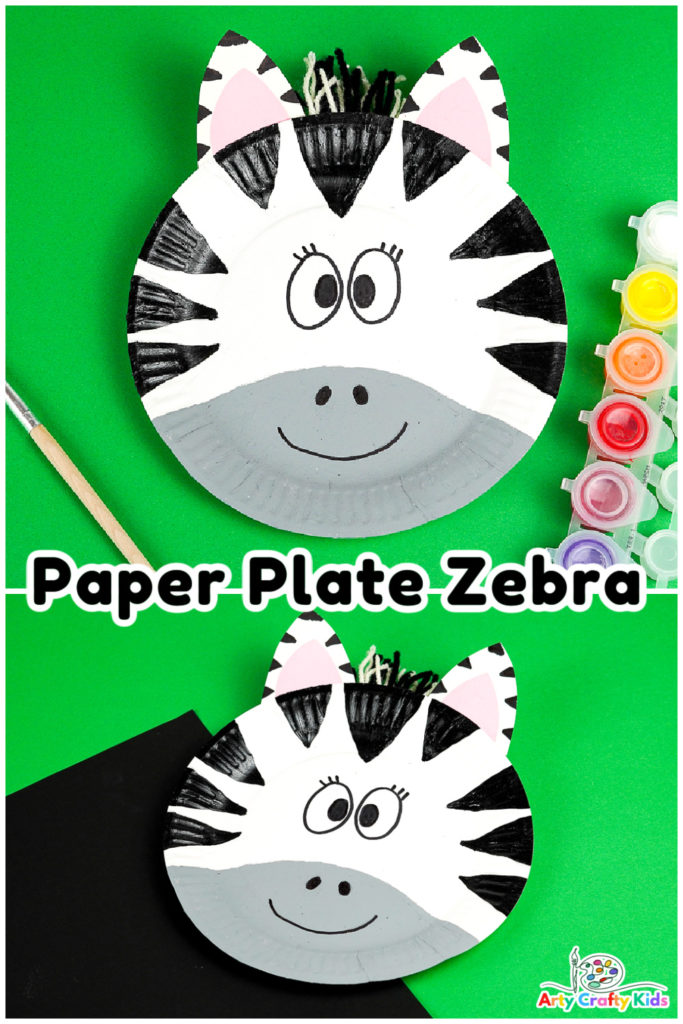
This easy paper plate zebra craft is perfect for preschoolers to make and is a fantastic craft to feature in zoo animal topic and preschoolers learning of the letter ‘Z’.
With just a few basic supplies, Arty Crafty Kids can create a fun and happy looking zebra in just 6 simple steps.
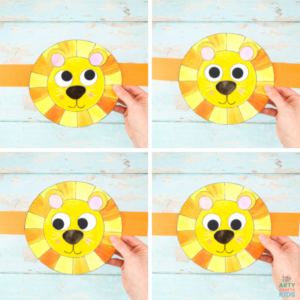
Once the children have made their very own Marty the Zebra , they could extend their creativity to making a paper plate Lion!
And why stop there? we have a plethora of animal crafts for kids’ to choose from… perhaps they could make their very own crafty zoo – a lovely project to complete during Summer break.
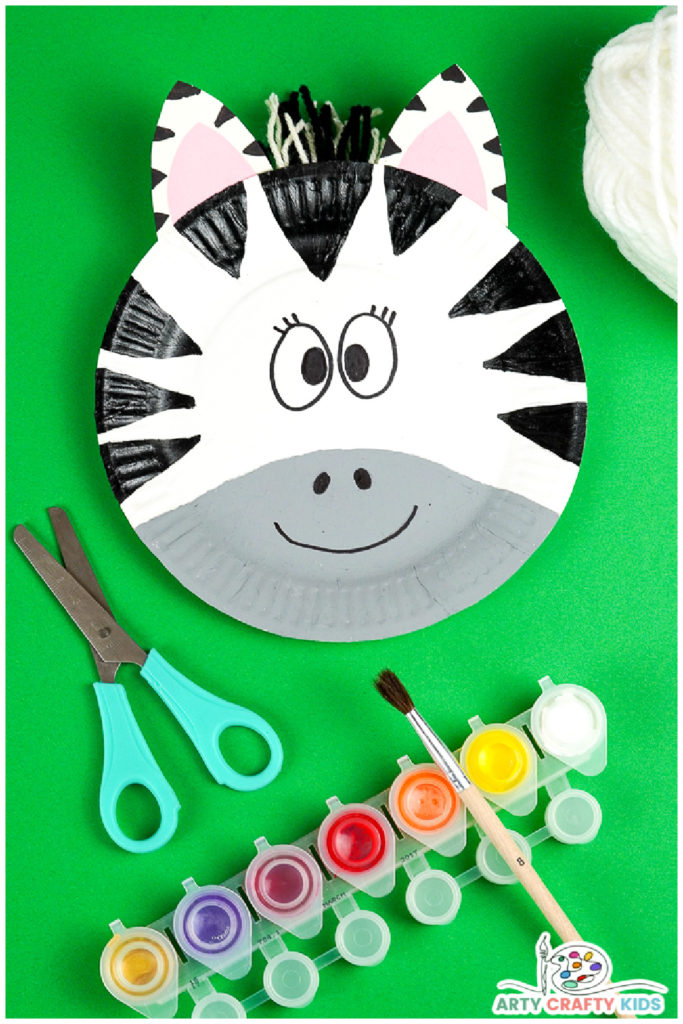
Paper Plate Zebra Craft for Preschoolers to Make
This tutorial will provide the framework for preschoolers to follow to make their very own paper plate zebra craft!
The stripes can be any shape, length and even color – as much as possible, this simple craft allows for your preschooler or young child to take the lead.
Materials
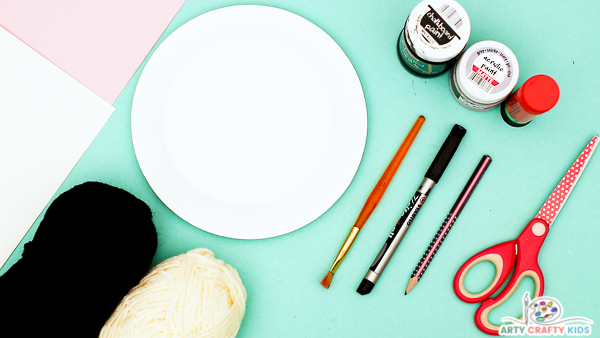
- White Paper Plate
- Black and Grey Paint
- Pencil
- Black Marker Pen
- Card Stock or Paper – White and Pink
- Scissors
- Optional – Black and White Yarn
- Sticky Tape
Watch the Step-by-Step Video Tutorial
Let’s Make a Paper Plate Zebra!
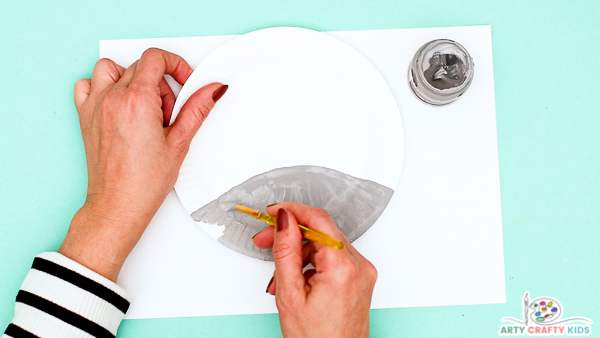
Step 1: Paint the Zebra’s Mouth Area
Draw a semi-circle shape at the bottom of the paper plate and paint it grey – this will become the Zebra’s mouth area.
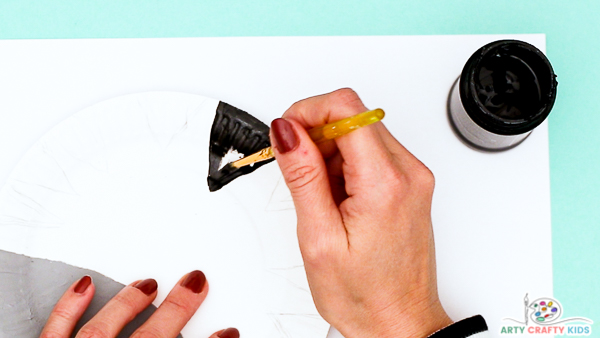
Step 2: Paint the Zebra’s Stripes
Next, faintly draw a number of triangular shapes around the paper plate edges.
Paint the triangles – “Zebra Stripes” – black.
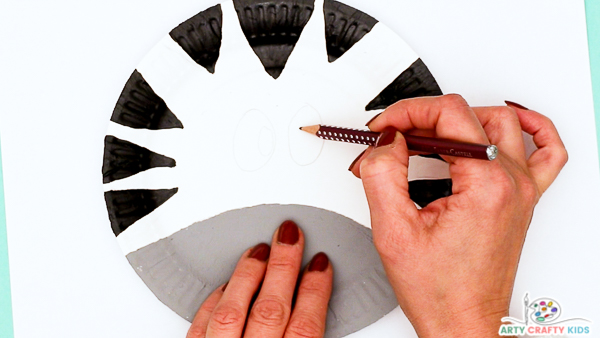
Step 3: Draw a Pair of Eyes, Nostrils and a Smile
Next, draw a pair of eyes, nostrils and a big smile.
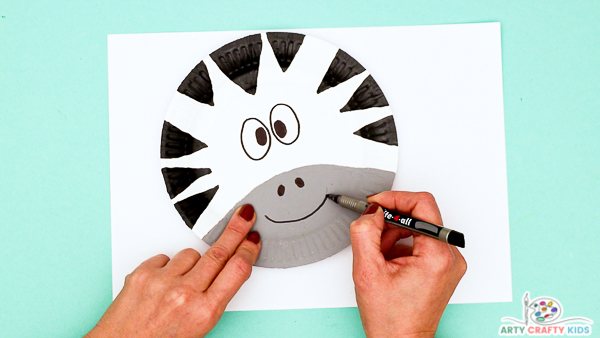
Step 4: Trace the Pencil Draw Lines with a Marker Pen
Trace the pencil drawn lines with a black marker pen.
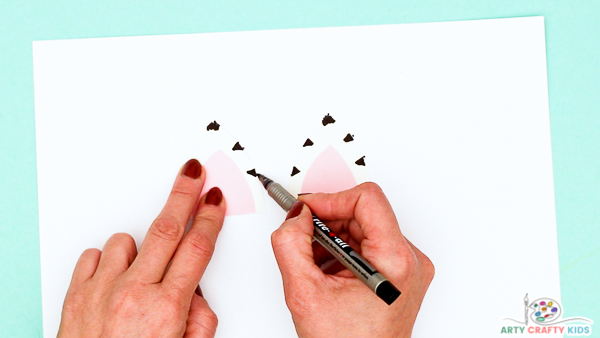
Step 5: Draw and Color a Pair of Zebra Ears
Draw a pair of large triangles onto a sheet of white paper or card stock.
Draw a small pair of triangles onto a piece of a pink paper or card stock.
Cut out the pink triangles and glue them onto the large cut out white triangles and finish off with a few black marks for stripes!
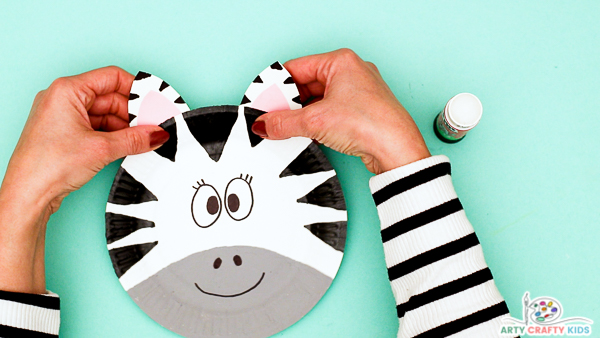
Step 6: Glue the Ears onto the Zebra’s Head
Glue the ears onto the head of the zebra.
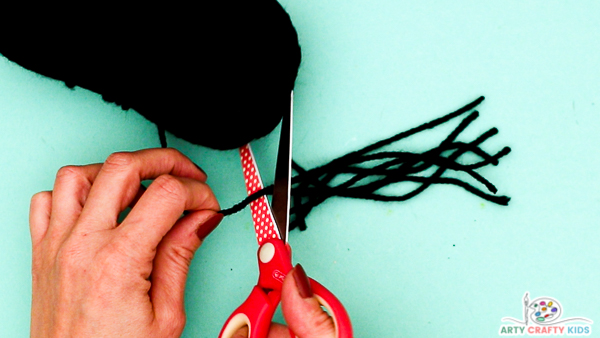
Step 7 (Optional): Cut Strands of White and Black Yarn
Next, cut out a number of short strips of black and white yarn.
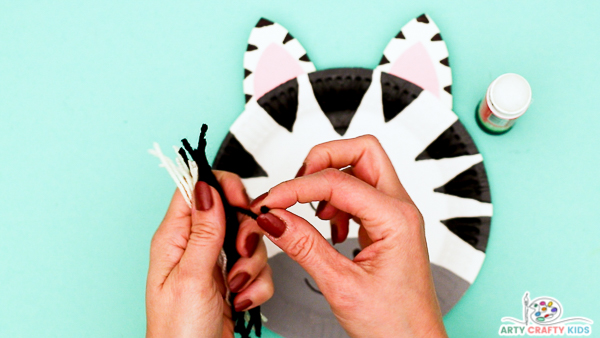
Step 8: Gather the Yarn and Secure
Gather the yarn and wrap one piece of yarn around the middle of the bunch, securing with a knot.
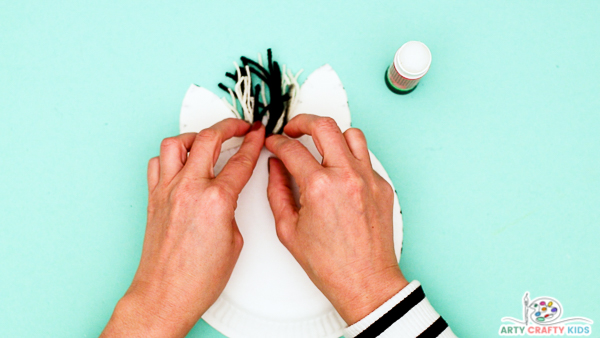
Step 9: Secure the Yarn Between the Zebra’s Ears
Fold the yarn bunch in half and secure with sticky tape.
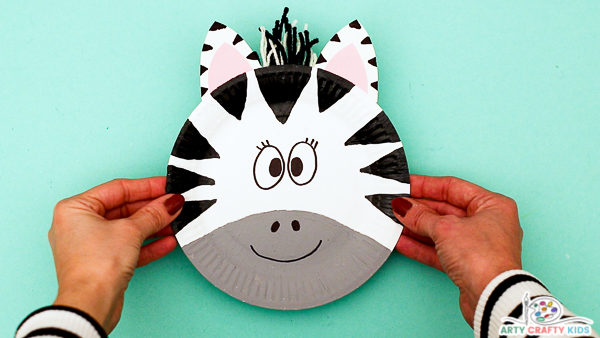
The Paper Plate Zebra Craft is Complete!
I hope your Arty Crafty Kids have the most wonderful time creating their own paper plate zebra’s and as always, I love to see their creativity in action. If you happen to share their completed crafts online, do give Arty Crafty Kids a tag or #artycraftykids.
More Animal Crafts for Kids:
Are you looking for more fun and easy animal crafts to try with your kids this Summer? then look no further! we have lots of fun and engaging animal themed art and craft ideas for them to try. Here are a few of our favorites…

