Sharing is caring!
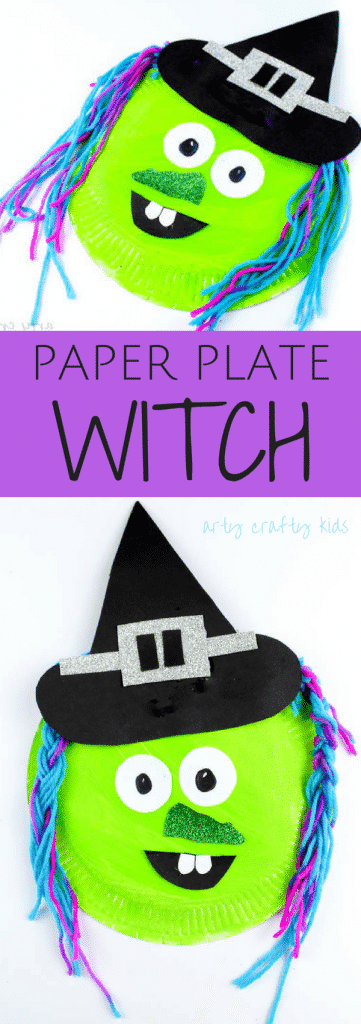
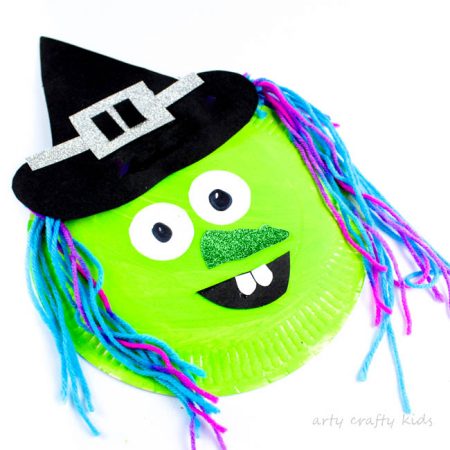
September has arrived and we’re in Halloween countdown mode. It’s not all about the spooktastic festivities, for we have another big event to celebrate – the 4th birthday of our very own Halloween baby! She’s super excited about her birthday and since it falls on Halloween, there’s lots of chat about witches, ghosts, and pumpkins. As such, what better way to kick start the Halloween crafty season than with a bright green, crazy haired Paper Plate Witch!
This is a super easy Halloween craft that kids will love and the hair can be plated and styled however your Arty Crafty Kids choose.
So let’s gather some materials and get started!
Paper Plate Witch: Materials and Tutorial
This post contains affiliate links to recommended products.
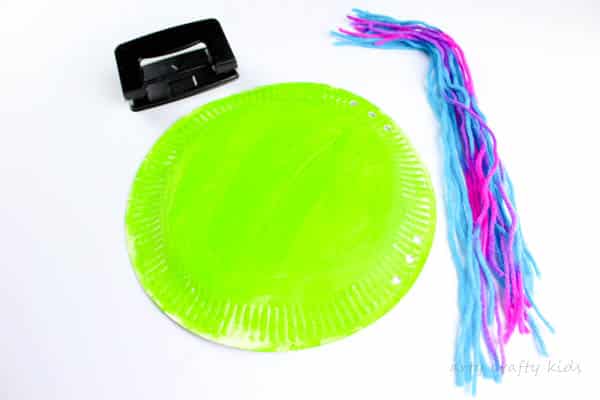
Step 1. Paint the paper plate bright green and once dry add punch 3 holes into the area designated as the ‘witches head’.
TIP: For quick drying and to avoid a soggy paper plate, try sponge painting the plate.
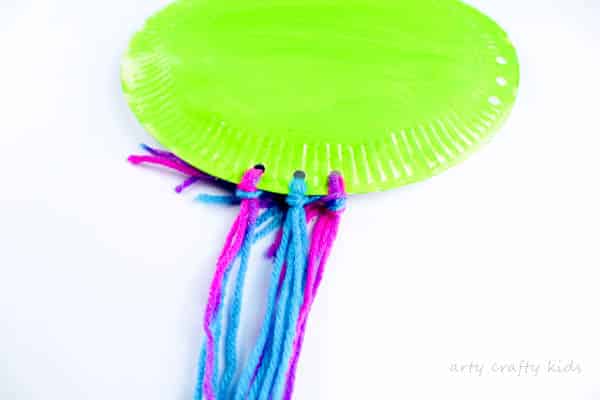
Step 2. Cut up multiple strands of yarn and thread them through the punch holes, securing with a single knot. We were able to thread 4 pieces of yarn into each punched hole.
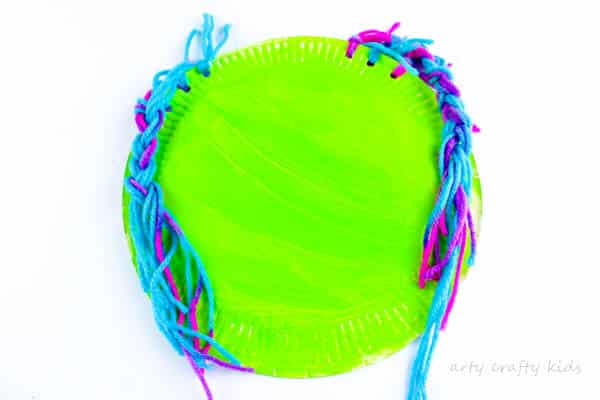
Step 3. Pull the yarn forward over the paper plate.
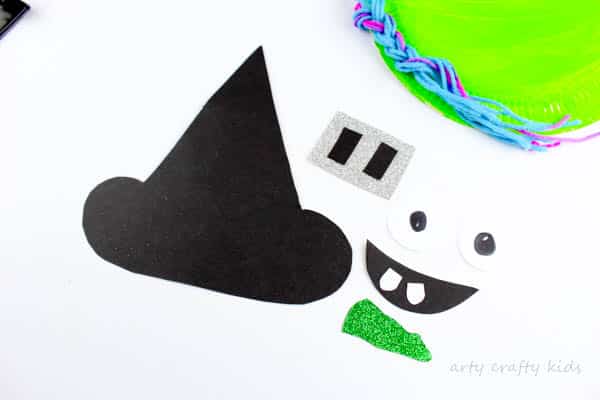
Step 4. Using a combination of black stock card, white paper, glitter card (green and silver), cut out a witches hat, accessories and facial features.
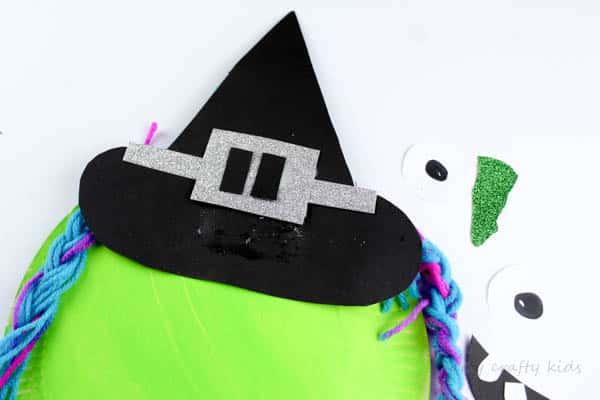
Step 5. Cover the roots of the yarn with the black hat and secure with a generous amount of PVA glue.
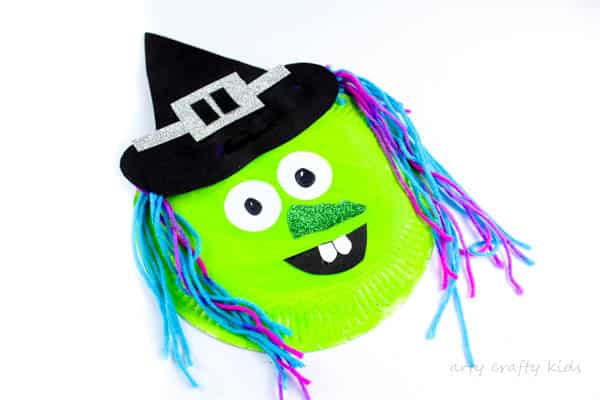
Step 6. Add the remaining facial features, securing with more PVA glue.
The Paper Plate Witch is now Complete!
I hope your Arty Crafty Kids love their paper plate witches! for more spooky arts and crafts, check out our:
20 Easy Halloween Crafts for Kids!
Pin the Paper Plate Witch to save for Later!
