Sharing is caring!
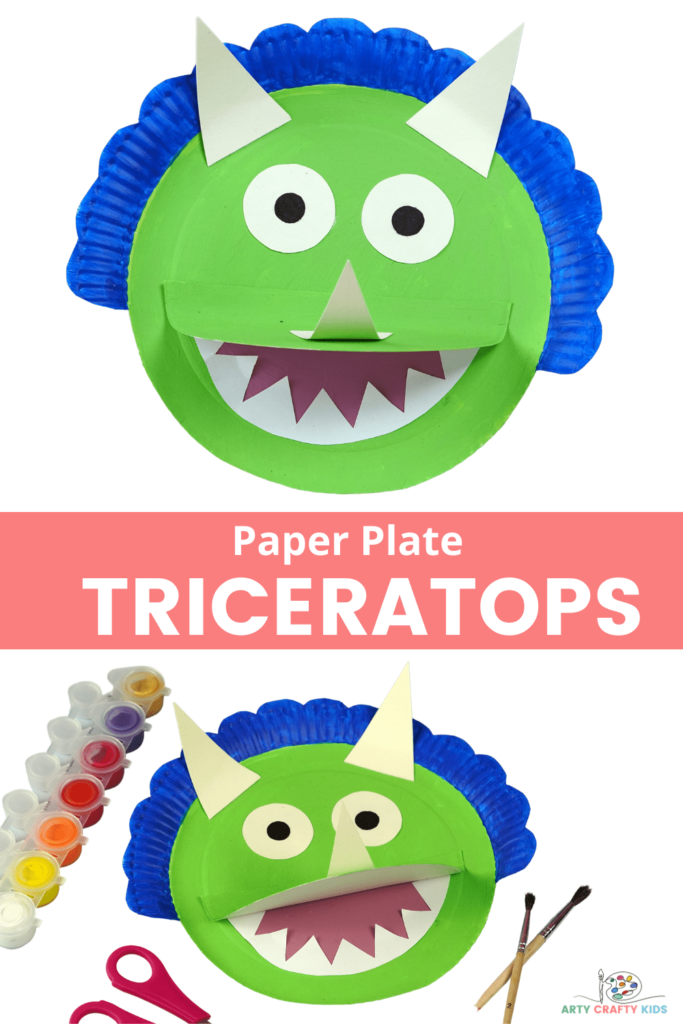
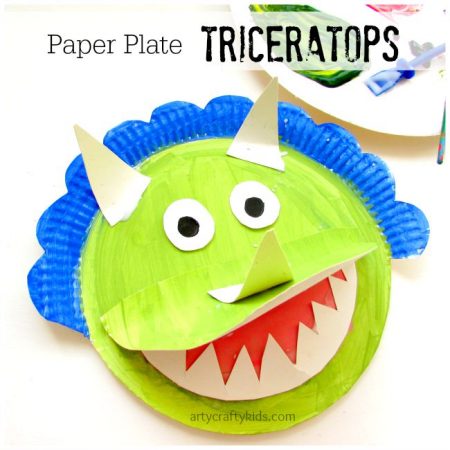
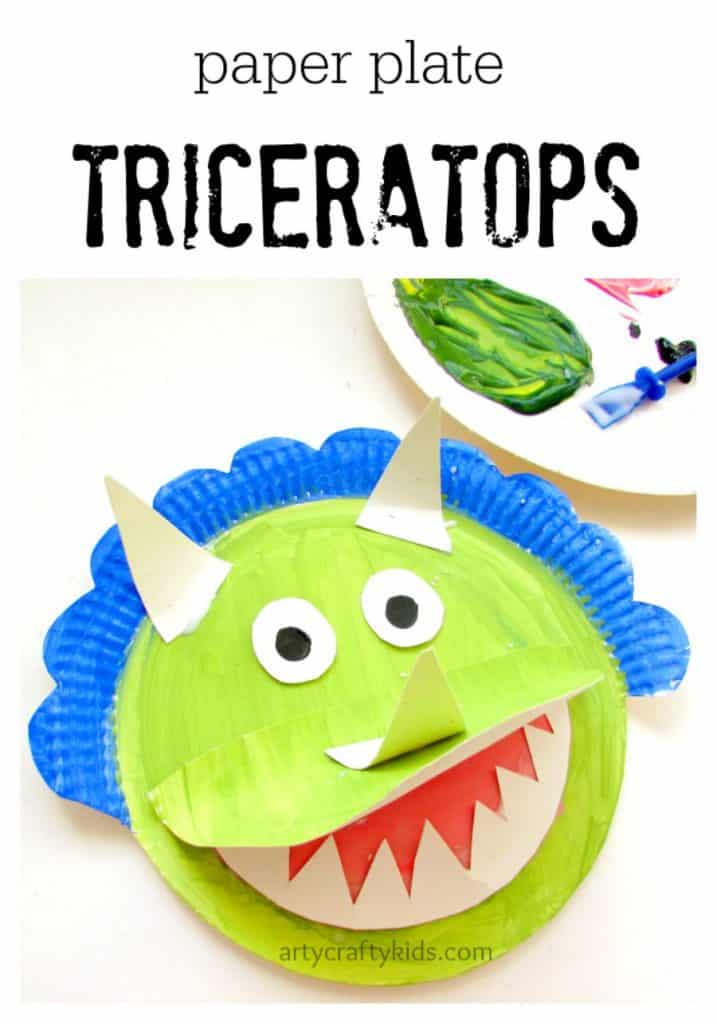
Learn how to make this Paper Plate Triceratops with our step-by-step tutorial and video! As far as paper plate dinosaur crafts go, this is one of my favorite designs. The paper plate creates the impression of a fabulously grand head frill and the 3D mouth brings the dinosaur to life.
Children will love the process of cutting, painting and sticking to transform their paper plate into an impressive looking dinosaur. The 3D toothy grin adds an interactive element to the craft that will encourage children to play with their dino creations.
So whether you’re looking for a fun and engaging dinosaur craft at home or are looking for a project to cover dinosaur topic within the classroom, our paper plate triceratops will most certainly be a hit!
How to Make a Paper Plate Triceratops:
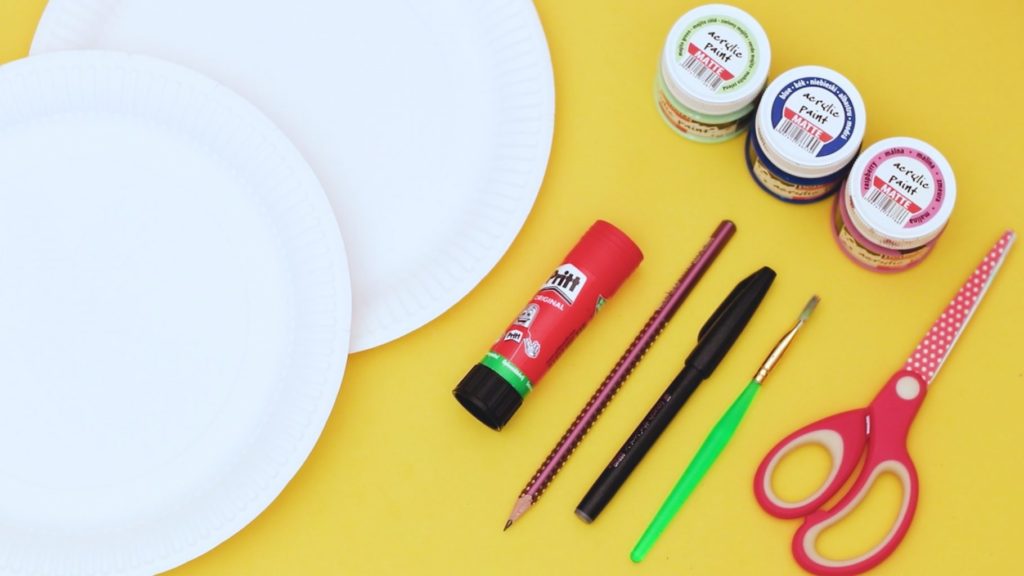
Materials:
2 Paper Plates
Paint
White Card Stock
Glue Stick
Scissors
Pencil
Marker Pen
Watch the How to Make a Paper Plate Dinosaur Video:
Let’s Make a Paper Plate Triceratops!
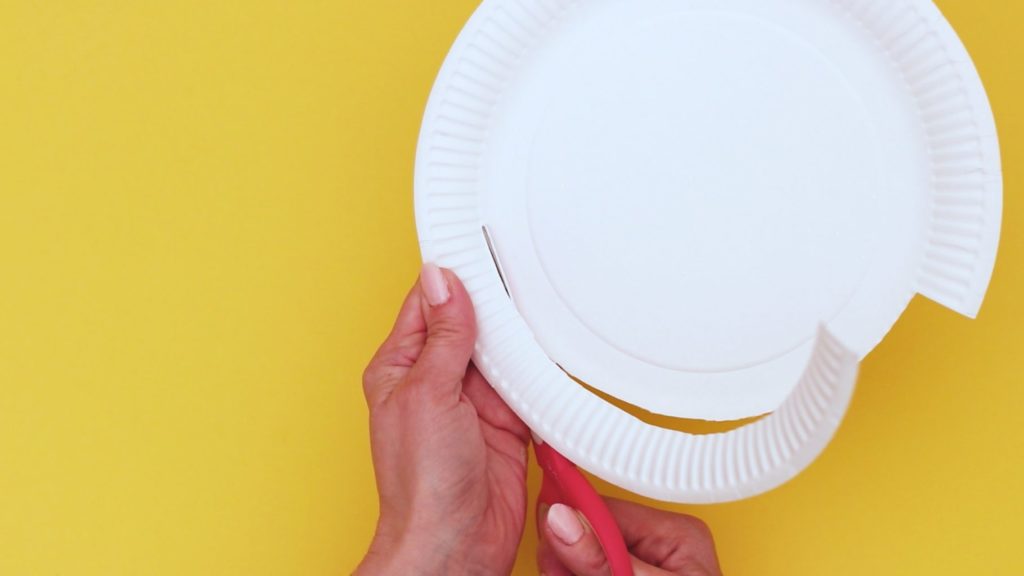
Remove the Paper Plate Rim
Our paper plate triceratops has two defined parts; A mouth with a toothy grin and a bold head frill. To create these two distinct areas, remove one half of the paper plate rim – this will become the bottom half of our triceratops head.
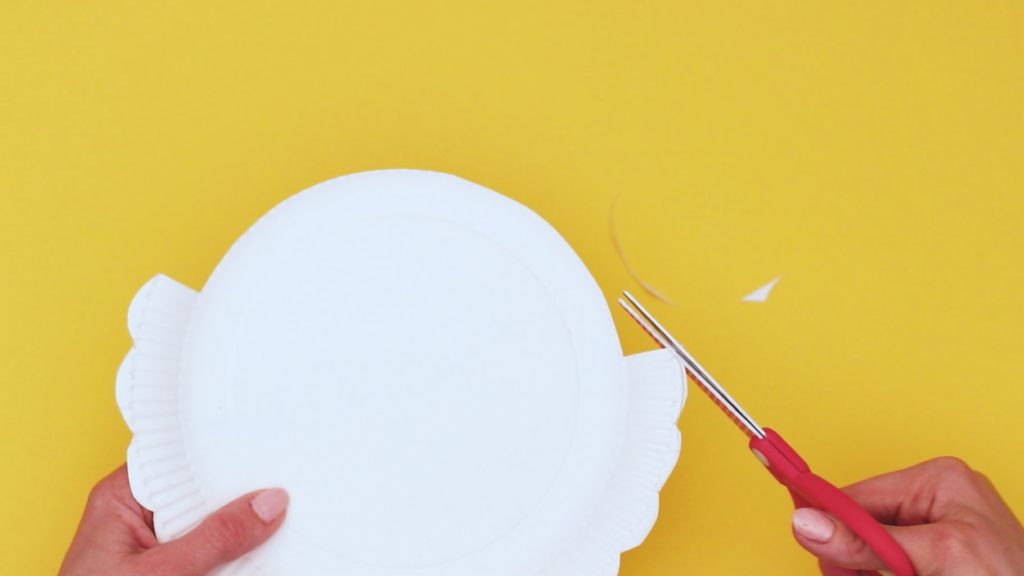
Create the Triceratops Head Frill
Cut a bumpy shape into the other half of the paper plate. For guidance, I would recommend drawing a faint bumpy line first.
Paint the Triceratops
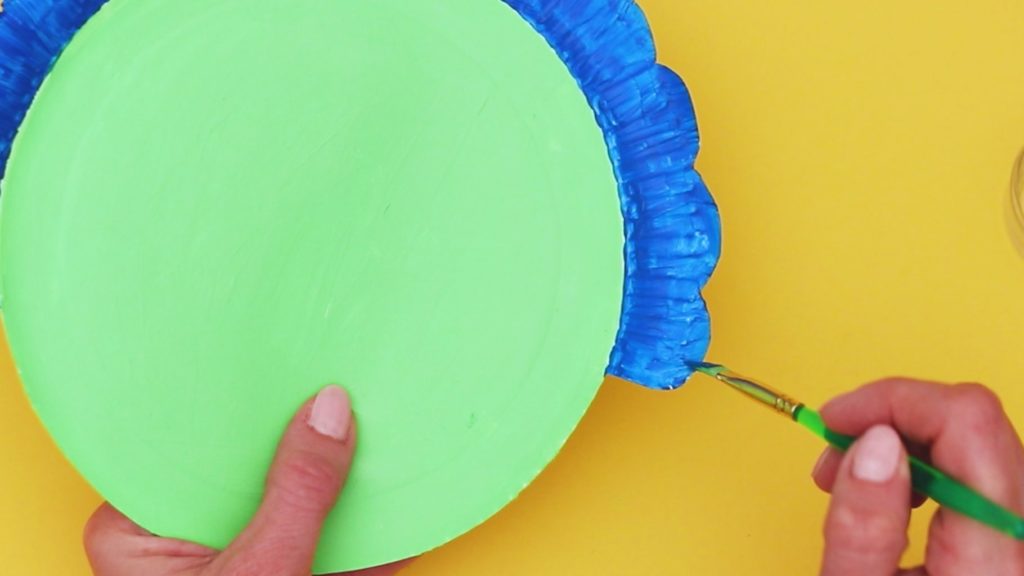
Next, paint the paper plate. To create definition, paint the face and frill two different colors.
Create a Mouth Flap
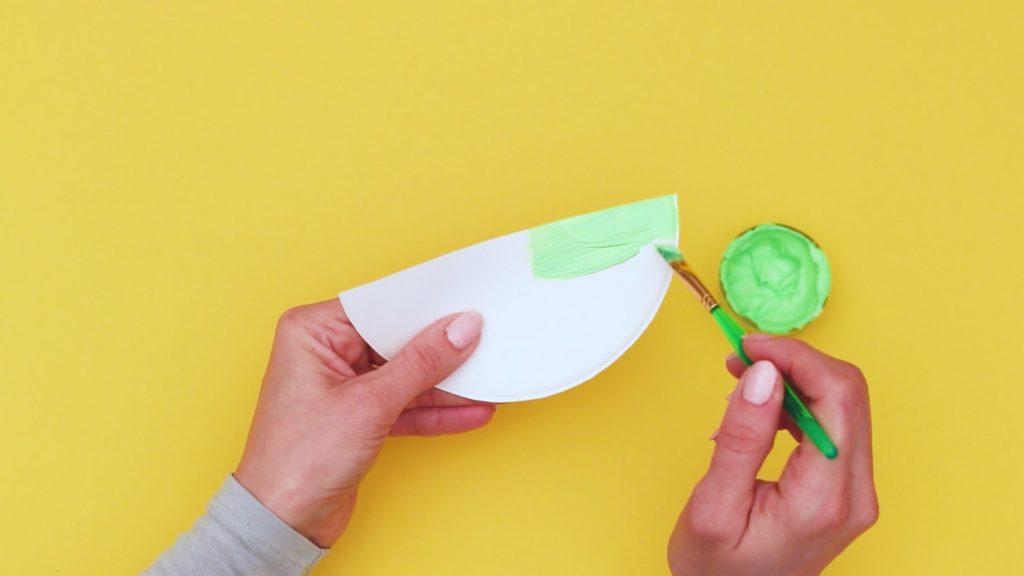
Using the inner section of the section paper plate, cut out a semi-circle.
Paint the semi-circle.
Paint the Inside Mouth
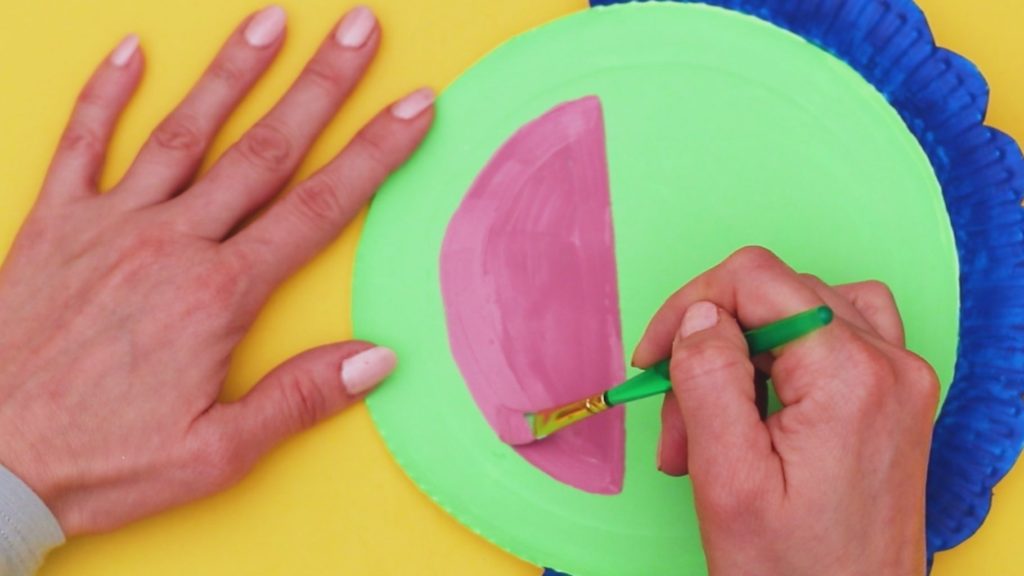
Using a pencil, trace around the upper mouth piece from the pervious step and paint this area a lovely bright pink. This will become the inside of our triceratops mouth.
The Toothy Grin
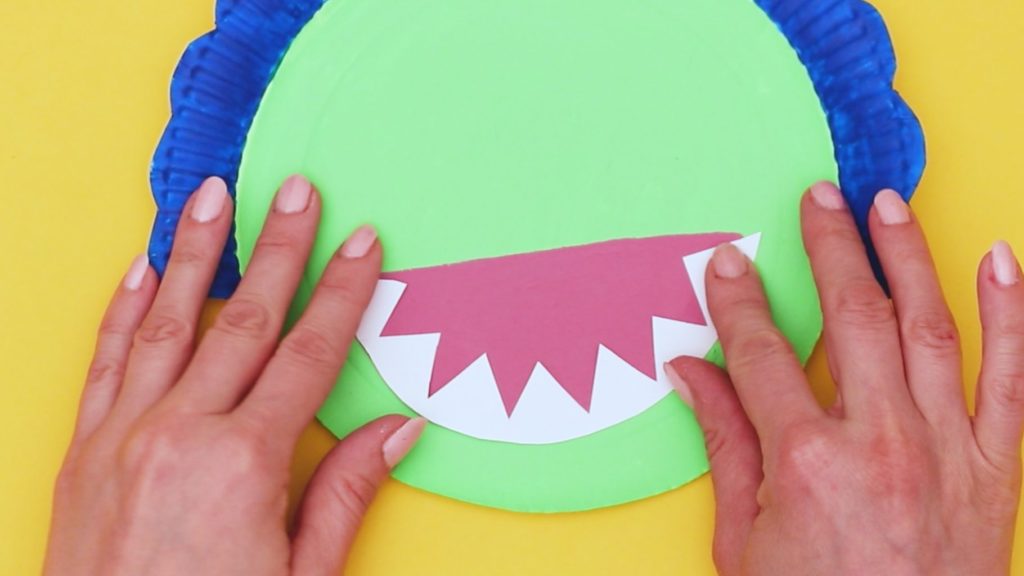
Use the remaining area of the 2nd paper plate to create a toothy grin. As we’re using paper plates of the same size and the same areas, each part should fit nicely.
Completing the Triceratops Mouth
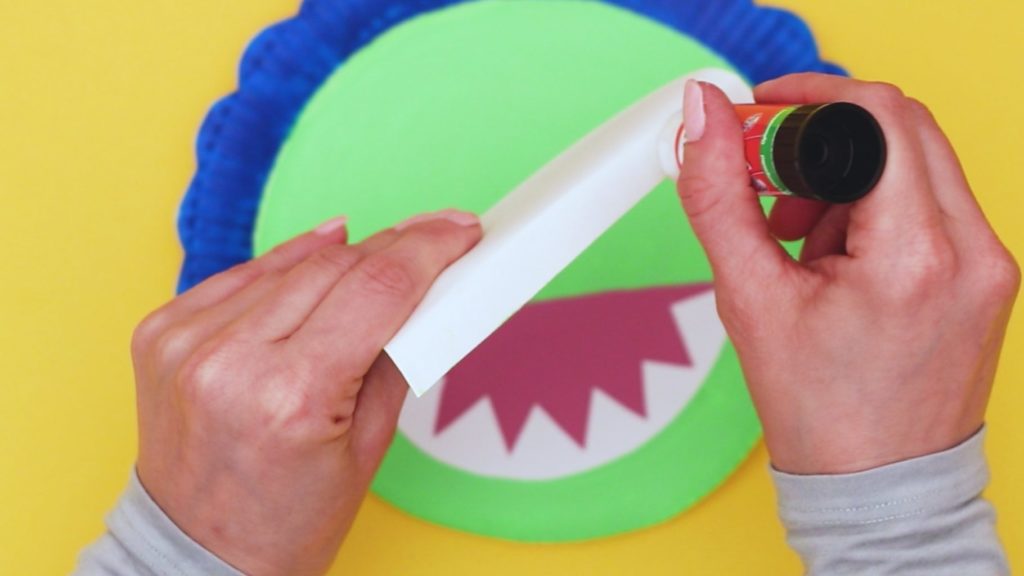
Gently fold the straight edge of the upper mouth and apply lots of glue to the flap.
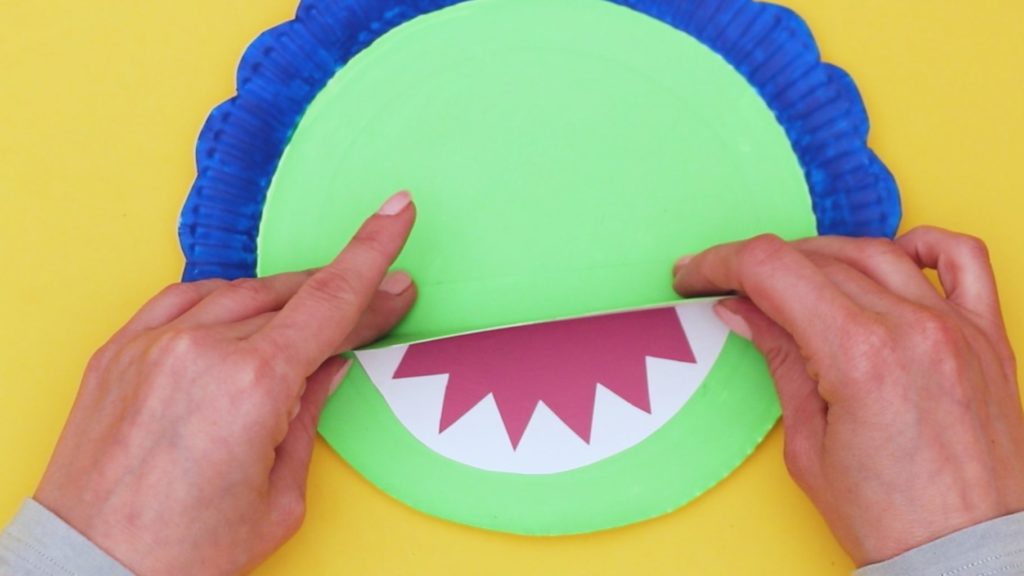
Glue the upper mouth just above the toothy grin. This will create a fabulous 3D open mouth!
Add Some Features
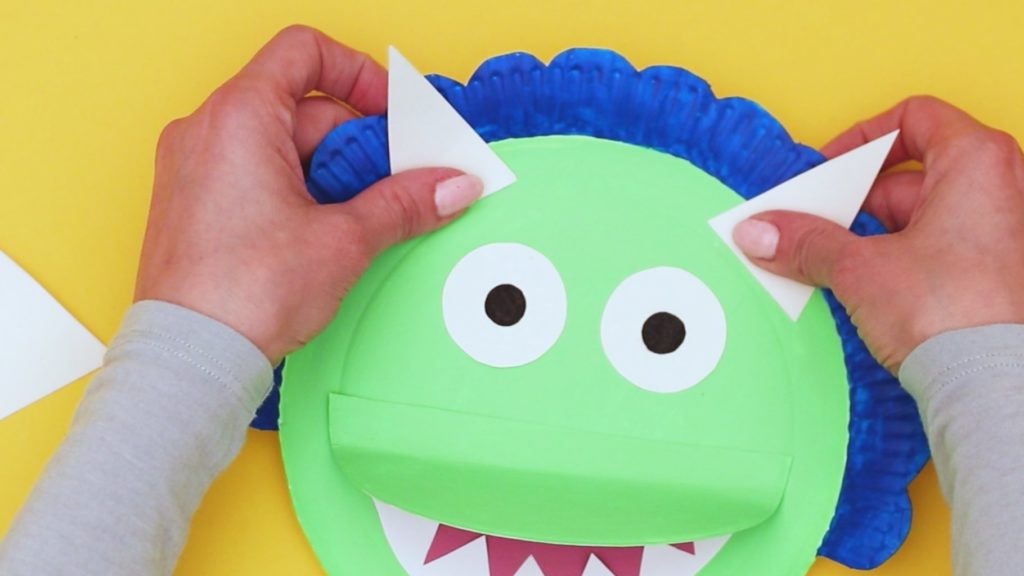
Using a piece of white cardstock, cut out three triangles – these will become the triceratops horns.
From the same piece of card stock, cut out two circles and use a marker to draw pupils.
The Paper Plate Triceratops is Complete
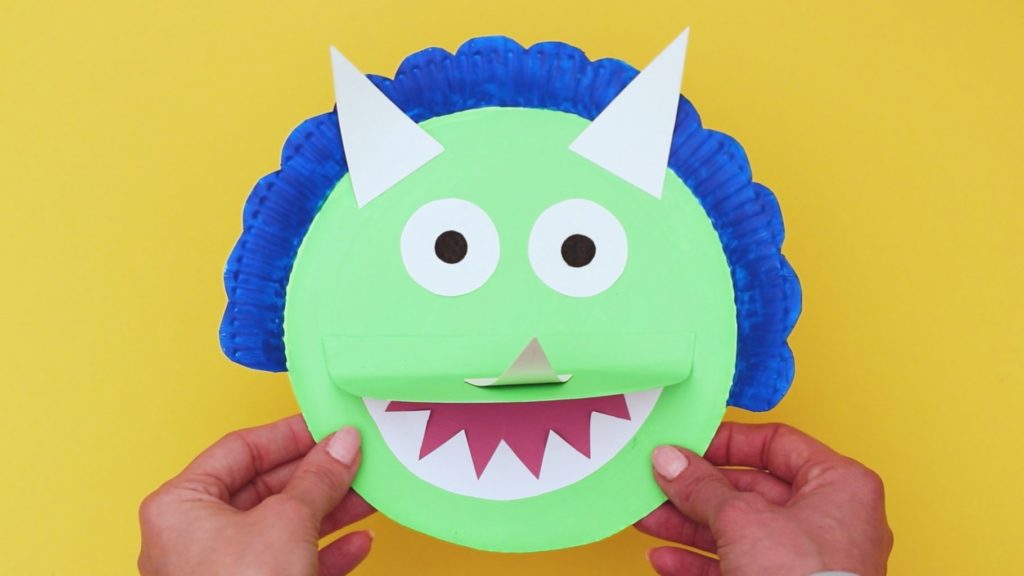
Secure the horns and eyes to the dinosaur to finish off the triceratops!
I hope your Arty Crafty Kids have a roar-some time making their very own triceratops. As all always, we love to see their creativity in action so be sure to share with us on social media!
