Sharing is caring!
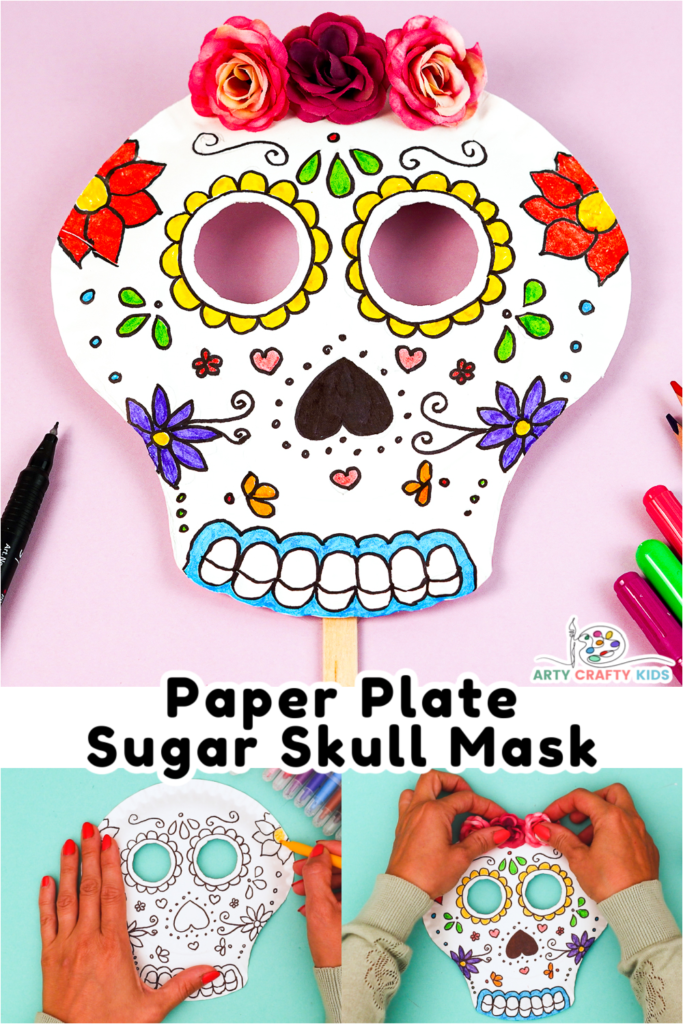
Looking for a fun and easy paper plate sugar skull craft for kids to make this Halloween or Day of the Dead?
Look no further! This simple project is perfect for little ones, and can be easily adapted to suit children of any age. Best of all, it’s super quick and easy to put together – perfect for those last-minute Halloween parties!
The day of the dead, or Dia de los Muertos, is a Mexican holiday that celebrates the lives of those who have passed away. One way that people celebrate this holiday is by making and decorating sugar skulls.
This simple craft not only promotes creativity and fun, but also offers an opportunity to discuss different cultural beliefs and celebrations.
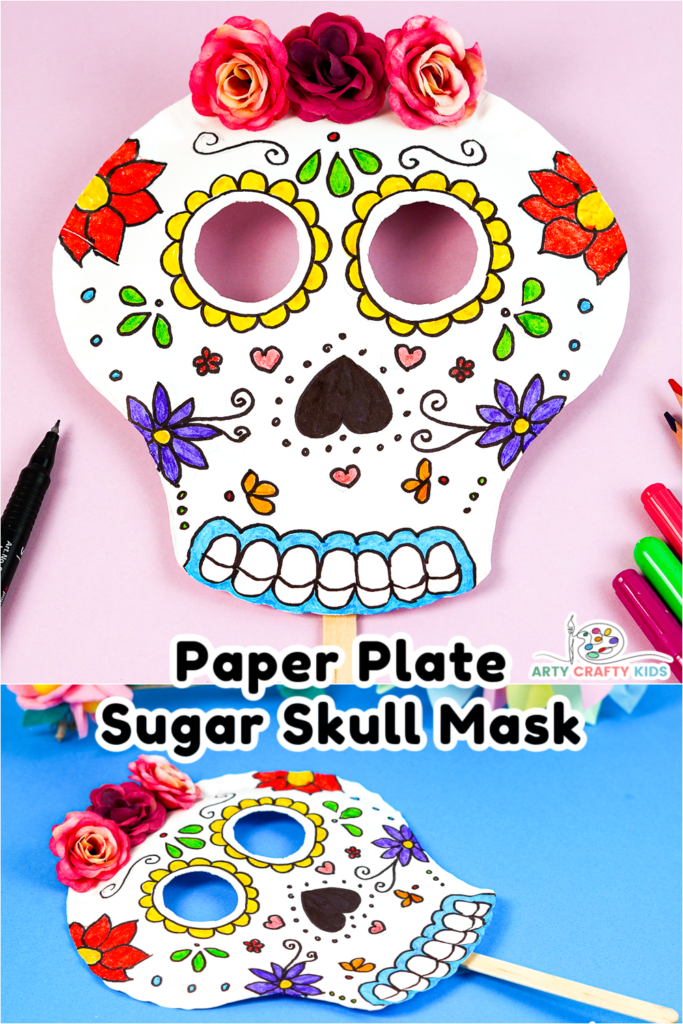
How to Make a Paper Plate Sugar Skull for the Day of the Dead Celebrations
Materials:
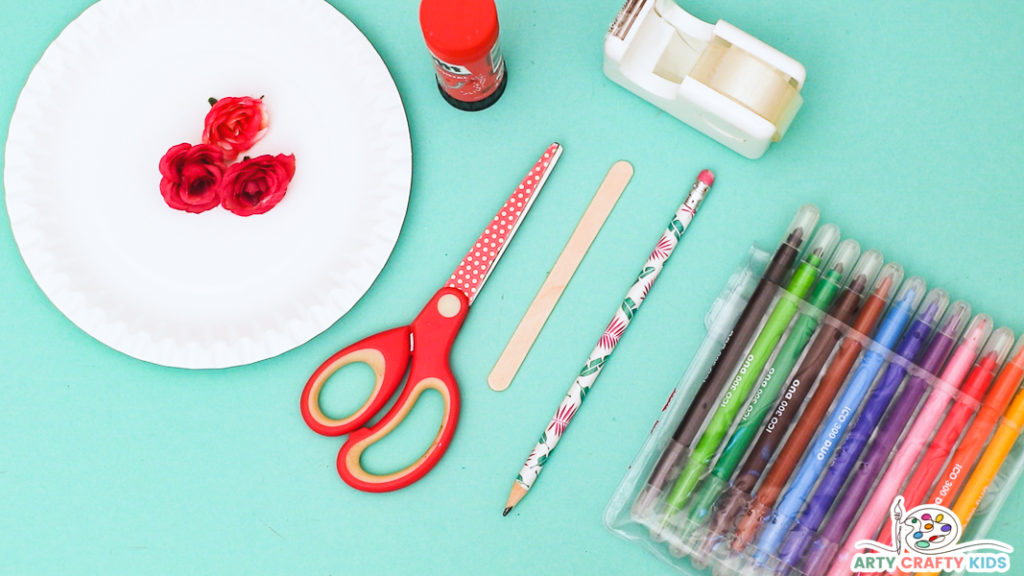
- Paper Plate
- Pencil
- Scissors
- Colored Marker Pens
- Thick Popsicle Stick
- Take
- Glue Stick
Watch the Step-by-Step Tutorial:
Let’s Make a Sugar Skull Mask!
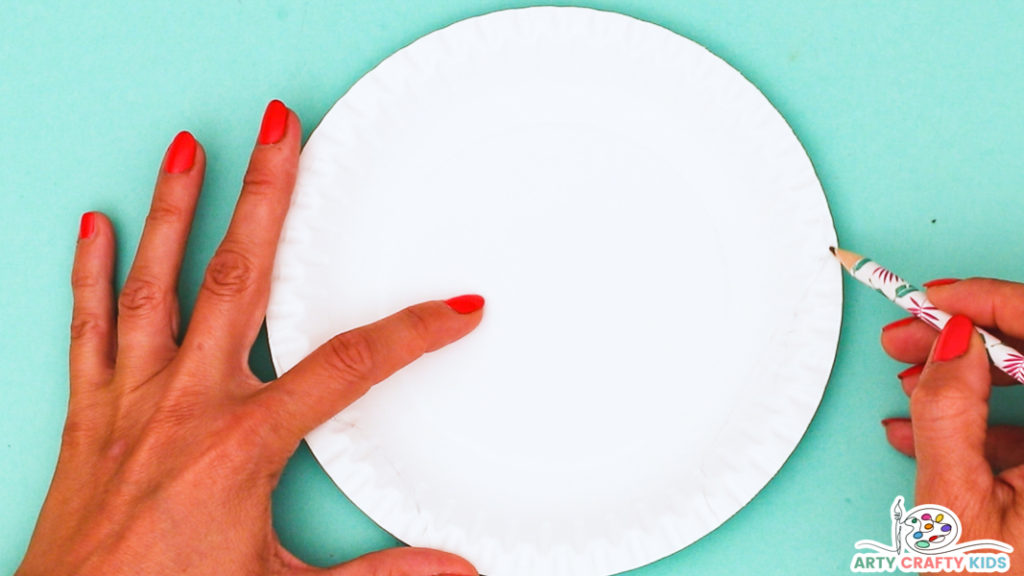
Step 1: Use a Pencil to Draw a Skull Shape and a Sugar Skull Design
The skull shape will consist if two large circular eye holes and two small arches on both sides of the paper plate – starting just below the eyes.
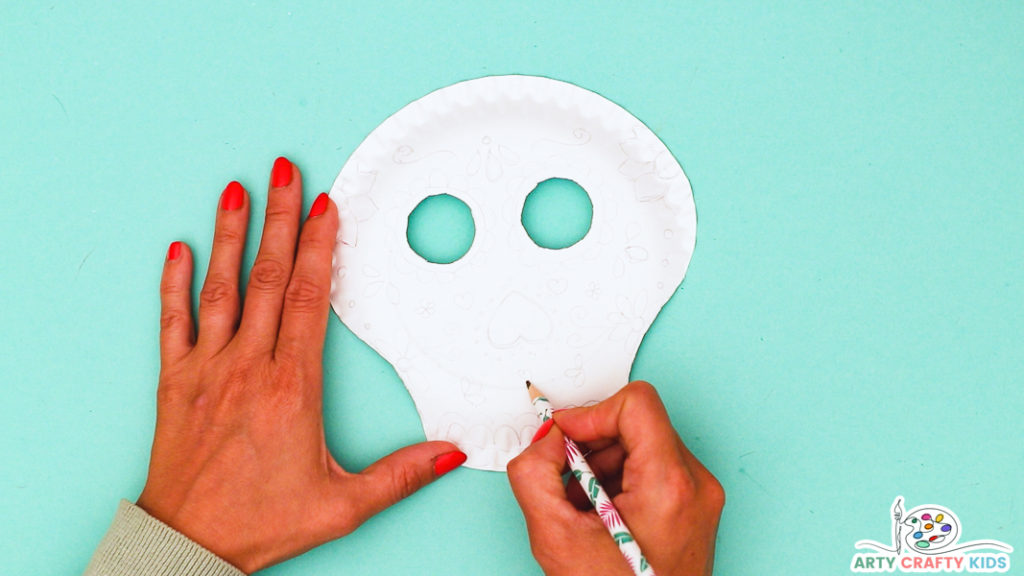
Cut the the circles out and remove the arches. This will complete the sugar skull shape; forming two eyes, defined cheek bones and predominant chin.
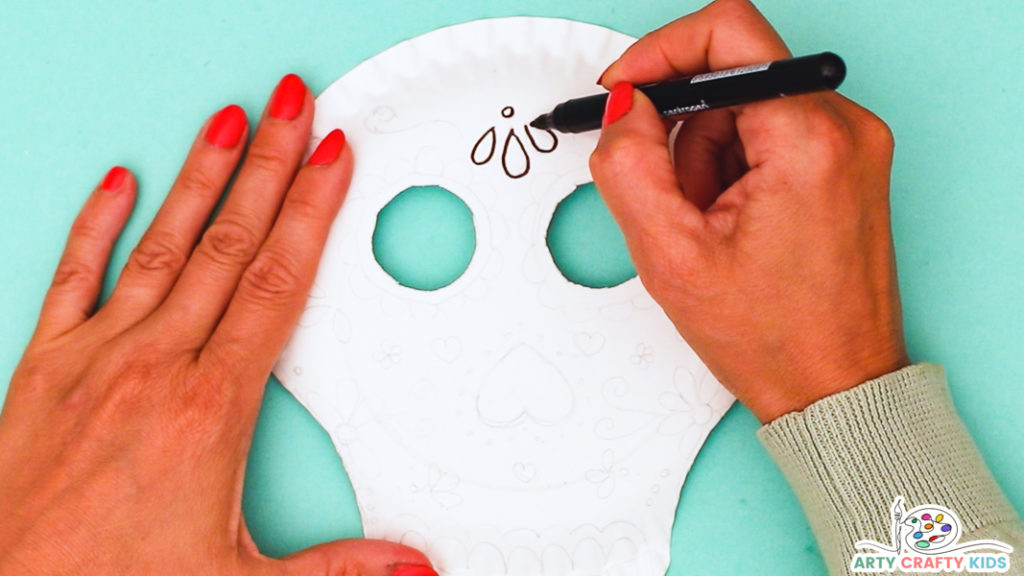
Step 2: Draw “Frida Kahlo” Styled Flowers – Begin with the Skull Center
Now this is where the fun begins! Arty Crafty Kids may decorate their skulls with various drawings, lines, patterns and anything else that emerges from the creative process.
Traditionally, sugar skulls are brightly colored and designed to be happy, this is why many are decorated with flowers to symbolize life and beauty.
The Flowers
Frida Kahlo is one of Mexico’s most famous artists and used flowers to express her identity. She wore flowers within her hair and painted flowers in bunches from bud to full blossom.
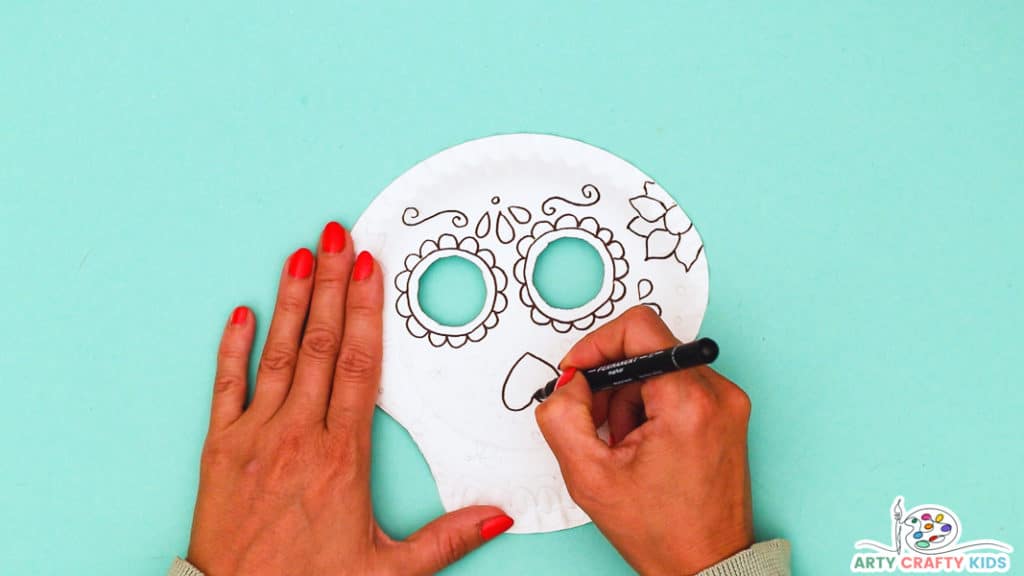
To begin decorating the sugar skull with a flower design, use a fine tipped black marker pen to draw three tear drop shapes positioned around a small dot within the center of the skulls forehead.
Step 3: Draw an Upside Down Heart for the Nose and Flowers Around the Eyes
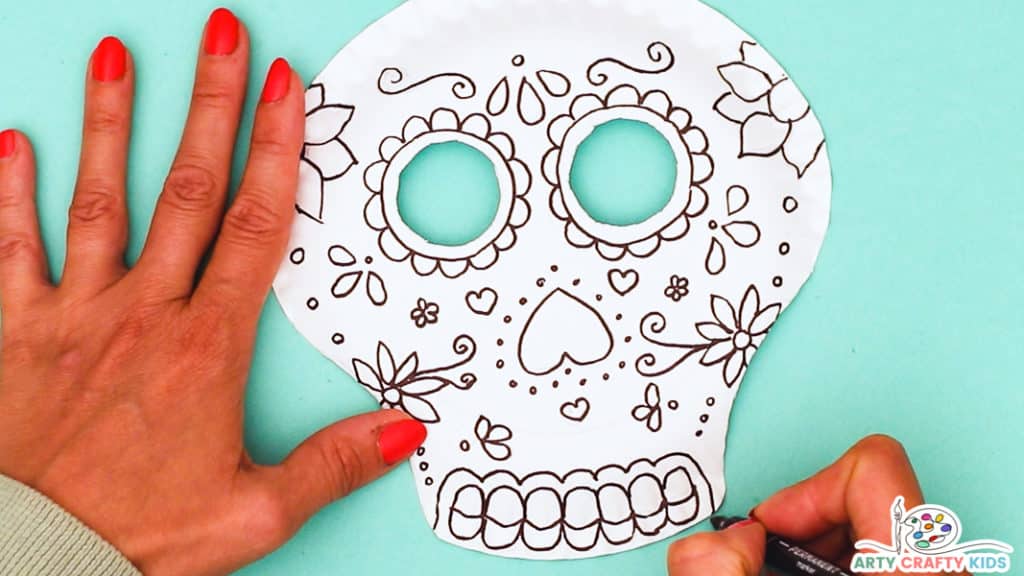
Next, draw a circle around each eye hole and draw a series arches around the newly drawn circles to create a pair of flowers.
From the edges of the skull, draw a pair of flowers and had some swirly decorative lines.
Draw an upside heart beneath eyes to create a nose.
Step 4: Decorate the Skull with Small Flowers and Draw Teeth within the Chin Area
Draw a collection of side-by-side ovals within the chin area and draw a line through the middle to form the teeth.
Fill any remaining white space with dots, fanciful lines, flowers etc.
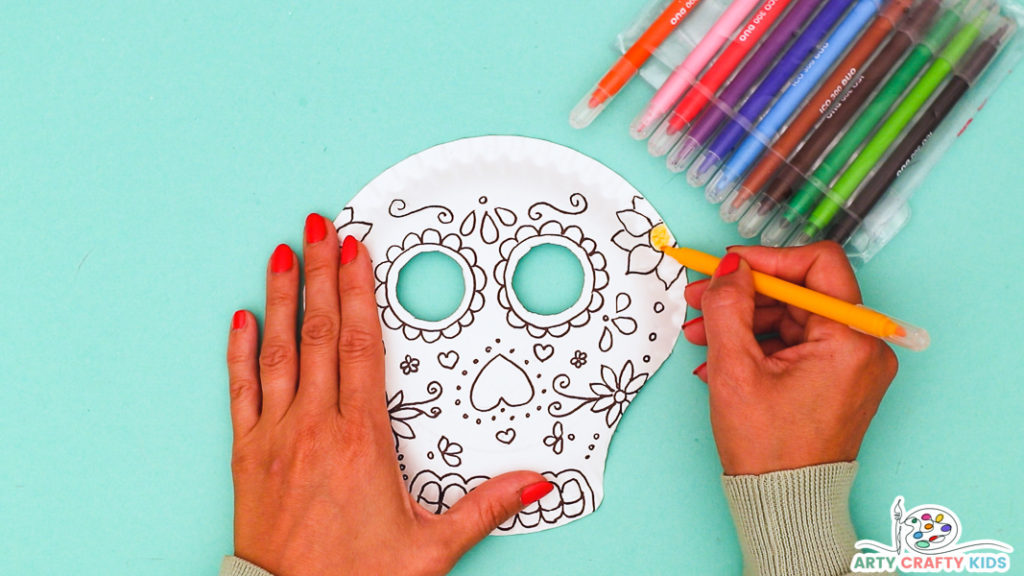
Step 5: Select an Array of Brightly Colored Marker Pens
Color the flowers and shapes with an array of bright colors.
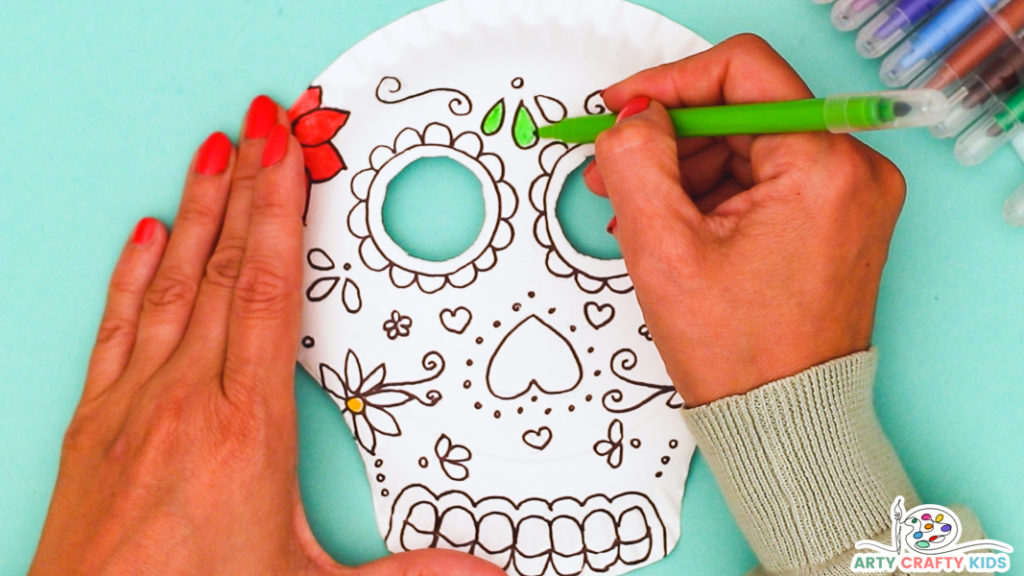
Step 6: Color in the Sugar Skull Design
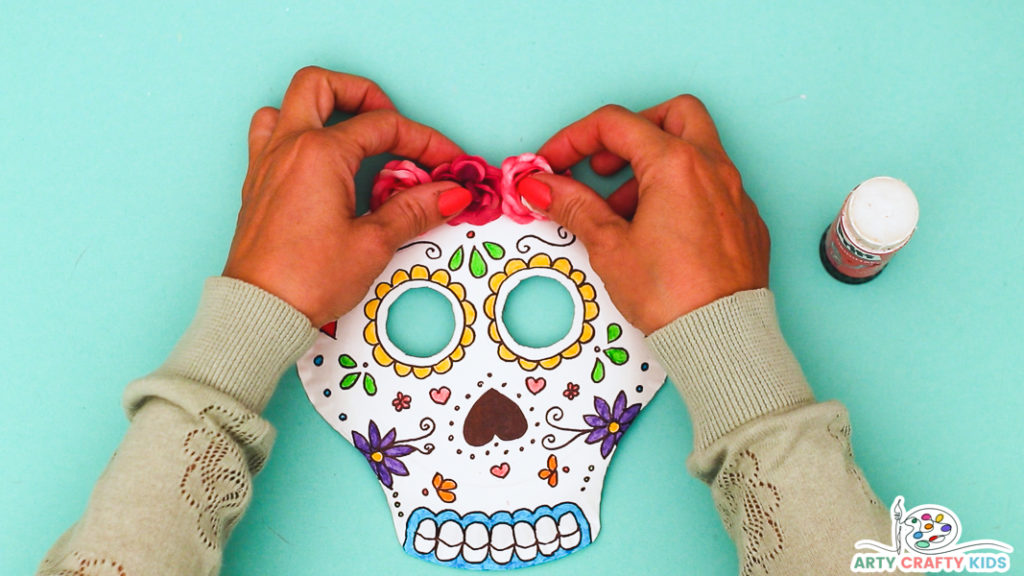
Step 7: Glue a Collection of Artificial Flowers to the Top of the Skull
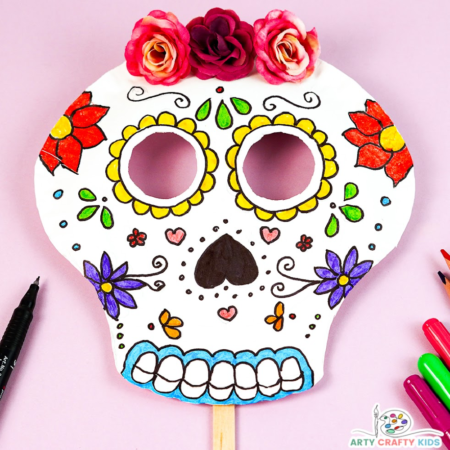
Complete the sugar skull with a crown of artificial flowers glued its forehead.
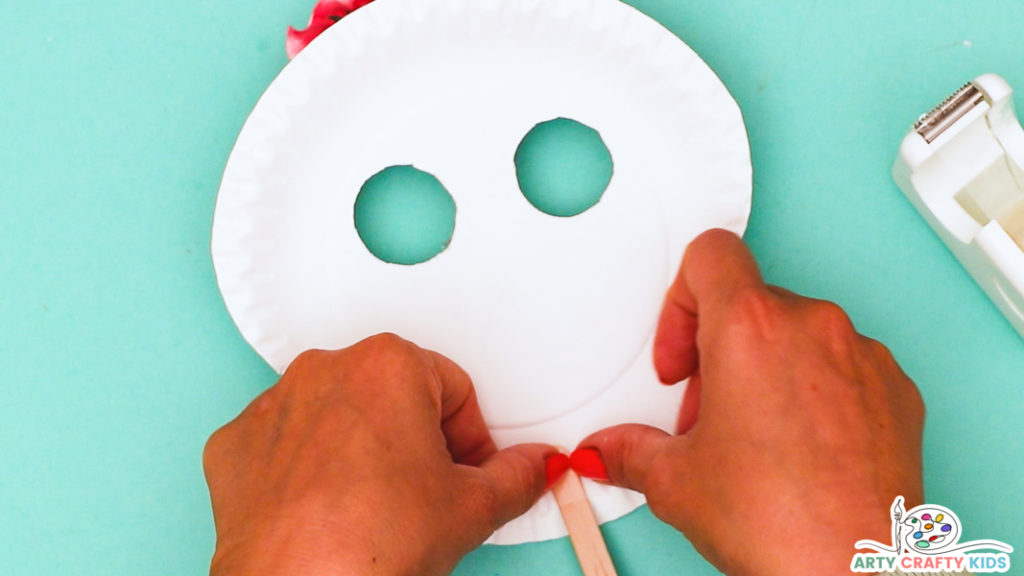
Step 8: Turn the Mask Over and Tape a Popsicle Stick to its Back
To transform the skull into a mask affix a popsicle stick to its back.
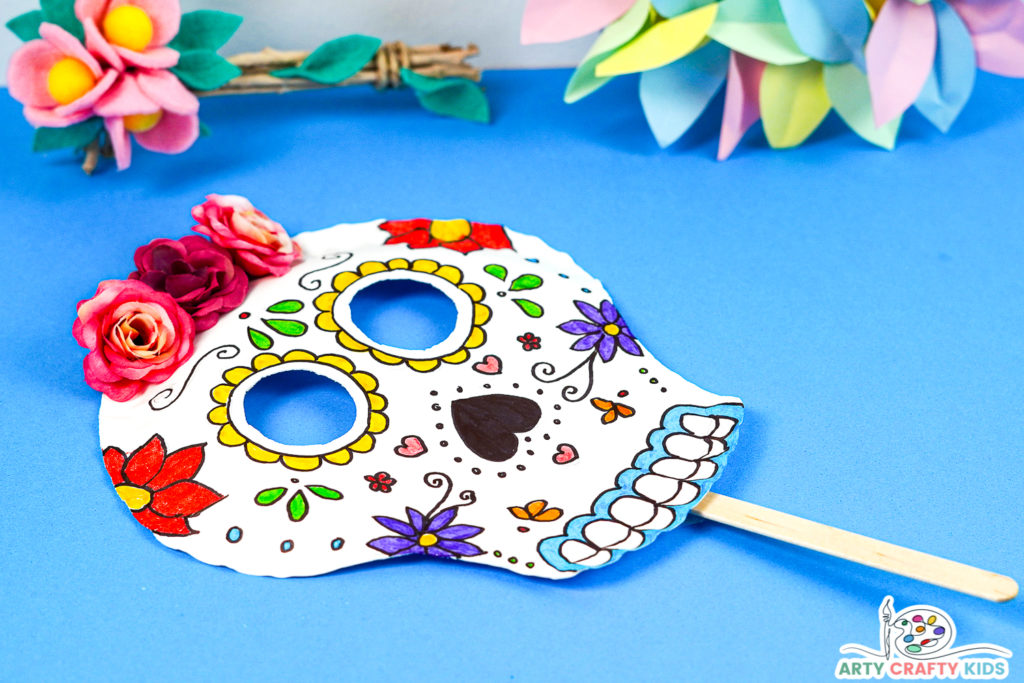
Once the sugar skull is complete, it’s time to play!
As always, we love to Arty Crafty Kids’ creativity in action and if you happen to share their completed makes on social media, please do give us a tag or/and use the #artycraftykids – happy crafting!
