Sharing is caring!
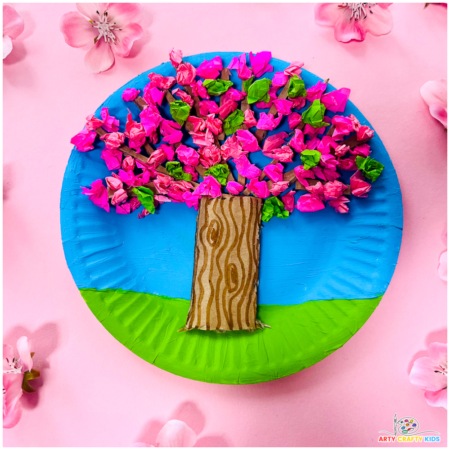
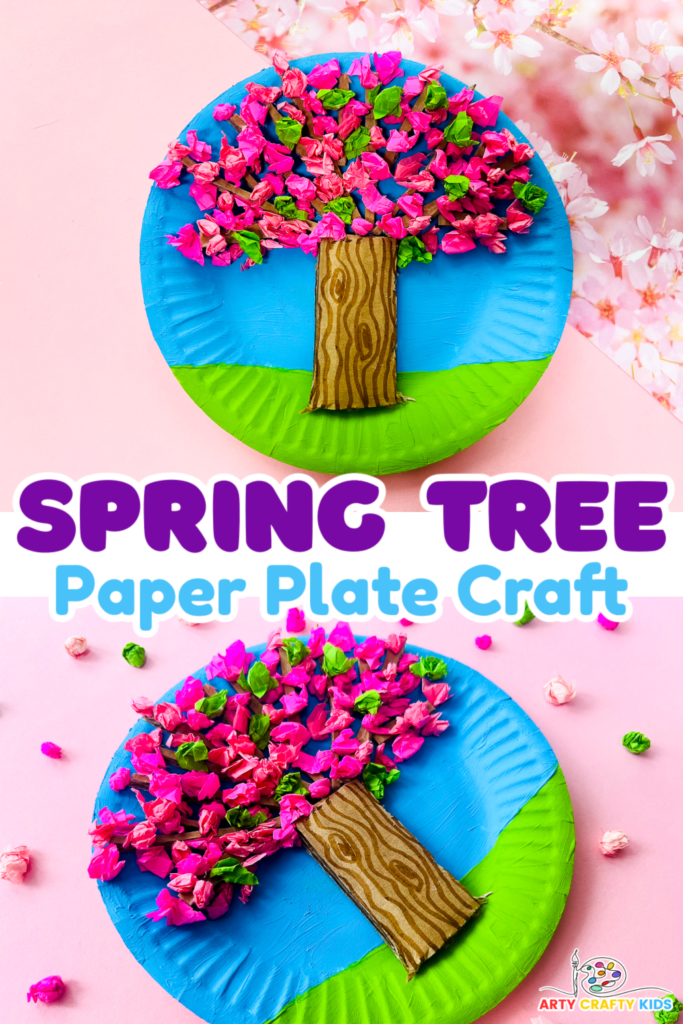
Looking for a cute and easy-to-make Spring Blossom Tree craft for your preschooler? try out our Paper Plate Spring Tree Craft!
Using scrunched up balls of tissue paper for the blossoms and green leaves, this adorable paper plate craft offers a touch of fine motor magic to little hands; making it the perfect activity to refine their dexterity while having fun.
Beyond the fine motor benefits for preschoolers, crafting this Spring Tree introduces kids’ to simple 3D effects and how to creatively use recyclable materials within craft.
More Spring Crafts for Preschoolers and Kids
Spring is one of our favorite seasons for crafting. We love the blossom trees, the flowers and all the baby animals. We particularly love to see the Spring birds on the trees!
For more fun with tissue paper and paper plates, your preschooler may also enjoy our Paper Plate Flower Craft.
We also have lots of Spring Tree Crafts painted with bubble wrap, finger-prints and q-tips!
And while these are great choices for preschoolers and young children, the older ones may enjoy our Van Gogh Inspired Spring Tree (which also uses tissue paper balls!).
How to Make a Paper Plate Spring Tree Craft
Materials:
- Paper Plate
- Blue and Green Paint
- Scrap Cardboard
- Tissue Paper
- Glue Stick
- Scissors
- Brown Marker Pen
Spring Tree Paper Plate Craft – A Step-by-Step Tutorial:
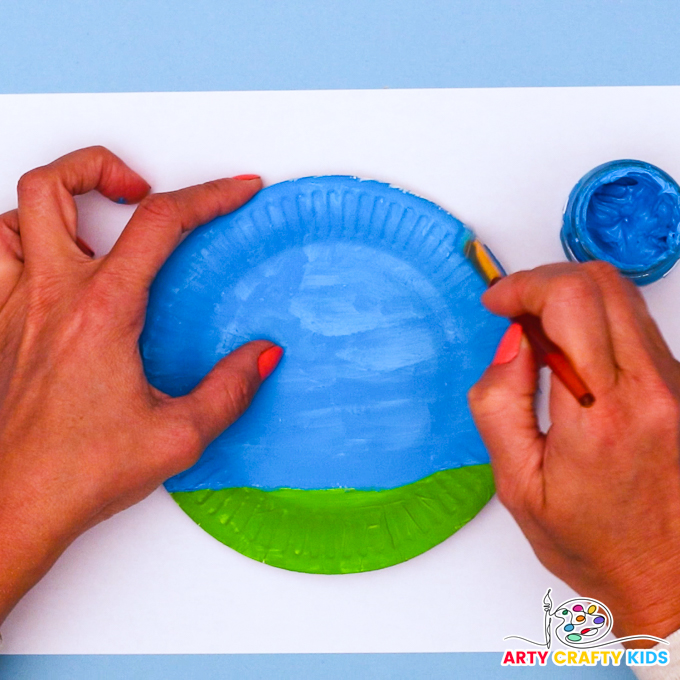
Step 1: Paint the paper plate.
Divide the paper plate in 2, creating a space for green grass and a vibrant blue sky.
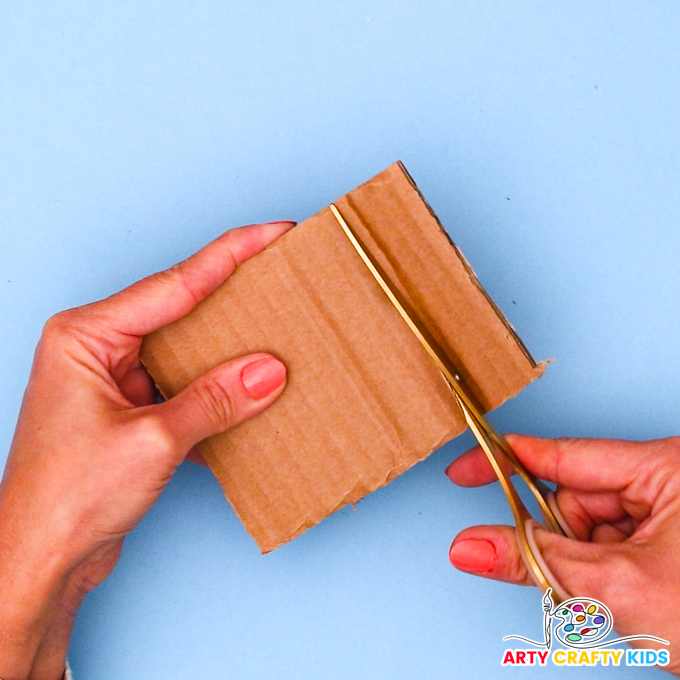
Step 2: Construct the Spring tree.
Cut up a rectangular piece of cardboard into different tree segments.
Start with a wide tree trunk.
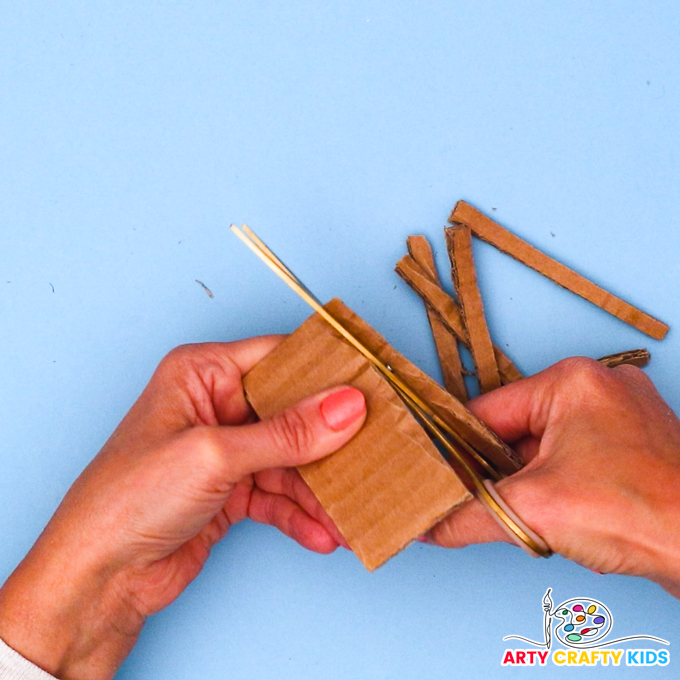
Next, create tree branches by cutting the cardboard into multiple strips.
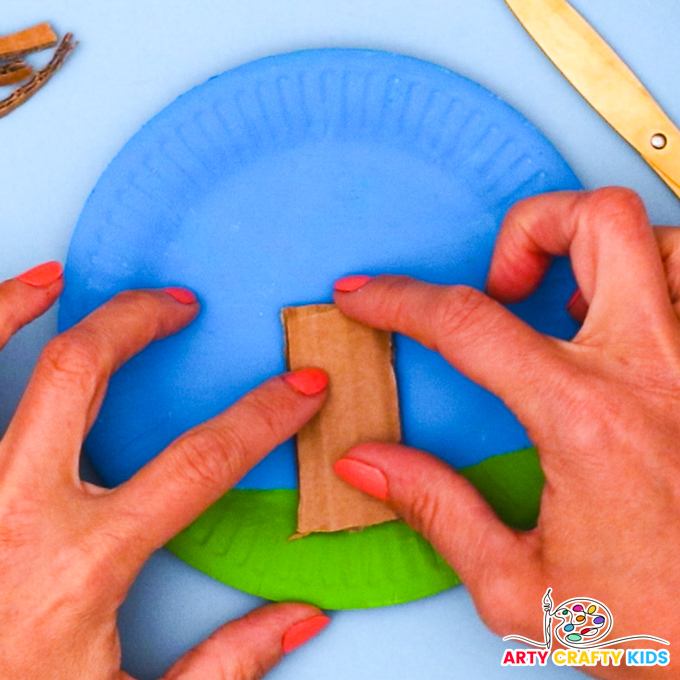
Step 3: Glue the tree trunk onto the paper plate.
Position the tree trunk onto the green area of the paper plate.
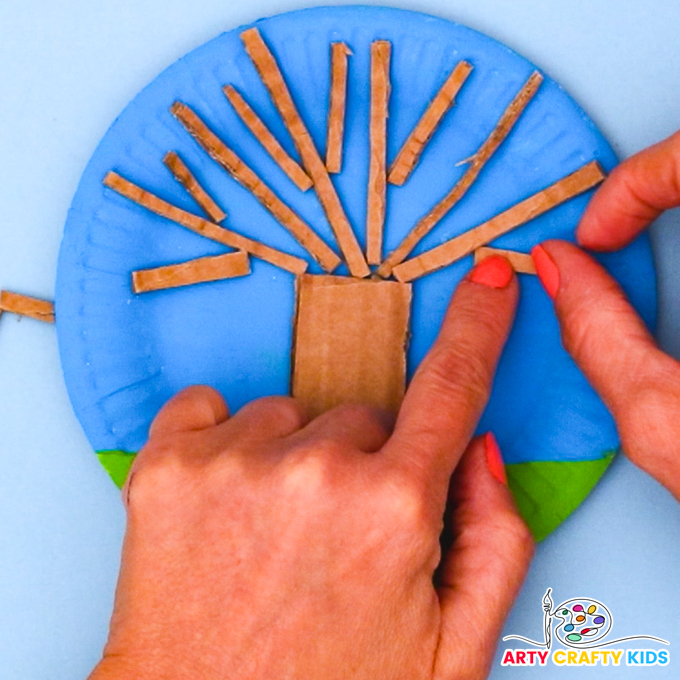
Step 3: Glue the branches to build the Spring Tree.
Starting from the trunk of the tree, glue the smaller cardboard pieces onto the paper plate in a tree-like arrangement – feel free to fill up the blue sky space within the paper plate.
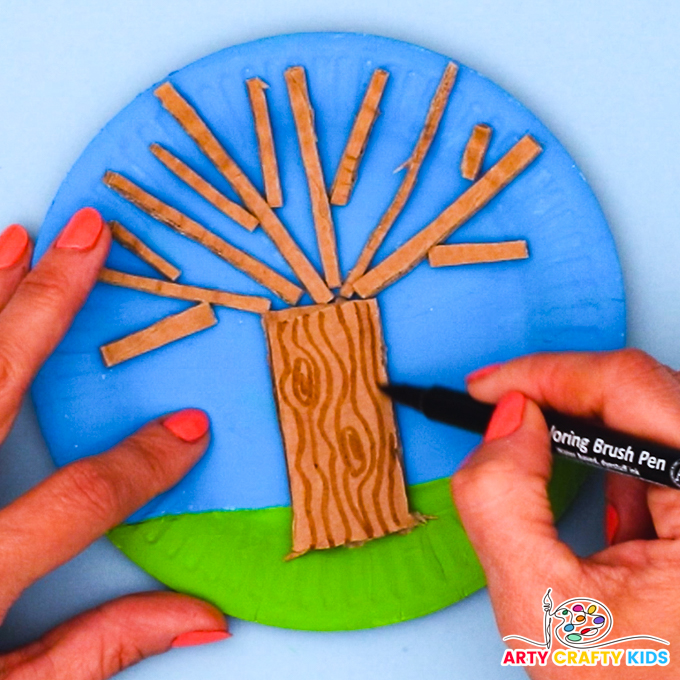
Step 4: Add some detailing.
Draw several wavy lines and circles on the cardboard tree trunk to convey bark detailing.
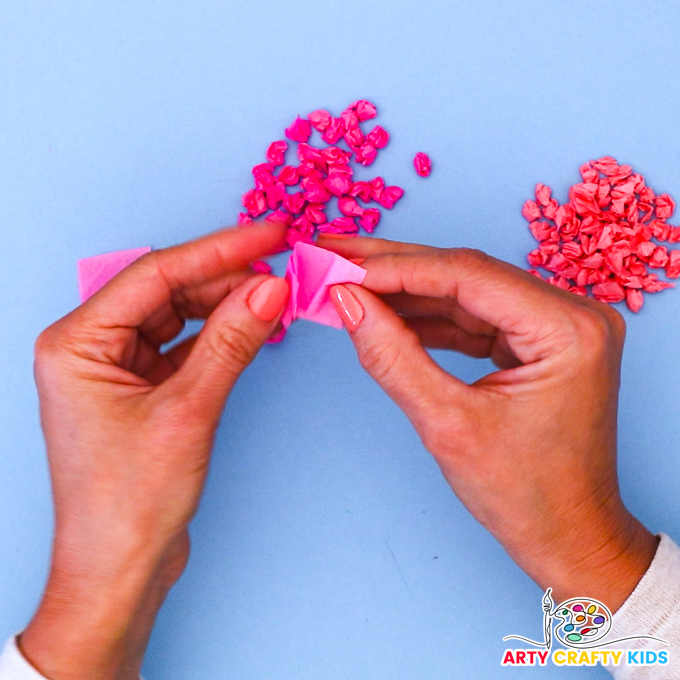
Step 5: Scrunch the tissue paper into balls.
Scrunch up the tissue paper into small balls; using a range of pink shades for variation.
The balls can be has big or little as your Arty Crafty Kids desires.
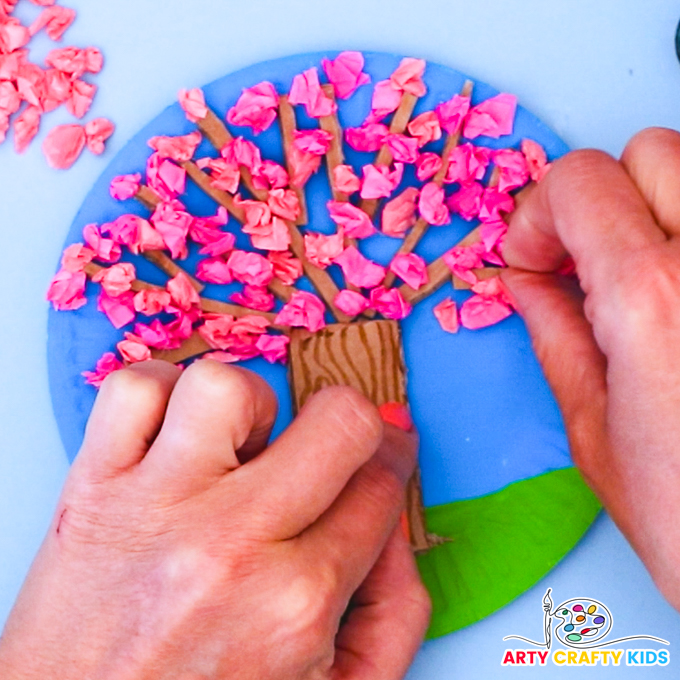
Step 6: Glue the tissue paper balls to the Spring tree.
Glue the tissue paper blossoms in and around the tree branches.
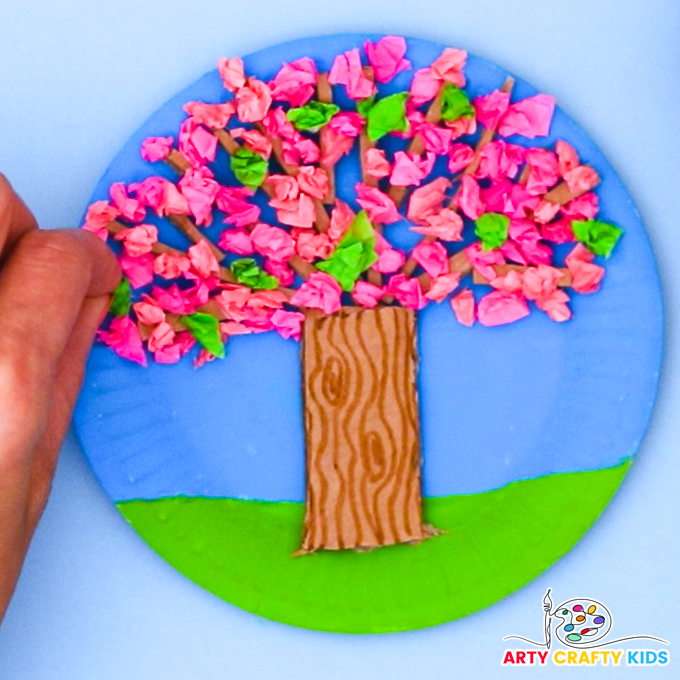
To create contrast, glue a handful of green tissue paper balls within the blossom foliage.
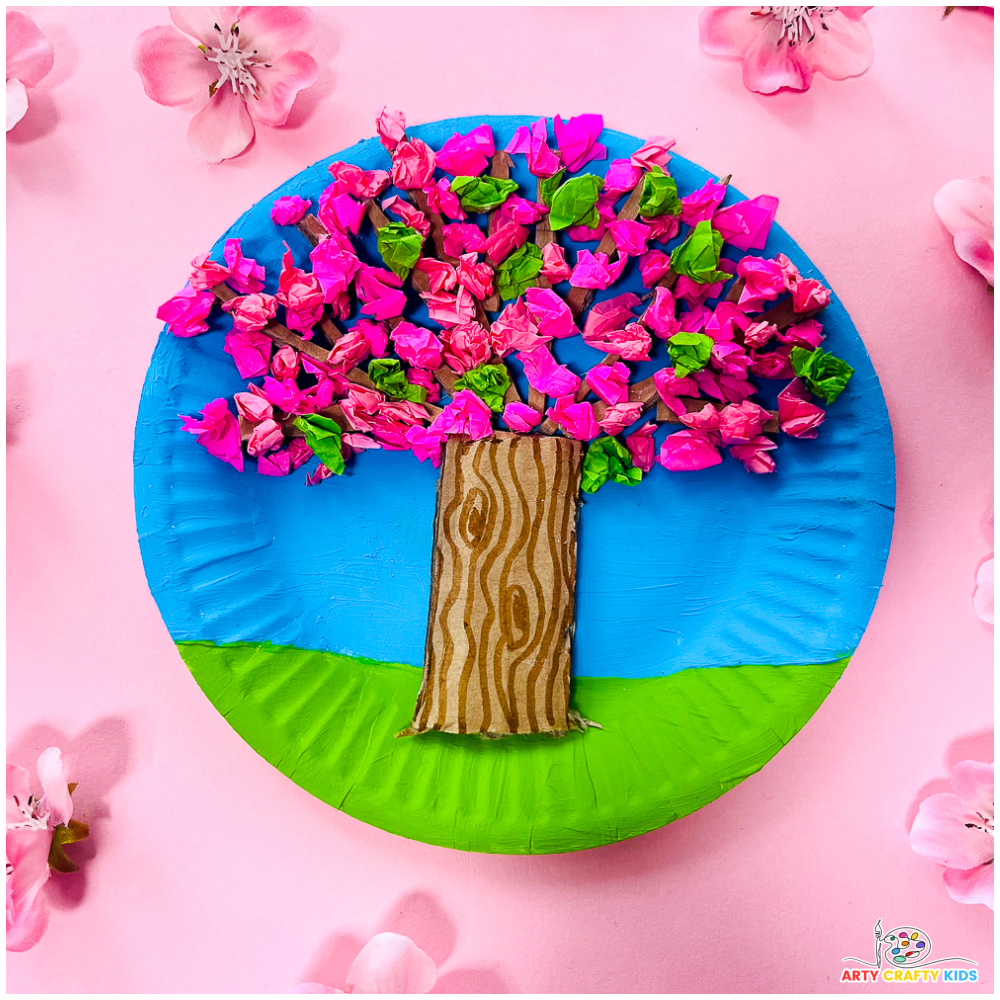
The Paper Plate Spring Tree is complete and ready for the display! I hope your Arty Crafty Kids have a wonderful time recreating this sweet craft.

