Sharing is caring!
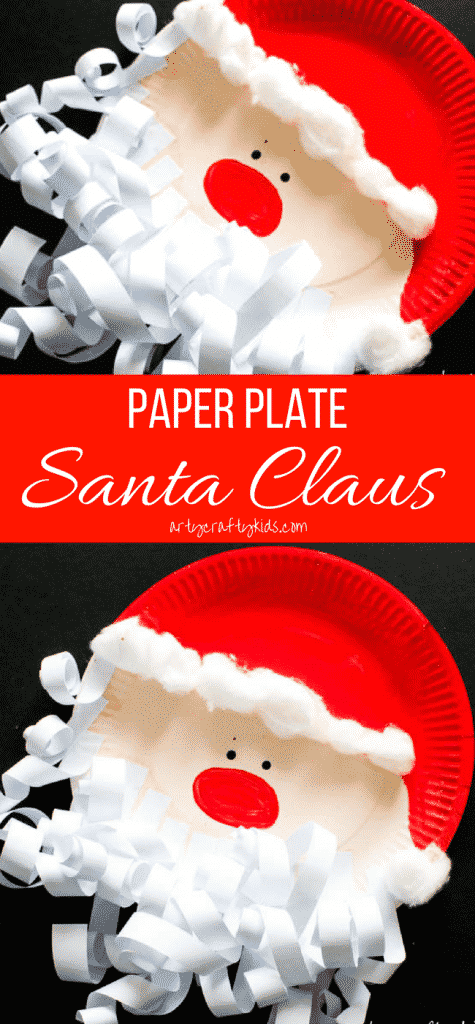
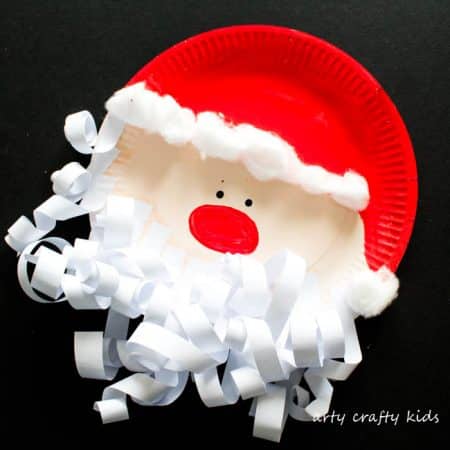
The build up to Christmas has begun and we’re kick-starting the festive season with a NEW Paper Plate Santa Claus craft; swapping the white fluff with a luscious beard of paper ringlets!
I love the upgrade and kids will adore the process of painting, sticking, cutting and curling to create adorable Paper Plate Santa’s!
As well as fun, this craft offers children a brilliant fine motor workout, and with just a few materials, this is a great Christmas craft to try at home or within a preschool/ school setting.
Sound good? let’s get started!
Paper Plate Santa Claus: Matierals and Tutorial
This post may contain affiliate links to recommended products.
Paper Plate
Kid-friendly paint
Cotton Wool
White Paper
PVA Glue
Scissors/paper cutter
Paintbrush
Pencil (for curling)
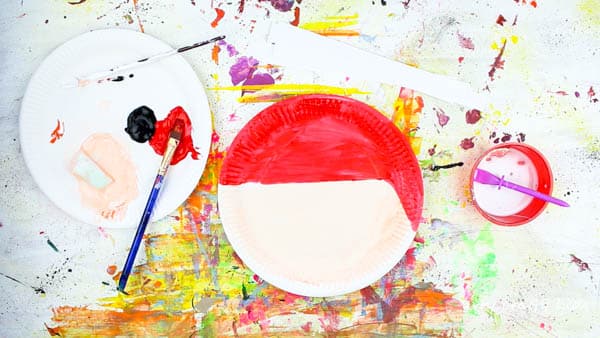
Step 1: Using the kid-friendly paint, divide the paper plate in two to create an area for Santa’s face and his famous red hat.
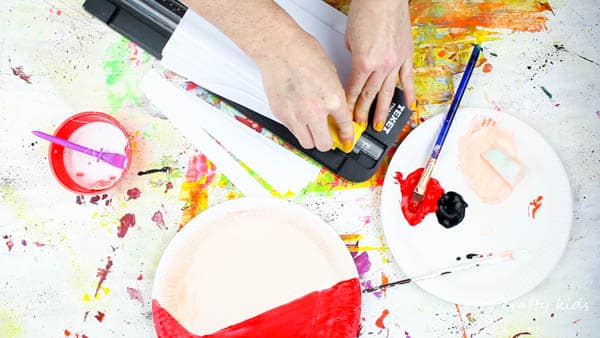
Step 2: While the paper plate is drying, cut a piece of A4 white paper into fine strips (approx 1cm width)
F0r young children, it might be easier to have wider and fewer strips of paper.
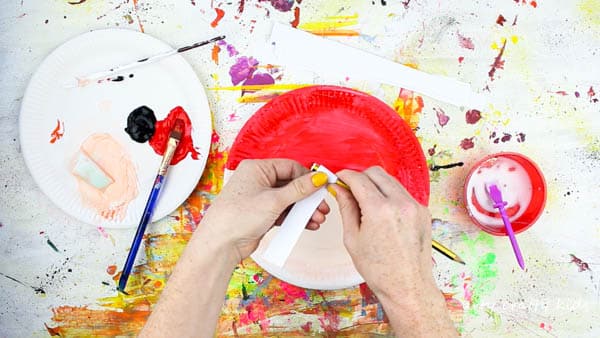
Step 3: Curl the paper by wrapping it around the pencil and then drag the pencil out in a downward motion to create a ringlet.
Alternatively, simply slide the pencil out of the paper without dragging. This will create a bouncy curl.
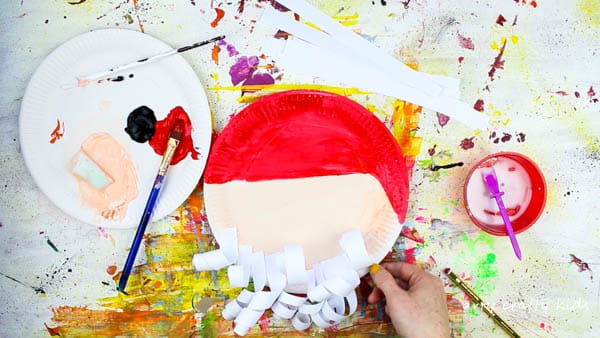
Step 4: Stick the paper curls along the rim of the paper plate and then add a second layer of curls above the rim.
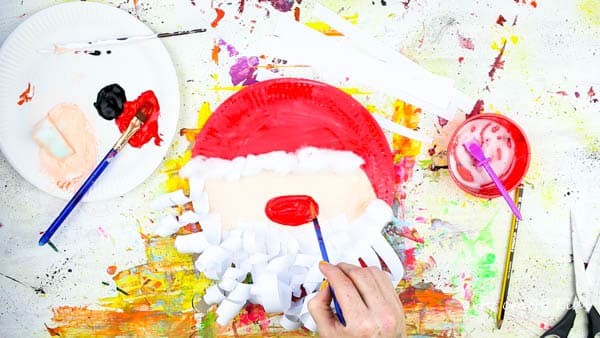
Step 5: Add a large red nose!
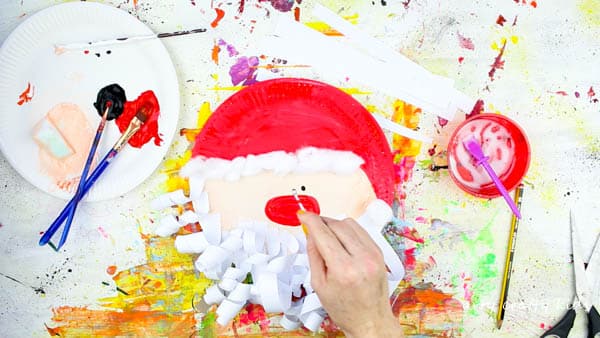
Step 6: And two black eyes (googley eyes could also be used).
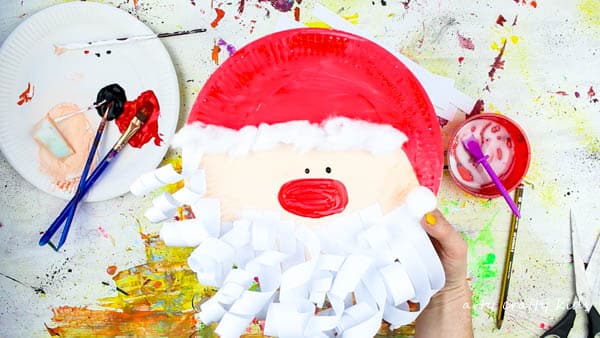
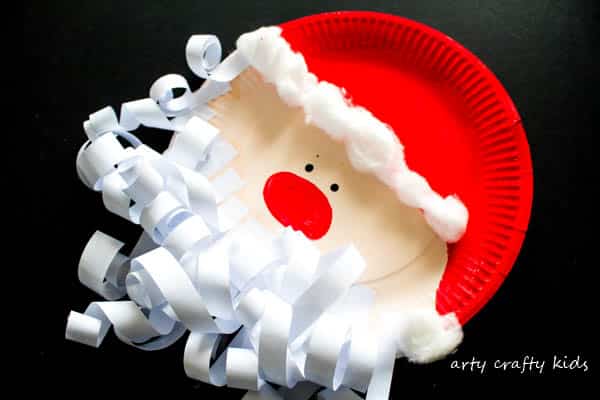
The Paper Plate Santa Claus is now Complete
I hope your children love their Santa’s with curly beards, however if you would like to try a simplified version – check out our Easy Peasy Paper Plate Santa.
For more paper plate Christmas crafts, you may also enjoy our Rudolph the Reindeer, 3D Christmas Tree’s and toddler friendly Baubles!
Pin for Later!
