Sharing is caring!
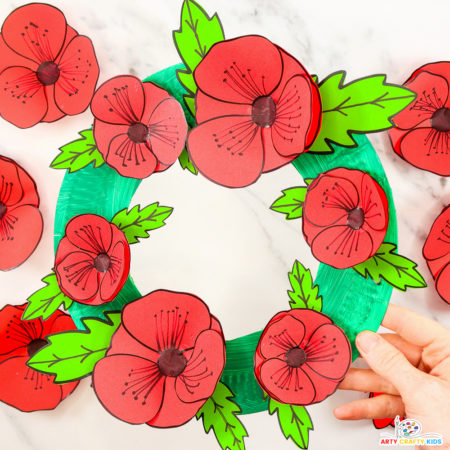
Creating a paper plate poppy wreath is a beautiful way for children to commemorate Remembrance Day while practicing their crafting skills.
This hands-on project allows kids to explore colors and textures as they assemble their own vibrant wreath filled with symbolic poppies and lush green leaves.
Using simple materials and an easy-to-follow template, children can immerse themselves in a meaningful activity that combines creativity with reflection.
Displaying the finished wreath offers a special way to honor and remember, making it an ideal project for classrooms, homes, or community events. Let’s get started and create a heartfelt tribute together!
For those looking to extend the crafting experience, we have a selection of additional poppy-themed activities that complement the wreath beautifully.
Our 3D Mixed Media Poppy Craft is an engaging project that brings poppies to life with layered textures and vibrant colors, making it ideal for older kids ready to experiment with depth and mixed materials.
Try our How to Draw a Poppy tutorial, which guides children through simple, flow-based steps to create their own poppy artwork—a perfect exercise for developing drawing skills.
For a different texture and style, our Tissue Paper Flower Craft offers a hands-on approach with soft, layered petals that make for stunning, tactile poppies.
These projects allow kids of all ages to explore poppies through various techniques, adding depth and creativity to the Remembrance Day theme.
How to Make a Paper Plate Poppy Wreath for Remembrance Day
Materials:
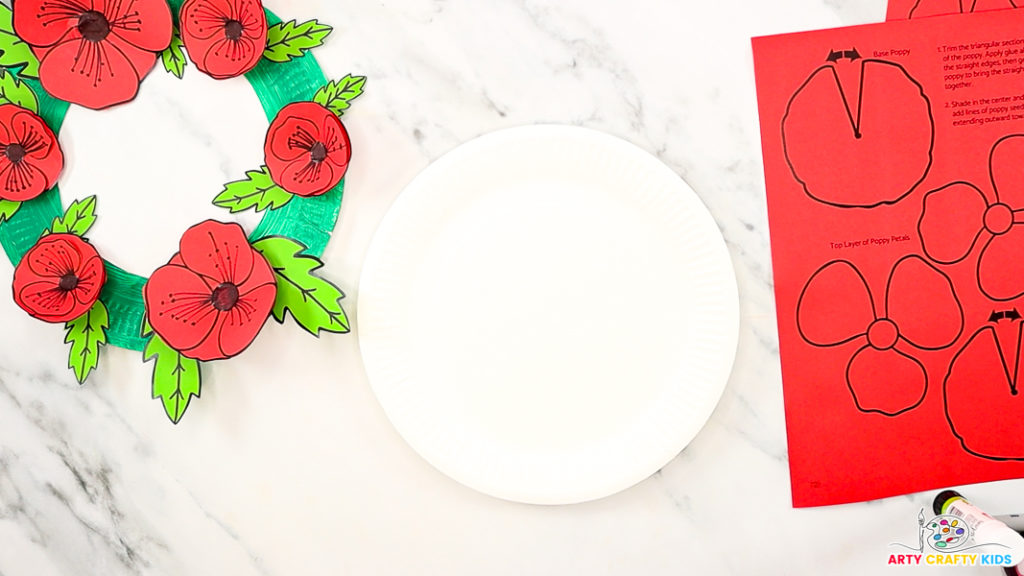
- Paper Plate
- Green Paint
- Paintbrush
- Black Marker Pen
- Scissors
- Glue Stick
- Poppy Template (members will need to login to access the templates).
Not a Member?
Join the Arty Crafty Kids club to access the Poppy Craft Templates and 100s more Art and Craft templates, How to Draw Guides and Coloring Pages.

Paper Plate Poppy Wreath Step-by-Step
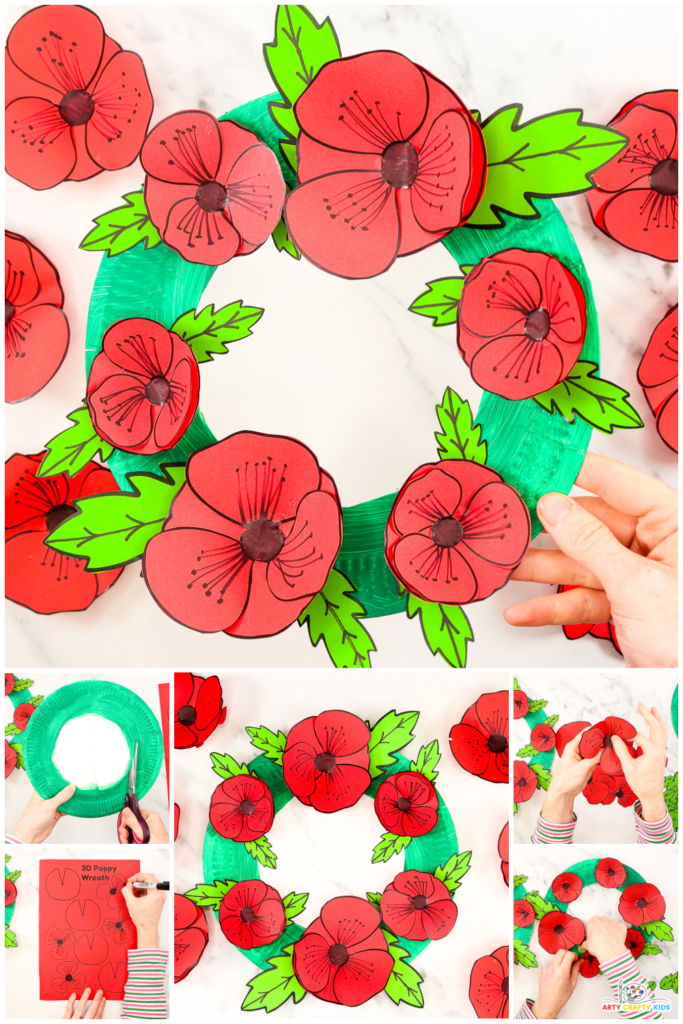
Before starting the poppy wreath craft, print the templates onto colored paper – use red for the poppies and green for the leaves.

Step 1: Paint the paper plate green.
Paint the rim of the paper plate green and allow it to dry completely. Once dry, carefully cut out the center of the plate.
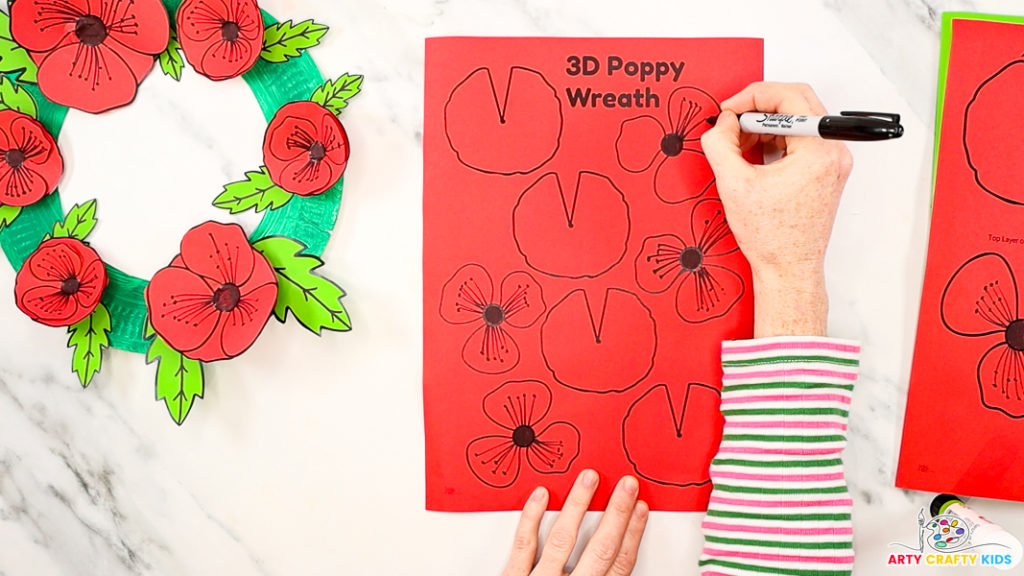
Step 2: Draw poppy seeds.
Add poppy seeds to each poppy template by drawing small dots or lines radiating from the center outward.
Next, add vein details to each green leaf. Once finished, carefully cut out the poppies and leaves.

Step 3: Assemble the poppies.
Add a line of glue along one of the straight edges of the paper poppy base, preparing it for a gentle fold in the next step.
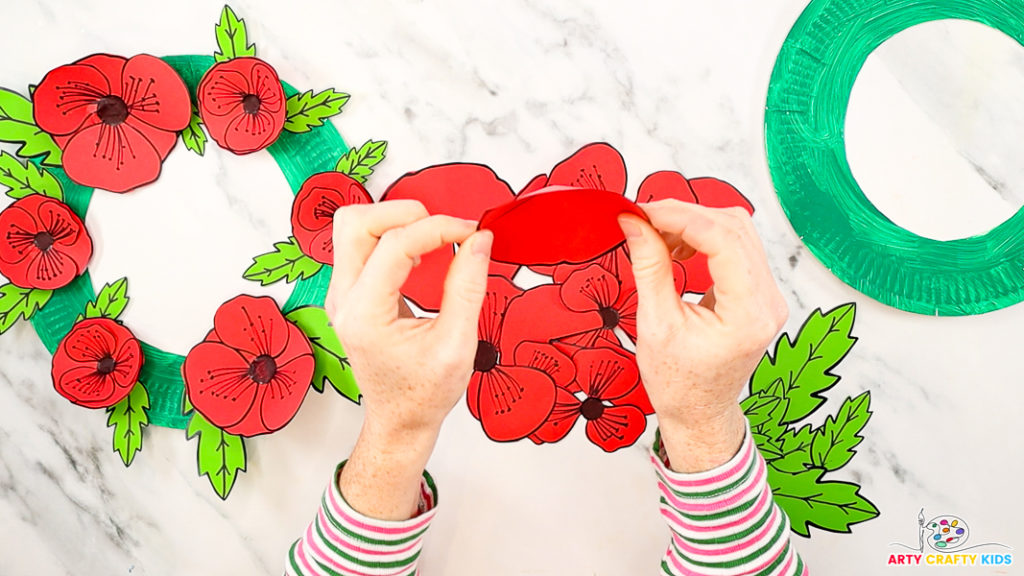
Gently bring the glued straight edges of the poppy base together, pressing them to create a cone-like flower shape.
Hold for a moment to allow the glue to set, forming the 3D structure of the poppy.
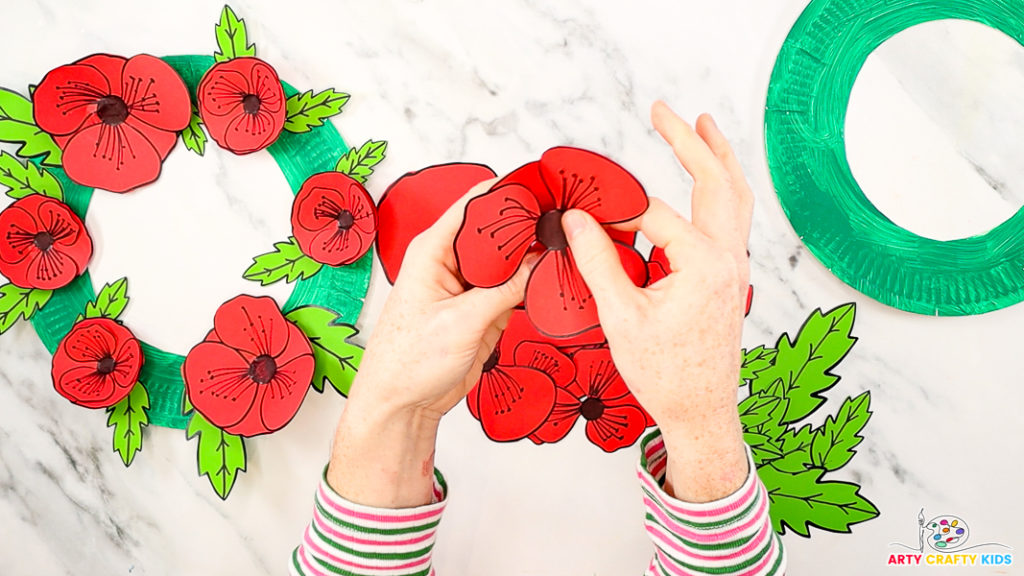
Step 4: Add the top poppy layer.
Fold the petals of the top layer slightly to give them a natural, flowing movement.
Apply glue to the circular center of this layer, then carefully press it onto the 3D poppy base.
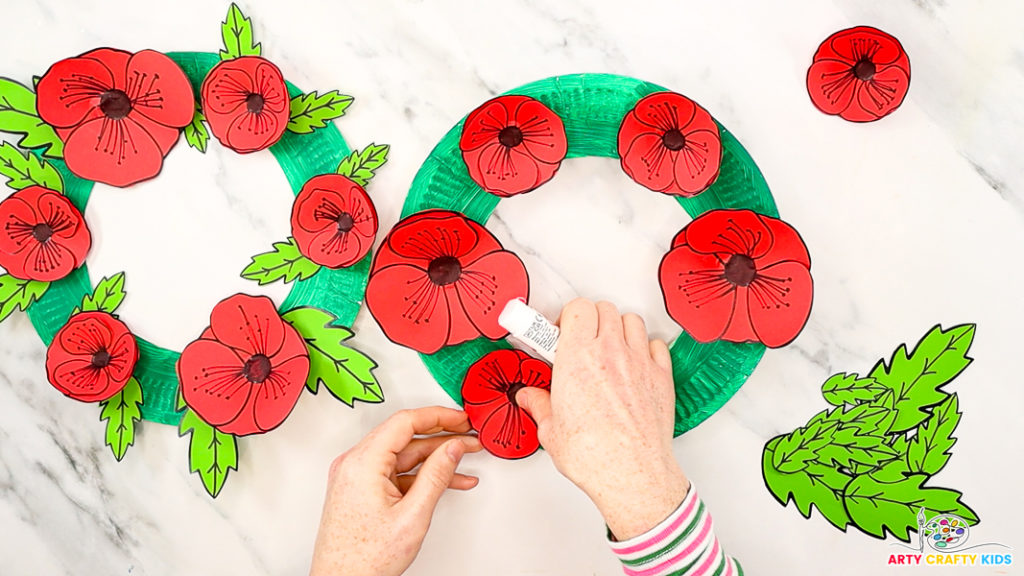
Step 5: Assemble the poppy wreath.
Once all your poppies are assembled, arrange them around the paper plate.
You can cluster them in the center for a bouquet effect or spread them evenly for a scattered poppy field appearance. When you’re happy with the layout, glue each poppy down.
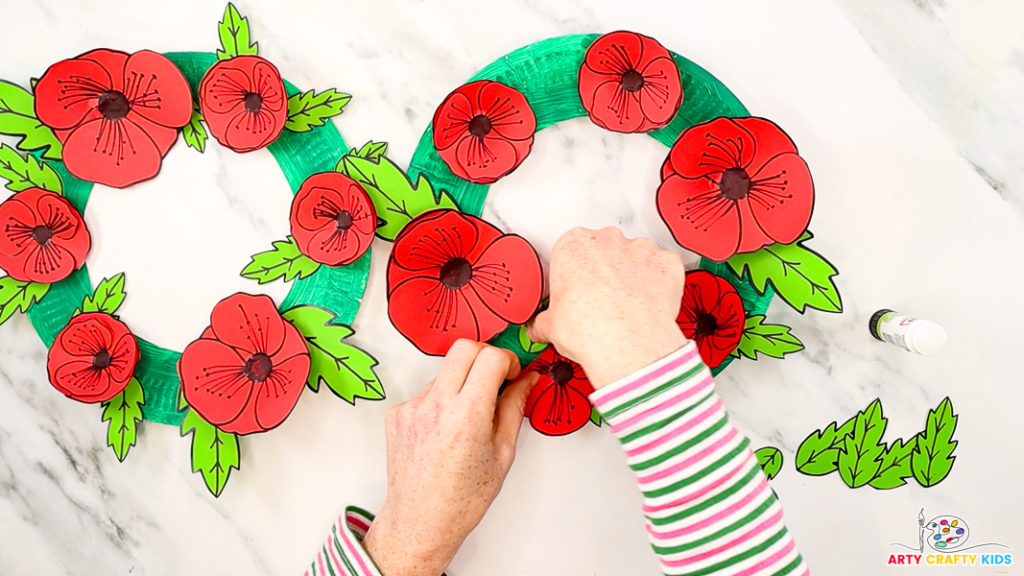
Step 6: Add the foliage to the poppy wreath.
Attach the leaves around the poppies for an added touch of detail.
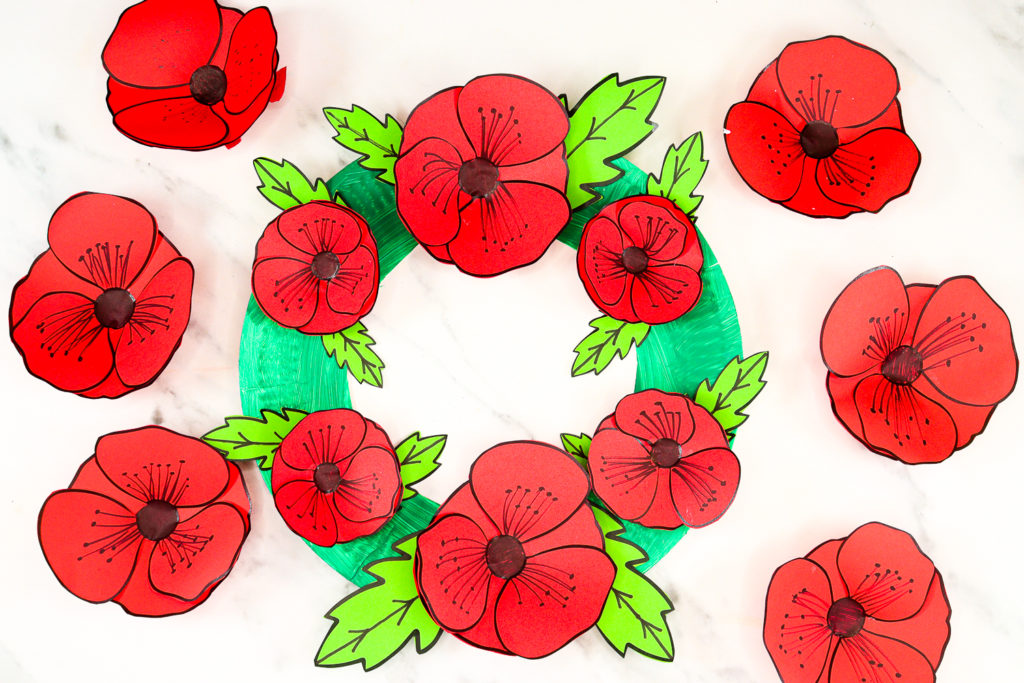
Step 7: Finishing Touches
Step back and take a look – add any final adjustments to the arrangement or glue down any loose ends. Your paper plate poppy craft is ready to display!
This paper plate poppy craft makes for a wonderful Remembrance Day activity that kids can proudly show off. It’s a gentle way to discuss the importance of the day, all while having fun with color, texture, and creativity.

