Sharing is caring!
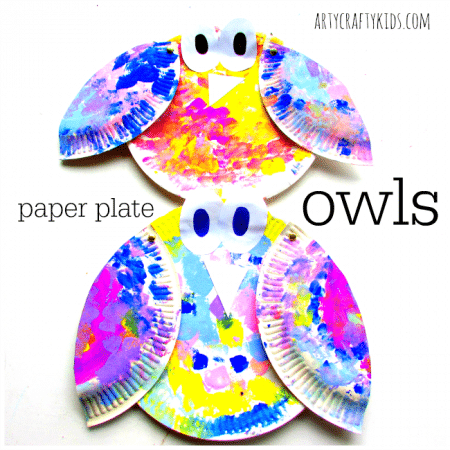
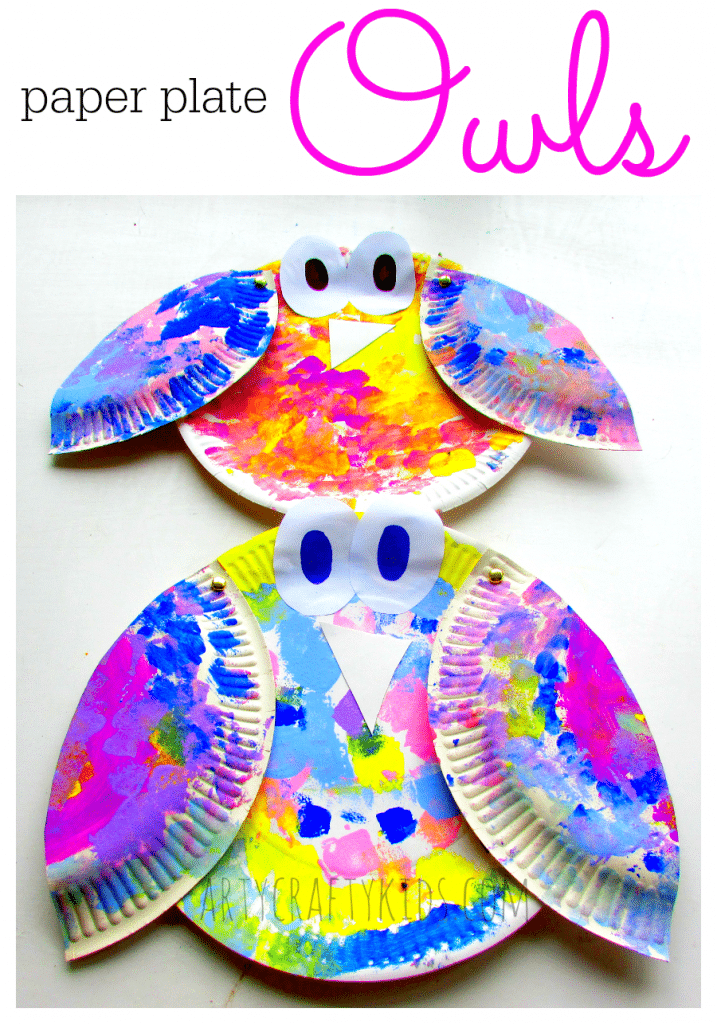
If you take a look around the blog, you may notice that we LOVE colour – the brighter the bolder the better! And my kids paper plate owls are certainly colourful, and probably the craziest looking owls you’ve ever come across.
They had so much fun making their funky owls and as a mum, it’s great when you find a suitable craft idea for a toddler and older sibling. Using different techniques, they absorbed themselves into the process and paint!
Super easy to make and with just a few materials, our paper plate owl craft can be recreated at home or within a kids craft group or preschool setting.
Paper Plate Owl : Materials
Paper Plates x2 per Owl
Paint
Sponge
Split Pins
White Card or Paper
Marker Pen
Scissors
Paper Plate Owl:
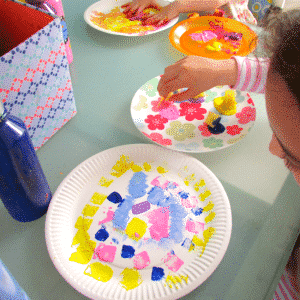
1. Set the kids up with paint of various colours and a small sponge for each. I simply cut a sponge up into small pieces.
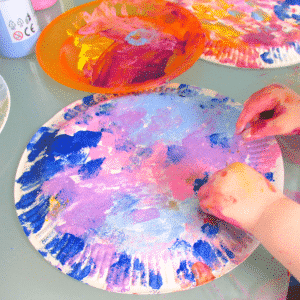
2. Apply the paint onto the front of the first paper plate (PP1). The kids can apply the paint using any method, my yougest used her hands and my eldest stuck with the sponge.
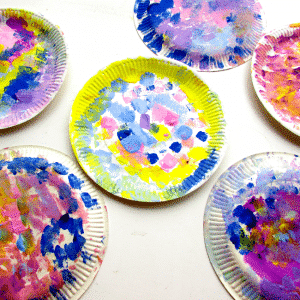
For this particular craft we opted for sponge painting to create a feathered affect. It’s also a nice change from the typical paint brush and creates some great colour blends when layered with different colours.
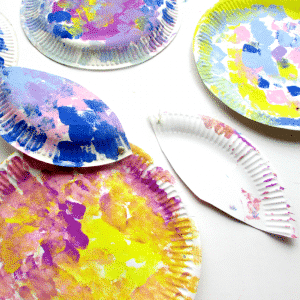
3. Paint the back of the second paper plate (PP2) – this will become the owls wings!
4. Leave to dry before moving onto the next step.
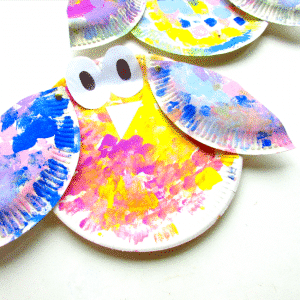
5. Cut two wing shapes from the PP2 and secure onto PP1 using split pins. This will create movable wings, which adds a little personality to the owl and turns their craft into a fun toy!
6. To finish off, add two eyes and a triangular beak using white card or paper.
I hope your arty crafty kids have fun making their own paper plate owls!

