Sharing is caring!
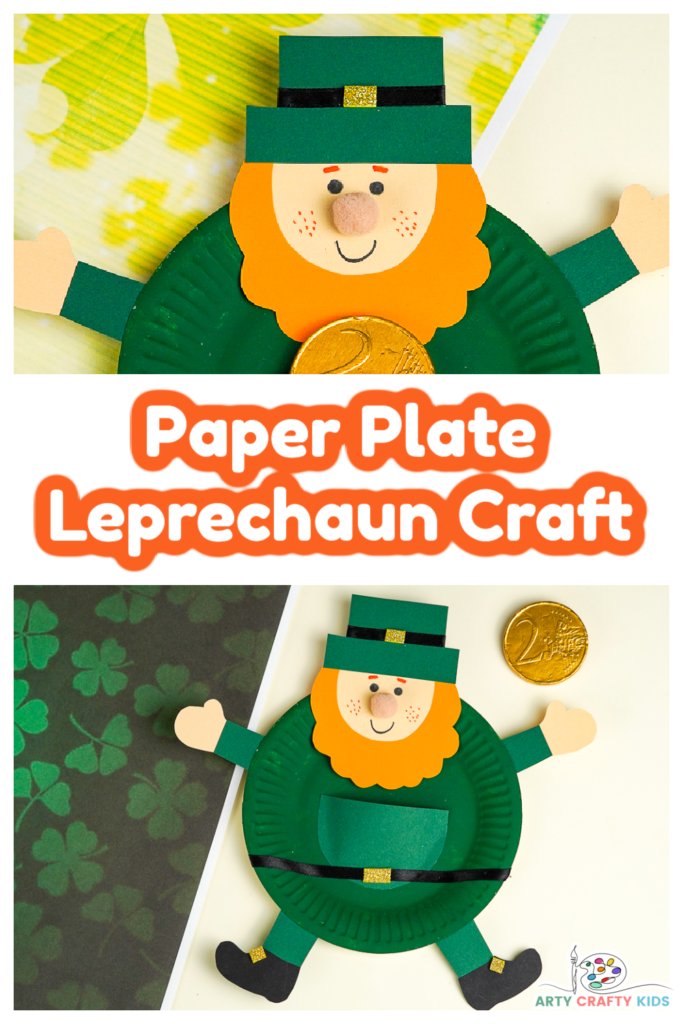
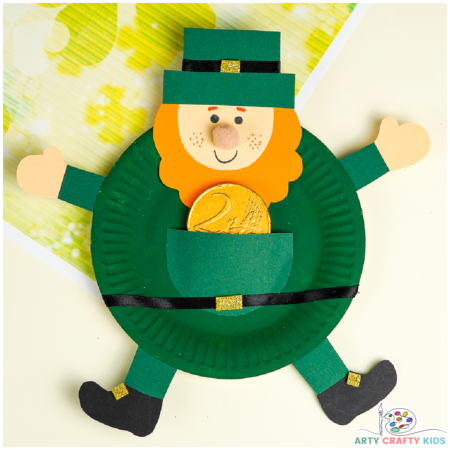
Looking for a fun and easy Leprechaun Craft for St. Patrick’s Day? Today I have the pleasure of sharing an adorable paper plate leprechaun craft that kids will love!
This crafty leprechaun project focusses on cutting, drawing and painting; all exercises that are hugely beneficial to developing fine motor skills.
Arty Crafty Kids may use the tutorial to draw their own elements to complete the leprechaun craft OR utilize our printable template, to make creating easier.
The shapes are simple and bold in design, which encourages children to cut for themselves.
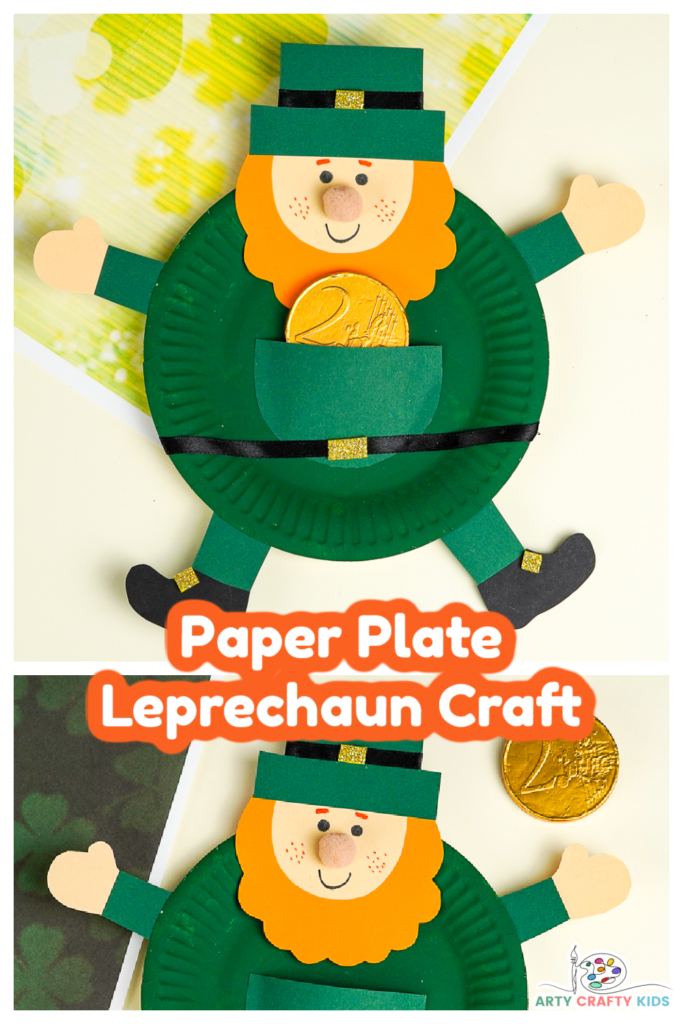
How to Make a Paper Plate Leprechaun Craft for St. Patrick’s Day
Materials:
- Paper Plate
- Green Acrylic Paint
- Skin Colored, Orange, Green, Yellow and Black Card Stock or Paper
- Black Ribbon
- Pom-Pom
- Black, Pink and Orange Marker Pens
- Glue Stick
- Scissors
How to Download the Printable Leprechaun Template:
The leprechaun template is available to members of the Arty Crafty Kids club.
Members will need to log in to access the templates: https://www.artycraftykids.com/product/paper-plate-leprechaun-template/
Not A Member?
Watch the Video Tutorial:
Let’s Make a Leprehaun!
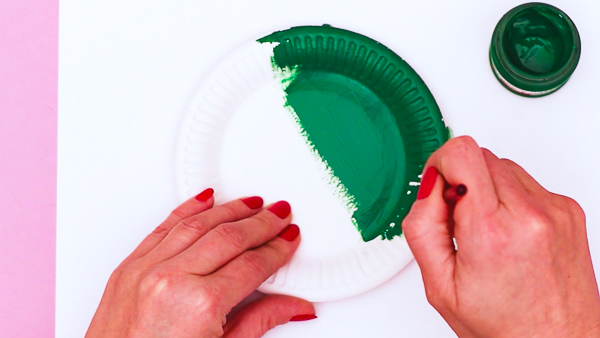
Paint the Paper Plate Green
Start by painting the paper plate a solid green color.
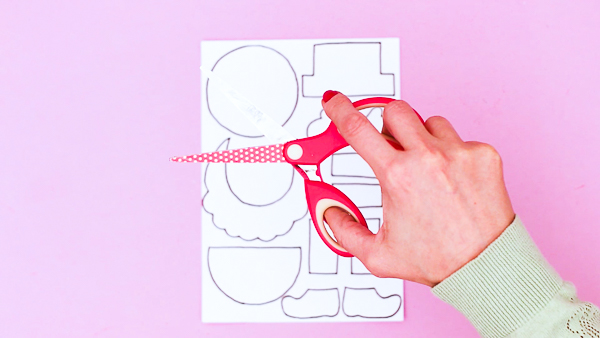
Cut Out the Leprechaun Elements
Next, cut out all the elements from the leprechaun template.
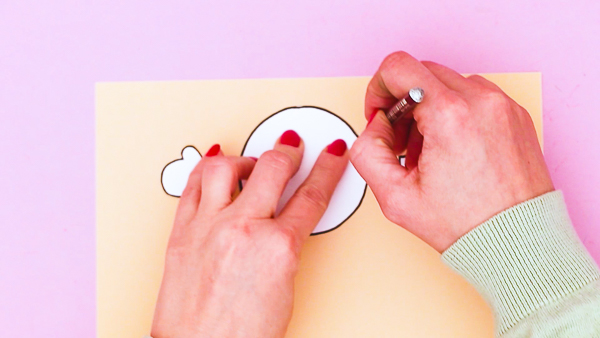
Trace the Leprechaun Elements onto Colored Card Stock
Trace the elements onto colored card stock/ paper OR color them in with paint, pens or coloring crayons.
Trace the face and hands onto skin colored card stock.
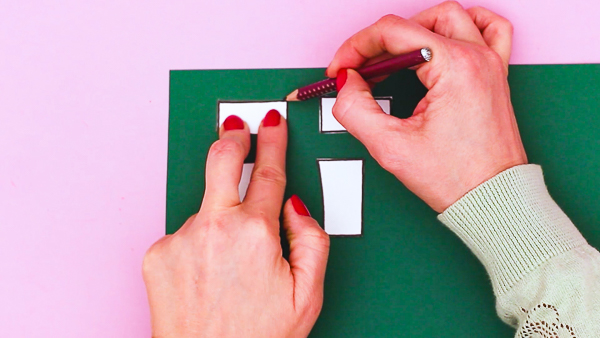
Trace the rectangular arms and legs onto green card stock/ paper.
Assemble the Leprechaun’s Hat
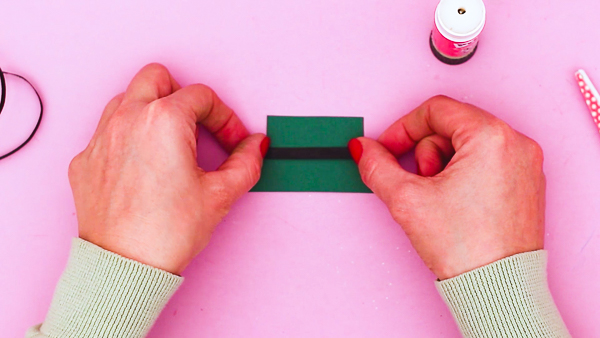
Next, assemble the elements, starting with the hat!
Add a small strip of black across across the hat and complete with a small rectangular piece of yellow (or gold) card stock to complete with a buckle.
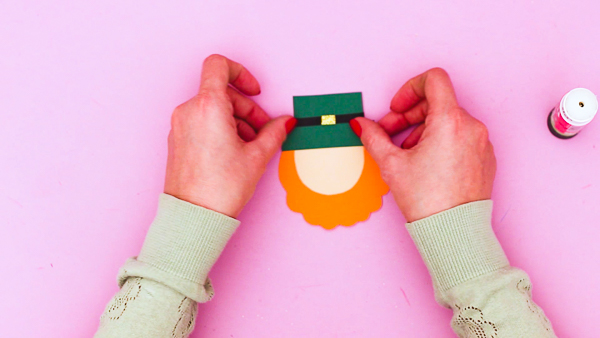
Assemble the Leprechaun’s Face and Beard
Glue the beard onto the circular face and secure the hat on top.
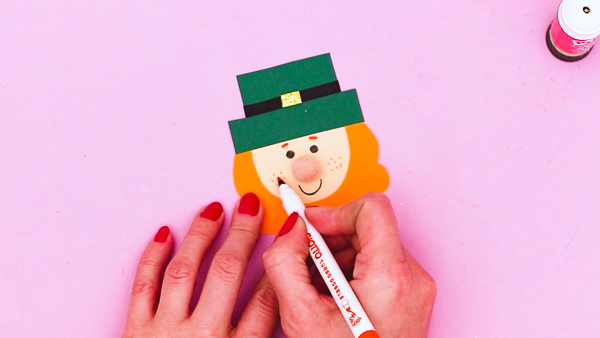
Draw the Leprechaun’s Facial Features
Add a pom-pom as a nose and draw the remaining features (eyes, mouth, eyebrows) with black and orange marker pens.
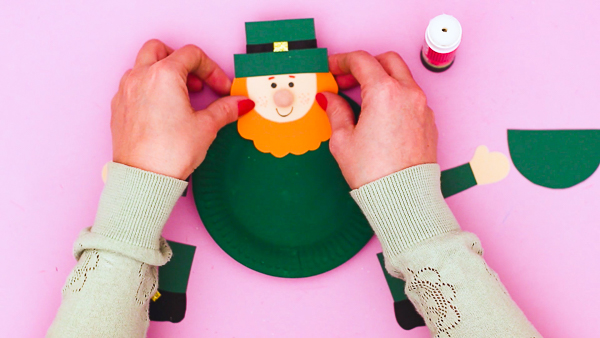
Glue the Leprechaun’s the Paper Plate
Secure the leprechaun’s head to the top of the paper plate.
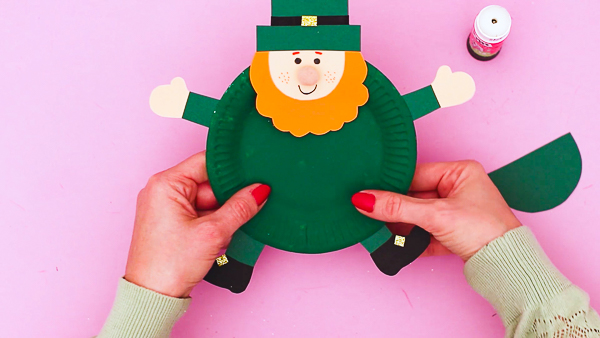
Glue the Legs and Arms to the Leprechaun’s Paper Plate Body
Next, attach the assembled legs and arms to the back of the paper plate.
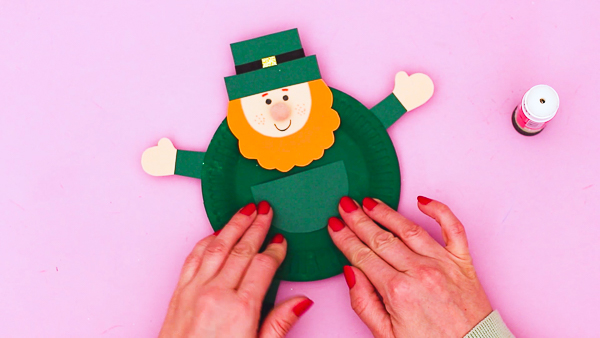
Secure a “Pocket” to the Paper Plate
Secure the front pocket to the center of the paper plate, pushing the edges in slightly to create an opening.
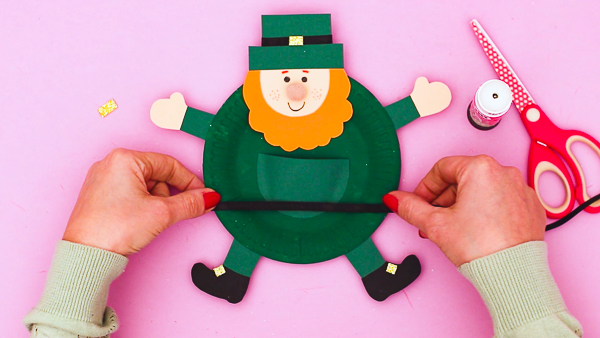
Secure the Black Ribbon “Belt”
Similar to the hat, add a strip of black ribbon across the bottom of the pocket and complete with a small yellow card stock buckle.
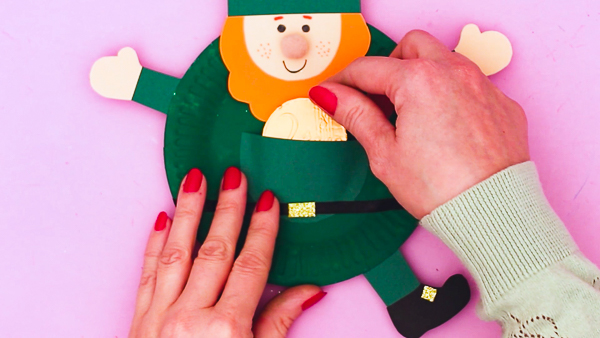
Create a Coin from Yellow Card Stock
Coins can a choking be hazard to young children, whereas for older children, adding a real coin could be used within learning about coin identification and value.
If you would prefer NOT to use a real coin, simply create a pretend one by tracing a circle onto yellow card stock.
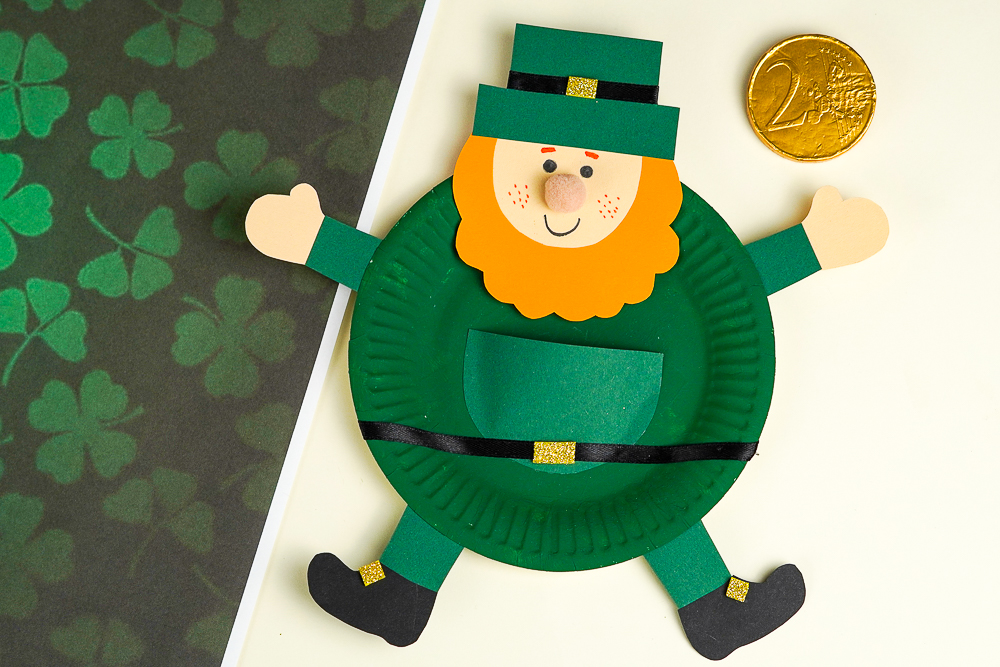
The Paper Plate Leprechaun Craft is Complete
I hope your Arty Crafty Kids enjoy recreating our paper plate leprechaun craft! As always, we love to see their creativity and if you happen to share their work in social media, please give us a tag!
