Sharing is caring!
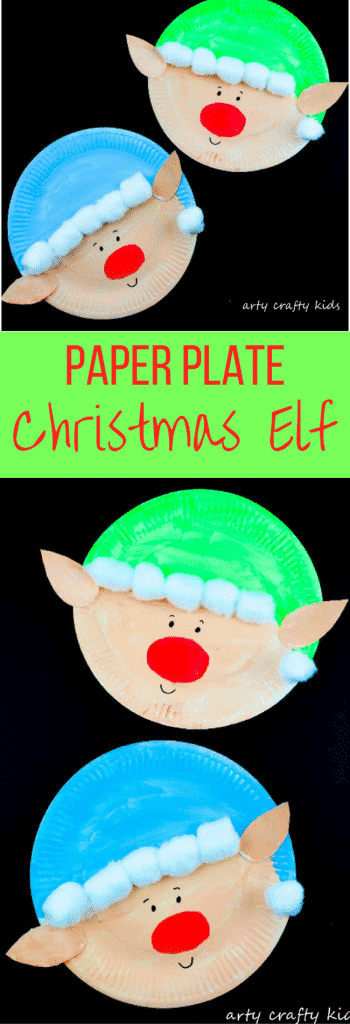
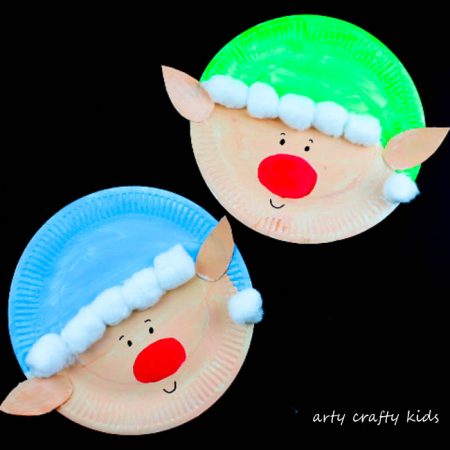
Every Santa needs some little helpers and this Paper Plate Christmas Elf Craft can be perfectly paired with any Santa Claus craft you might be planning over the Christmas season.
It’s super easy, using minimal supplies and can be set-up in no time at all…
Perfect for eager Arty Crafty Kids wanting to get their craft on!
Paper Plate Christmas Elf Craft: Materials and Supplies
This post may contain affiliate links to recommended products.
Arty Crafty Kids will be compensated a pennies for every purchase you make via the links at no extra cost to you.
Thank you for your support!
Paper Plate x2
Kids Washable Paint
Cotton Wall Balls
Scissors
Black Sharpie
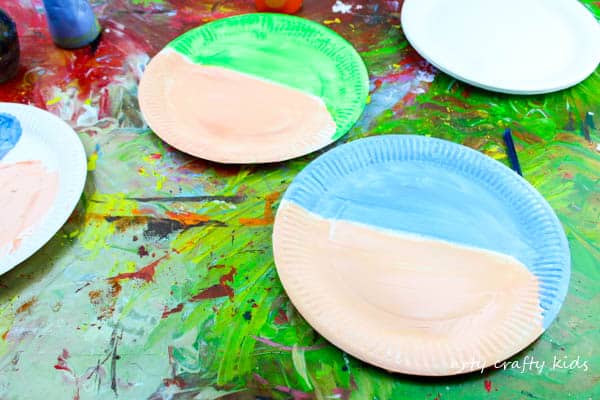
Step 1: To begin, mix the paints to create a skin tone and then paint half of the paper plate a skin coloured shade.
Paint the other half of the plate a bright vibrant colour, filtering down the rim of the plate to create a ‘droopy’ hat shape.
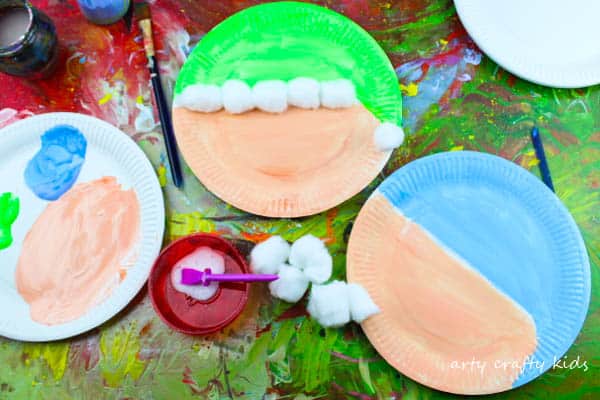
Step 2: Add a few cotton wool balls to the hat, with an extra cotton wall ball added to the tip.
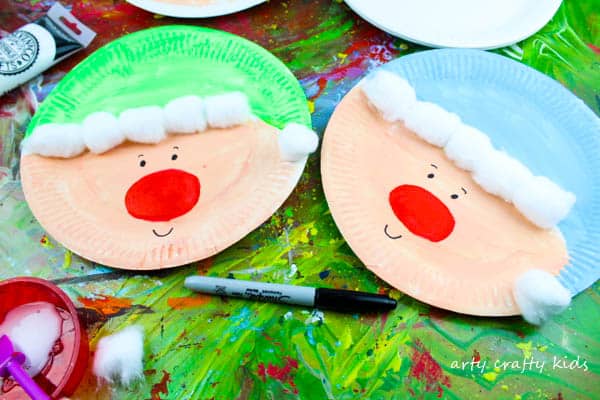
Step 3: Add some facial features!
We added a big red nose (as it’s cold in the North Pole) and a pair of eyes, with a smiley face using a red paint and a sharpie.
Of course, the Arty Crafty Kids can create their faces however they chose, and they could replace the black dotty eyes for googly eyes!
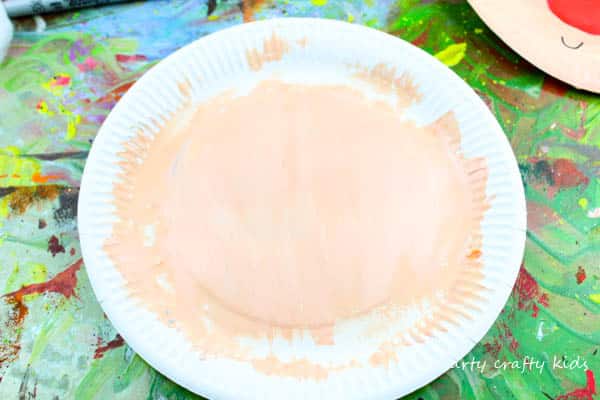
Step 4: having mixed our paint on a paper plate, we then reused it to create the must-have Elf Ears!
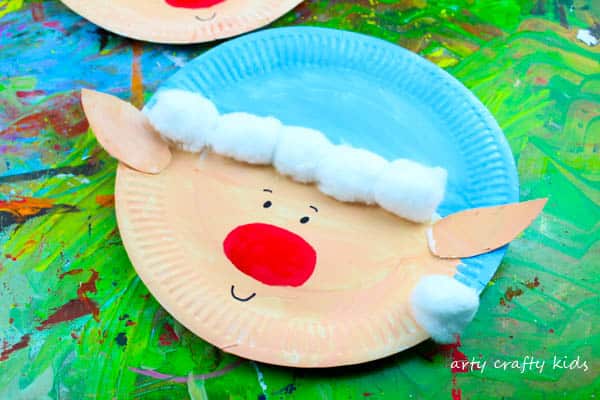
Step 5: Cut out two ‘Elf Ear’ shapes and secure them onto the Elf with PVA glue, finishing off the Paper Plate Christmas Elf Craft.
The Paper Plate Christmas Elf is now Complete!
I hope your Arty Crafty Kids have fun creating their Christmas Elves! To create a matching Santa, check out a Paper Plate Santa with a Curly Paper Beard, or something a little easier, the Paper Plate Santa with a Cotton Ball Beard!
Pin for Later!
