Sharing is caring!
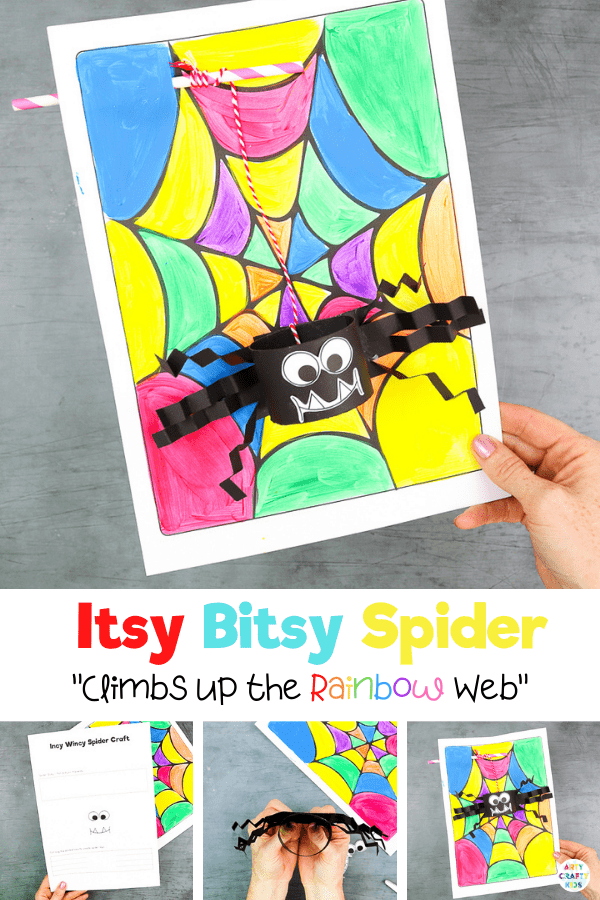
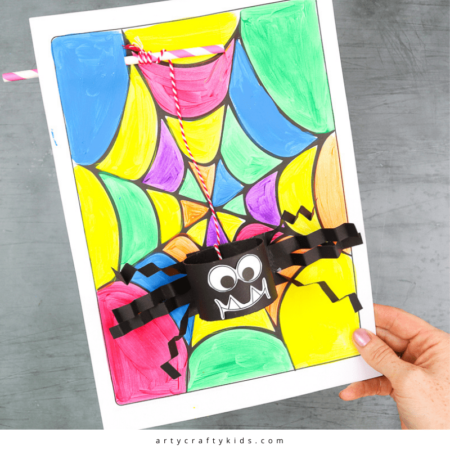
Our paper itsy bitsy spider craft can be done in the home or classroom with pre-schoolers and school early years to support Autumn learning or as a fun Halloween activity. It’s also great to use as an interactive prop alongside the itsy bitsy spider rhyme.
Incorporating coloring, careful cutting, sticking and folding, this is a brilliant activity to reinforce fine motor skills, and as it brings movement and dimension to paper crafting, it’s also really engaging for kids of all ages. And most importantly, it’s fun to play with too!
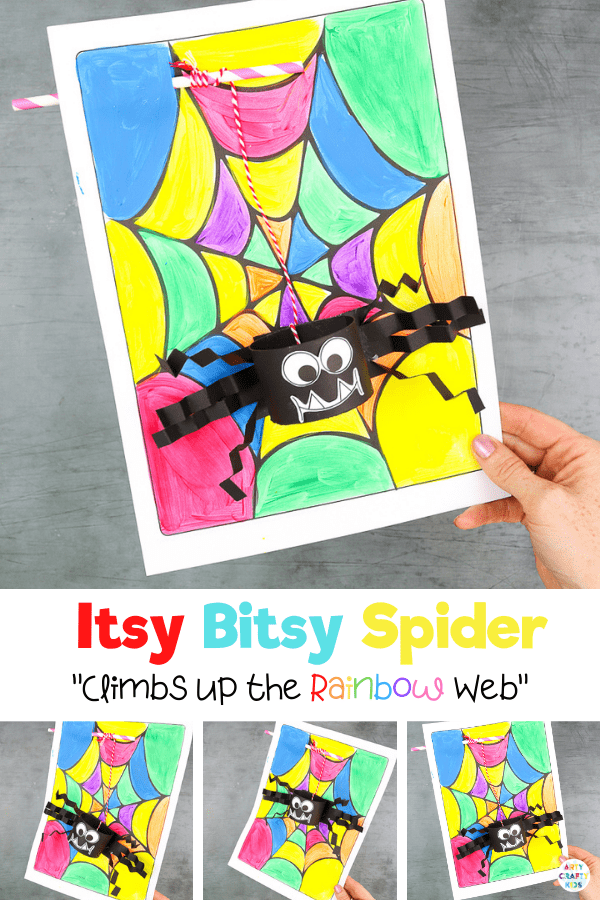
How to Make the Paper Itsy Bitsy Spider Craft:
Supplies:
White Cardstock (for printing)
Black Cardstock
Paint or Coloring Pens
String
Paper Straw
Glue Stick
Scissors
How to Download the Itsy Bitsy Spider Tempate:
The Itsy Bitsy Template is available to members of the Arty Crafty Kids club. Members will need to log in to access the templates: https://www.artycraftykids.com/product/itsy-bitsy-spider/
Not A Member?
Let’s Make a Spider!
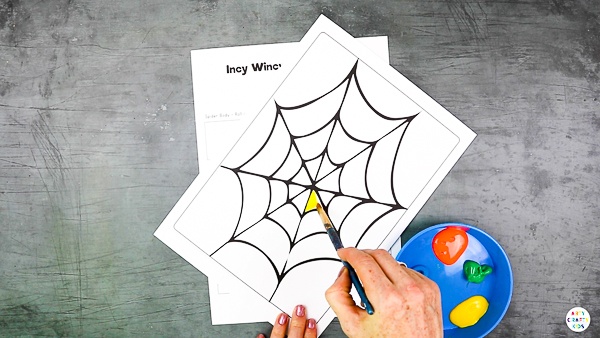
Decorate the Spider Web
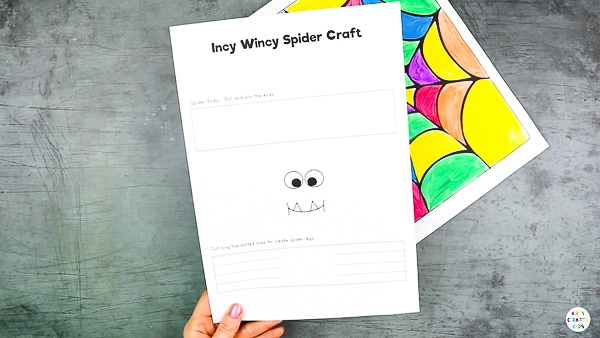
First, paint or color in the spider web. Of course if you’re making super scary Halloween decorations you can use black, grey or purple, but since we’ve called this craft ‘Itsy Bitsy Spider, climbs up the rainbow web,’ we would love to see you be creative! Go for bold, bright colors: you could even create patterns and doodles over the top for that extra vibrant pop!
Cut Out the Spider Elements
Whilst your colorful web dries, carefully cut out all of the spider elements from the template.
Creating Spider Legs
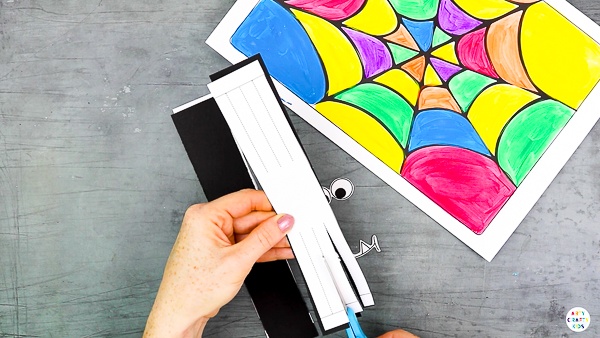
Use the template as a guide to cut long even legs onto the black strip of card. This is great cutting practice – try and keep a straight, steady hand!
Fold and Twist the Spider Legs
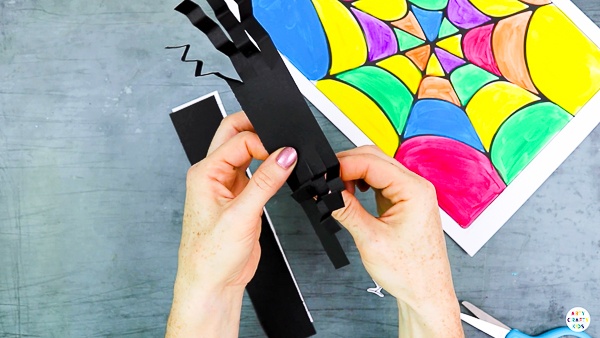
Now fold each spider leg using a concertina fold, and give them a twist, to create wild, wriggly legs.
Create a Large Loop
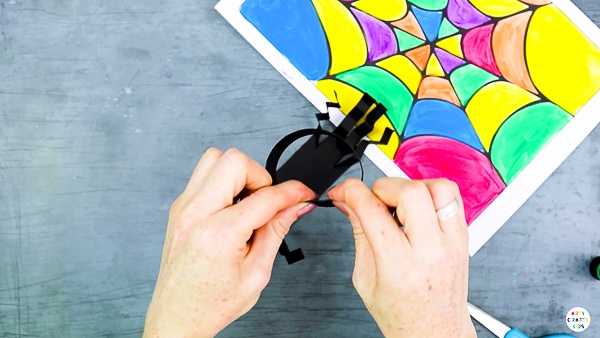
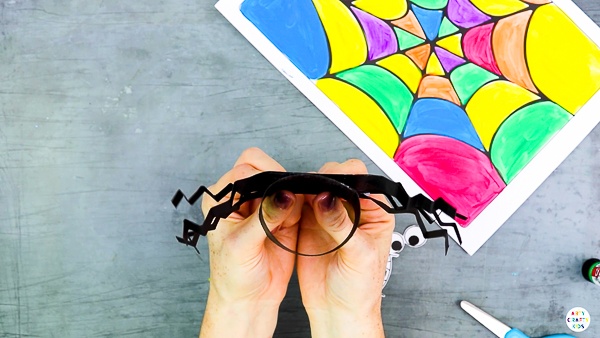
Then take the second black strip and bend it around to make a big loop, and secure the end with a spot of glue so it doesn’t come undone.
Assembling the Itsy Bitsy Spider
Glue the legs onto the loop, and then stick on the eyes and mouth.
Tie a Piece of String
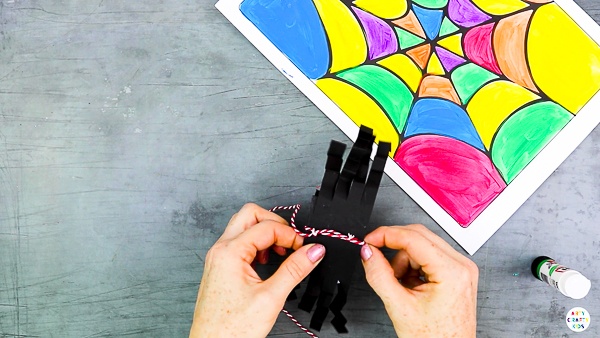
Tie a piece of string or yarn around the middle of the spider and secure in a knot.
Gently Fold the Web and Create Two Slits
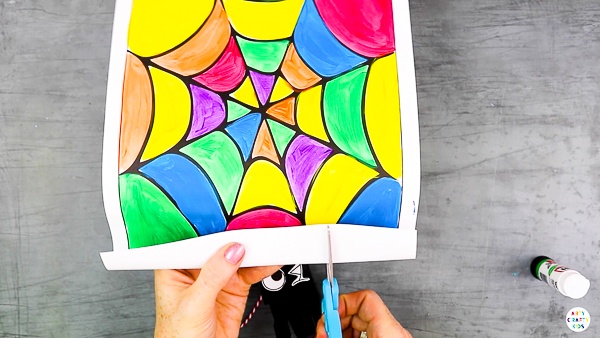
Then gently bend the web and carefully cut two slits, using the tips of the web on the template as a guide, so that your spider has a place to dangle from.
Slide the Paper Straw into the Openings
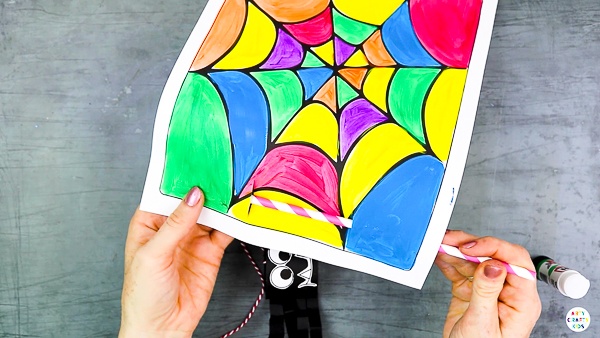
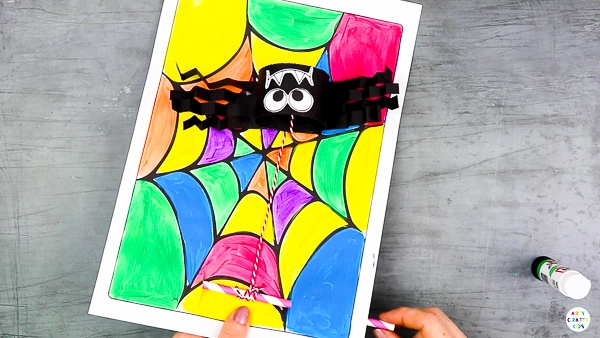
Thread a paper straw through the two slits you made in the web.
Attach the Spider String to the Straw
Finally, wrap the end of your string or yarn around the paper straw and secure tightly in a knot.
Now spin the straw to wind the string, making the spider climb up the spider web.
The Paper Itsy Bitsy Spider Craft is Complete
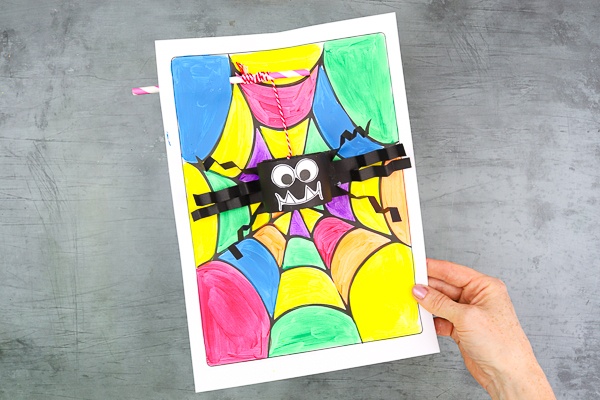
Ta-dah! Your itsy bitsy spider is ready to bounce, wobble and play on his colorful web. He’s so cute, surely no-one could be scared of him… could they?!
More Fabulous Spider Crafts for Kids
String Spider Web Art:
Pre-schoolers and school early years can use the activity to strengthen fine motor skills, and to support several different learning topics like mini-beasts or where animals find homes in Autumn (like the cheeky spiders who come indoors, shudder!).
https://www.artycraftykids.com/art/string-halloween-spider-web-art/
Bobble Spider Craft
With its added bobble, kids will delight at how the spider appears to move and wobble on its colourful web; bringing an interactive and engaging quality to the craft.
https://www.artycraftykids.com/craft/bobble-halloween-spider-craft/
Button Spider Craft
Our button spider is not only cute, it’s quick and easy too, making it an ideal Halloween kid craft for little fingers.
https://www.artycraftykids.com/craft/button-spider-easy-kids-craft/
Wax Resist Spider Web Art
The reveal of the oil pastel design is so exciting and beyond the web, my girls played “guess the picture” for hours, creating castles, flowers and an ambundance of toddler creations that, well in all honesty needed a little imagination to decipher…
https://www.artycraftykids.com/art/oil-pastel-resist-spider-web/
Happy Crafting!
