Sharing is caring!
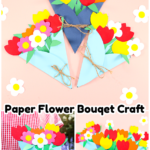
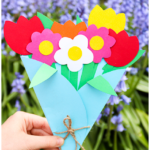
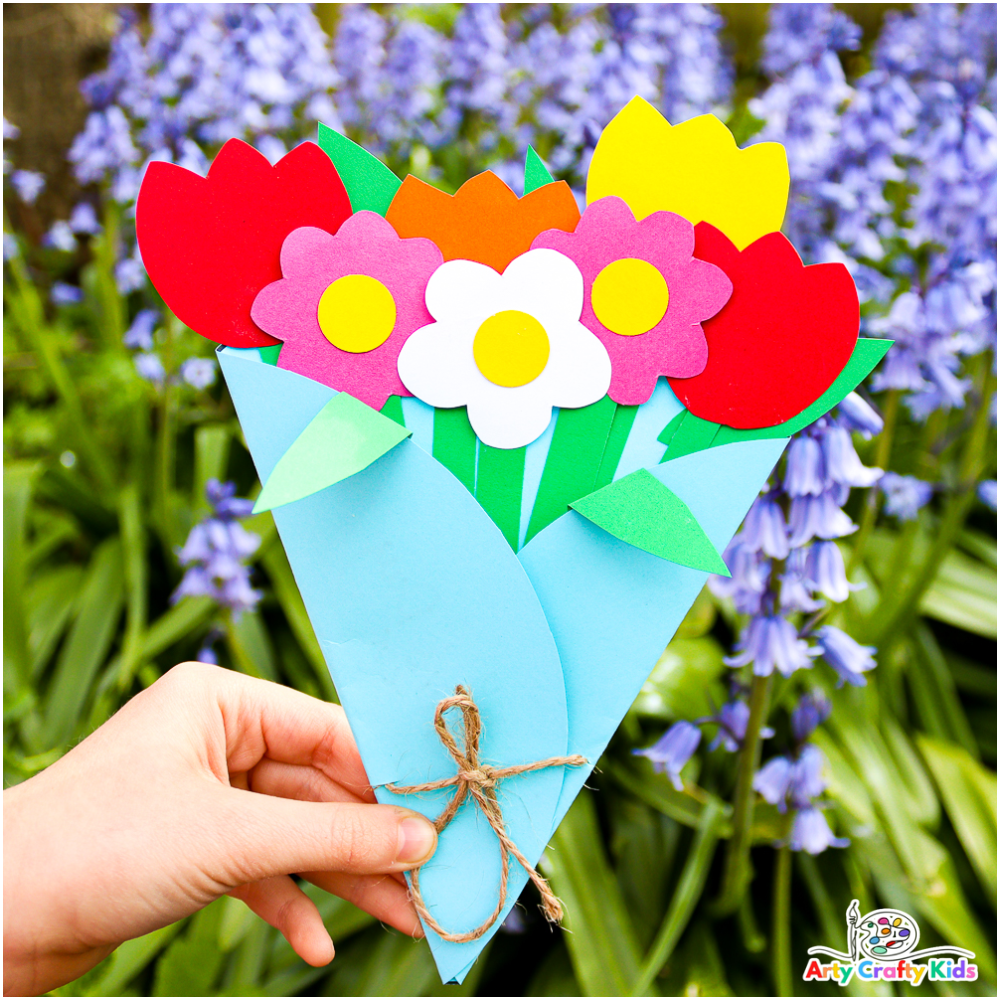
Make all of your favorite Spring flowers and bundle them up into one gorgeous Paper Flower Bouquet Craft!
This lovely flower craft for kids’ to make is the perfect gift to say “I love you” and/or “thank you” on Mother’s Day, Valentine’s Day, Birthday’s and every other celebratory moment. I’m sure teacher’s would also love to receive this beautiful gift at the end of term.
Complete with a printable flower bouquet template, this craft is super easy for children to recreate at home or within the classroom and encourages children to cut, fold, stick and trace all by themselves.
Older children may also enjoy using our how to draw guides to draw a tulip or rose for their beautiful bouquets.
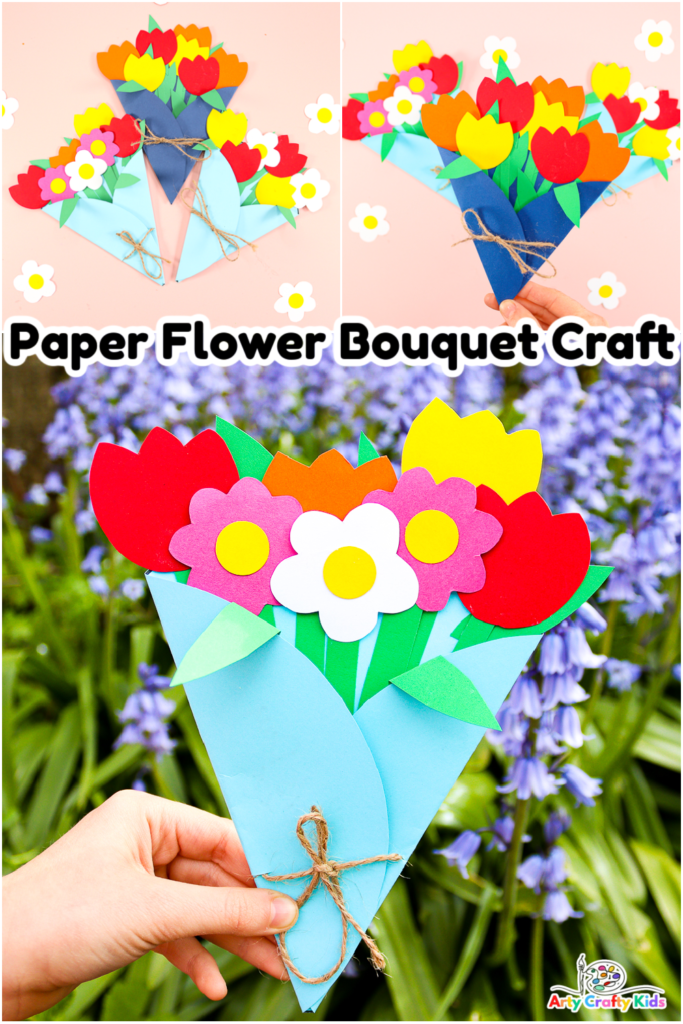
How to Make the Paper Flower Bouquet Craft
Materials:
- Colored Card Stock for Printing
- Colored Card Stock Scrap Card Stock for Tracing
- Green Card Stock for Stems and Leaves
- Pencil
- Hole Punch
- String
- Scissors
- Glue Stick
Flower Bouquet Template:
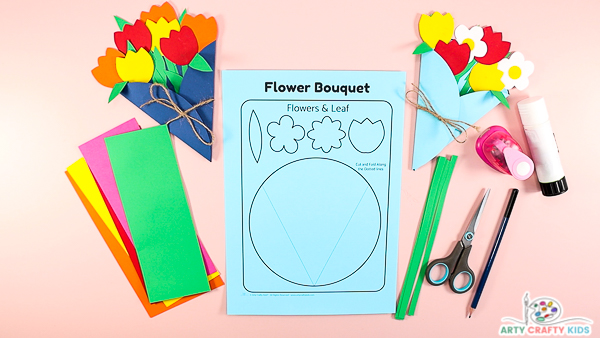
The template is available to members of the Arty Crafty Kids club.
Members will need to log in to access the templates:
Not A Member?
Watch the Paper Flower Bouquet Craft Tutorial:
Let’s Make a Paper Flower Bouquet!
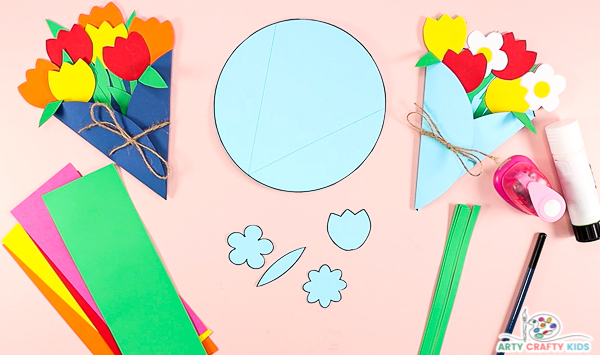
Cut out the Template Elements
Carefully cut out the large circle, flower heads and leaf.
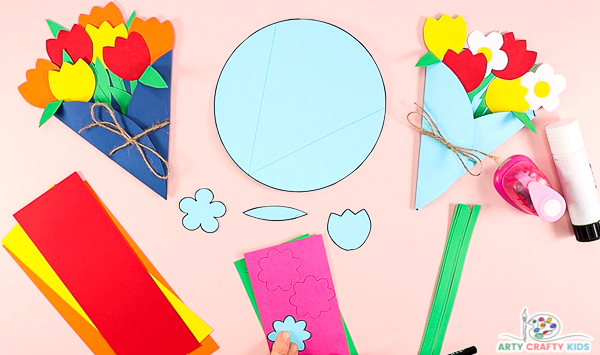
Trace the Flowers onto Colored Card Stock
Trace the flower heads onto colored card stock.
Our flower bouquet features the colors of Spring; orange, red and yellow tulips, with white daisies and little pink flowers.
Once traced, carefully cut out each flower.
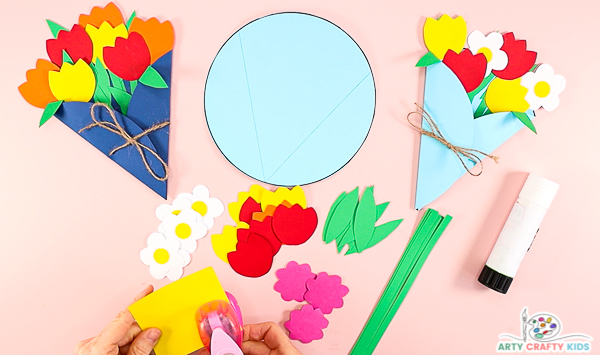
Use a Hole Punch to Create Flower Center’s
Use a hole punch to create yellow circles for the flower’s carpel/pistal (the middle part of a flower).
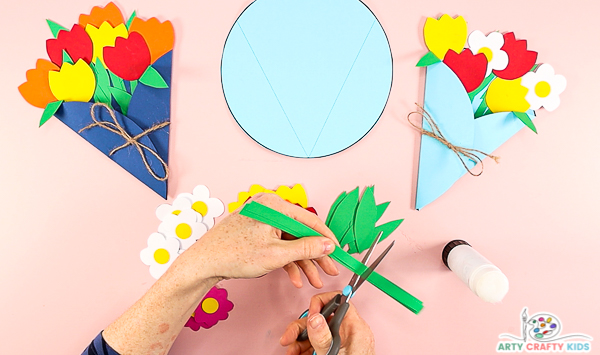
Turn Green Card Stock into Flower Stems
Cut a piece of green card stock into multiple strips to create stem’s for the flower heads.
If necessary, cut the stems to ensure they fit within the bouquet.
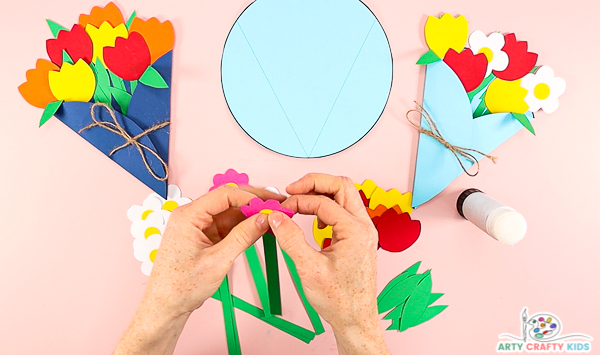
Glue the Flower Heads to the Stems
Next, glue a flower head onto a stem.
Arty Crafty Kids have the option to use all the flowers provided within the template, focus on a just one variety or they may want to have a go at drawing their own!
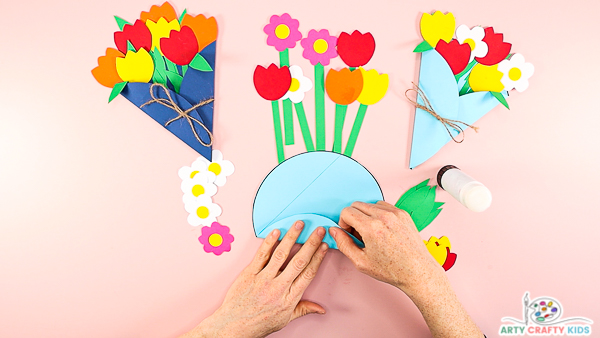
Fold Along the Dotted Lines
With the flower’s complete, let’s get ready to make a bouquet.
Next, grab the circle and create two flaps by folding inwards along the dotted lines.
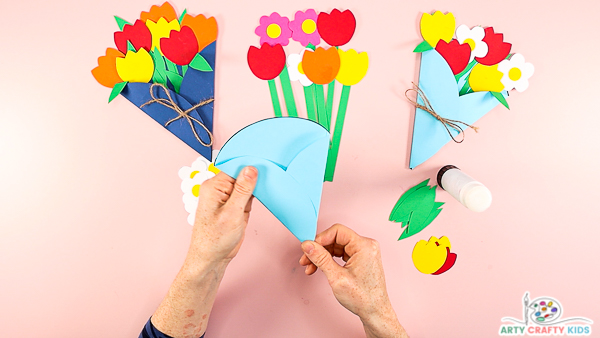
Make an Ice Cream Cone Shape
The end shape will look like an ice cream cone!
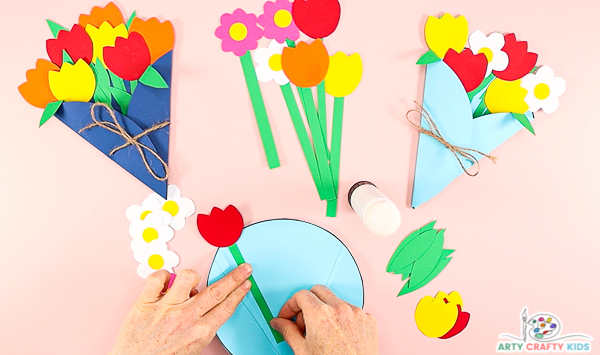
Glue the First Flower
Open the folds and glue the first flower to the inside of the bouquet.
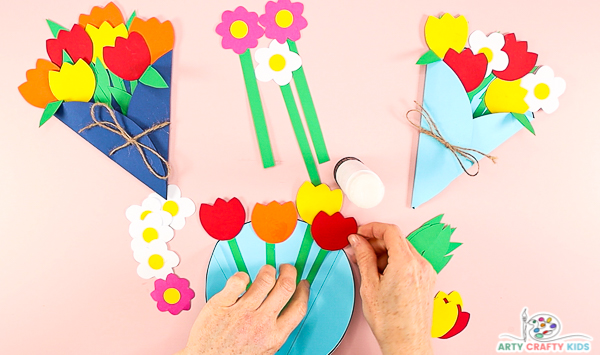
Build the Flower Bouquet
Create a back row of flowers.
They can be evenly space or slightly layered.
Once the back row is in position, add a few leaves.
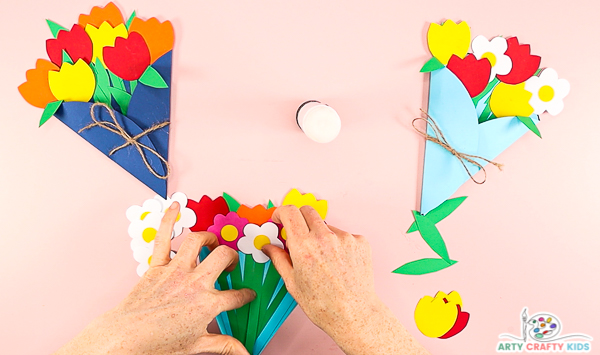
Add Background Leaves and Layer the Flowers
Glue the next layer of flowers to create a colorful arrangement.
Continue adding leaves to create the impression of foliage. The green also offers a contrast that helps the the colors of the flower heads pop!
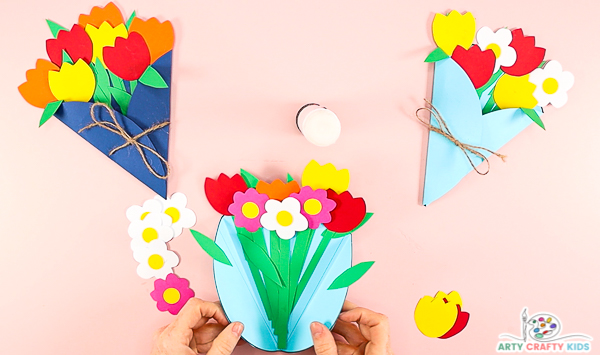
Glue Leaves to the Flaps
Once the flower arrangement within the bouquet is complete, glue a pair of leaves to the inside of each flap.
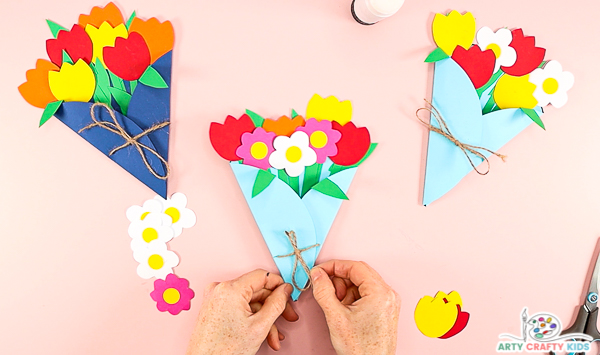
Fold the Flaps Over and Secure with String
To complete the paper flower bouquet craft, secure the flaps with a piece of string.
The string can be held with a little dab of glue OR cut two tiny slits into each side of the bouquet and simply thread the string through the slits.
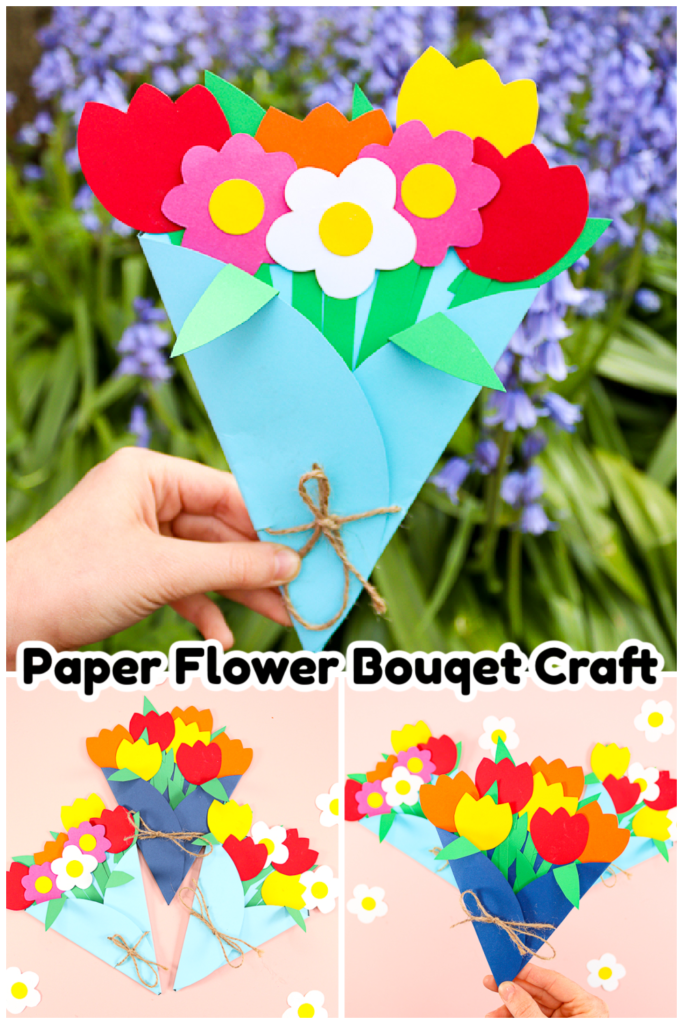
I hope your Arty Crafty Kids enjoy making their very own Paper Flower Bouquet Craft! As always, we love to see their creativity in action – If you share their gorgeous homemade cards on social media, please do give us a tag!

