Sharing is caring!
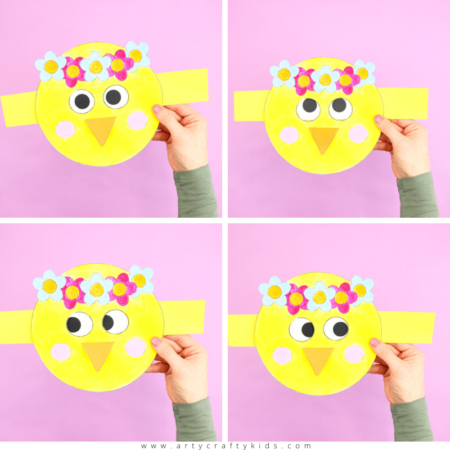
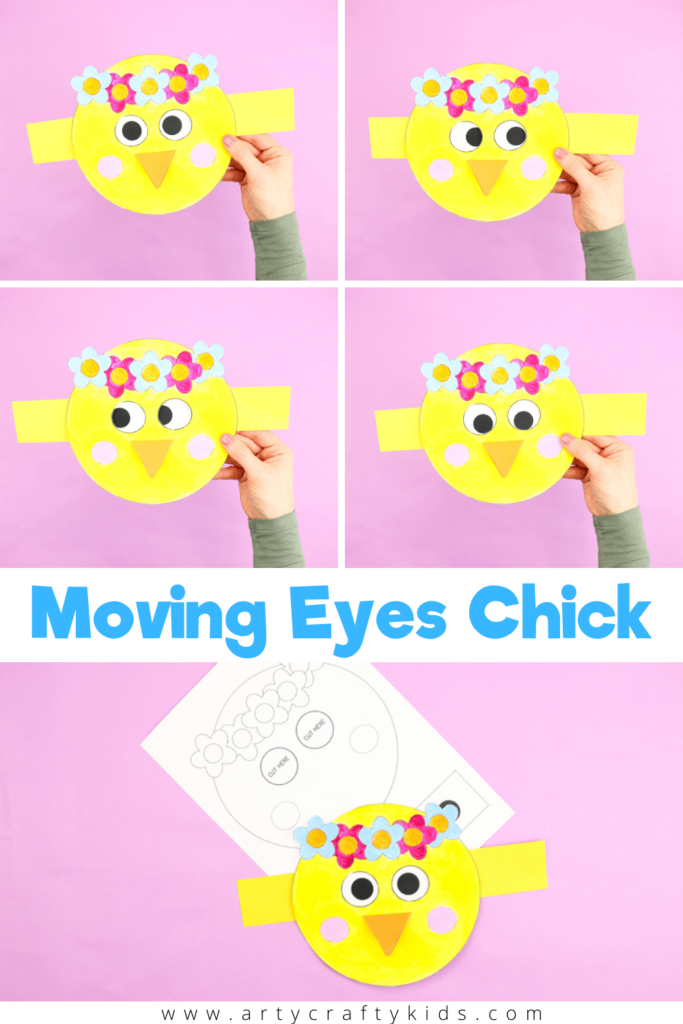
Moving Eyes Chick Craft: Looking for an easy but really interactive craft to help welcome spring, at home or in the classroom? Then our moving eyes chick craft is for you!
Our moving eye activities always get such amazing feedback: kids, teachers and parents alike love the combination of craft and play – and we do too! So creating a spring-themed version was a must.
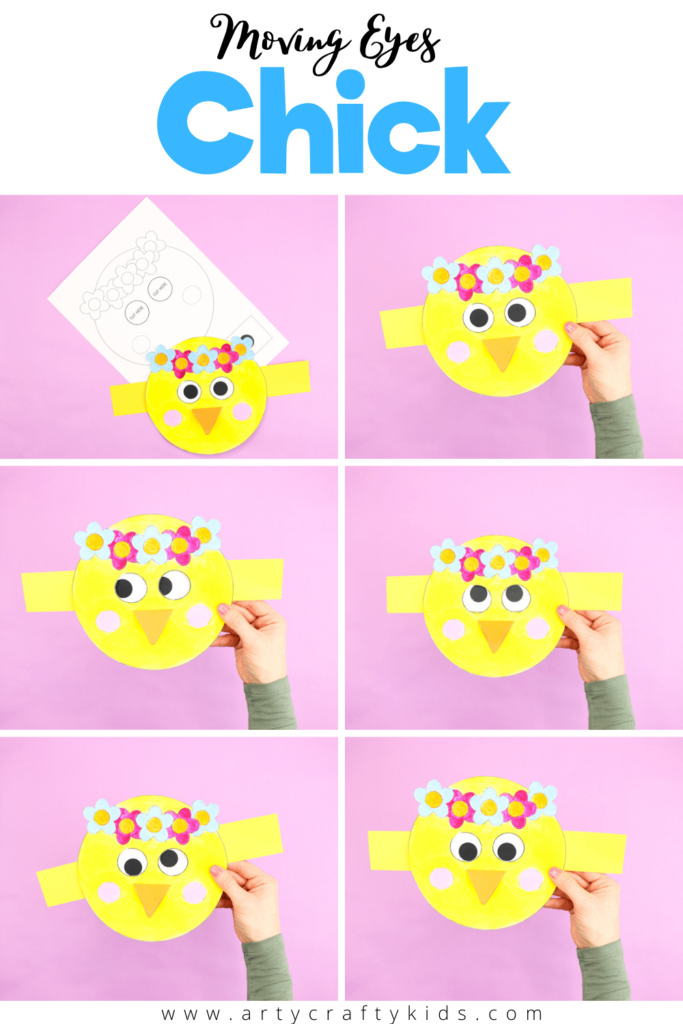
The downloadable template and simple shapes make this chick craft ideal for pre-schoolers and school early years to enjoy (mostly) independently. And it really helps to hone their fine motor skills as well, as they practice cutting, sticking, coloring and threading the eyes.
And once the craft is complete, children can let their imaginations run wild as they play with their creation. Will they join their chick in making silly faces? Maybe they’ll team up with a sibling or a friend to make an Easter puppet show!
How to Make the Moving Eyes ChickCraft:
Supplies:
White Cardstock
Colored Cardstock
Paint, Coloring Pencils or Crayons
Scissors
Glue Stick
How to Download the Moving Eyes Chick Template:
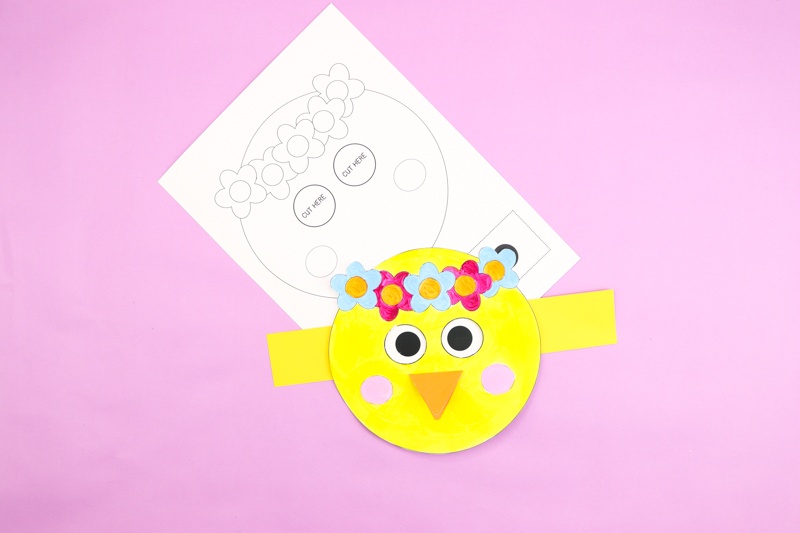
The Chick Template is available to members of the Arty Crafty Kids Club. Members can access the template here (remember to login!):
https://www.artycraftykids.com/product/moving-eyes-chick/
Members will need to log in to access the templates!
Not A Member?
Watch the Video Tutorial:
Let’s make a Spring Chick!
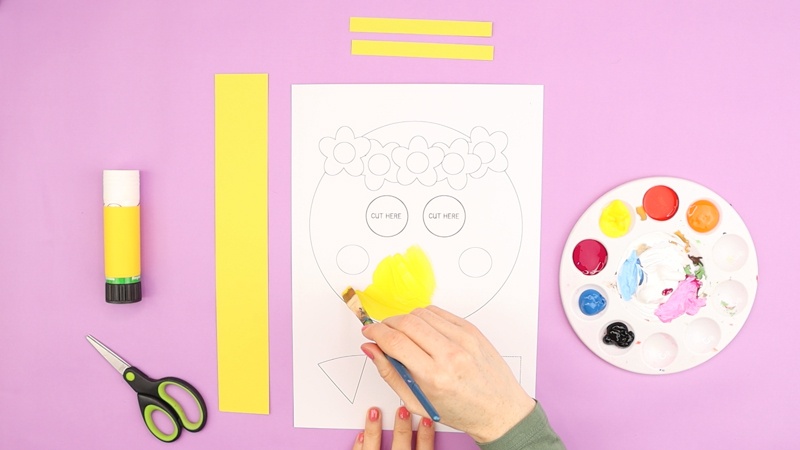
Decorate the Chick Template
Color in the chick template with whichever medium you like: it could be paints, crayons or pens.
And if you’re feeling super creative, why not add some extra flourishes to your spring chick’s floral crown? You could stick on some scrunched up crepe paper, or even add some glitter!
Once you’ve finished coloring in your chick and everything is dry, carefully cut out the elements from the template.
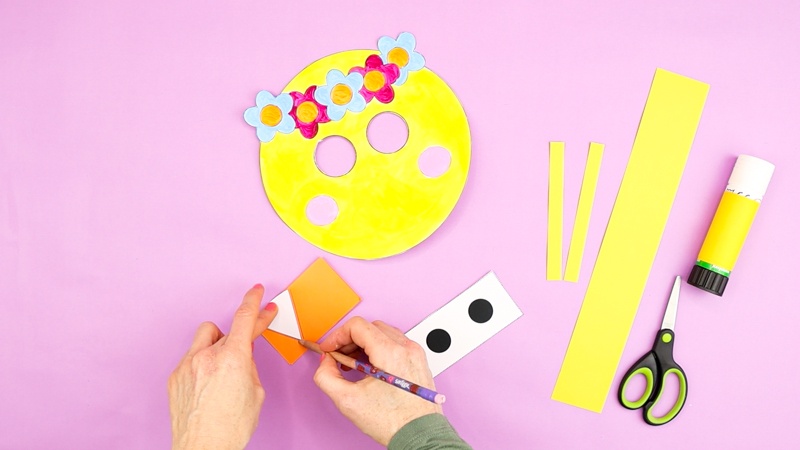
Make The Beak
Fold a piece of brightly colored orange card stock in half. Align the beak element along the edge of the folded card stock and draw around the triangle. Carefully cut it out.
Using your gluestick, secure the beak onto the middle of your chick’s face, right between her rosy cheeks.
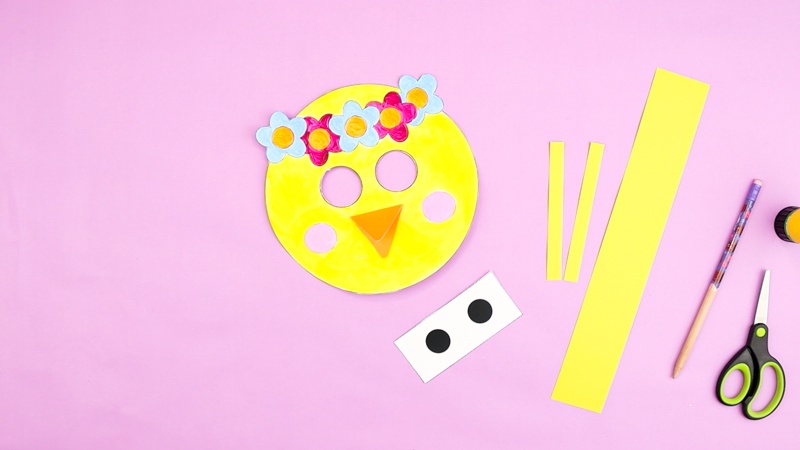
Cut Out The Final Elements
Cut one strip lengthwise from a sheet of yellow A4 card – it needs to be the same thickness as the rectangle eyes on the template.
Next, cut two more thin strips of card, each three or four inches long. Now you have everything you need ready to assemble your chick!
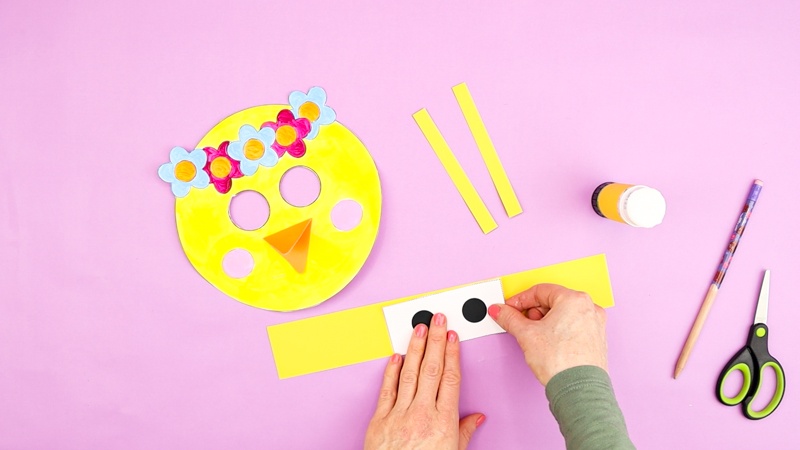
Secure the Eyes to a Paper Strip
Stick the rectangle eyes into the middle of the large strip of yellow cardstock.
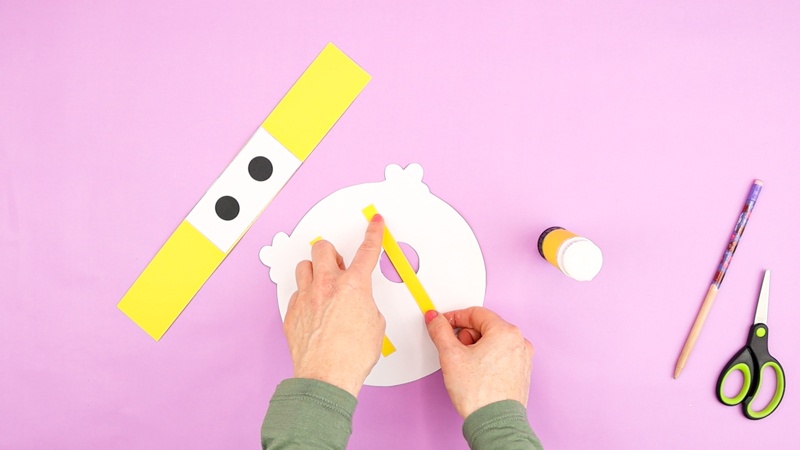
Let’s Secure the Eyes
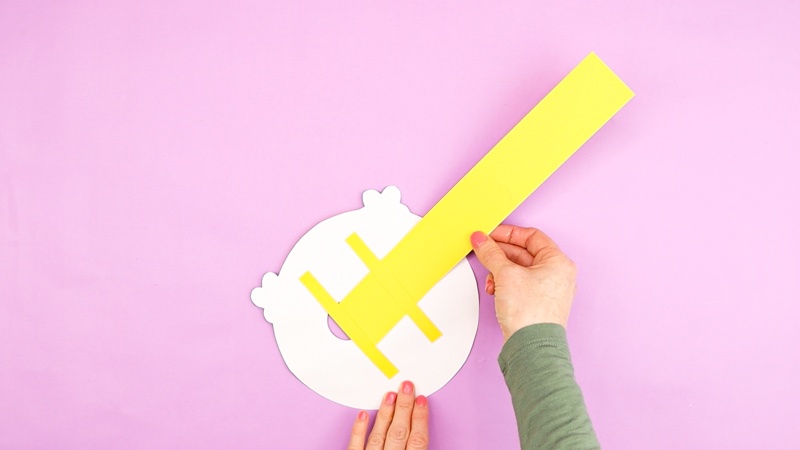
Turn your chick over. Now stick one of the thinner card strips vertically over the left eye – this will support her moving eyes. Stick the other strip in the same way over the right eye.
Thread the Eyes
Now carefully slide the strip of eyes underneath the two thin support strips – be gentle!
The Moving Eyes Chick is Complete
Turn her back over and cheep cheep – she’s ready to play! Why not help her look around for a bunch of spring flowers, or maybe even some Easter eggs?
Share your pictures and tag us on social media – we can’t wait to see all your springtime fun!
More Spring Crafts for Kids:
Check out these interactive and engaging paper Spring Crafts:
Bobble Bunny Craft:
With its wiggly and stretchy nose, kids will love creating this engaging and simply adorable addition – Bobble Nose Paper Easter Bunny Craft
https://www.artycraftykids.com/craft/bobble-nose-paper-easter-bunny-craft/
Spring Lamb Craft:
Its bouncy, wobbly head adds a playful element to the craft that will be adored by children.
https://www.artycraftykids.com/craft/3d-spring-lamb-craft/

