Sharing is caring!
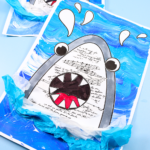
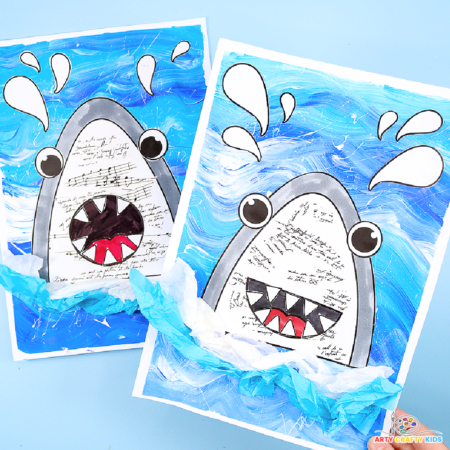
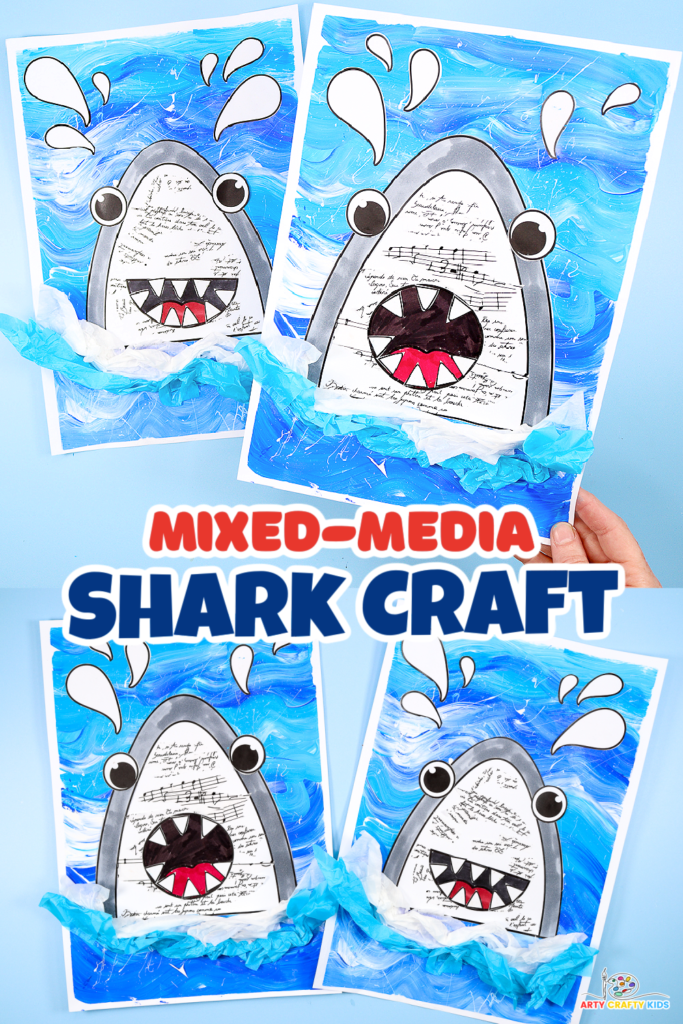
Get creative this Shark Week with our fun and dynamic Mixed-Media Shark Craft for kids!
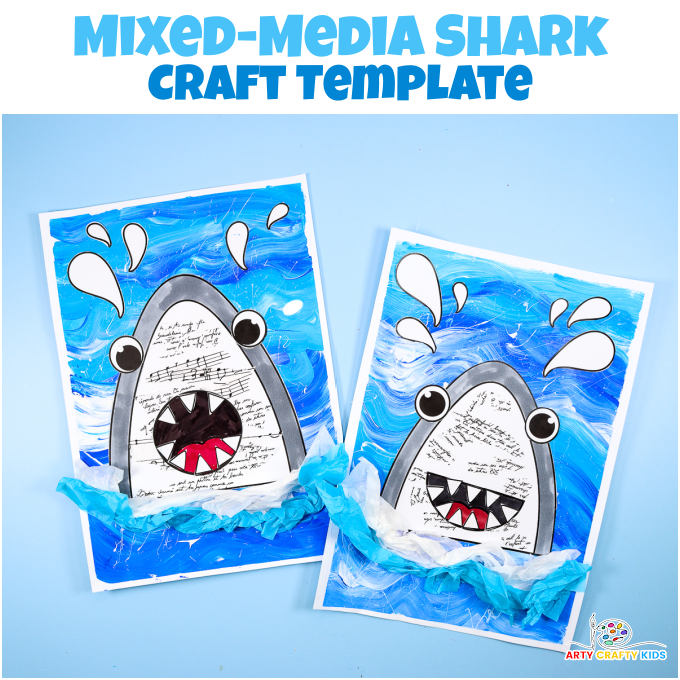
This project features a cool shark template that appears to burst from a painted background of blue waves. The shark sports a big, toothy grin, with scrap newspaper adding texture to its white areas. For extra fun, we’ve loosely attached tissue paper at the bottom of its head, creating a 3D splash effect.
Perfect for kids of all ages, this easy-to-make project encourages children to explore different textures in their art and craft, allowing them to create their own unique deep sea (friendly!) predator.
For even more sharky fun, Arty Crafty Kids can try their hand at drawing their own shark using our simple tutorial. They can also make moving-eyes shark puppets and enjoy creating a dancing baby shark paper craft!
How to Make a Mixed-Media Shark Craft
Materials:
- White Card Stock for Printing and Painting
- Paint
- Coloring Medium ( crayons, pens)
- Tissue Paper
- Scrap Newspaper or Printed Paper
- Paint Brushes
- Popsicle Stick
- Artists Tape
- Scissors
- Glue Stick
- Shark Template ( members will need to login to access the template!)
Not a Member?
Join the Arty Crafty Kids club to access the Shark Template, along with 1000’s more Art and Craft templates, How to Draw Guides, and Coloring Pages.
Watch our YouTube Shark Craft Tutorial:
Shark Craft Step-by-Step Tutorial
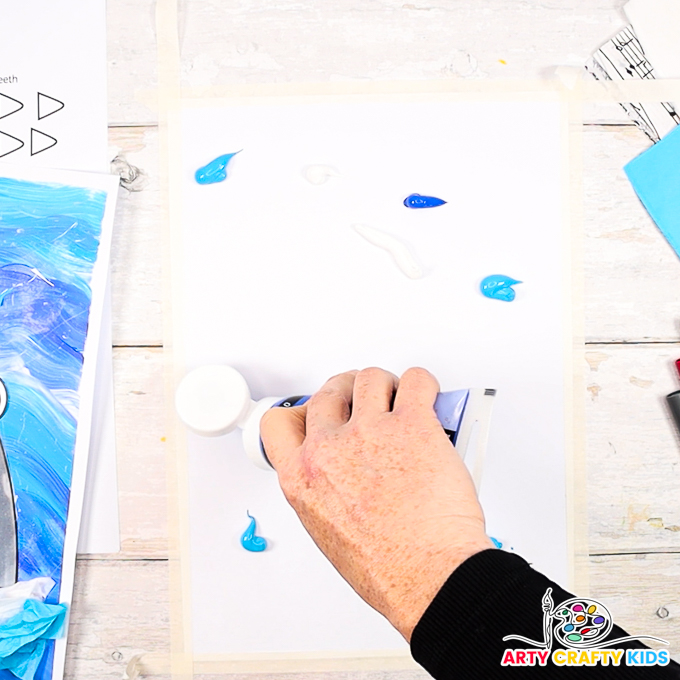
Step 1: Apply paint to the seascape background.
Begin by preparing the card stock canvas.
Secure a border of masking tape around each edge to minimize mess from excess paint and frame the waves with a neat water border.
Next, apply squirts of blue and white paint directly onto the sheet.
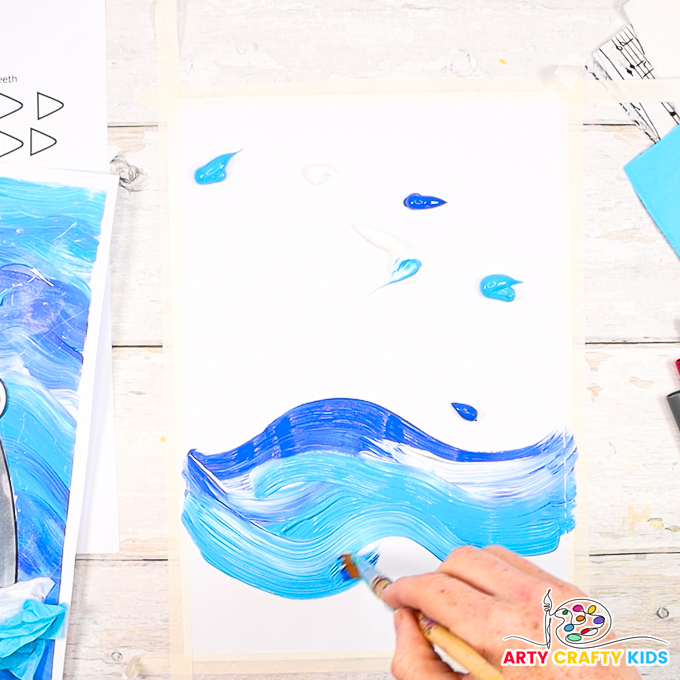
Step 2: Use smooth, wave-like brush strokes to apply the paint.
Use a paintbrush to spread the paint horizontally in a wave-like motion across the paper card stock.
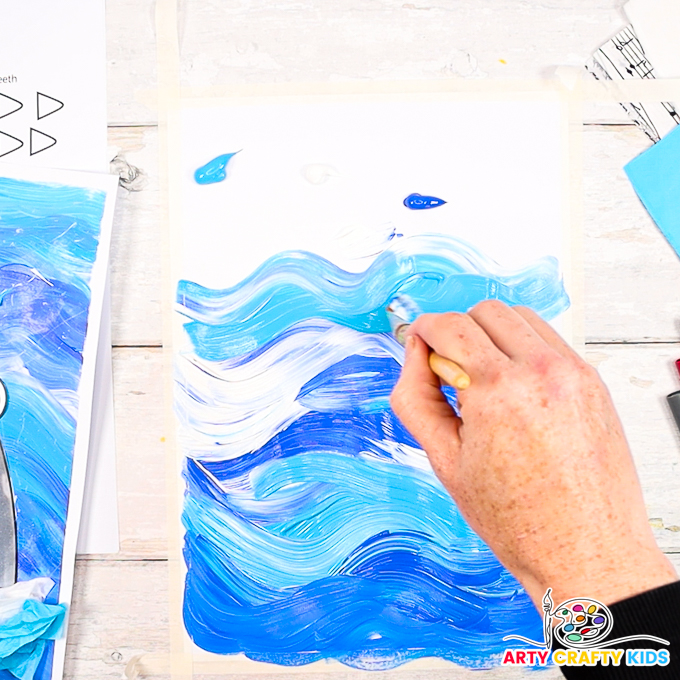
Continue blending the white and blue paint until the entire page is covered, creating a sea-like appearance.
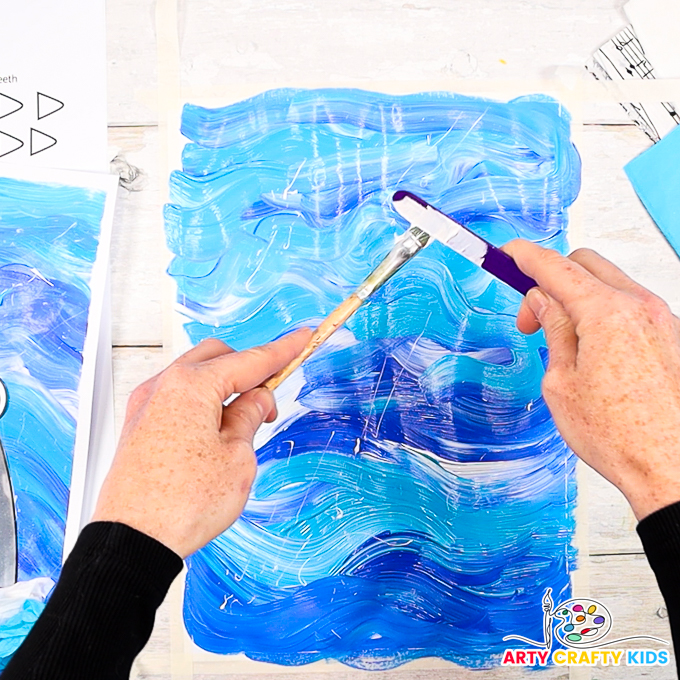
Step 3: Splatter white paint across the painted waves.
Load a paintbrush with white paint, then lightly scrape the bristles across a popsicle stick to create a splattering effect across the painted waves.
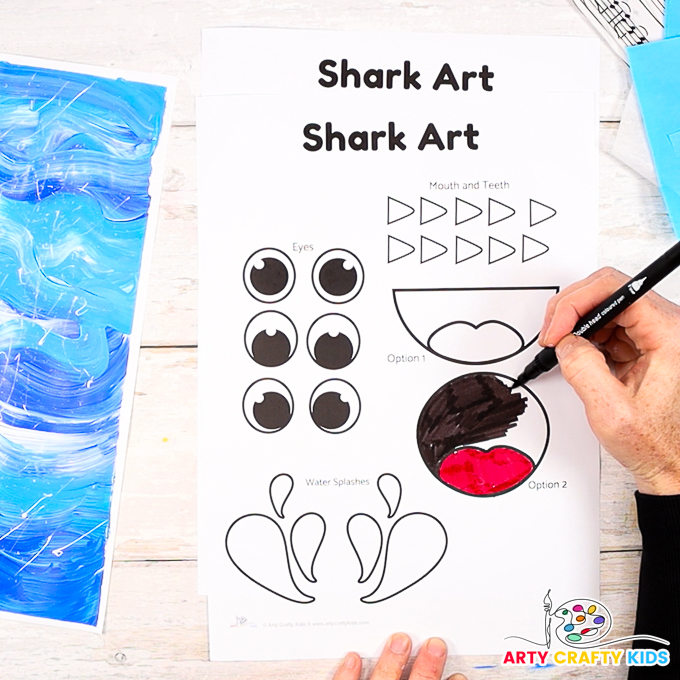
Step 4: Color in the shark template.
Use a favorite medium to color in the shark elements.
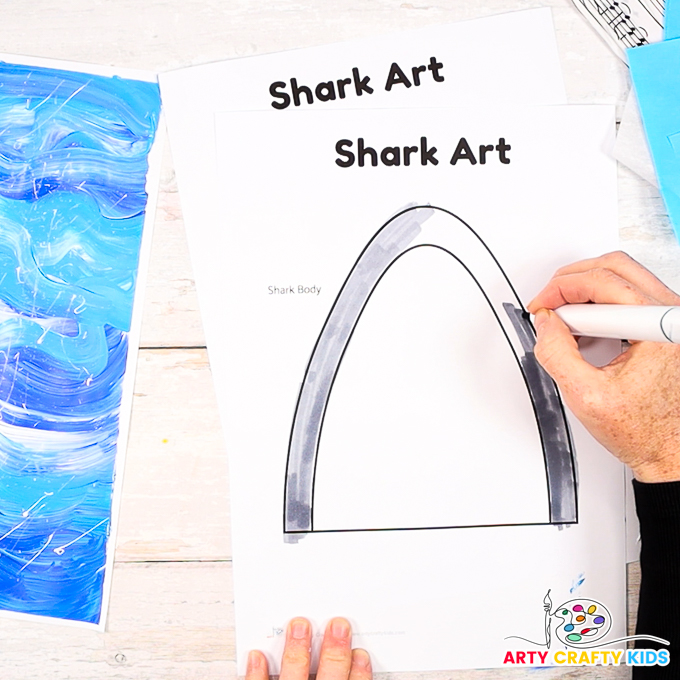
Coloring part of the shark gray.
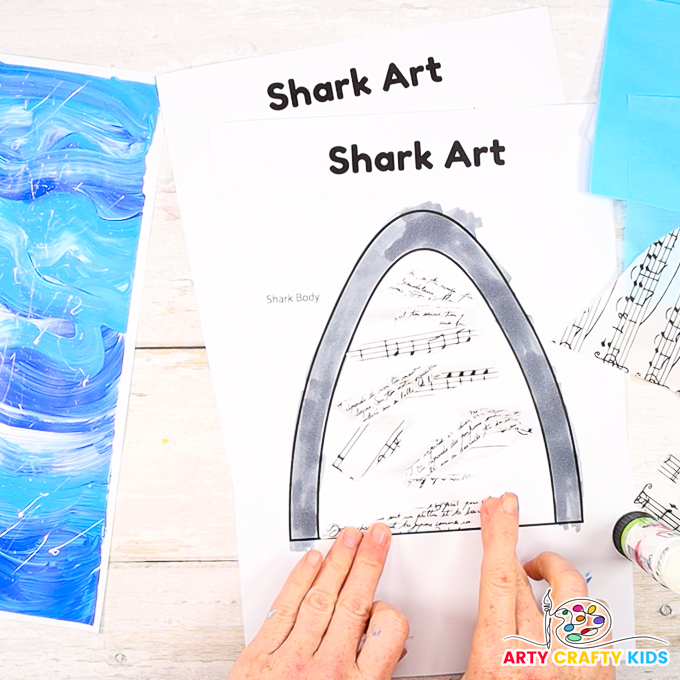
Step 5: Tear-up scrape paper/ newspaper into strips.
Next, tear pages from an old book, newspaper, or decoupage paper into small strips. Randomly glue these strips to the white area of the shark to add extra interest and texture – enhancing its appearance.
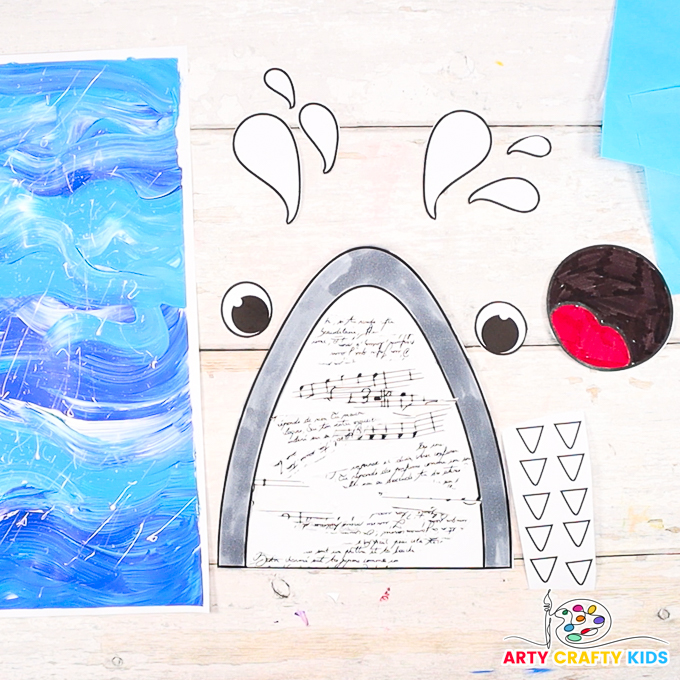
Step 6: Carefully cut out the shark template elements.
With the exception of the teeth, carefully cut out the shark elements from the template.
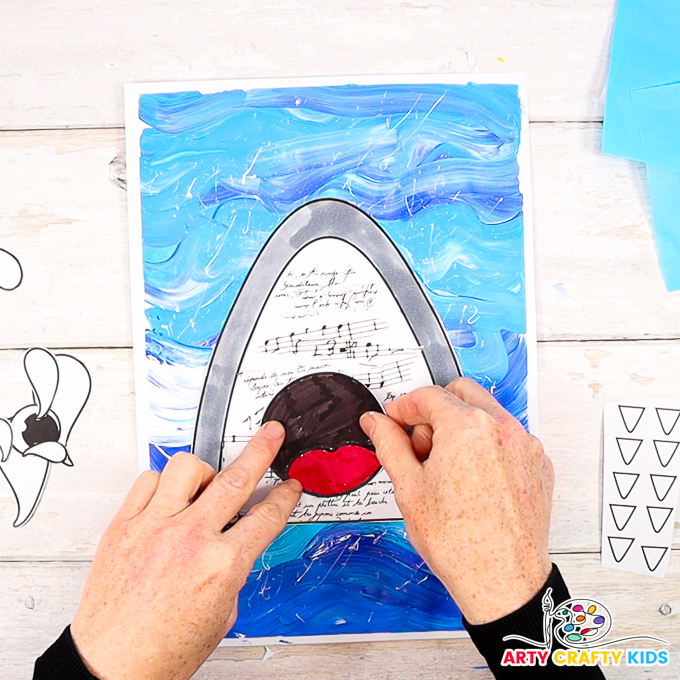
Step 7: Assemble the shark.
Affix the shark’s head to the painted sea.
Glue the mouth within the collaged area of the shark and position the eyes slightly higher up in the gray area.
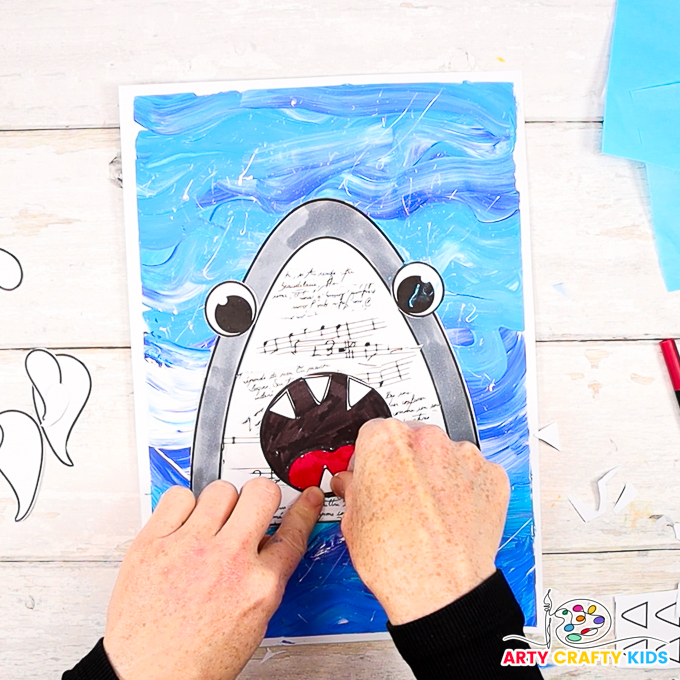
Cut out the teeth and start filling the mouth with them. Arty Crafty Kids can affix them in any pattern or quantity they like.
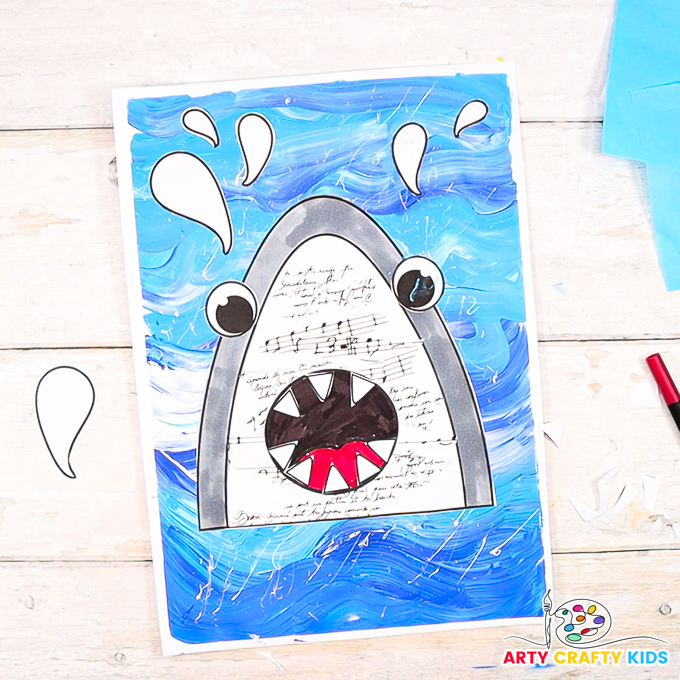
Step 8: Affix the water splashes.
Glue the white splashes above the shark’s head to add to the dynamic appearance.
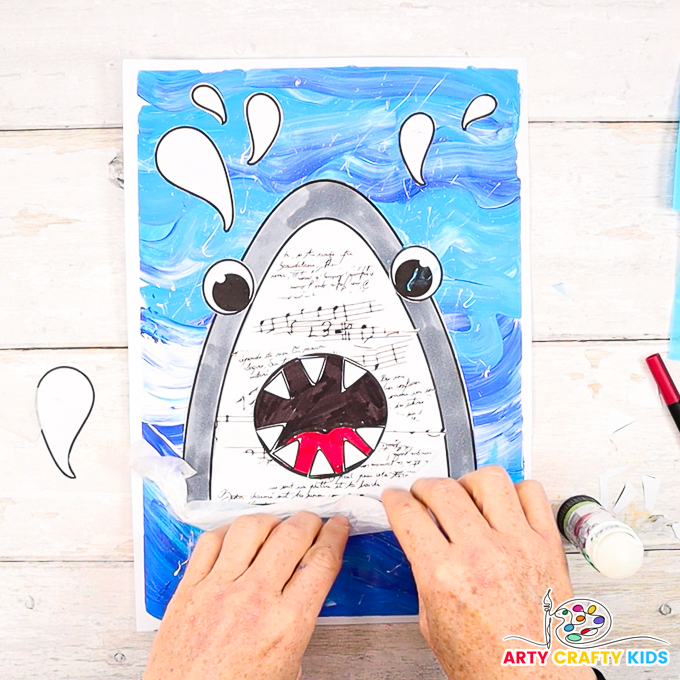
Step 9: Affix the 3D tissue paper splashes.
Take a square of white tissue paper, twist it, and glue it along the bottom of the shark template to create the effect of splashing water.
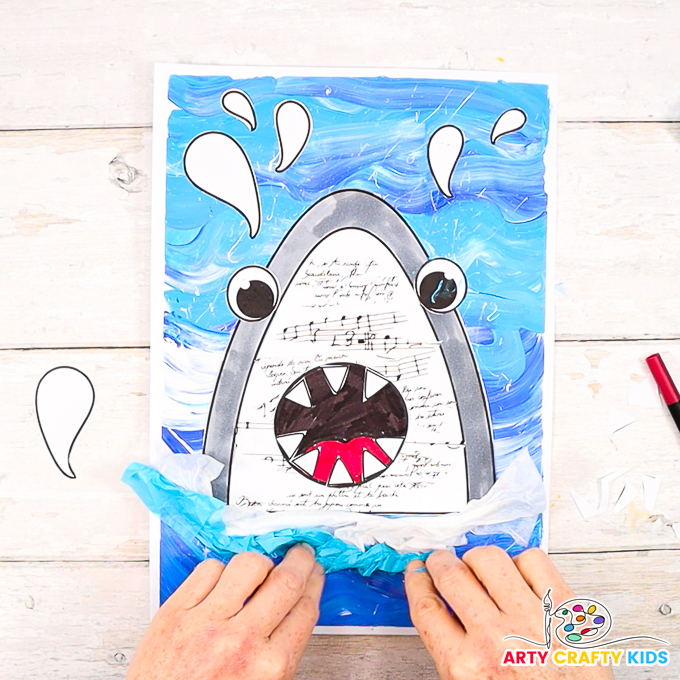
Next, take a piece of blue tissue paper, twist it, and glue it under the water tissue paper to complete the appearance of a great white shark creating a huge splash!
Our mixed-media shark craft is complete, featuring a blend of paint, newspaper, and tissue paper that adds vibrant textures. The result is an engaging shark creation that will undoubtedly look amazing on display!
Download the Shark Template:
Click the image to download our shark template and get started – members will need to login into the Arty Crafty Kids members area!

