Sharing is caring!
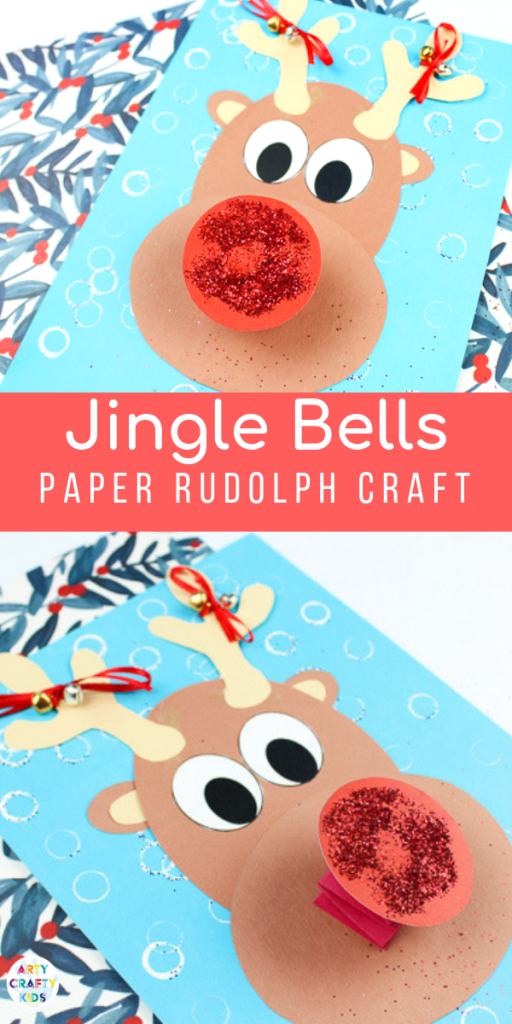
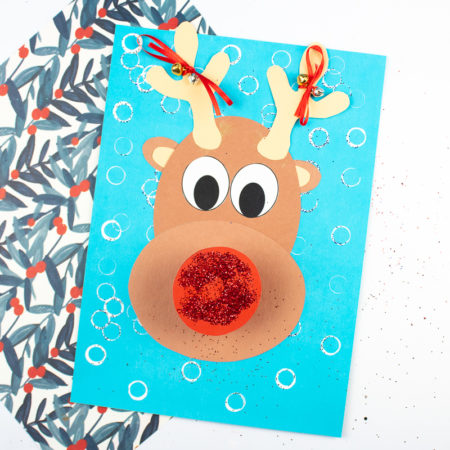
A Jingle Bells Rudolph Reindeer craft with a difference. It bounces and jingle jangles, encouraging playful movement and interaction!
The focus of this craft is playful creativity.
Arty Crafty Kids need to use their problem solving skills to assemble the circular shapes into a reindeer, considering measurement and space during the creative process.
Fine motor skills are given a thorough workout! The large shapes are easy to navigate and handle, and accordion folding aides co-ordination and dexterity.
And did I mention, this Rudolph the Big Nosed Reindeer is also incredibly cute!
Jingle Bells Rudolph Reindeer Craft: Materials
Brown, Beige and Red Paper
Red & Blue Cardstock
Scissors / Paper Cutter
Red Ribbon
Jingle Bells
Glue Stick
Pencil
White Paint (optional)
Circular item for printing i.e. bubble wrap or lego (optional)
Rudolph the Red Nosed Reindeer Template!
This cute template is part of our Rudolph collection of printables and can found within the Arty Crafty Club members area.
Already a member? Sign-in to download!
Link to Template – https://www.artycraftykids.com/product/rudolph-with-a-big-bouncy-red-nose/
Not a member? come and join the fun and access our complete library of art and craft templates, how to draw guides, activity booklets, colouring pages and much more!
Jingle Bells Rudolph Reindeer Craft: Tutorial
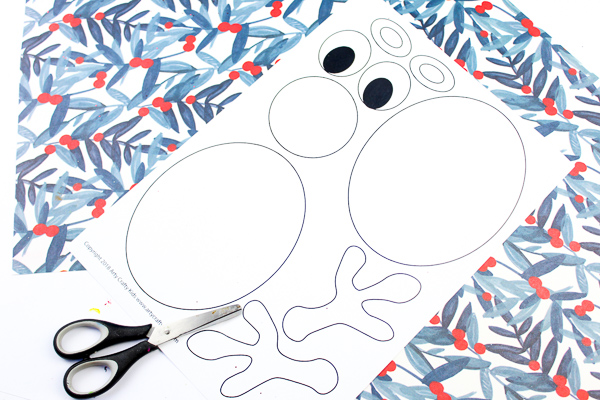
Step 1: Download and print the Rudolph template.
Arty Crafty Kids can either colour in/paint the template or cut the elements and trace the shapes onto coloured paper.
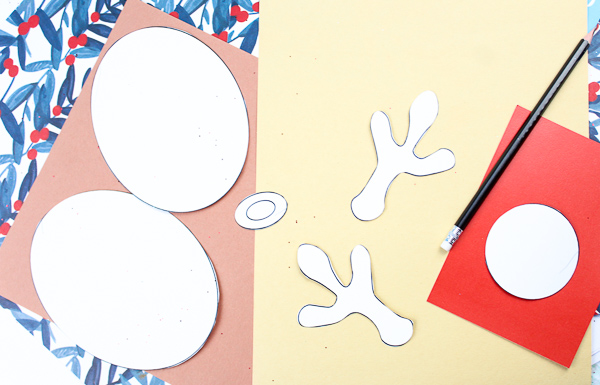
Step 2: If your Arty Crafty Kids choose to trace the shapes, cut out the elements and trace the shapes onto paper & cardstock:
- Brown – 2 Large ovals and the outer ear
- Beige – 2 Antlers and inner ear oval
- Red (cardstock) – The large circle
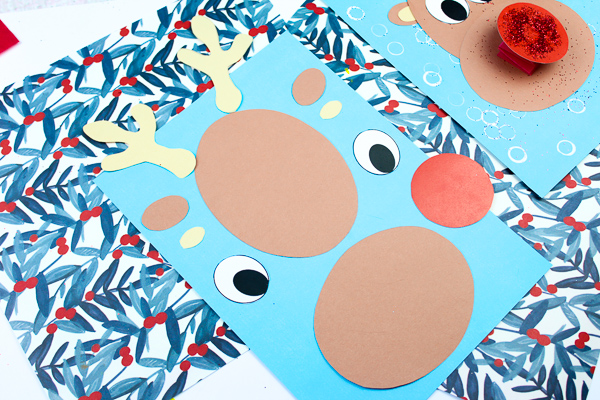
Step 3: Ask your Arty Crafty Kids to arrange the shapes as shown above – do they notice the difference between the two brown ovals (one is slightly larger than the other)
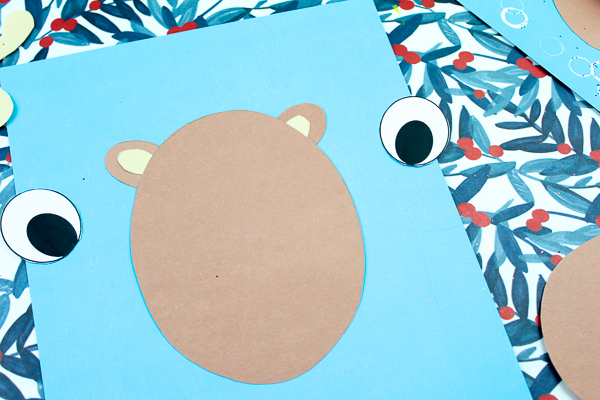
Step 4: Assemble the ear pieces and the glue them beyond the large brown oval.
Glue the shape in a vertical position onto blue cardstock.

Step 5: Add the second oval, this time positioning it horizontally.
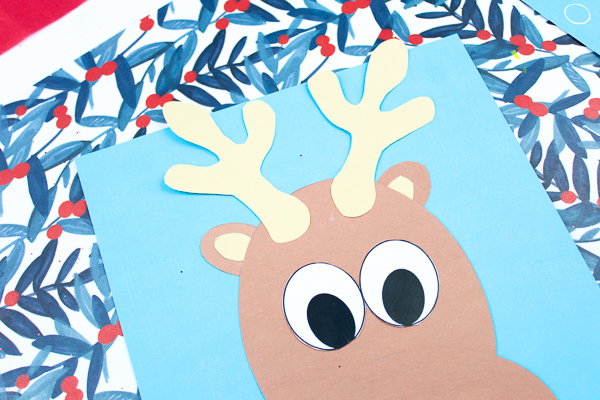
Step 6: Position the antlers between the ears and glue the ends.
And glue the eyes just above the horizontal oval.
Step 7: Let’s make a big bouncy red nose!
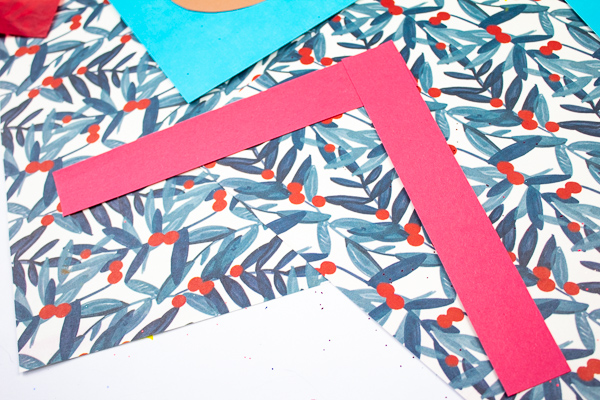
Using scissors or a paper cutter, cut out two even strips of red paper – ideally, the strips will be fairly wide and for length, I would recommend cutting the paper from the shortest side of an A4 piece of paper.
Take the two strips and position them in a 90° angle as shown above. Glue the connecting papers together.
Simply fold the bottom strip over the top and crease the fold along the edge. This will make the accordion fold tight!

Step 8: Keep alternating the strip folds until you run out of paper and seal the ends with glue.
Take another two strips of paper and repeat the process to create a second paper accordion.
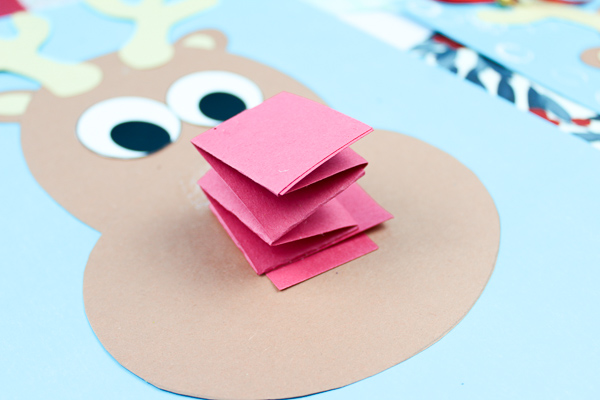
Step 9: Glue one end of the accordion the centre of the horizontal oval.

Step 10: Glue the big red circle to the other end.
This nose can now be stretched and bounced, as well as adding a 3D element to Rudolph.
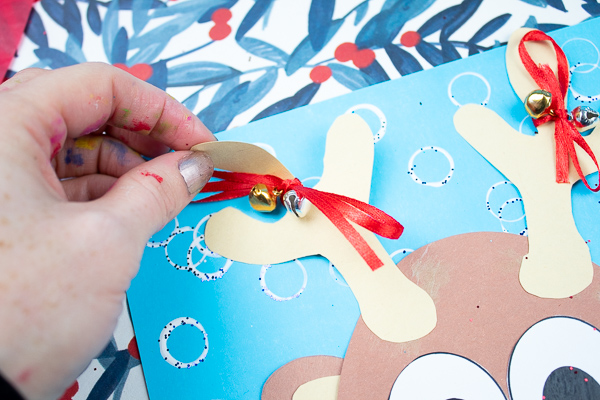
Step 11. Thread two jingle bells to a piece of ribbon and tie with a bow to the antler.
Repeat with the second antler.
Rudolph will now bounce and jingle with movement.
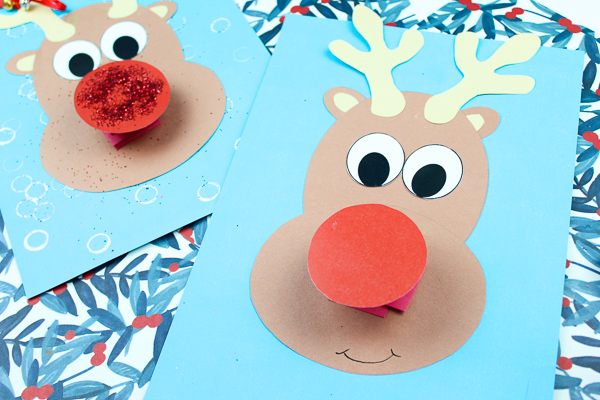
Optional Extra – To extend this activity further, Arty Crafty Kids can experiment with printing techniques to create a snowy backdrop!
Using white paint and a circular item ( such as rubble wrap, pen lid or even finger tips), simply dip the object into the paint and print in a random (or patterned) formation.
Once dry, Arty Crafty Kids can proceed the previous steps of this ‘Jingle Bells Rudolph Reindeer Craft’ tutorial.
For more easy Art & Craft Projects, join the Arty Crafty Kids club and gain instant access to library of fun printables!
Pin for Later!
