Sharing is caring!
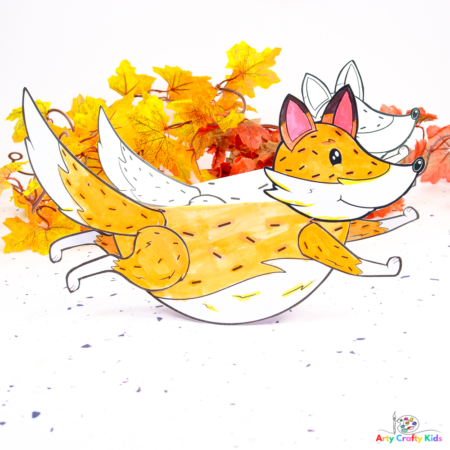
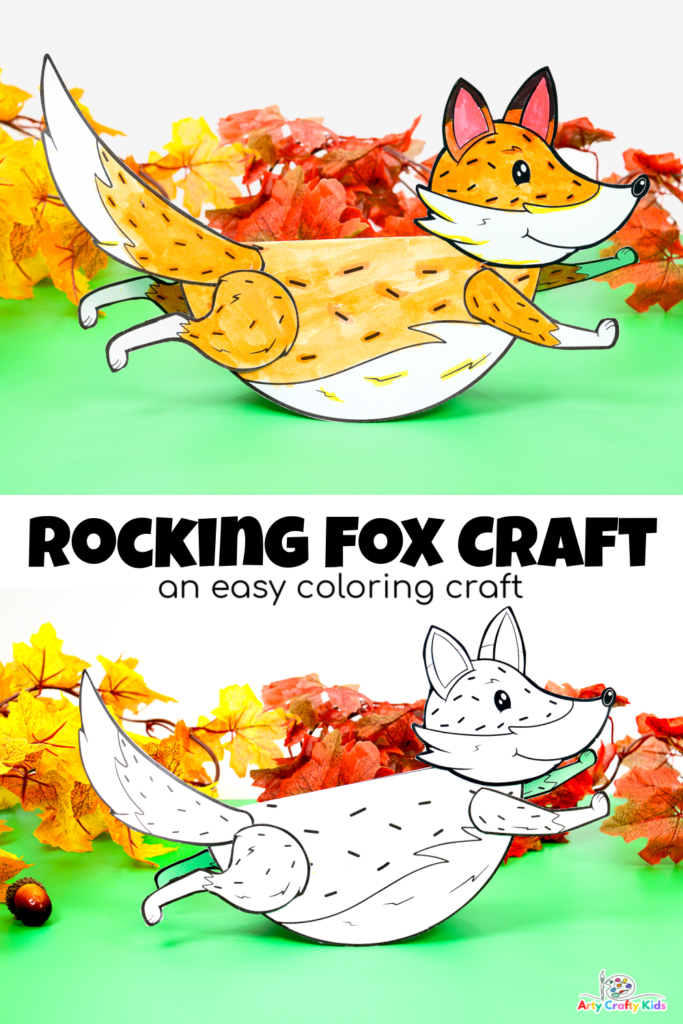
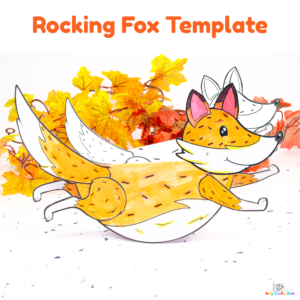
Have you ever seen a fox rocking out? to witness this playful sight, learn how to make our fun and easy rocking fox craft!
This adorable foxy coloring craft is super simple to make and is suitable for kids of all ages, even preschoolers!
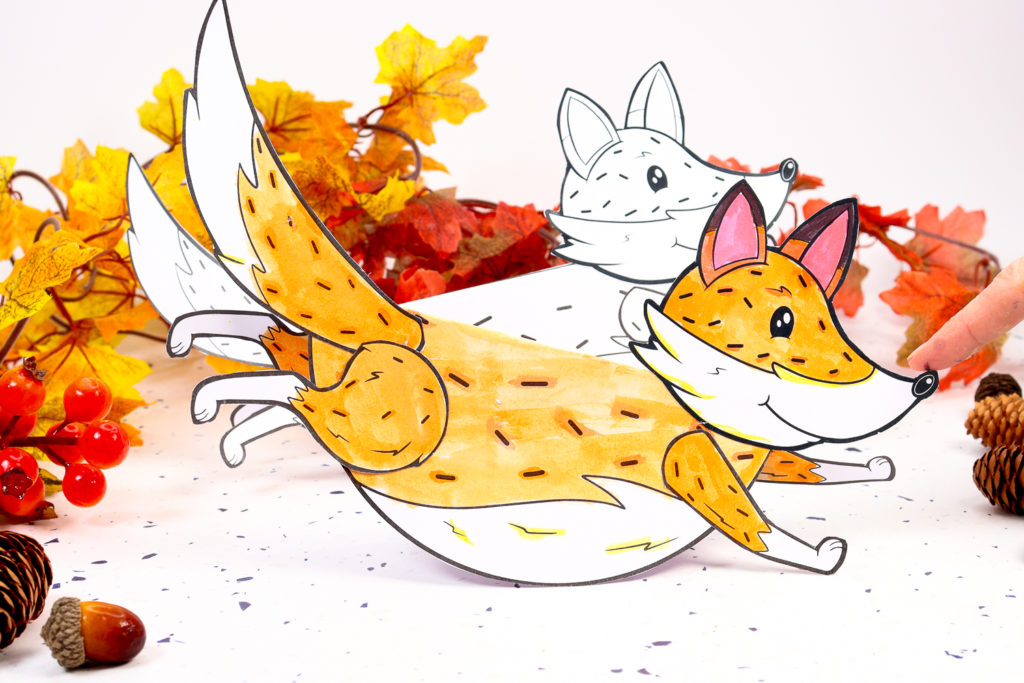
With just a little tap of the finger, this little fox cub will rock side to side – promoting creativity, craft and play all in one tap!
To get started with this engaging Autumn Craft, simply download the printable fox template and grab some coloring pencils!
Due to their gorgeous coloring, foxes are popular crafts to make during fall and can be slotted into an autumnal forest animal themed topic either at school or within the comfort of home.
Alongside this cute fox craft, your Arty Crafty Kids can also learn how to draw a fox, make a yarn wrapped fox with recycled materials or engage in puppet play and make a moving eyes fox! .
And for completeness, why not expand the learning journey into cute nocturnal animals with a favorite fox story book; Fantastic Mister Fox is one of my personal favorites, alongside Fox in Socks!
How to Make a Paper Rocking Fox Craft:
The unique rocking feature is achieved through carefully balancing of the fox’s head, tail and legs; contributing to a lovely fine motor exercise for your little ones.
Materials you need for your Rocking Fox craft:
White Card Stock for Printing ( Check printer setting and select ‘Fit to Page’)
A Coloring Medium
Glue Stick
Scissors
Rocking Fox Template ( login in to the members area for access!)
Not a Member?
Watch the Step-by-Step and Make some Cute Rocking Foxes:
Let’s Make a Rocking Fox!
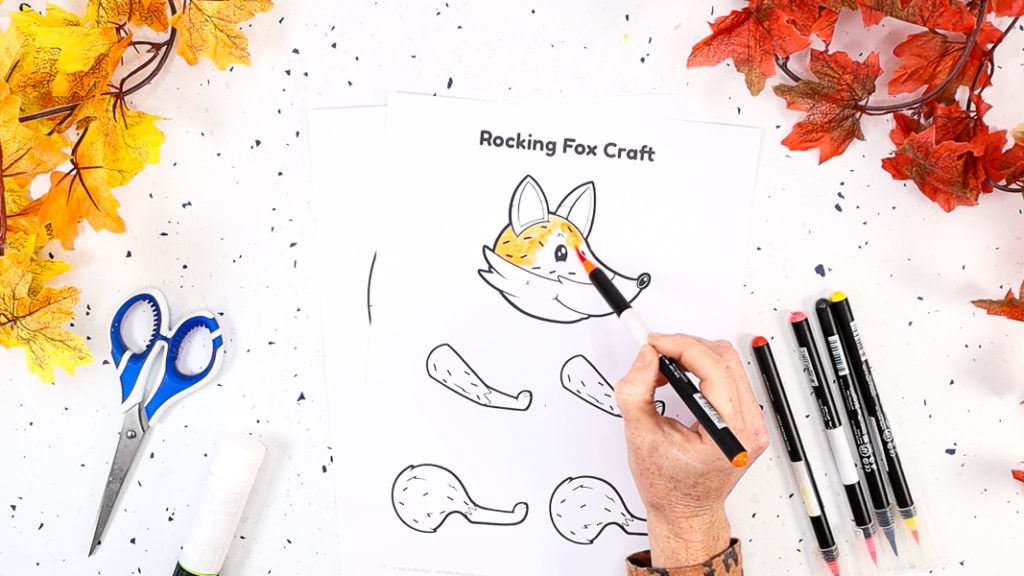
Step 1: Color in Fox Template
Kids can use a variety of coloring mediums such as crayons, markers, colored pencils, and watercolors to creatively fill in the rocking fox template.
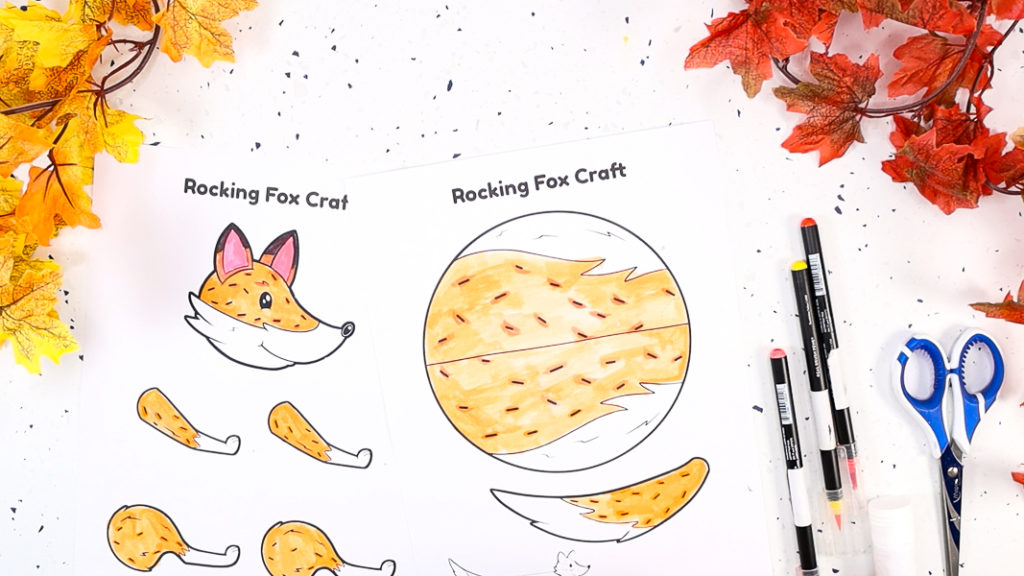
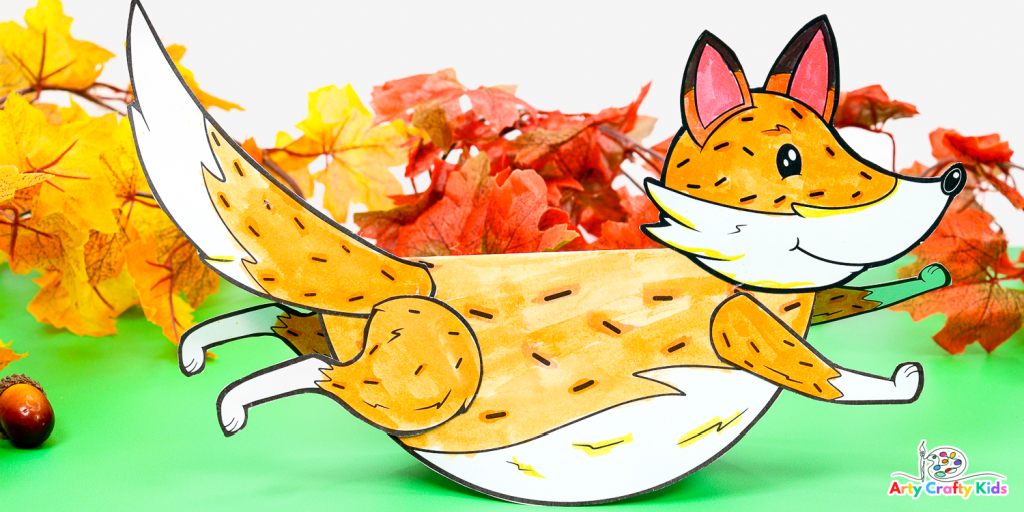
Select a favorite medium and color in the fox’s head, body, legs and tail in a lovely orange color, adding light and dark areas to add depth to its features.
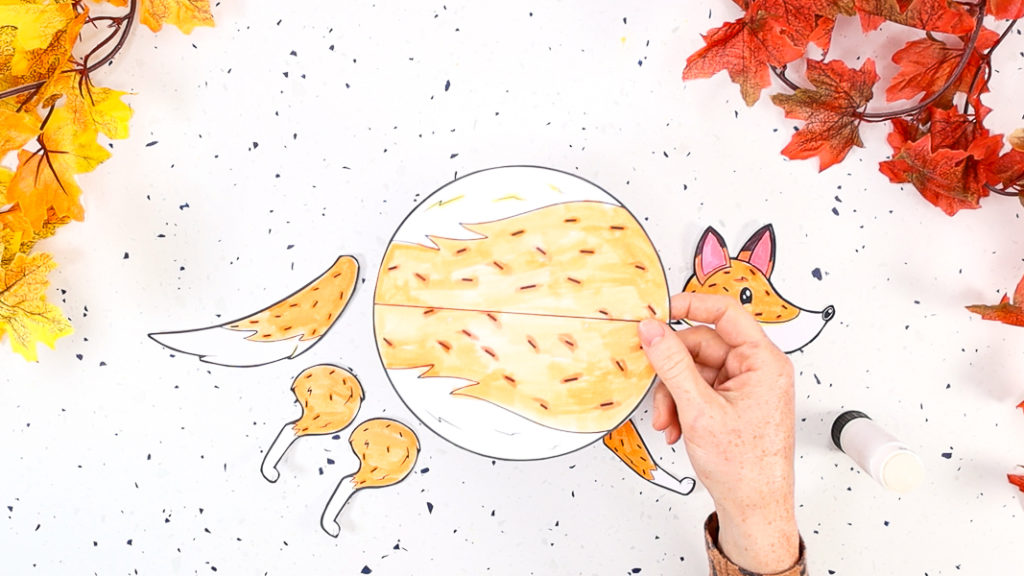
Step 2: Carefully cut out the fox body parts.
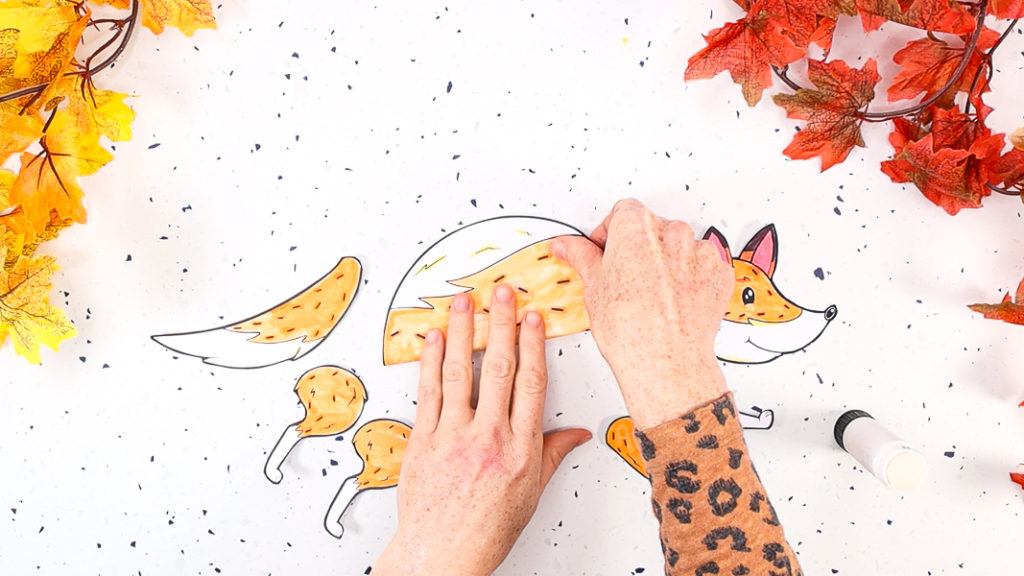
Step 3: Fold the fox’s body in half.
The fox’s body produces the rocking feature.
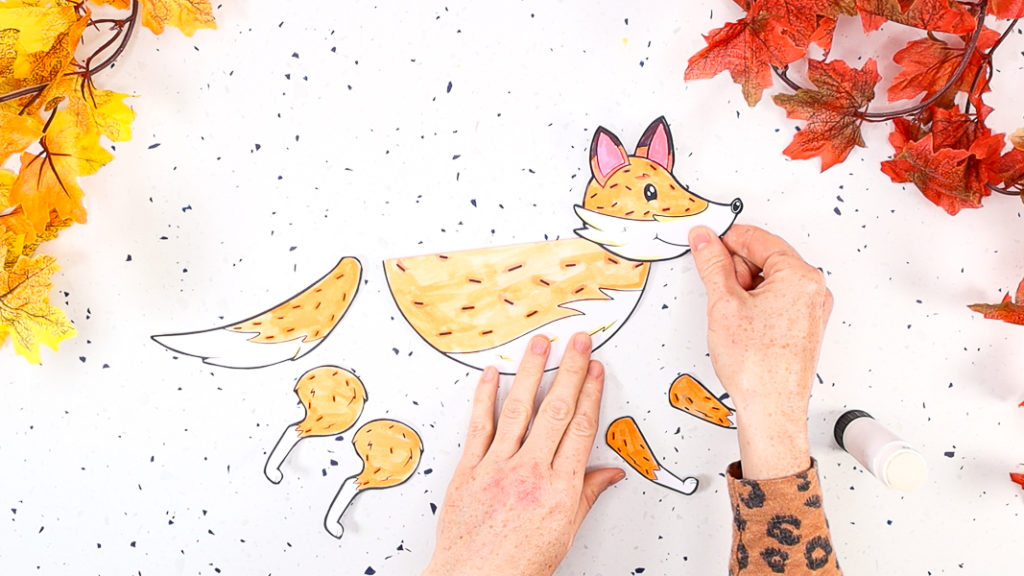
Step 4: Glue the fox’s head to the front of the body.
The fox’s head needs to be positioned onto one of the corners of the body. A good measure is make sure the smile is inline with black body outline.
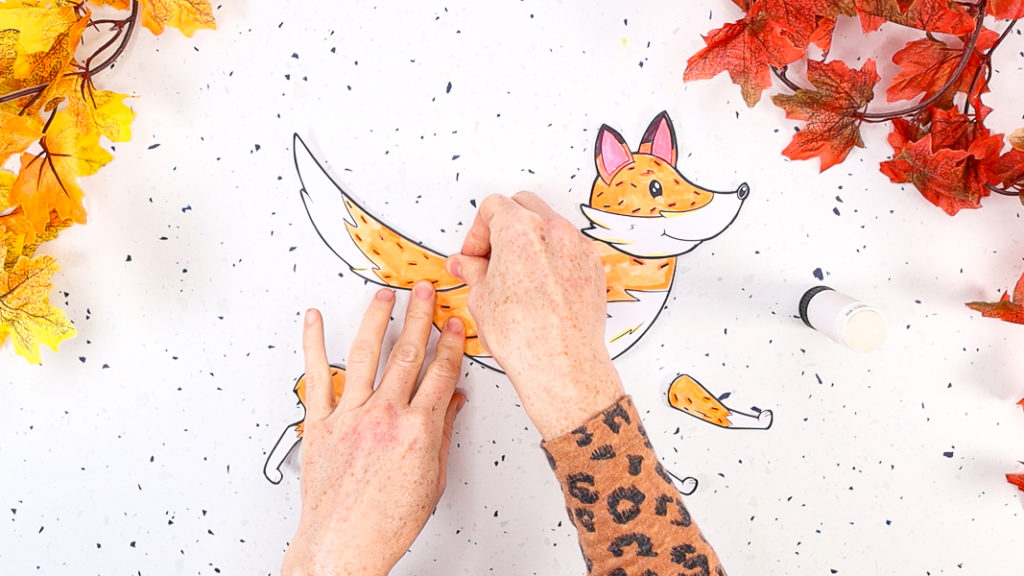
Step 5: Glue the fox’s tail onto the opposite corner.
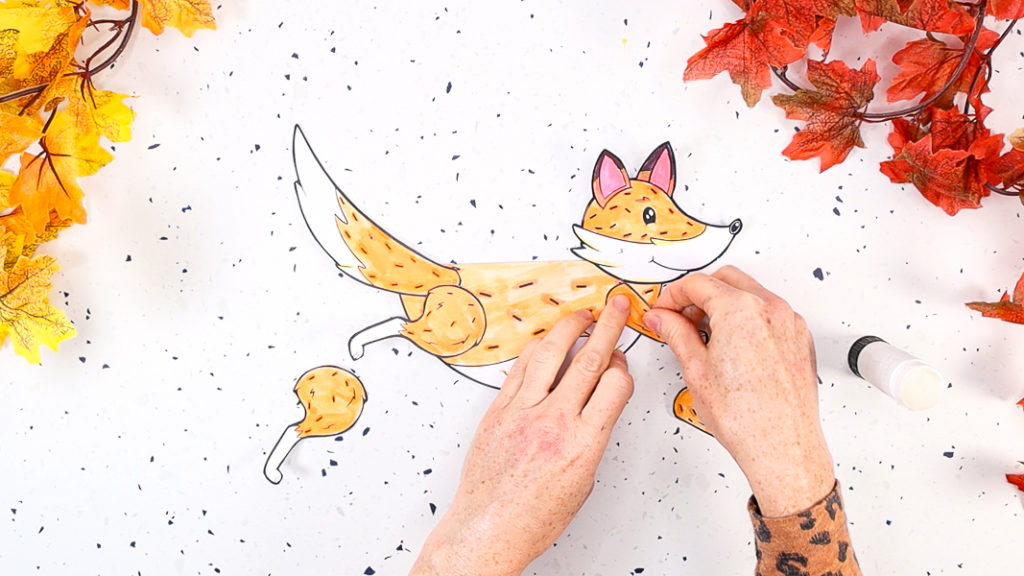
Step 6: Glue the front and back legs onto the fox’s body.
The back leg needs to be angled parallel to the tail, with the top of the leg slightly overlapping the tail ( as shown in the image).
The front leg need to be angled parallel to the fox’s head.
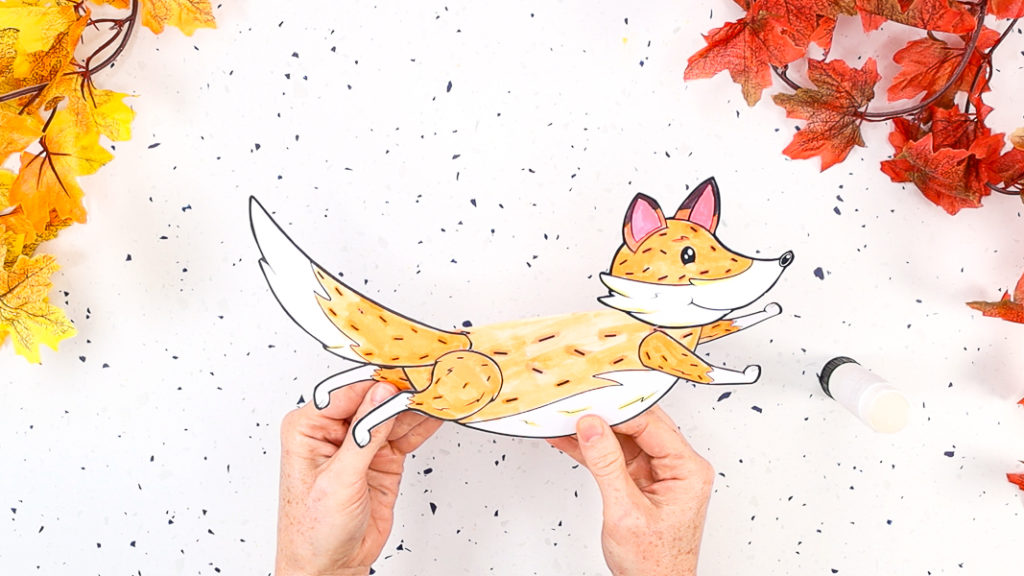
Step 7: Glue the second pair of legs onto the other side of the fox’s body.
To enhance the appearance of the fox’s running, offset the second pair of legs.
Through the process of coloring, cutting, sticking, and assembling, children have not only created a charming rocking fox but have also given their fine motor skills a thorough work out!
For more Fun Crafts for Kids that Rock, take a look at our Rocking Black Cat Craft, Paper Bird Rocking Craft and adorable Paper Rocking Crab Craft!

