Sharing is caring!
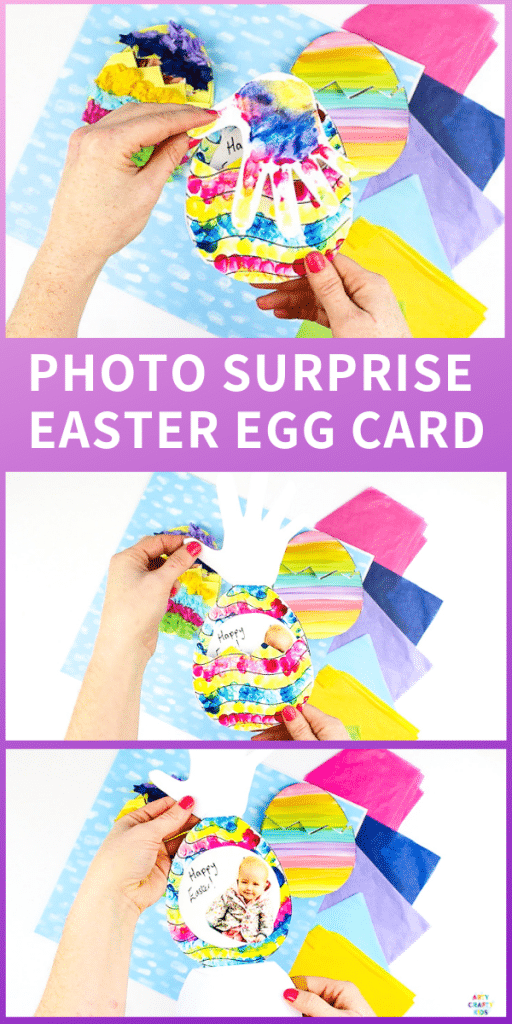
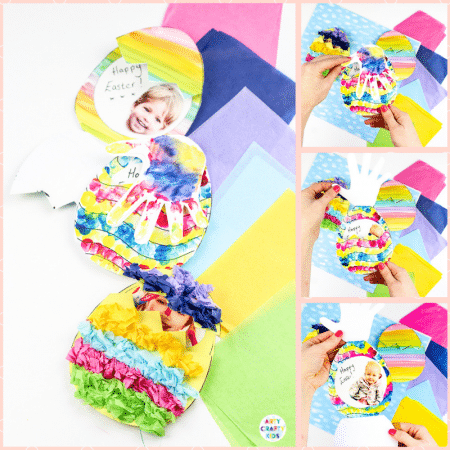
Let’s get creative this Easter with an easy to make Photo Surprise Easter Egg Card. The Easter Egg unfolds to reveal a child’s image, adding an extra special personal touch to this kid-made card.
This simple card idea, complete with Easter Egg Templates can be adapted to suit the smallest of Arty Crafty Kids; toddlers, preschoolers up to (and beyond) children in EYFS.
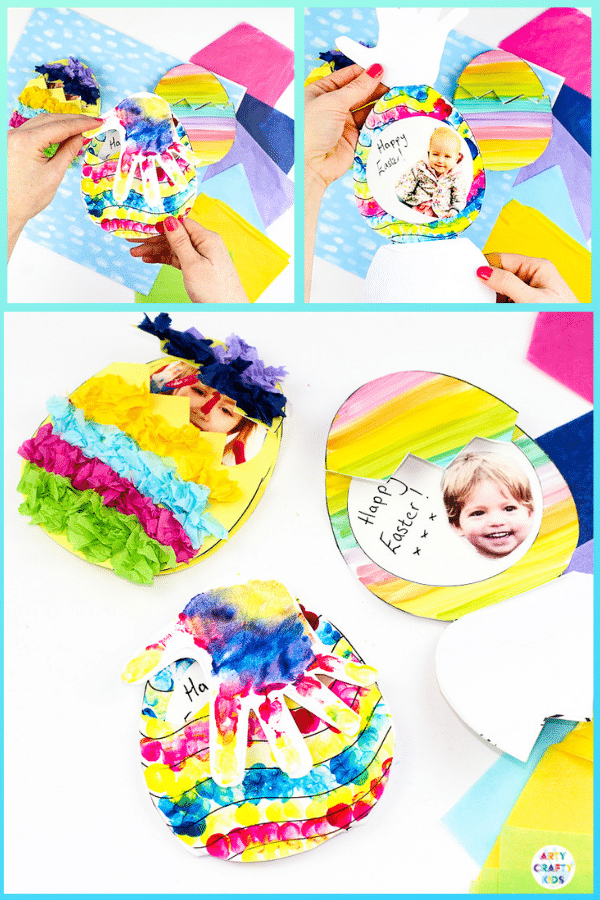
The templates have been designed for open-ended creativity. The Easter Egg cards can be painted, coloured and fingerprinted. Children may also enjoy sticking decorative bits and loose parts to their card designs.
We can guarantee that each and every Photo Surprise Easter Egg Card made will truly unique and special!
Photo Surprise Easter Egg Card: Materials
Card Stock (Coloured or/and White)
A Sheet of White Paper
Glue Stick / PVA Glue
Photo of your Arty Crafty Kids or Drawing
OPTIONAL EXTRAS:
Paint – watercolours / tempera
Tissue Paper
Colouring Pencils/ Pens/ Crayons
Easter Egg Card Templates:
We are offering 2 Easter Egg designs for our members to download. One is blank for ultimate creative freedom and the other has pretty swirls for fingerprints and colouring.
Join the Arty Crafty Kids club to download the templates and access our complete collection of Art & Craft templates, Colouring Pages, How to Draw Guides, Activity Booklets and much more!
How to Make a Photo Surprise Easter Egg Card:
Step 1:
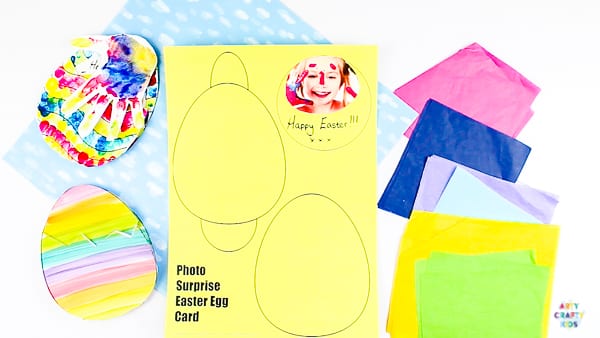
Download and the print the Easter Egg Card Templates from the Arty Crafty Members Area.
If your Arty Crafty Kids are painting or colouring the cards, I would recommend printing on to white card stock. If the card is used as a base for sticking tissue paper, paper or buttons (etc), simply print the template on to coloured card stock.
Make sure the card is under 160gsm, otherwise your printer may struggle!
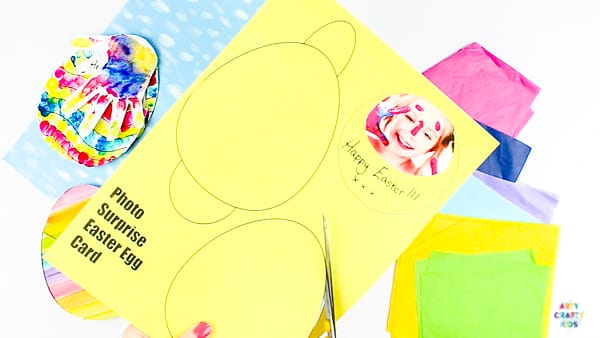
Step 2:
Cut out the egg shapes.
Fill the circle with a photo of your Arty Crafty Kids ( or ask them to draw a self portrait) and add a unique Easter message.
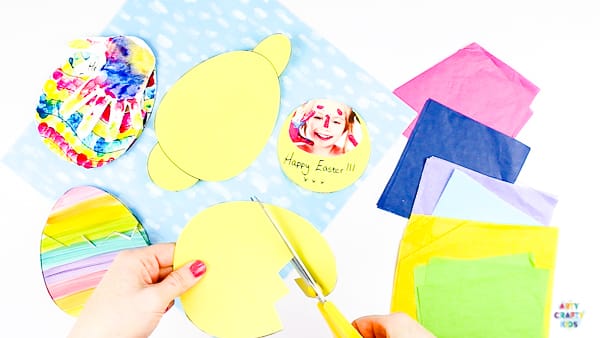
Step 3:
Pick up the egg without the flaps and remove the top, cutting in a zig-zag formation to create a “cracked egg” effect.
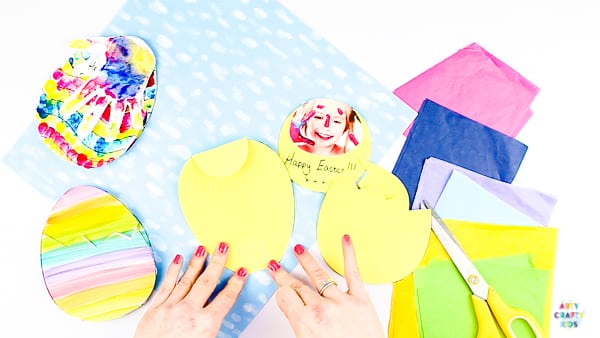
Step 4:
Fold the flaps of the second egg into the shape.
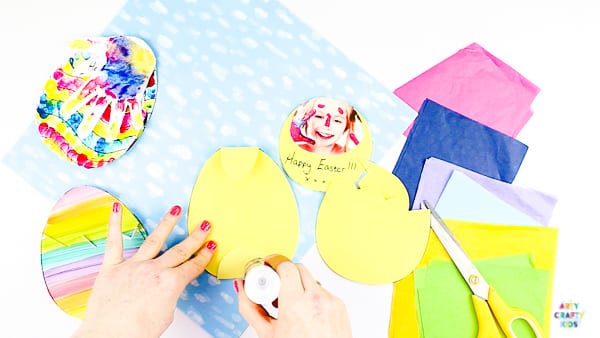
Step 5:
Add a layer of glue to the flaps.
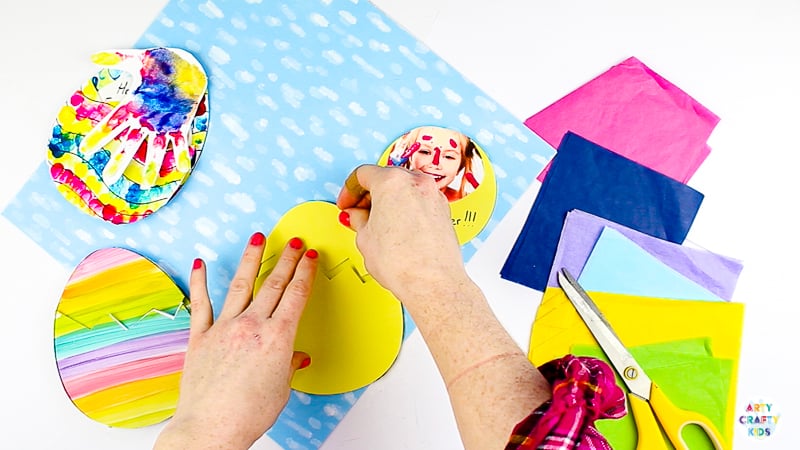
Step 6:
Stick the ‘cracked egg’ on top.
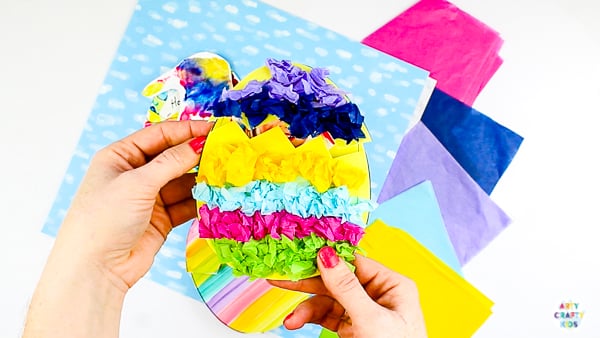
Step 7: The egg is ready to decorate!
Here we’ve scrunched up some tissue paper and arranged into decorative lines.
Arty Crafty Kids may also enjoy decorating with buttons, sequins, coloured/patterned paper and anything else stashed within the craft box.
The Easter Egg will now open and close to reveal the special message inside!
How to Make a Photo Surprise Easter Egg Handprint Card:
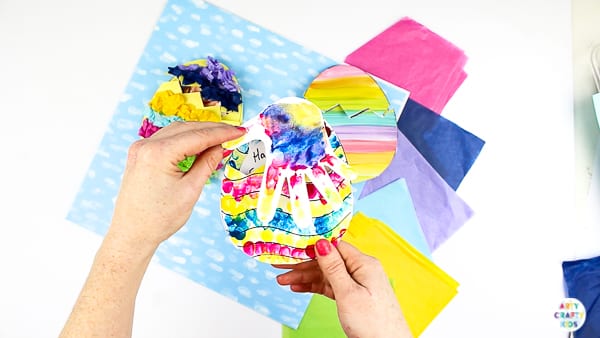
To personalise the cards further, add a handprint by replacing the upper cracked egg element with a dried handprint.
This works particularly well if your Arty Crafty Kids use their fingerprints to decorate their eggs.
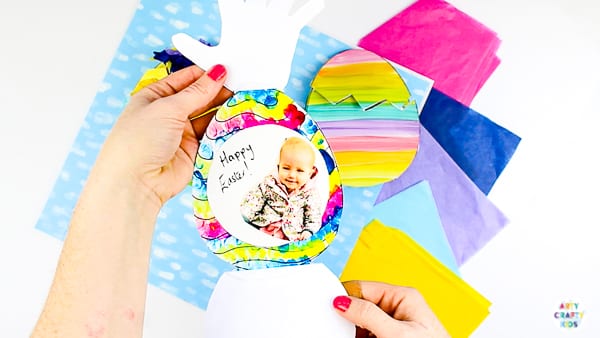
And to tidy the cards up, trace around the upper and lower egg elements on to white paper and stick the cut out traced parts to the back of folding egg elements to cover up the joins; creating a nice finish to your Easter Egg Card.
This craft has many creative approaches and I hope your Arty Crafty Kids enjoy the process of creating their very own Photo Surprise Easter Egg Card!
Arty Crafty Kids Members Arty Crafty Kids Club
We believe in learning through Art and Craft, and have designed printable resources for parents, teachers and creative kids!
Creative and playful Art & Craft Templates
How to Draw Guides and Pre-writing Line Work
Colouring Pages & Seasonal Activity Booklets
New content added weekly!
We also have a huge catalogue of fun and engaging art and craft ideas for your kids to enjoy! Check out our DIY Art and Craft section for more inspiration.
Latest Posts:
- How to Make Pattern Pumpkins – Easy Fall Art for Kids
- Fall Leaf Painting for Kids – Pattern Art Project
- Perspective Autumn Tree Art – Explore Fall Colors and Simple Painting Techniques
- Photo Frame Stick Craft
- Fish Handprint Art and Craft
Happy Crafting!
