Sharing is caring!
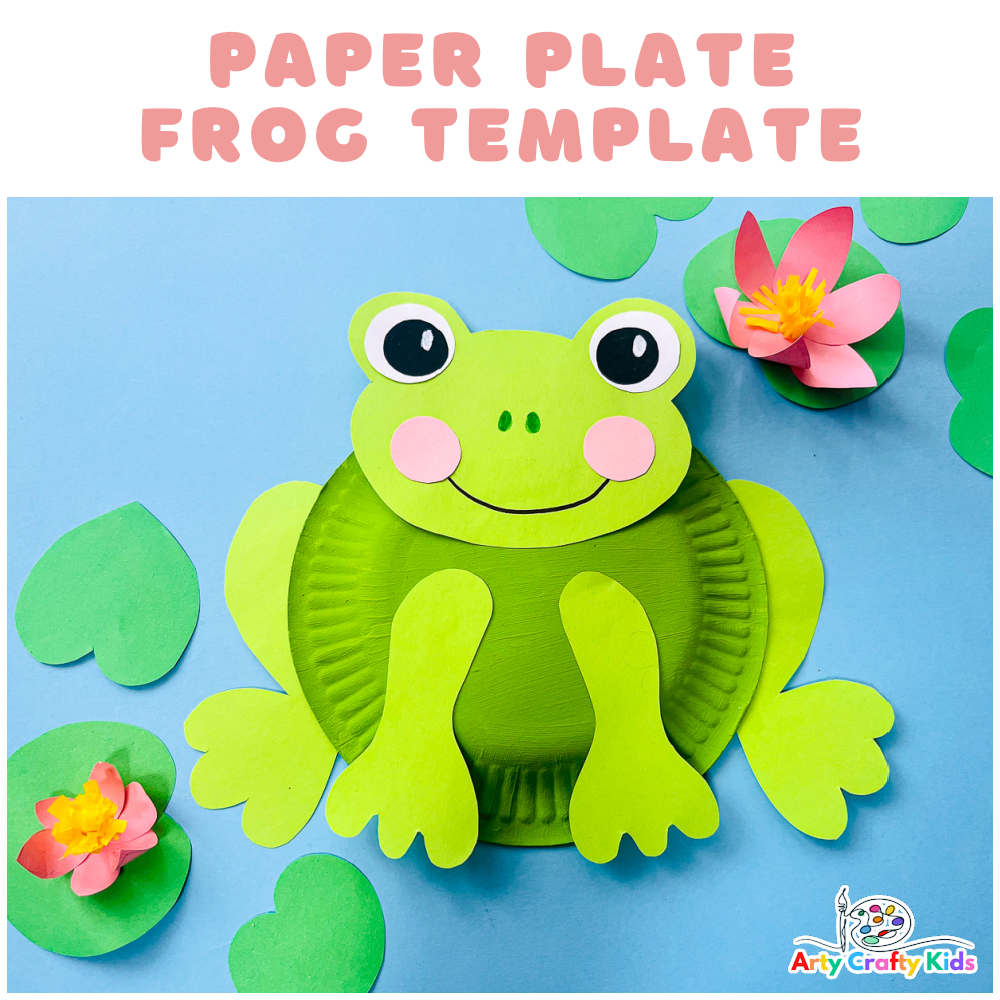
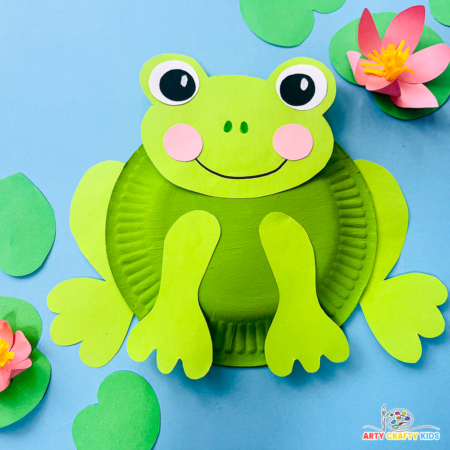
This simple Paper Plate frog Craft is perfect for adding a touch of creativity to teaching children, particularly preschoolers, about the fascinating life cycle of frogs and toads.
Complete with a simple frog template for children to color in (or trace onto colored paper), this adorable frog is fun and easy for kids of all ages to make.
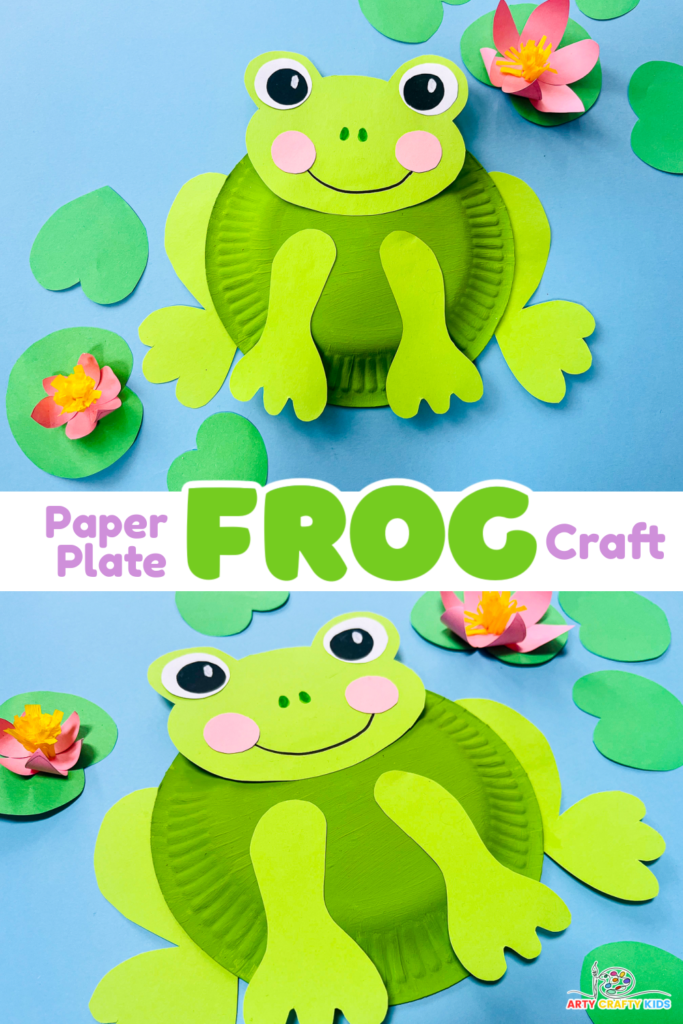
How to Make a Cute Paper Plate Frog Craft
This cute and simple frog craft is perfect companion to our frog life-cycle spinner.
Together, they lead kids on a crafty journey, starting from frog eggs, progressing through the tadpole and froglet stages, all the way to a complete adult frog.
Additionally, we offer an adorable 3D paper frog on a lily pad for kids to make, as well as a fun bobble head frog craft.
Materials:
- Paper Plate
- Green, Pink, Black & White Paper
- Black Marker Pen
- White Acrylic Pen
- Scissors
- Glue
- Frog Template (members will need to login to access the templates)
Not a Member?
Join the Arty Crafty Kids club to access the Frog Template and 1000’s more Art and Craft templates, How to Draw Guides and Coloring Pages.

Paper Plate Frog for Preschool – A Step-by-Step Guide
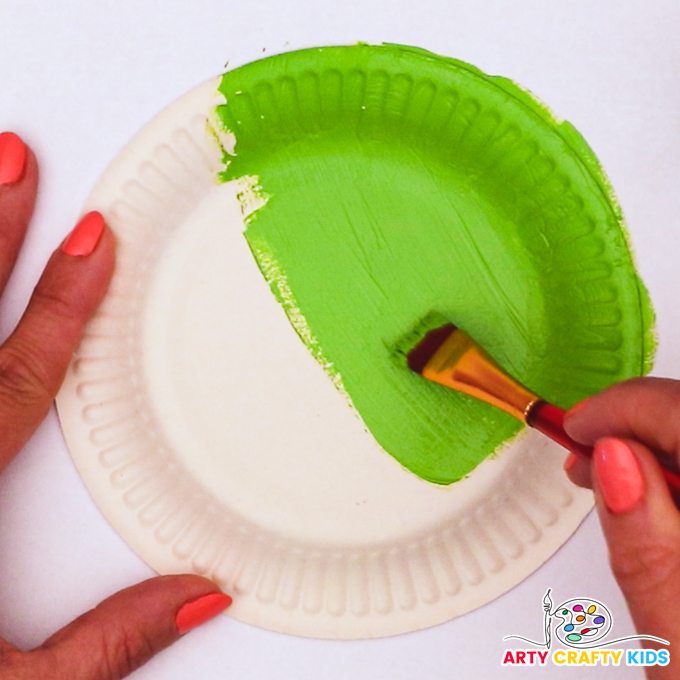
Step 1: Paint the paper plate.
Paint a paper plate green and leave it to dry – this will become the frog’s body.
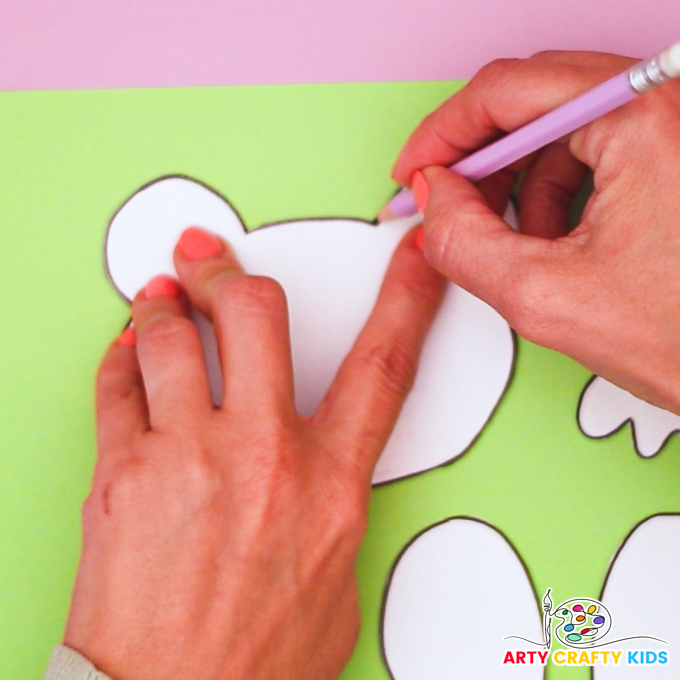
Step 2: Cut out frog template elements.
Either color in the frog template elements.
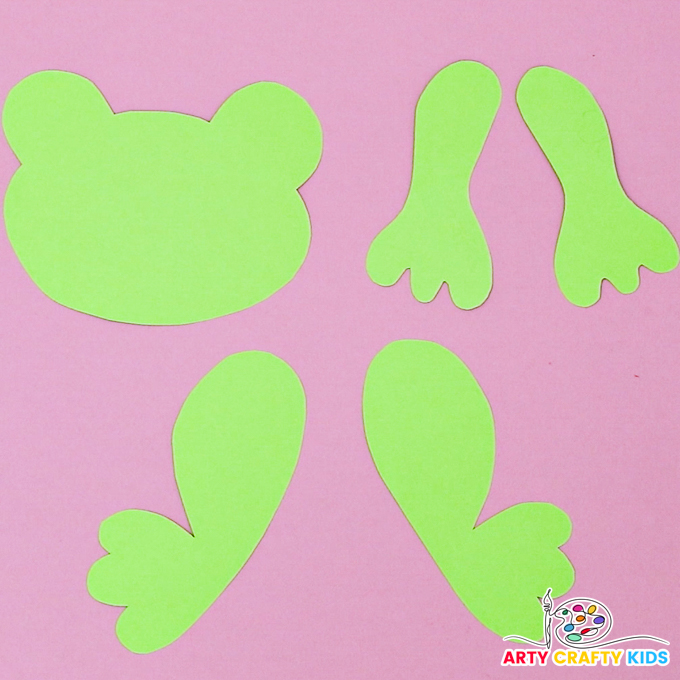
Or cut them out and trace the pieces onto bright green paper.
Trace the eyes onto white and black paper, and the cheeks onto pink paper.
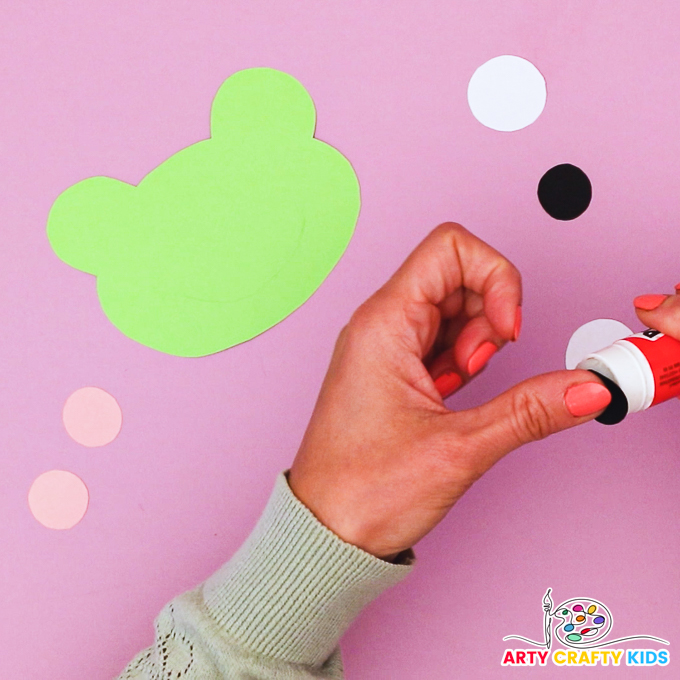
Step 3: Begin to assemble the frog’s head.
Start with glue the eye pieces together.
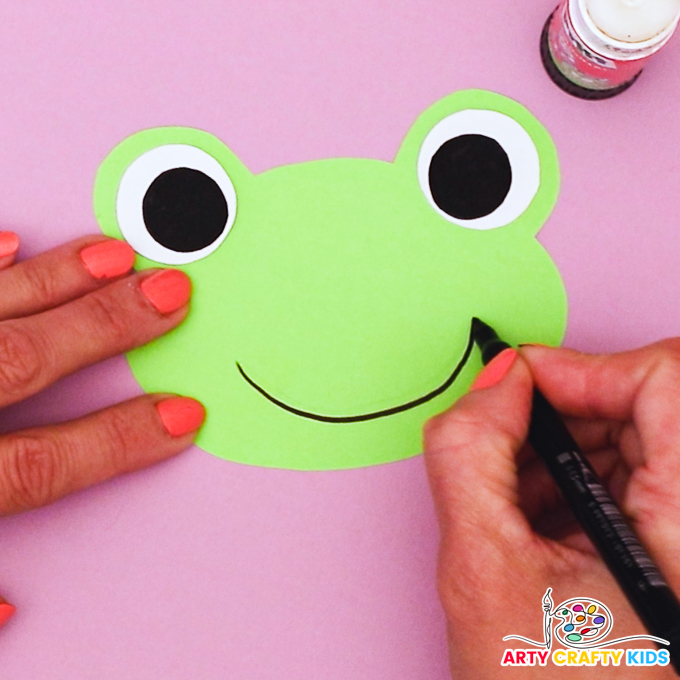
Glue an eye within each of the bulgy area’s on the frog’s head piece and use a black maker pen to dry a big smile.
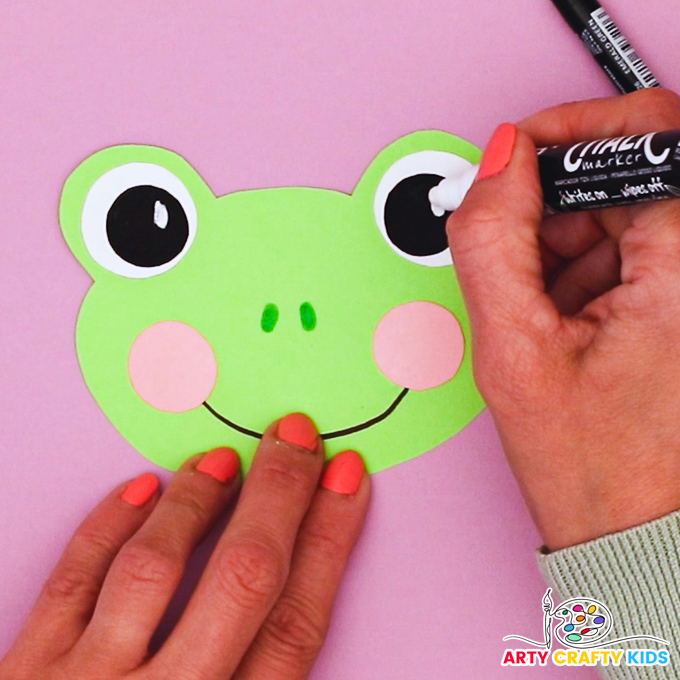
Attach a pink cheek to each end of the smile using glue.
Then, grab a green pen to draw a pair of nostrils and use a white chalk marker to add small white spots within the eyes.
The little pink cheeks, big smile and bright big eyes make the frog look really cute!
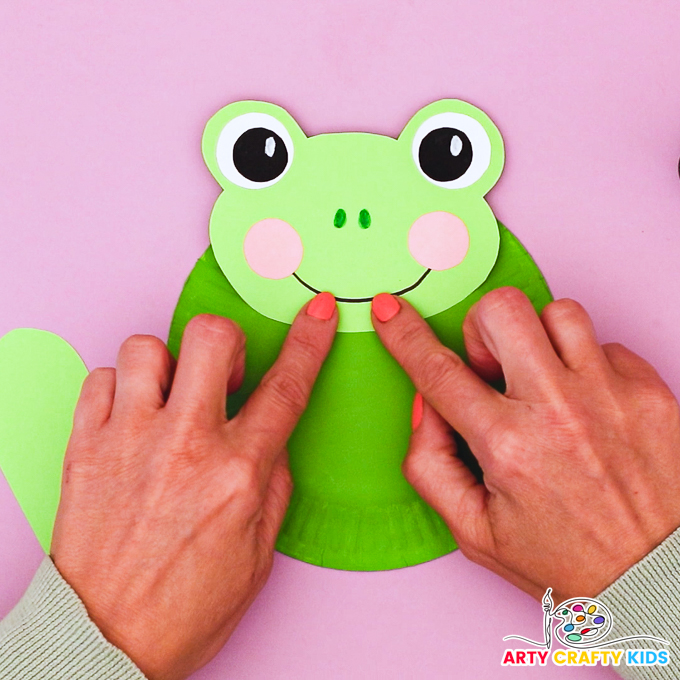
Step 4: Attach the frog’s head to the paper plate.
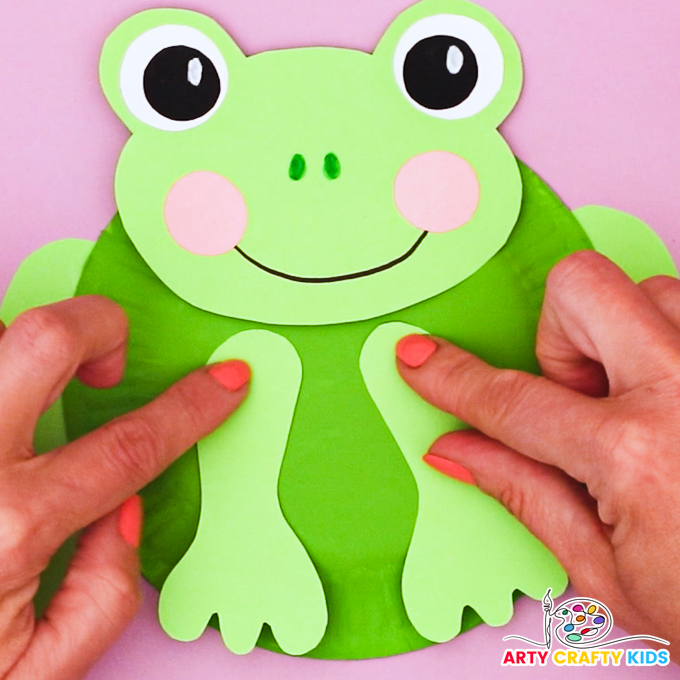
Step 5: Attach the frog’s legs to the paper plate.
Apply a generous spread of glue onto the hind legs and attach them to the back of the paper plate.
Then attach the smaller legs onto the front of the paper plate.
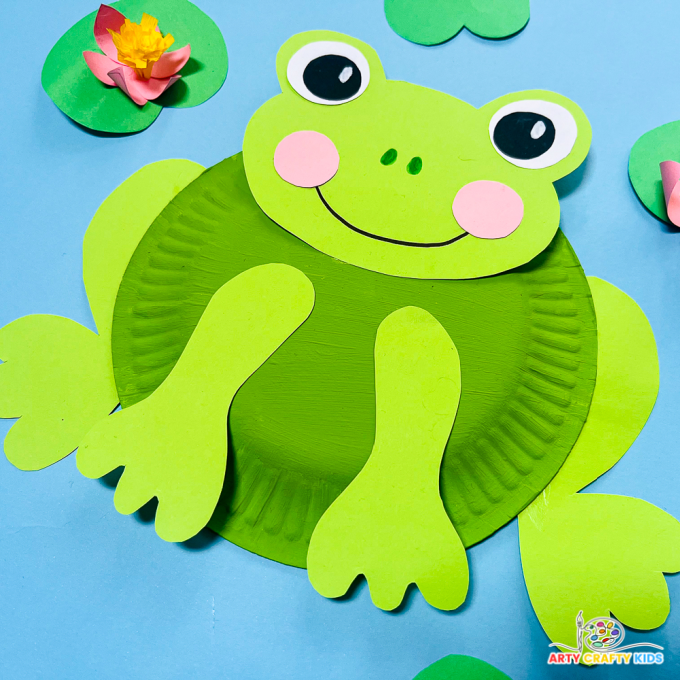
The paper plate frog craft is complete and ready to hop onto the wall for display, or a DIY cardboard pond and lily pad.
Download the Paper Plate Frog Template
With easy-to-follow instructions and a cute design, this paper plate frog is ideal for crafting sessions at home, in classrooms, or during summer camps.
