Sharing is caring!
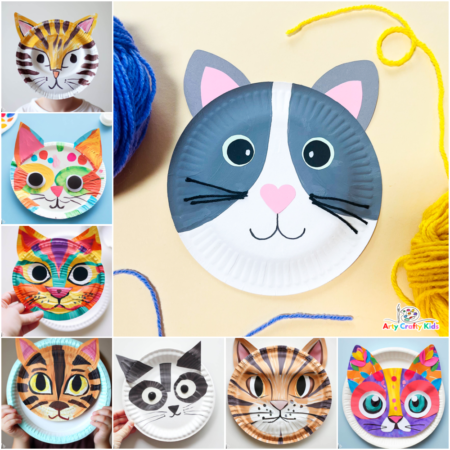
Learn how to make a paper plate cat craft with our easy to follow step-by-step guide.
This easy to make cat paper plate craft is a fantastic fit for children of all ages, including little preschoolers!
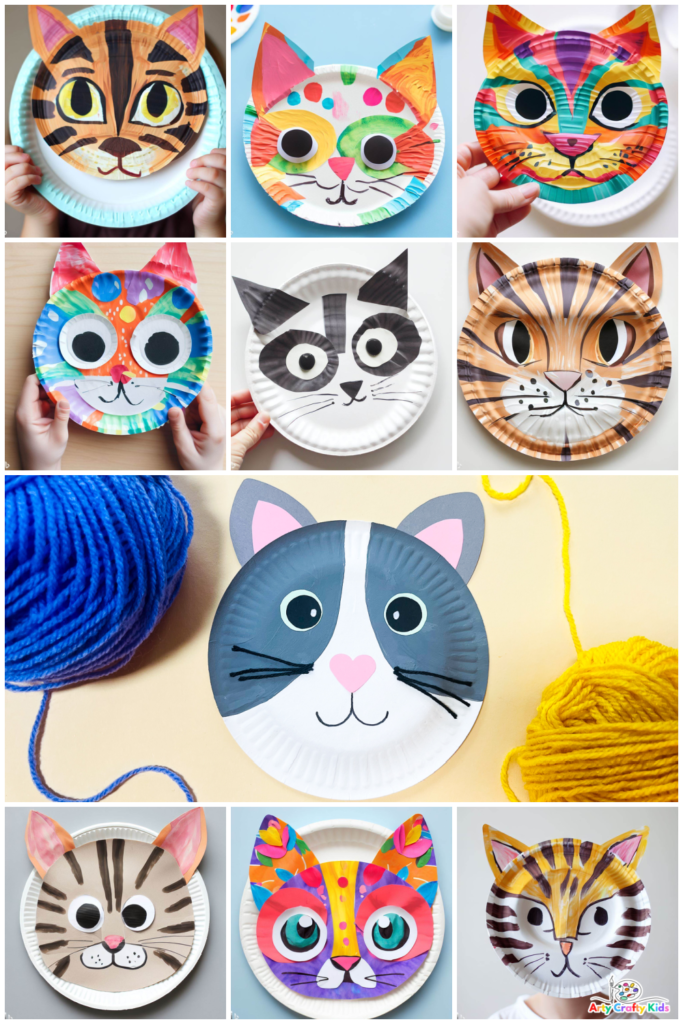
Plus, it’s incredibly customizable, allowing Arty Crafty Kids to create their favorite pet cat designs, be it a tabby, tortoiseshell, or even a mysterious all-black cat!
How to Make a Paper Plate Cat Craft:
To make this cat craft super easy to recreate at home or within the classroom, we have an optional printable cat template available for FREE to download.
Being a simple cat craft, there’s lots of ways to make it your own! towards the end of this post, you will find variations of the cat design to include cats with stripes and spots, cats with multi-colored markings, tabby cats, tortoiseshell cats and black and white cats.
Enough for your Arty Crafty Kids to make a whole colony of adorable cats!
Materials you need:
- Paper Plate
- Paint – An Assortment of Different Colors
- Paper – Any Color to Match the Cat Design
- Black Yarn
- Glue
- Scissors
- Pencil
- Cat Template (FREE Template – found at the end of this post)
Watch the Step-by-Step “How to Make a Paper Plate Cat” Tutorial
Let’s make a Cat!
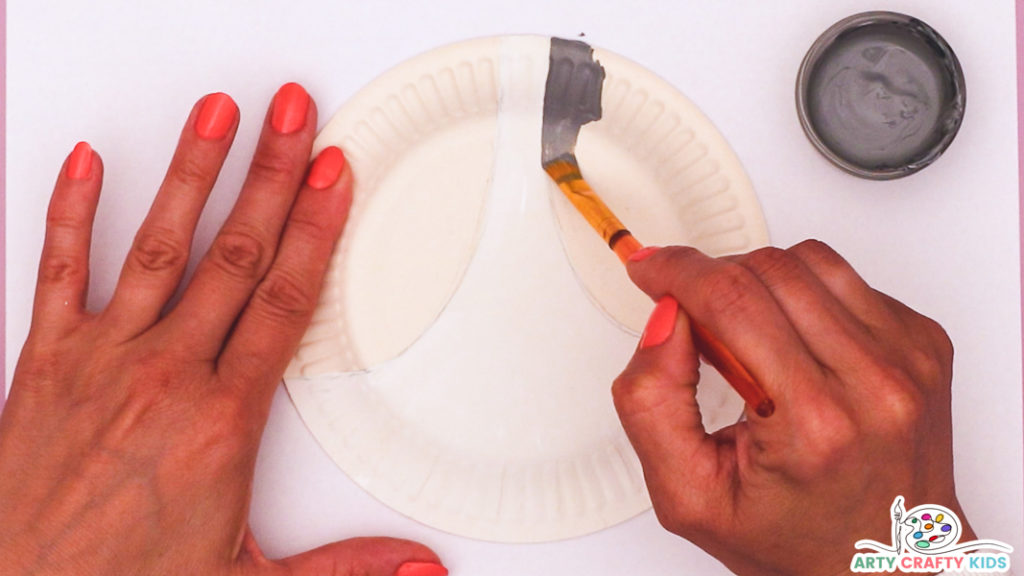
Step 1: Paint the paper plate.
First, use a pencil to outline the cat’s markings.
Our cat features oval shaped sections for the eyes.
These sections will be painted gray with the remainder of the paper plate painted white.
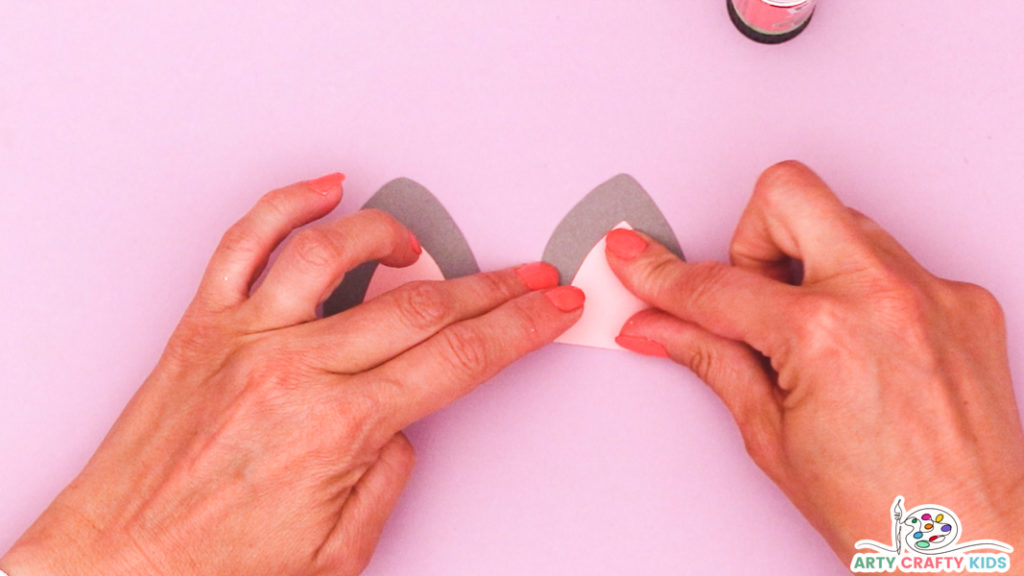
Step 2: Assemble the cats ears.
To make the cat’s ears, trace the elements (Outer and Inner Ear) from the cat template onto two different sheets of colored paper.
Ours are gray and pink.
Glue the inner ear shaped to the larger outer ear.
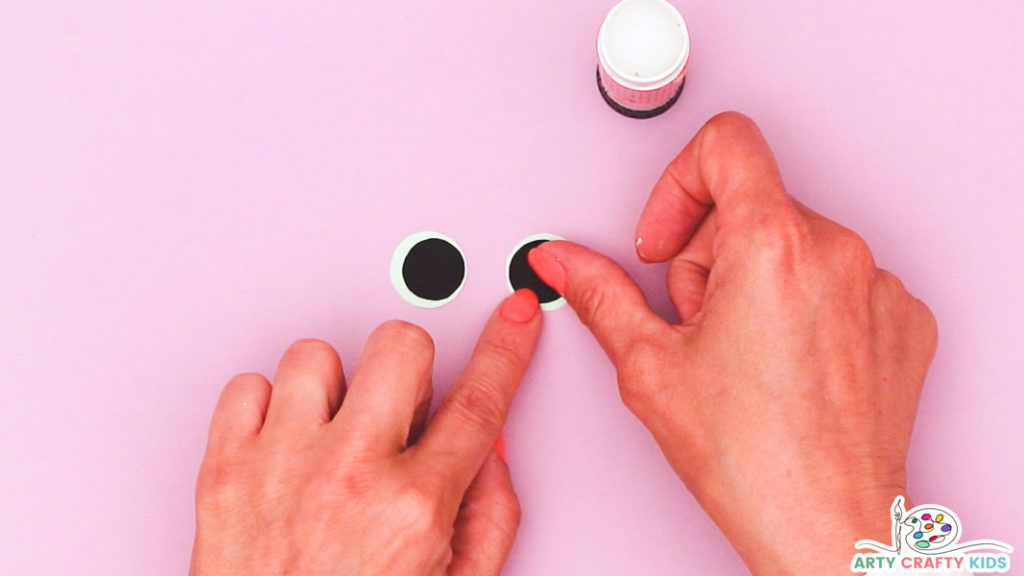
Step 3: Cut out and assemble the cats eyes.
Use white and black paper for the eyes OR swap the white out for green or yellow.
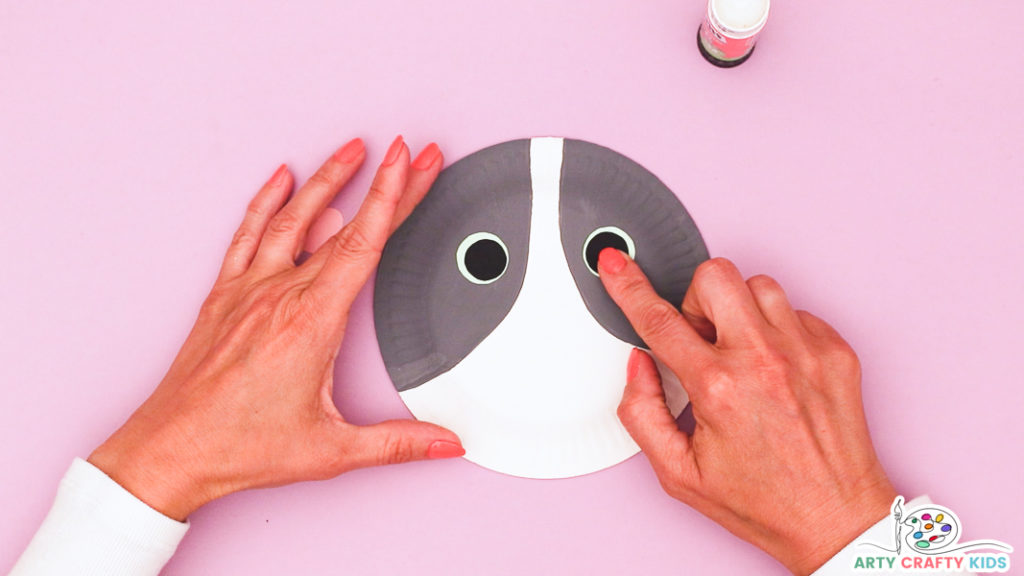
Step 4: Affix the cat eyes onto the paper plate.
Place the cat eyes within the painted sections on the paper plate.
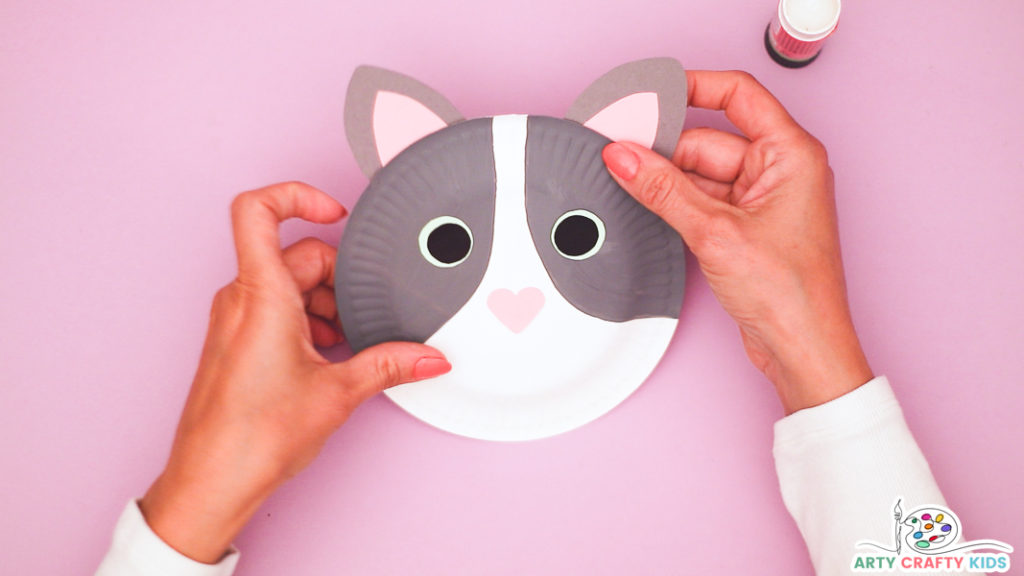
Step 5: Affix the cat ears to the back of the paper plate.
Apply a generous spread of glue to each ear and secure them to the rim of the paper plate.
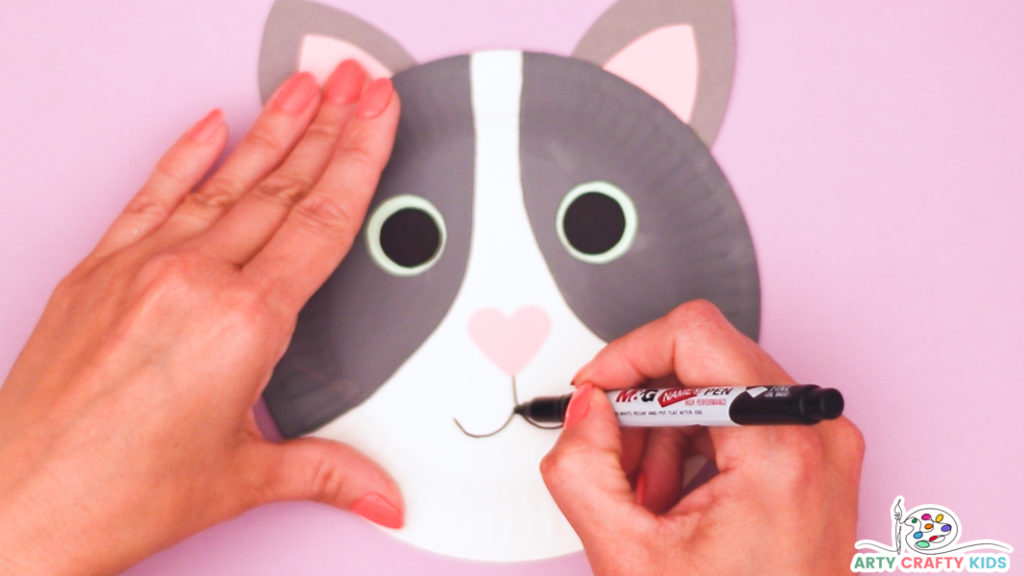
Step 6: Affix the cat nose and draw an expression.
The nose can be heart shaped or regular shaped.
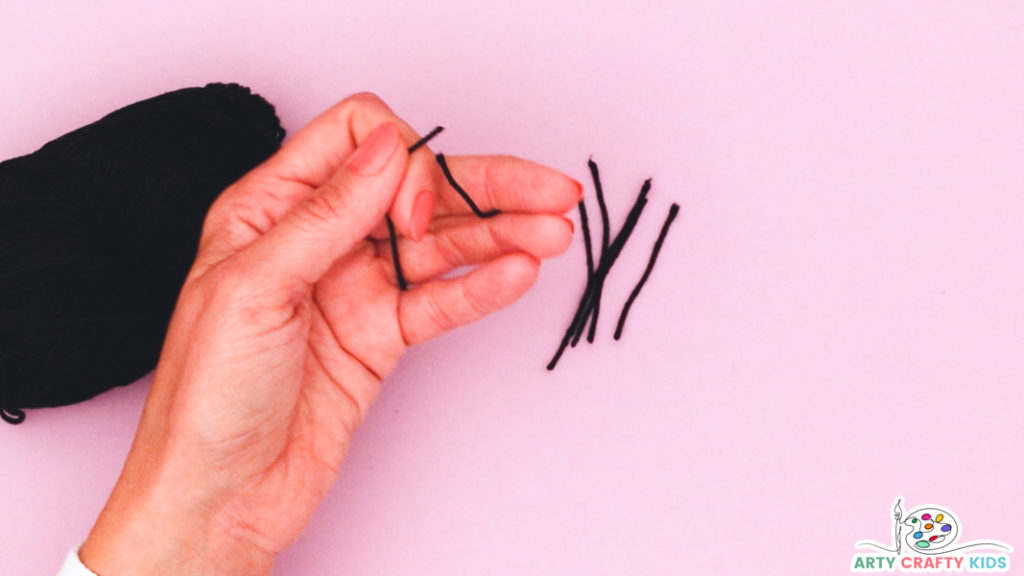
Step 7: Cut a strand of yarn into smaller equal lengths.
Option – if you do not have any yarn for whiskers, simply draw them on with a black marker pen!
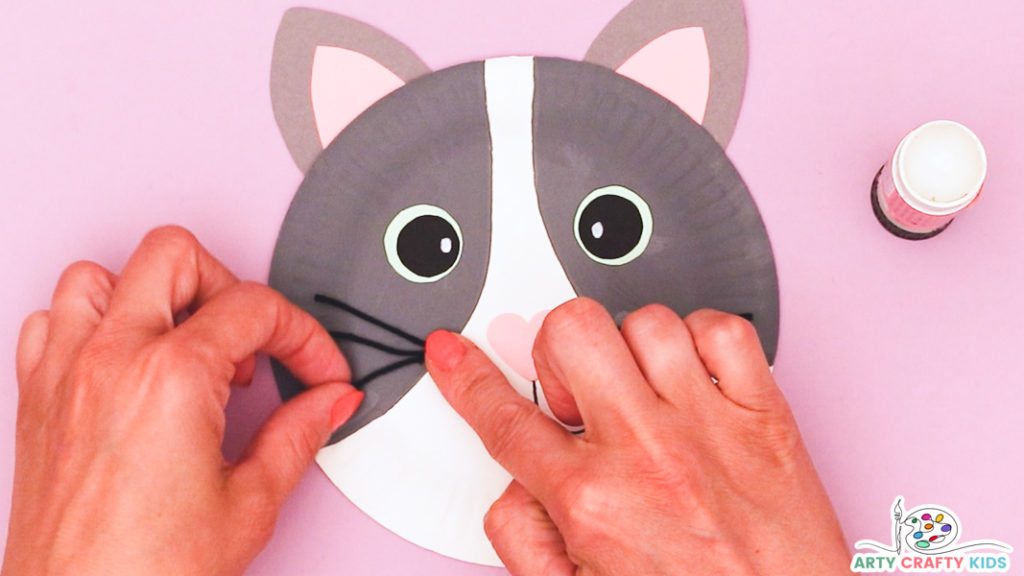
Step 8: Glue the yarn cat whiskers onto the paper plate to complete the cat.
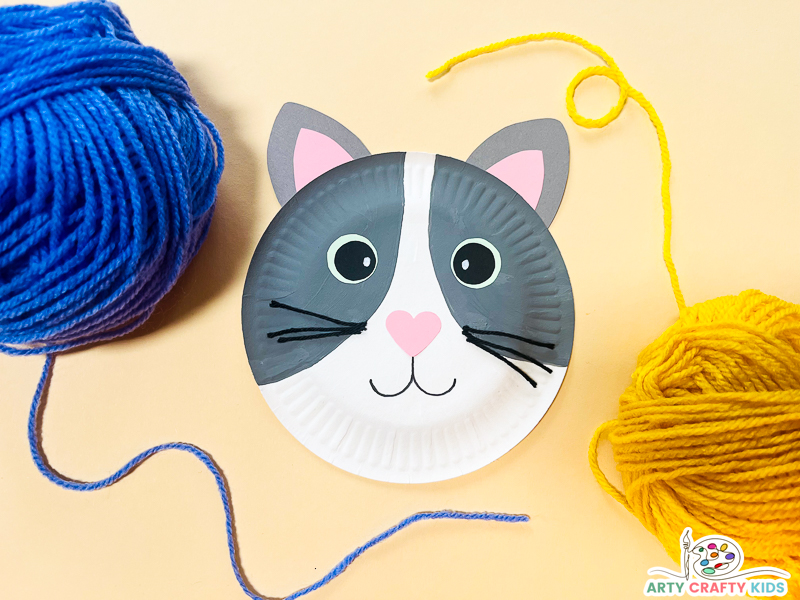
After acquiring the skill to create cat out of a paper plate from this easy craft tutorial, the imaginative choices for design and display lie in the hands of your Arty Crafty Kids.
What sort of feline will emerge from their creativity? Here are several illustrations to spark their ideas:
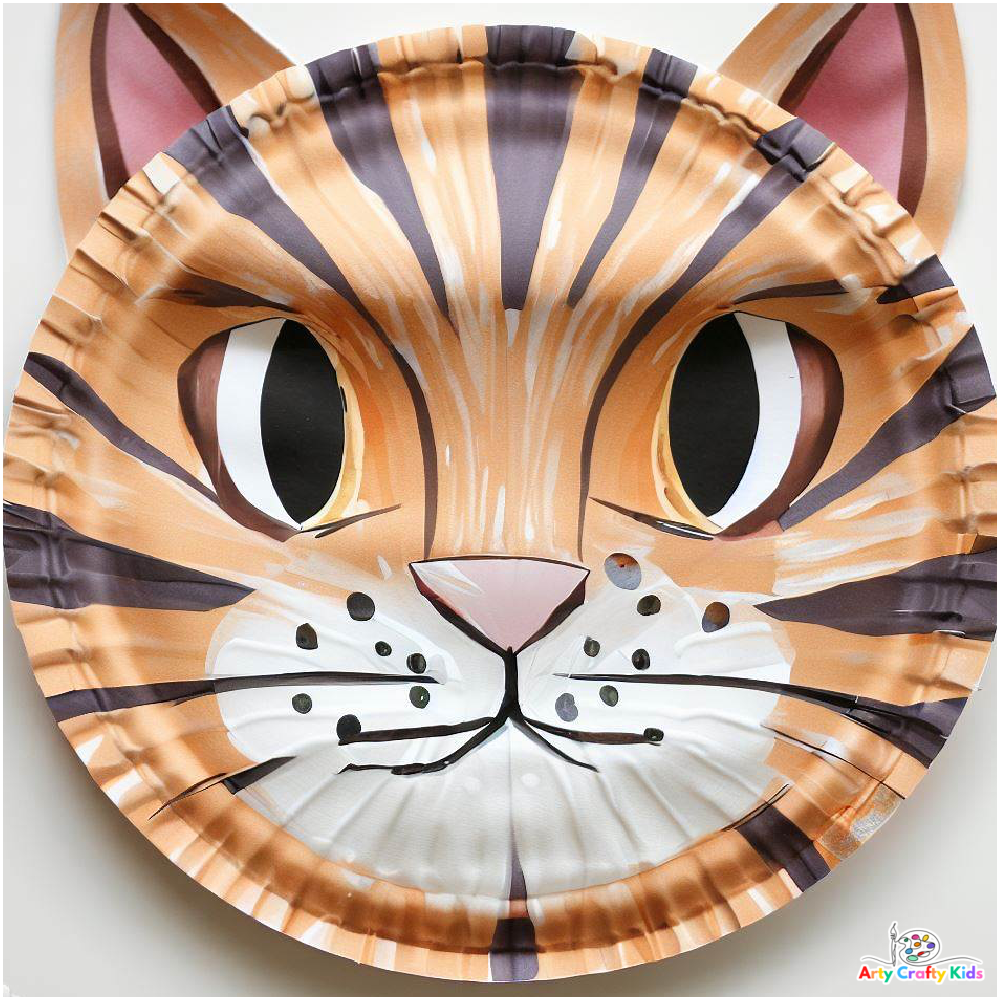
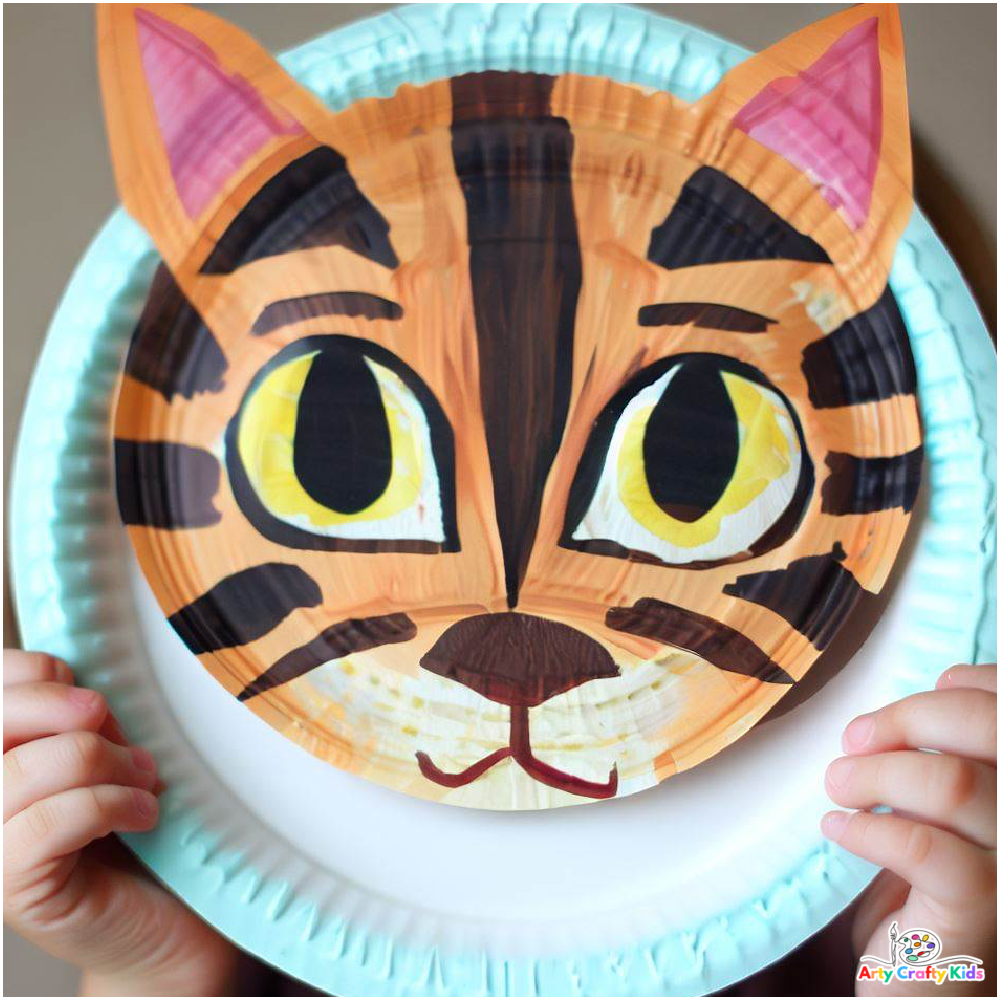
How to Make a Tabby and Tiger Patterned Paper Plate Cat
Materials Needed:
- Paper plate
- Acrylic paints (orange, black, white, and any other desired colors)
- Paintbrushes (various sizes)
- Water and a palette for mixing colors
- Paper towels or a cloth for wiping brushes
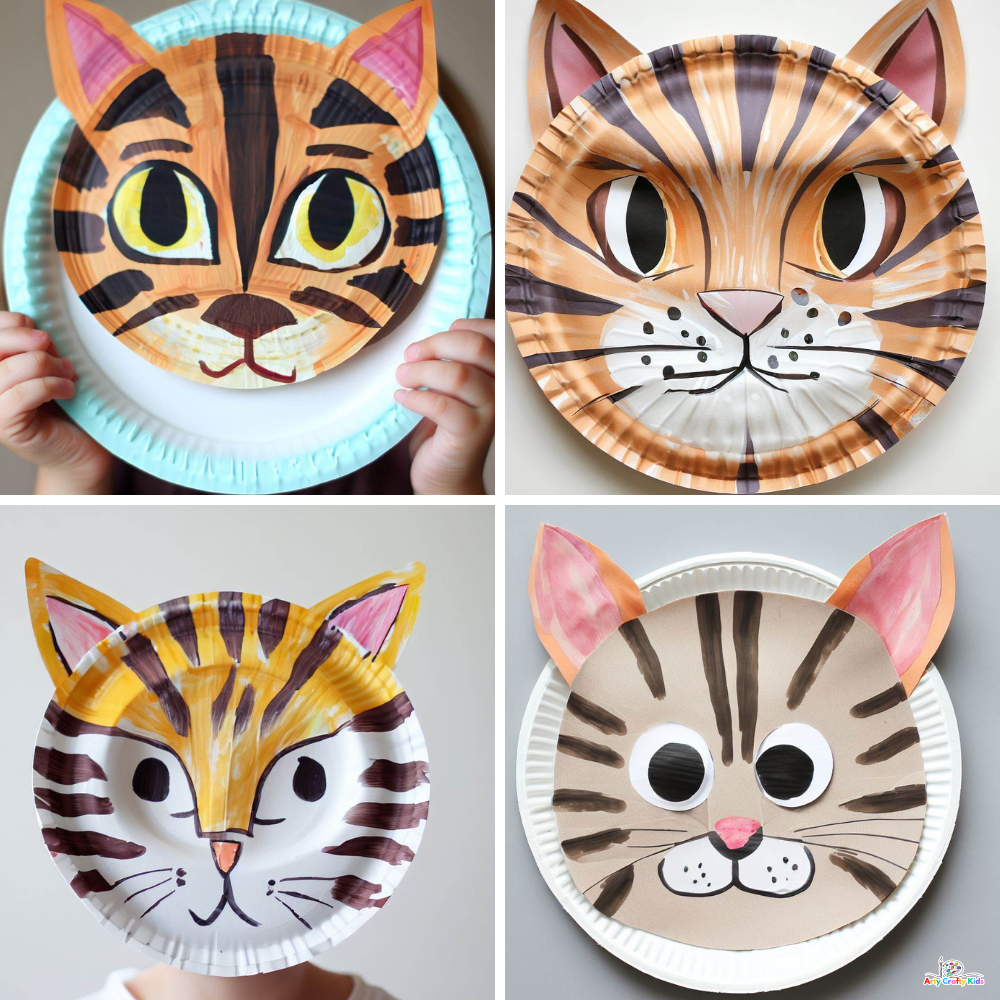
Step 1: Base Coat
Paint the entire front surface of the paper plate with the base color for your cat.
If you’re making a tiger, use orange.
If you’re making a tabby cat, you can choose a light brown or gray color. Let the paint dry completely.
Step 2: Create the Cat’s Face
Using a reference image or your imagination, decide where you want the cat’s eyes, nose, and mouth to be.
Sketch them lightly with a pencil if needed.
Step 3: Paint the Eyes
With a small brush, paint the eyes using a color like green or yellow.
Add a black pupil in the center.
You can make the eyes round or almond-shaped, depending on the look you’re going for.
Step 4: Paint the Nose
Paint the nose with a small triangle shape in black or pink, depending on your cat’s coloring.
Step 5: Paint the Mouth
Paint a simple mouth using a thin curved line in black.
Step 6: Add Whiskers
Dip a fine brush into black paint and carefully paint thin whisker lines on both sides of the cat’s face, coming out from the nose area.
Step 7: Paint the Ears
For tiger stripes: Paint black stripes on the ears.
Start from the base of the ears and paint outward, creating a tapering effect.
Step 8: Paint the Tabby Pattern (if applicable)
For a tabby cat, use a lighter shade of paint to create a mottled pattern. Paint thin, irregular lines and patches on the cat’s face and body to mimic the characteristic tabby markings.
Step 9: Add Details and Highlights
Using white paint, add highlights to the eyes, nose, and other areas to make them pop. You can also add some white accents to the stripes or patches for a more dynamic look.
Step 10: Finish the Background
If desired, you can paint the background of the plate with a complementary color or a simple pattern to enhance the overall appearance.
Step 11: Let It Dry
Allow your painted paper plate cat to dry completely before displaying or using it.
Remember, the beauty of this craft lies in its customization. Feel free to experiment with colors, patterns, and details to make your tiger or tabby cat truly unique and reflective of your creative flair.
How to Make a Colorful Cat with Paper Plates
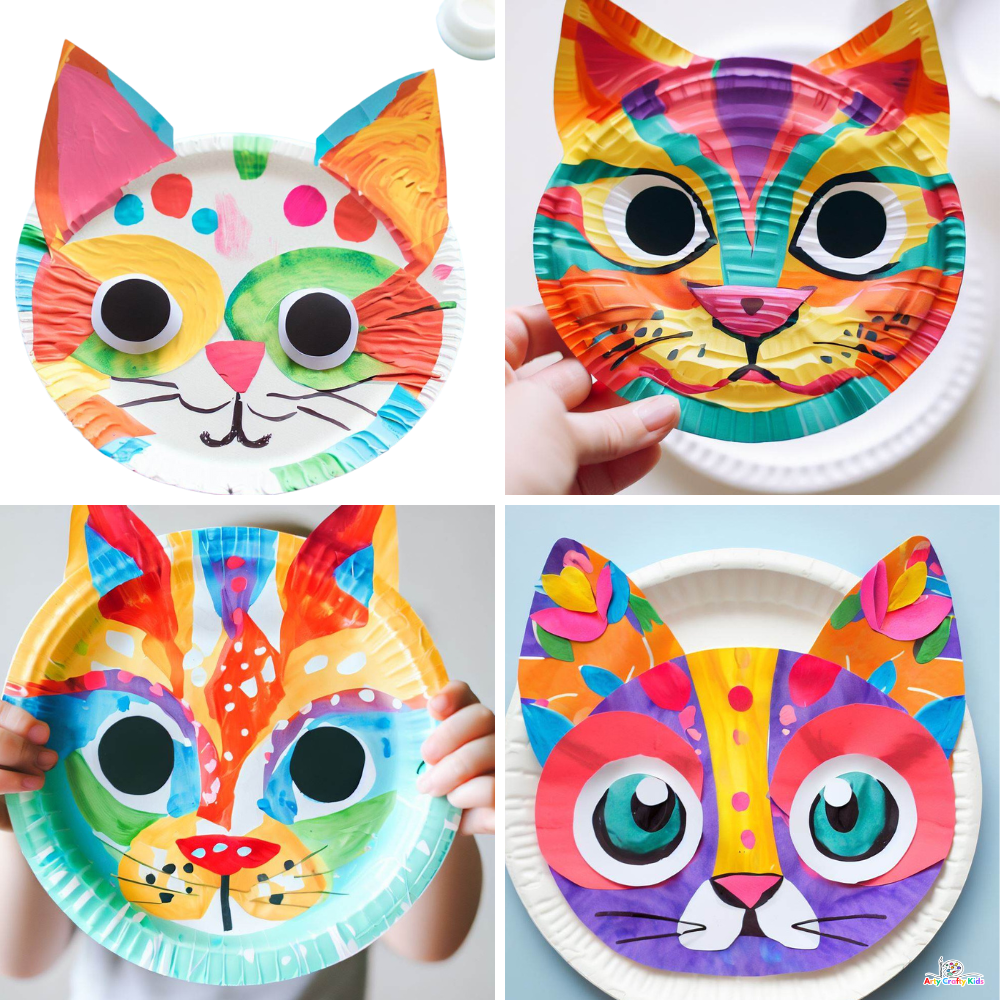
For crafting a vibrant and entirely imaginative cat, modify the tutorials while incorporating embellishments, vivid and lively paints, as well as patterned paper into the process.
By adding these elements, you’ll infuse the craft with a dynamic mixed media quality that’s both super enjoyable and engaging for Arty Crafty Kids.
8 Cat Art and Craft Ideas for Kids
- Flow Drawing: How to Draw Cat – Arty Crafty Kids can follow a simple step-by-step process to draw a cartoon styled cat.
- Mixed Media Cat Idea – A fun newspaper cat craft that encourage Arty Crafty Kids to use recycled materials in their creativity. This is one of our most popular posts!
- Slinky Cat Craft – A simple 3D Paper craft that uses simple folds to create a “slinky” effect.
- 3D Paper Lion Craft – No cat collection would be complete without the majestic lion! This is a fun color and make craft that’s super fun and easy for kids to make!
- Rocking Paper Plate Black Cat – A fun twist on the paper plate cat craft; adding movement and dimensions to this simple craft! This black cat craft is also perfect for a Halloween theme.
- Black Cat on a Wall Craft – This sweet paper bobble craft captures a lovely black cat admiring starry night.
- Cat Coloring Book – And once your Arty Crafty Kids have worked through all these fun filled cat crafts, why not settle down with a cat coloring session.
- Surprise Black Paper Cat Craft – This fun coloring page featuring a sweet not scary witch and her little scaredy cat.
Sign up to our regular newsletter to access
the cat template!
And receive updates on all our latest crafts and Arty Crafty Kids member offers.

