Sharing is caring!


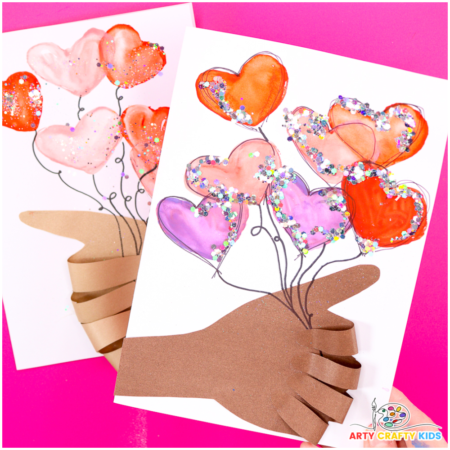
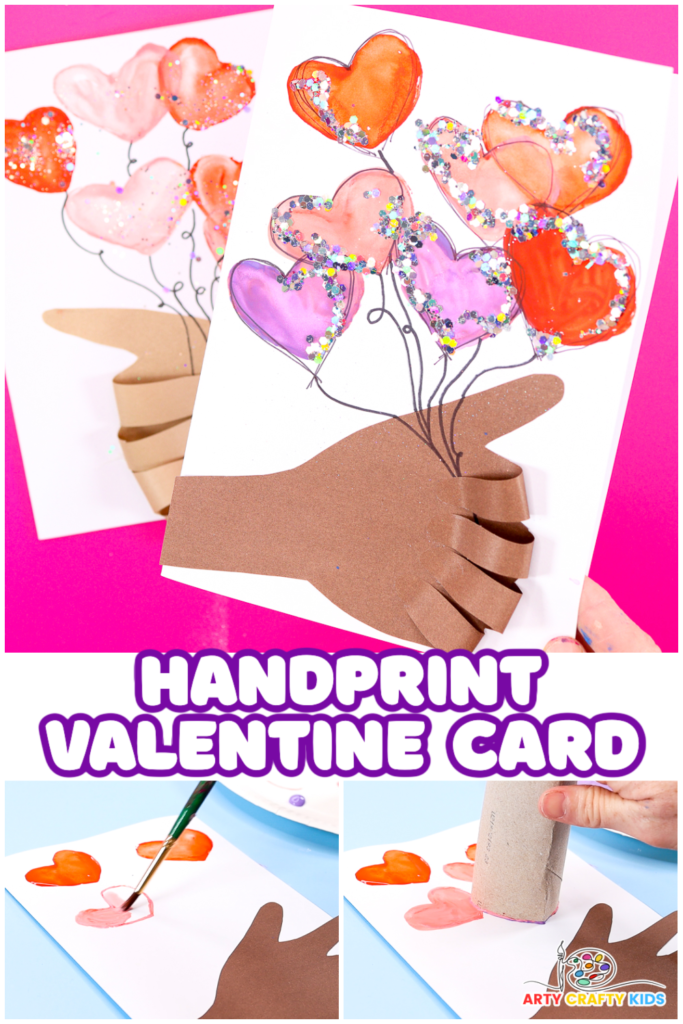
This adorable Handprint Valentine Day card, featuring handprints and watercolor hearts is not just cute but also incredibly simple for kids to craft!
All you need to do is combine hearts printed from a paper roll with watercolor paint and a handprint – and that’s all there is to it!
Kids can have fun exploring basic printing techniques and using watercolor paint to craft a sweet cluster of heart balloons held by their own handprints.
This DIY project results in a cherished keepsake card that will be treasured for years to come, making it perfect for occasions like Mother’s Day and birthdays as well.
For additional fun with hearts and painting, take a look at our collection of heart coloring pages and recent tape resist heart art.
How to Make a Handprint Valentine Card with Watercolor Hearts
Materials
- White Card Stock
- Skin Colored Paper
- Paper Roll
- Watercolors
- Paint Palette or Plate
- Paintbrush
- Black Marker Pen
- Fine Tipped Black Pen
- Scissors
- Glue Stick
- Biodegradable Glitter (optional)
- Clear Glue (optional)
Written Step-by-Step Instructions for Making the Handprint Valentine Card
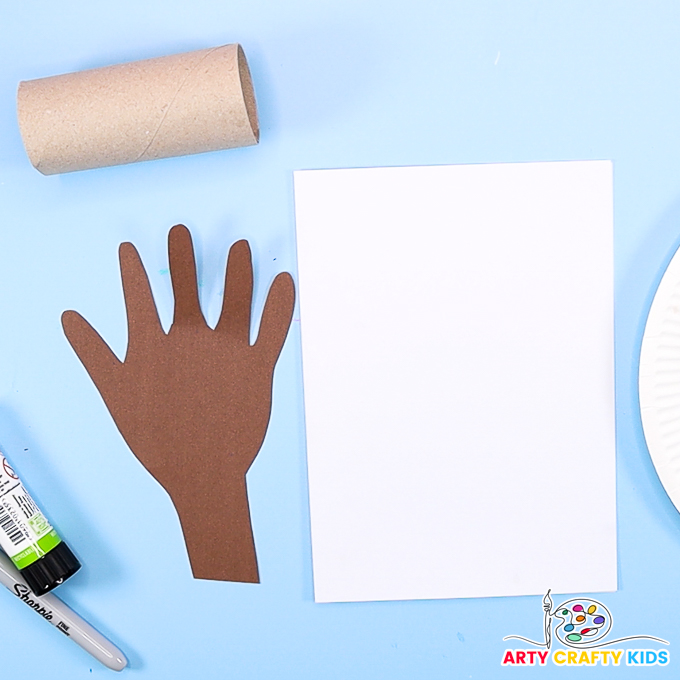
Step 1: Trace a kids’ handprint.
Carefully trace a handprint a little bit of the wrist onto skin colored paper and then carefully cut the handprint out.
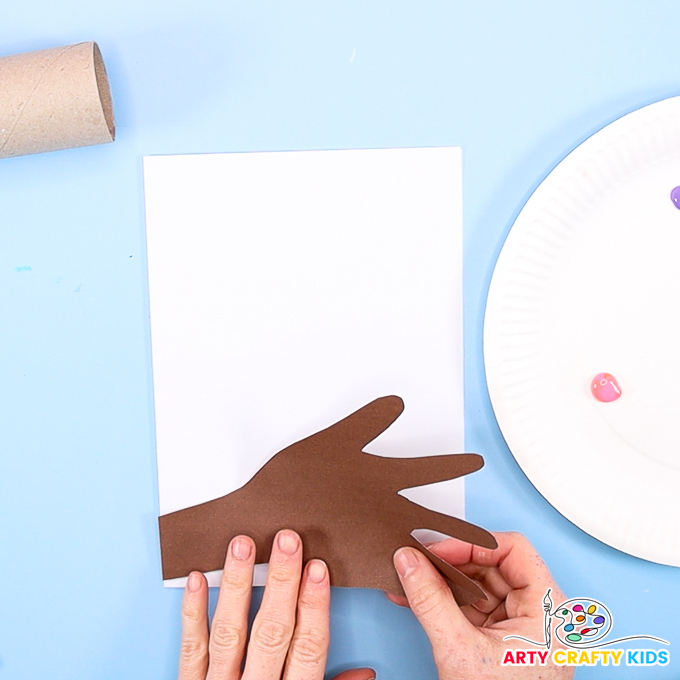
Step 2: Glue the handprint onto a pre-folded card.
To make the card, simply fold a piece of white card stock in half.
Run a ruler or finger along the crease to make it super crisp.
Next, glue the handprint onto the bottom of the card. Don’t worry if it doesn’t fit – let the fingers hang over the edge!
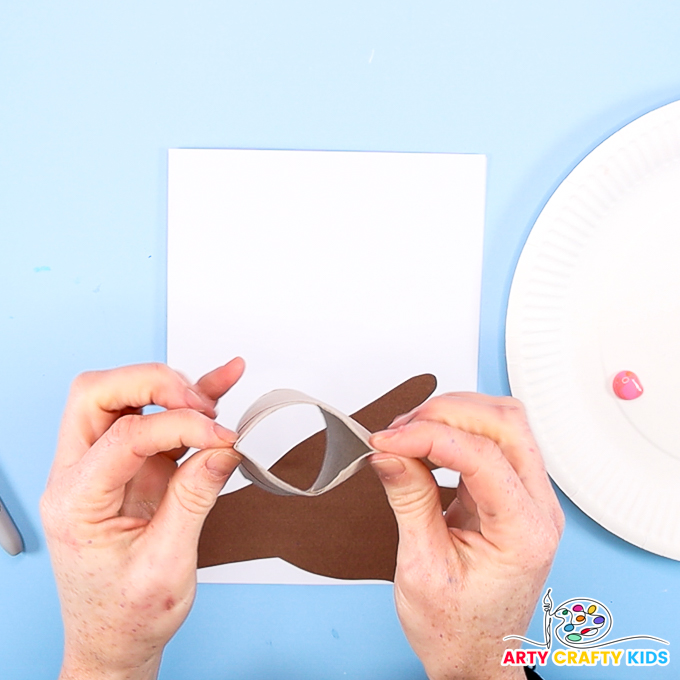
Step 3: Make a paper roll heart.
Fold a paper roll in half and give the ends of the folds a pinch.
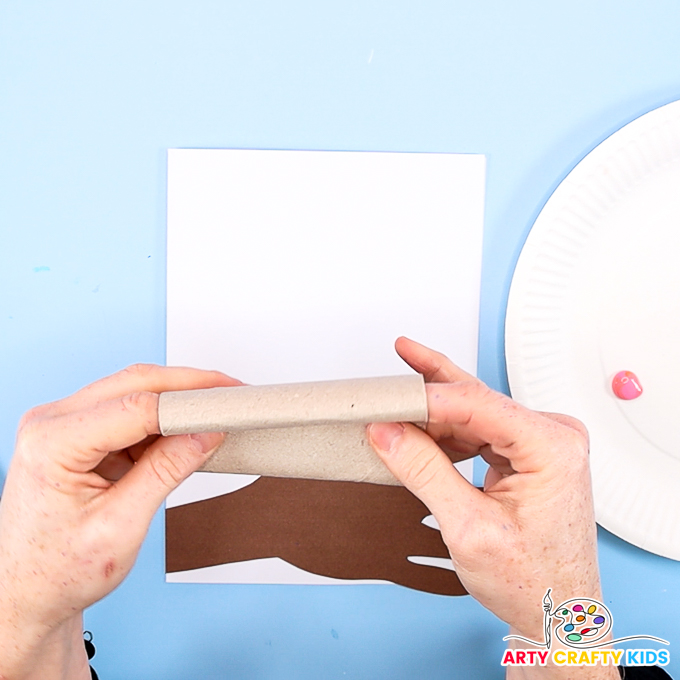
Open the roll and push one of the pinched ends into the paper roll.
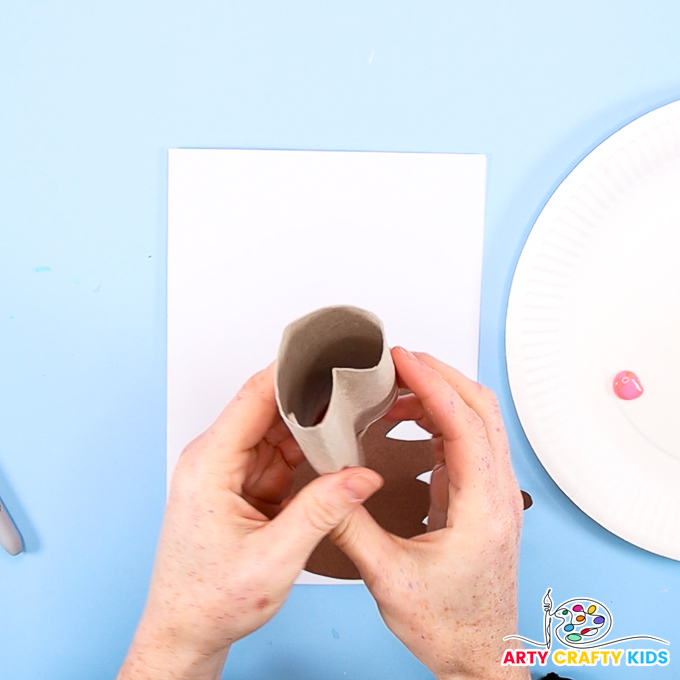
Let go, of the roll and adjust to make a heart shape!
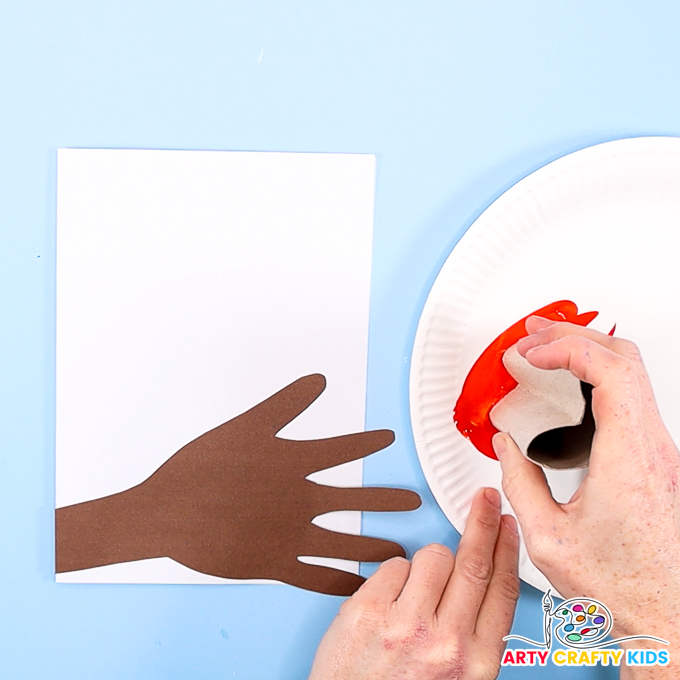
Step 4: Make a watercolor heart.
Add lots of water to some watercolor paint and spread it out onto a palette or plate.
Now dip one of end of the heart paper roll into the watercolor paint.
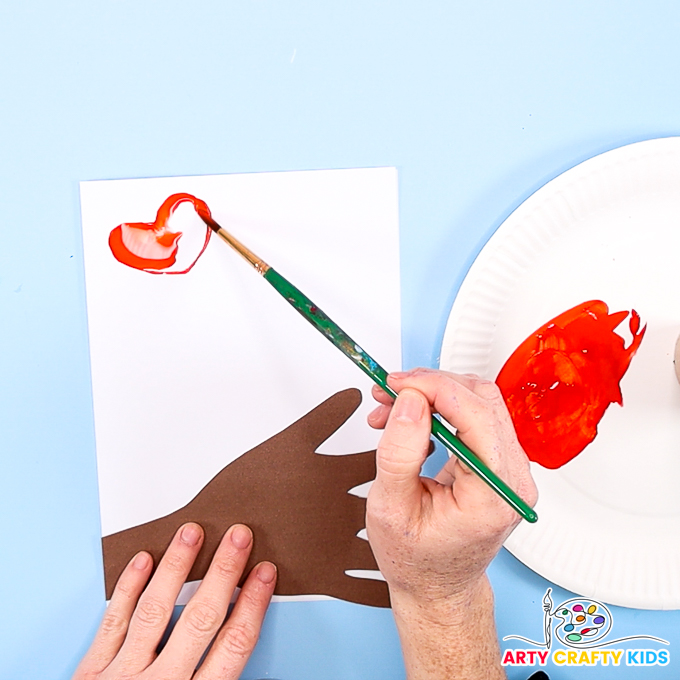
Step 5: Create a watercolor heart print.
Use the paper roll to create a watercolor heart print and then apply a paintbrush with water and spread the paint into the heart.
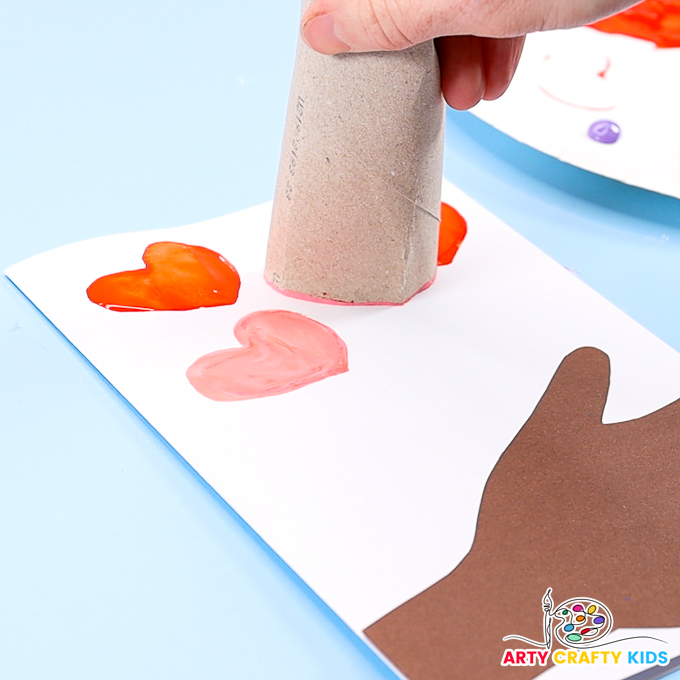
Fill the top of the valentine card with printed watercolor hearts.
The hearts can be different colors and layered.
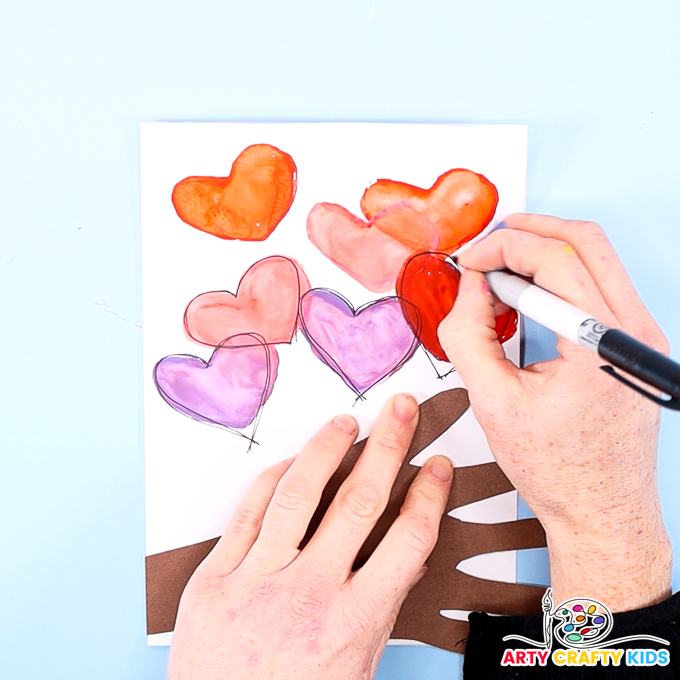
Step 6: Outline the hearts.
To give the watercolor hearts some extra definition, use a fine tipped black pen to roughly outline the hearts.
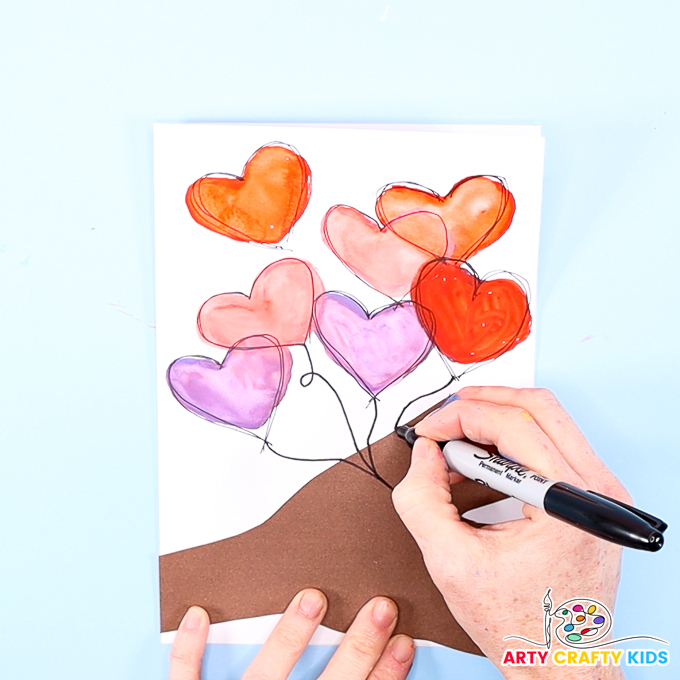
Step 7: Turn the hearts into balloons!
Use a black marker pen to draw squiggly lines from the bottom of each heart to the palm of the handprint.
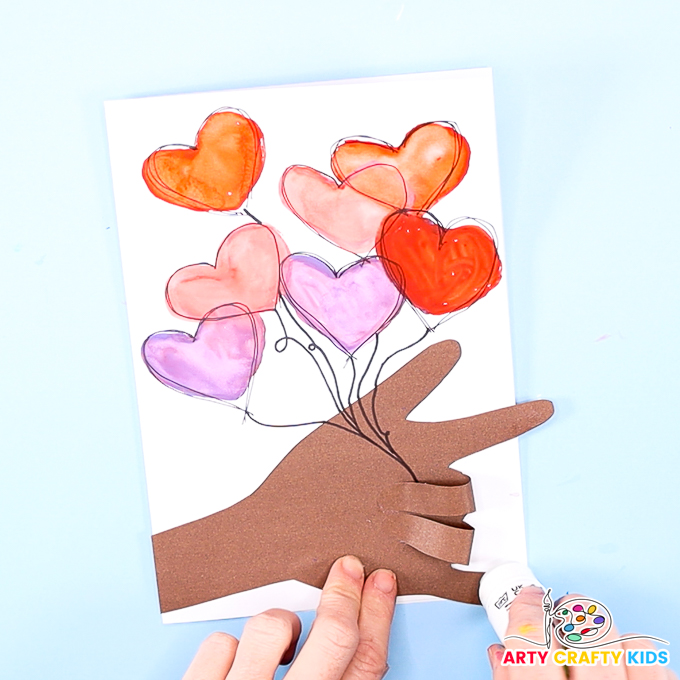
Step 8: Glue the fingers into the handprint palm.
Apply a spread of glue to the tips of the fingers and fold them into the palm (making sure they cover the balloon string) and stick.
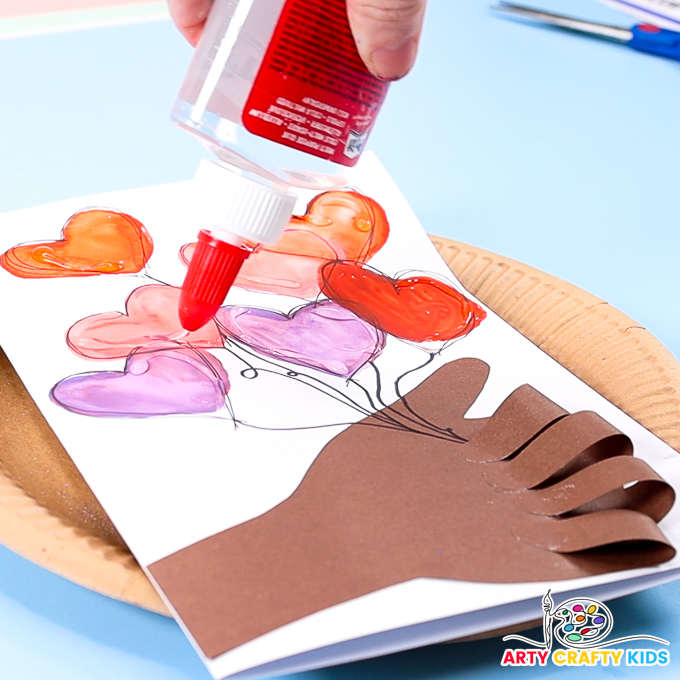
Step 9: Add some sparkle.
As an optional extra, add a few droplets of glue to each of the watercolor hearts.
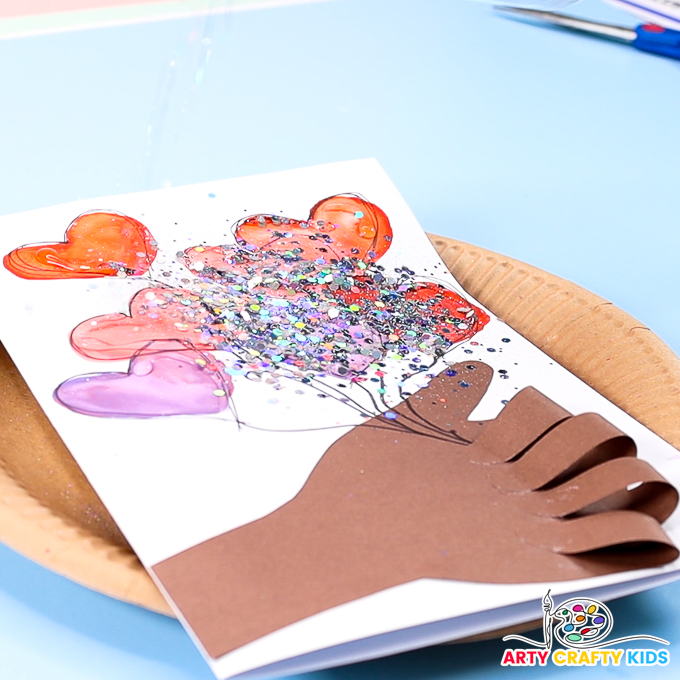
And then sprinkle some biodegradable glitter onto the glue.
Shake off the excess glitter.
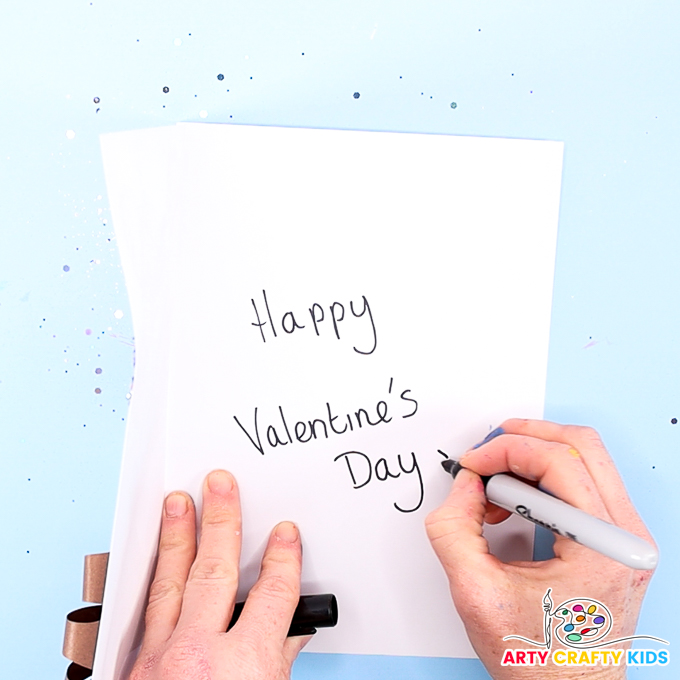
Step 10: Write a Valentine message.
Open up the card and write a personalized greeting.
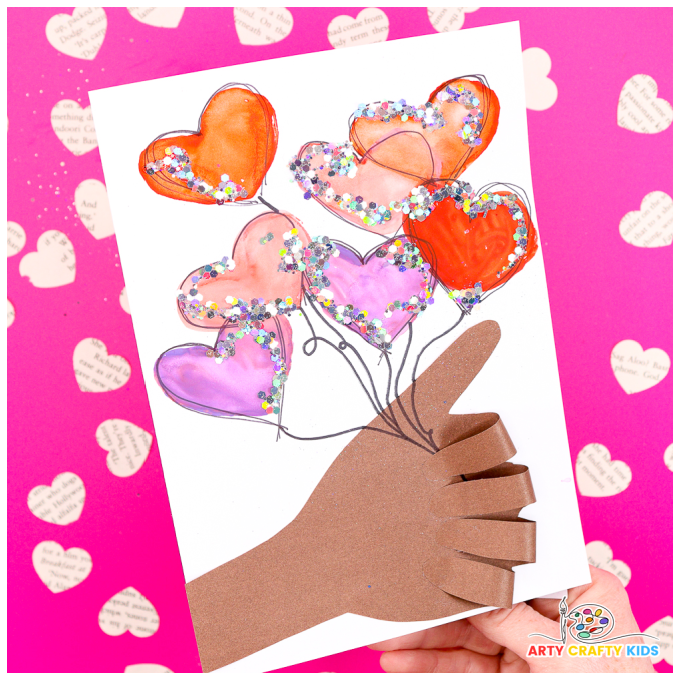
The handprint valentine card with watercolor hearts is complete – I hope your Arty Crafty Kids love making this super sweet cards.
For more inspirations with fingerprints and hands, take a look at our adorable Handprint Lady Bug Valentine Card and Fingerprint Heart Balloon Card.

