Sharing is caring!
Children love to collect and whether it’s the woods, a field filled with daisies or beach, they will endeavor to fill their tiny hands with as many natural treasures as feasibly possible. Our recent trip to the beach was especially successful and my kids filled their hands, pockets, buckets and every available container we had with shells and pebbles. And while I look upon these moments with fondness, there is a question that lingers in the mind… what to do with them?
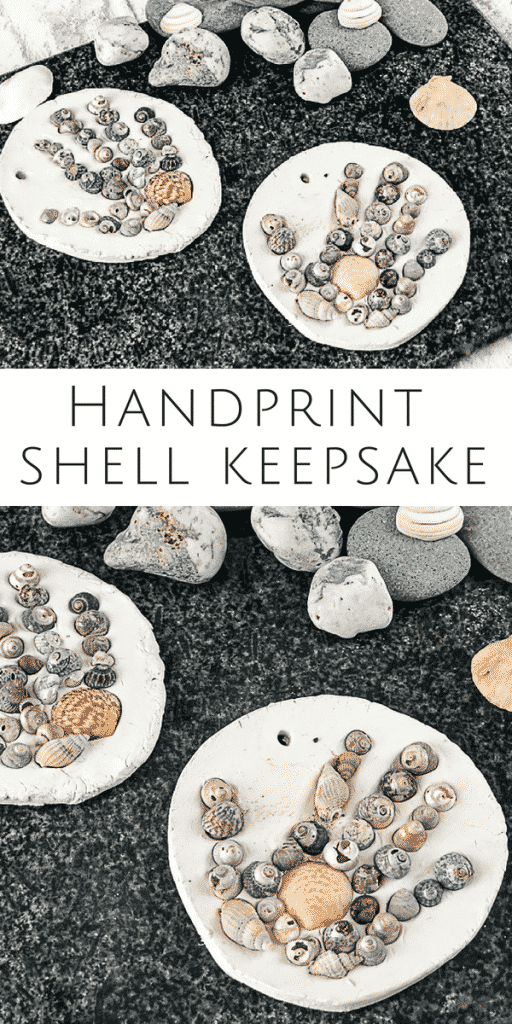
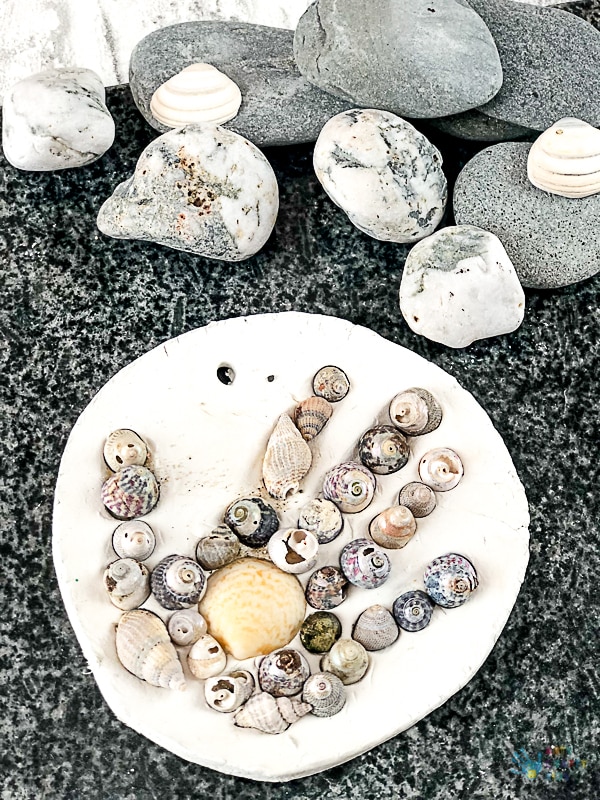
Answer: Preserve these special moments with a Handprint Shell Keepsake!
This simple craft idea not only captures the results of your Arty Crafty Kids hard work and natural curiosity, it captures memories. A moment in time where your child’s hands are tiny. When they’re explorers and everything they stumble upon is amazing and beautiful. A moment in time when time doesn’t actually matter and you’re in the moment with your child(ren).
This is a keepsake craft that will invoke memories in years to come and already, having only made this Handprint Shell Keepsake just days ago, when I glance at my kids’ creations I can’t help but smile and feel that warm fuzzy feeling inside.
Handprint Shell Keepsake: Materials
This post contains Amazon Affiliate links to recommended products.
If you click on these links and make a purchase, Arty Crafty Kids receive a
tiny commission. See HERE for more details.
Das White Air Dry Clay
Shells
Chopping Board / Hard surface
Rolling Pin
Knife
Paintbrush
PVA Glue
Drying Rack
Handprint Shell Keepsake: Video
[mv_video aspectRatio=”16:9″ key=”vwshxhnqkclirmo3akyc”]
Handprint Shell Keepsake: Tutorial
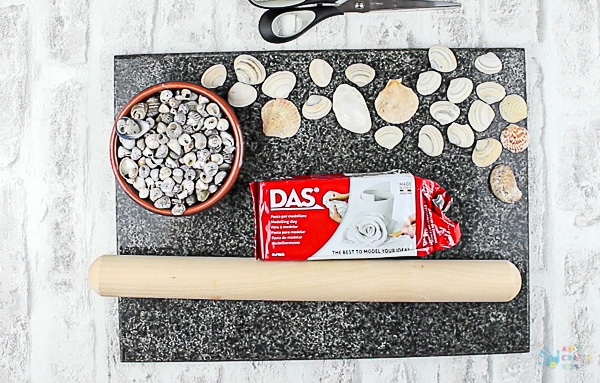
Step 1: Set up the creation station with everything your Arty Crafty Kids need.
Remove the clay from the packaging and divide the block into halves, leaving one within the packaging.
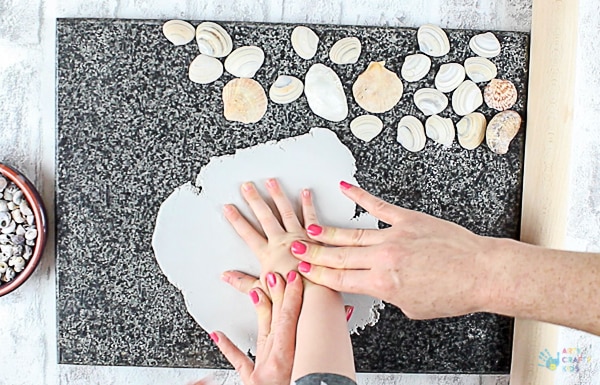
Step 2: Knead the clay and roll it out to 1.5cm depth (approx).
Place your Arty Crafty Kids hand into the centre of the clay and press down firmly to achieve a really good visible print!
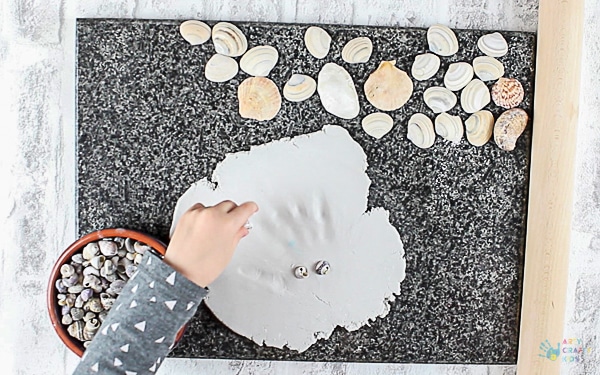
Step 3: Hand over to the Arty Crafty Kids and begin filling the handprint with shells, pressing each shell firmly into the clay.
If you are using Das clay, it doesn’t tend to dry out quickly so the Arty Crafty Kids can take their time selecting and placing their shells.
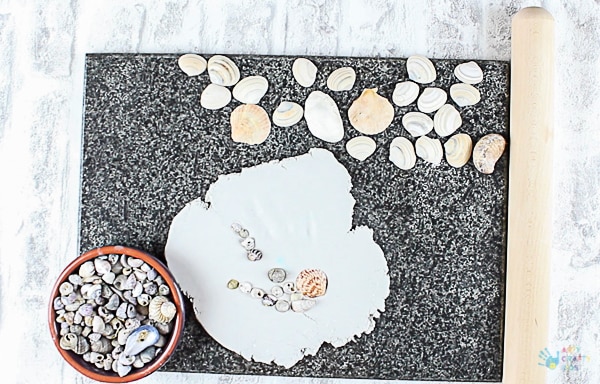
Step 4: Continue filling the handprint with shells, placing them snugly together.
This process is great for kids. As they consider the placement of each shell, they will be mentally measuring and assessing the shapes to work out the ‘best fit’, continually analysing the available space.
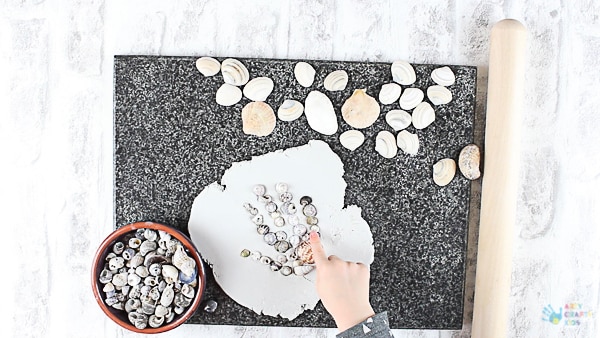
Step 5: Once all available space has been filled, give each and every shell and extra push into the clay.
Be careful not to push too hard as this could spread and distort the handprint shape.
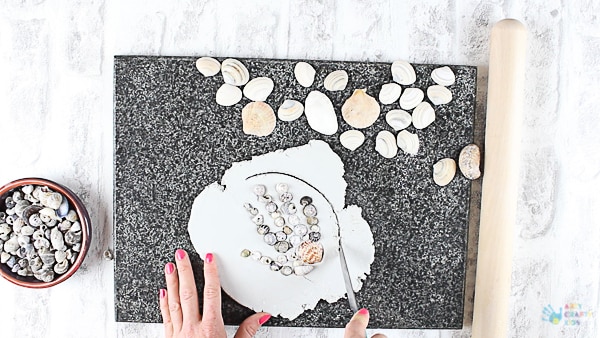
Step 6: Once the Arty Crafty Kids are happy with the appearance of the Handprint Shell Keepsake, carefully cut around the handprint to create a plaque.
Remove the excess clay.
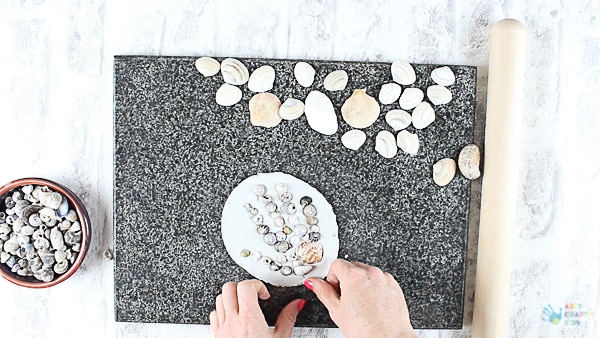
Step 7: Smooth out the rough edges and any cracks with your fingertips.
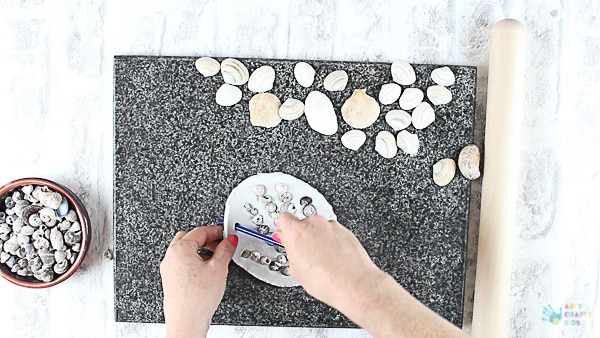
Step 8: Add a hanging all using the end of a paintbrush or pencil.
Transfer the Handprint Shell Keepsake onto a drying rack and place it in a warm place for 24-48 hours.
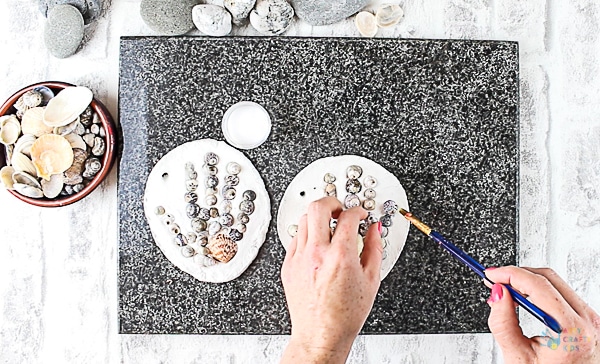
Step 9: Some of the shells are likely to be loose. Don’t worry – this can be easily fixed!
Simply secure the loose shells with PVA glue and then add a layer of PVA glue to the entire ornament.
This will seal the ornament and ensure that all the shells stay where they should!
The Handprint Shell Keepsake will now be ready for hanging!
Pin for Later!
