Sharing is caring!
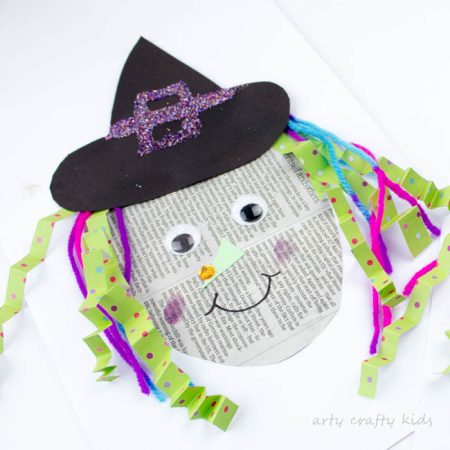
Halloween doesn’t have to be scary. It can be sweet and cute like our Easy Paper Witch Craft. I love her rosy cheeks, jeweled wart on the end of her nose and glittery black hat.
If you’re looking for a witches craft for preschoolers, then this friendly witch craft is for you!
This craft is all about using and being creative with the materials you have available at home or laying around the class room.
Perhaps you have some leftover wrapping/packing paper? Buttons, yarn or random sequins that could benefit from some love, and bring this paper witch to life!
Our witch is a mixed media project consisting of yarn, newspaper, stock card, patterned paper and glitter, and is perfectly open-ended enough for your kids to create their own spin.
If you don’t have yarn or fancy paper, perhaps the hair could be replaced with your Arty Crafty Kids handprint.
The newspaper could be painted with watercolours or not, and maybe your kids would like to plat the hair of their witch?
With so many options, I wonder what direction your kids will take…
Easy Paper Witch Craft: Materials
- Newsaper
- Yarn
- Buttons
- Googly Eyes
- White Card Stock
- Black Card Stock
- Watercolours paint
Easy Paper Witch Craft: Tutorial
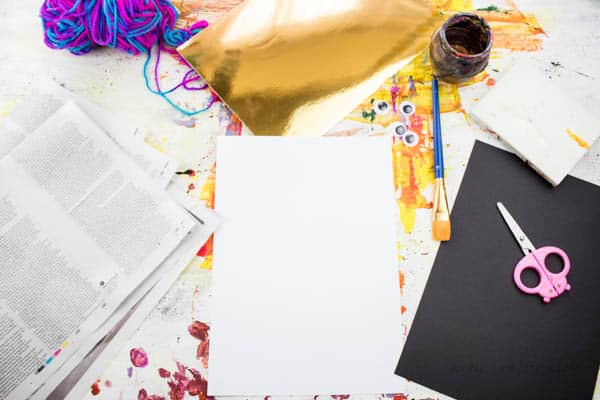
Step 1: Gather your materials
White card stock to stick your witch to and black card stock for the hat, and then whatever materials your Arty Crafty Kids choose to use for the head, eyes, nose and hair!
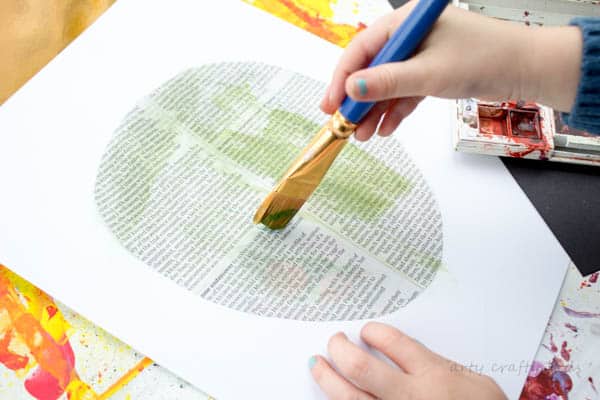
Step 2: Start with the witches head
Cut out a ‘head’ shape from the newspaper, glue it onto the white stock card and paint with watercolours.
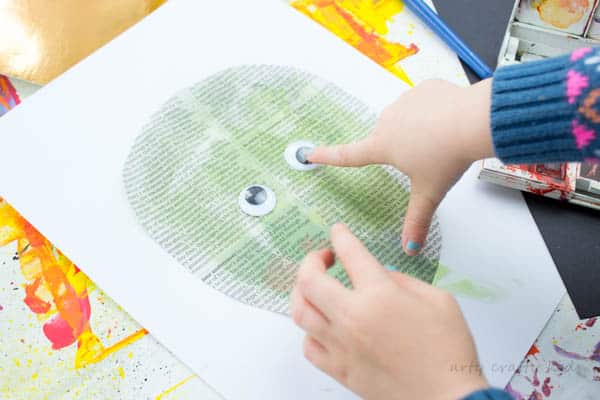
Step 3: Add the eyes
Add a pair of googly eyes, or round white paper circles and buttons could be a good alternative to googly eyes!
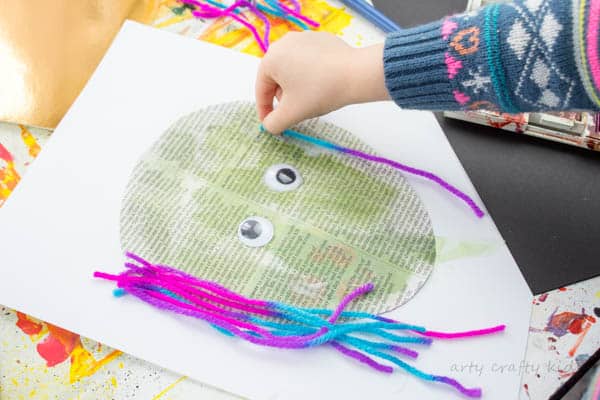
Step 4: And now her hair
Add the witches hair. This could take the form of multiple different materials including yarn, paper with accordion folds, a set of handprints or anything else your Arty Crafty Kids could come up with or recyclable materials you have!
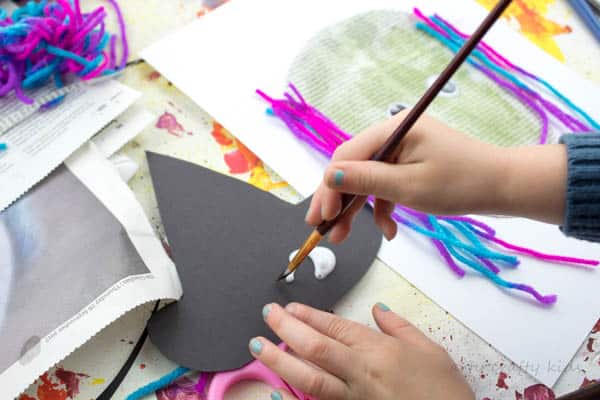
Step 5: Your paper witch is really coming together now!
Cut out a witches hat from black stock card. We’ve gone with the shape of the traditional witches pointy hat!
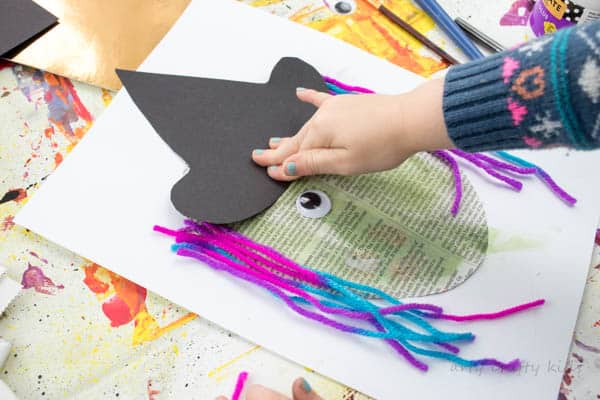
Step 6: Apply glue to the hat and stick
Glue the witches hat onto the head of the witch, covering the hair line.
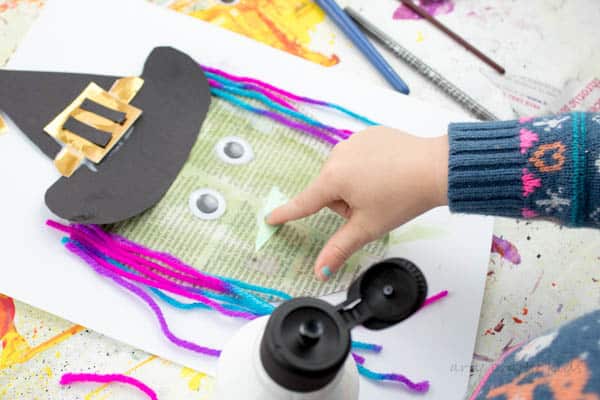
Step 7: Nearly finished! Stick a nose upon your witches face
Add a nose using colored paper or card you have left over.
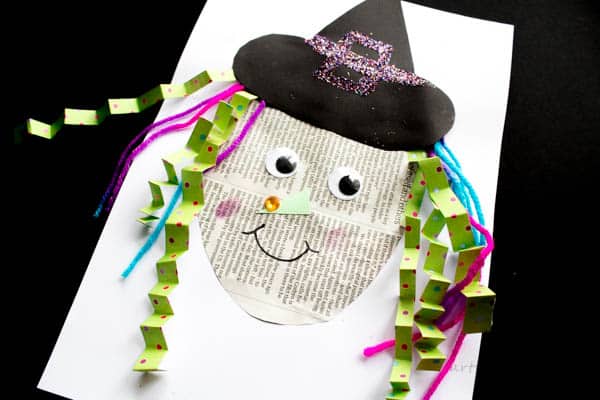
Step 8: A witch just isn’t complete without a wart on her nose!
Add some finishing touches. This may include a wart on the end of the witch’s nose or/and a glittery buckle on the hat.
The Easy Paper Witch Craft is now Finished!
I hope your Arty Crafty Kids have enjoyed our Easy Paper Witch Craft!
For more Halloween inspiration, take a look at these super cool crafts:
Pin for Later!

