Sharing is caring!
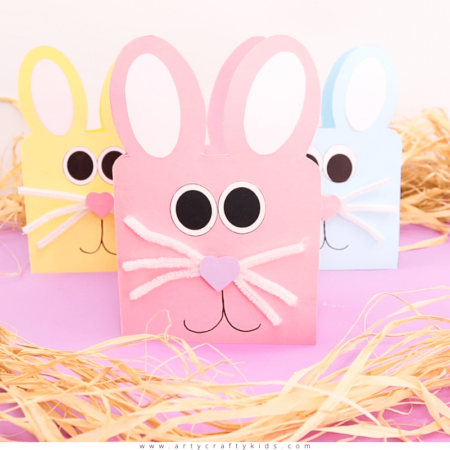
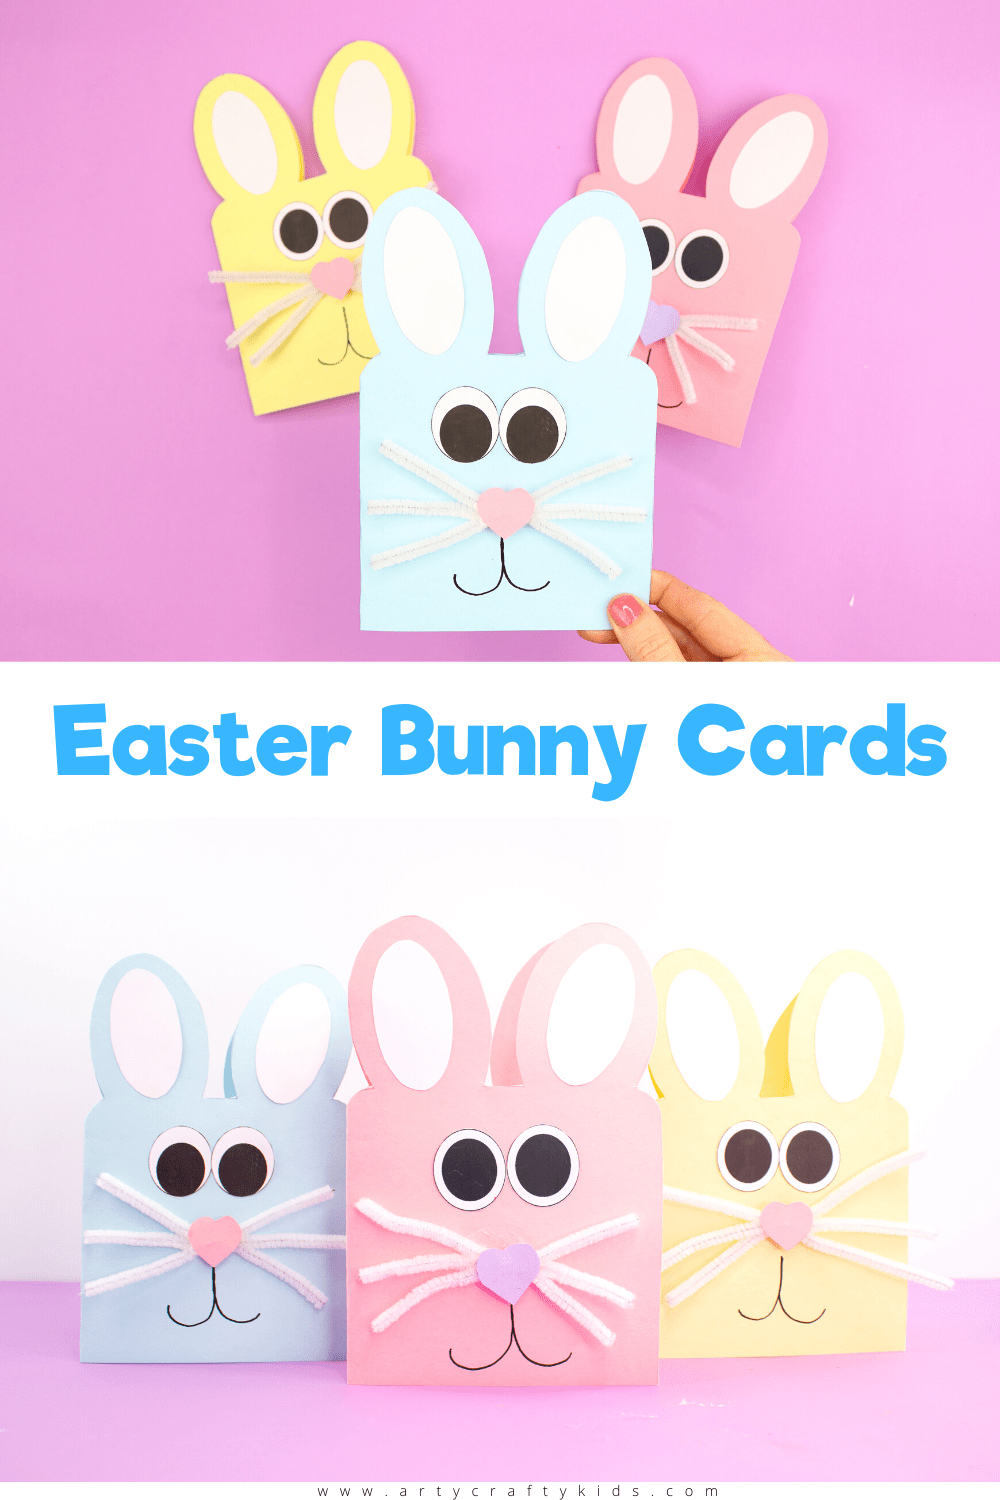
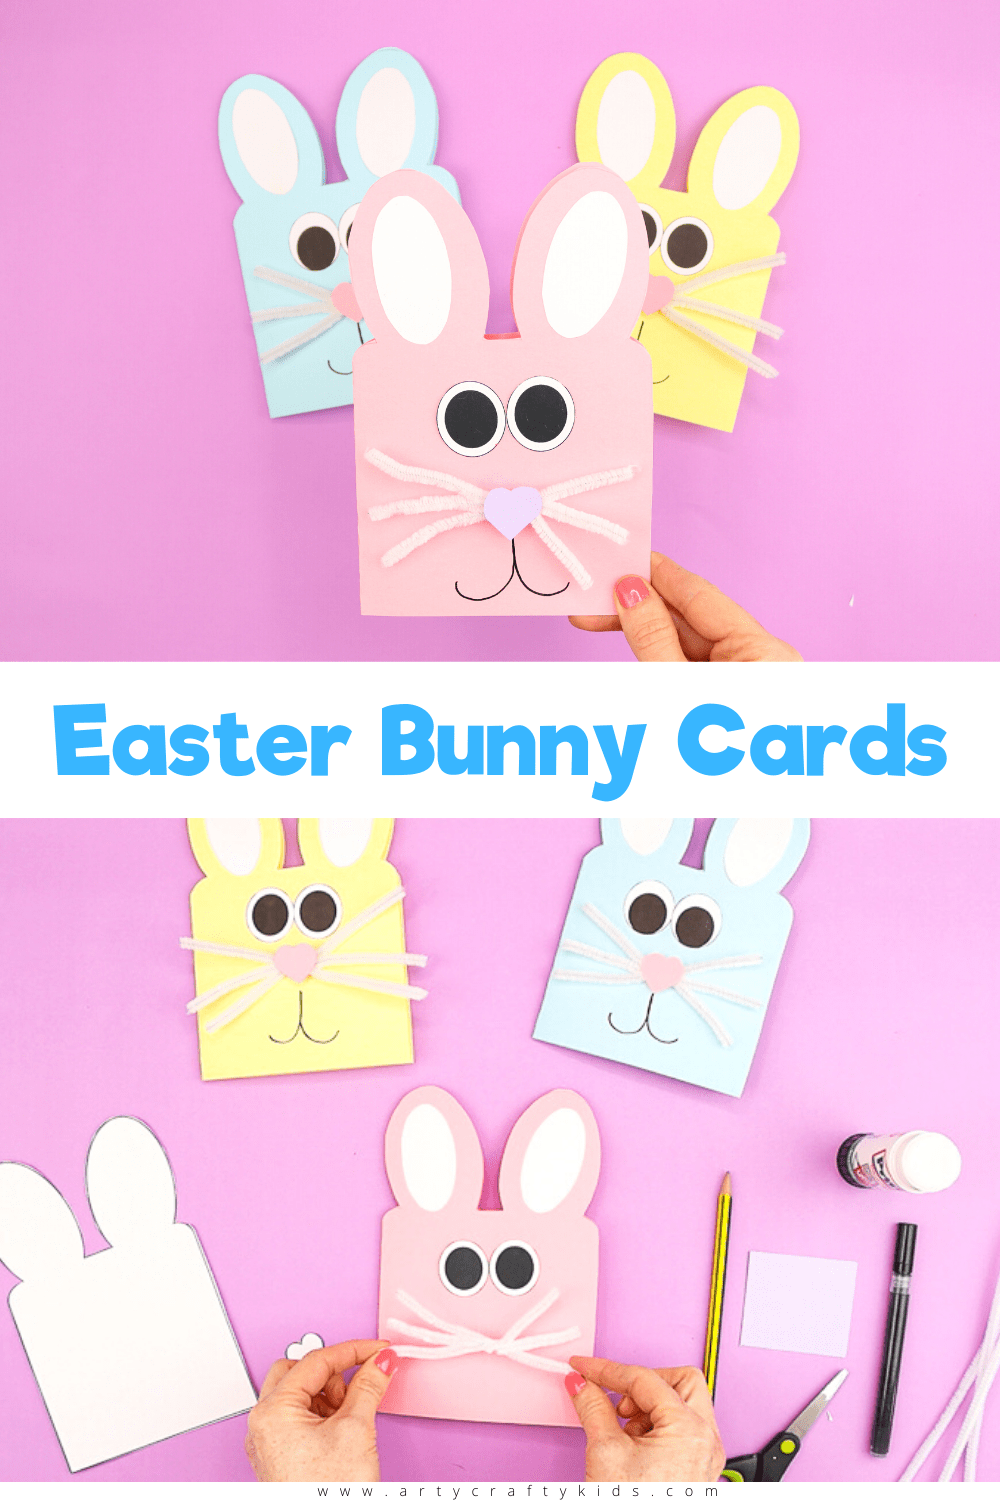
Easy Easter Bunny Cards: This festive craft is super easy – just print out the template and you’re ready to go! – meaning it’s the perfect activity for pre-schoolers. Folding, cutting and sticking are great for strengthening fine motor skills, and the 3D pipe cleaner whiskers bring an extra tactile element of fun to the craft.
The simplicity of our printable Easter bunny cards also make them the ideal unsupervised activity for older children (just make sure they’re using safety scissors!)
A lovely activity for the classroom or the home, these adorable bunny cards for kids are simple but super effective and guaranteed to bring a big smile to the recipients face. A totally calorie-free Easter treat!
How to Make Easy Easter Bunny Cards
Materials:
Colored Card Stock
Pipe Cleaners
Black Marker Pen
Glue Stick
Scissors
How to Download the Easter Bunny Card Template:
The Bunny Template is available to members of the Arty Crafty Kids Club.
Members can access the template here (remember to login!): https://www.artycraftykids.com/product/easy-easter-bunny-cards/
Members will need to log in to access the templates!
Not A Member?

Watch the Step-By-Step Video Tutorial:
Let’s Make Easter Bunny Cards!
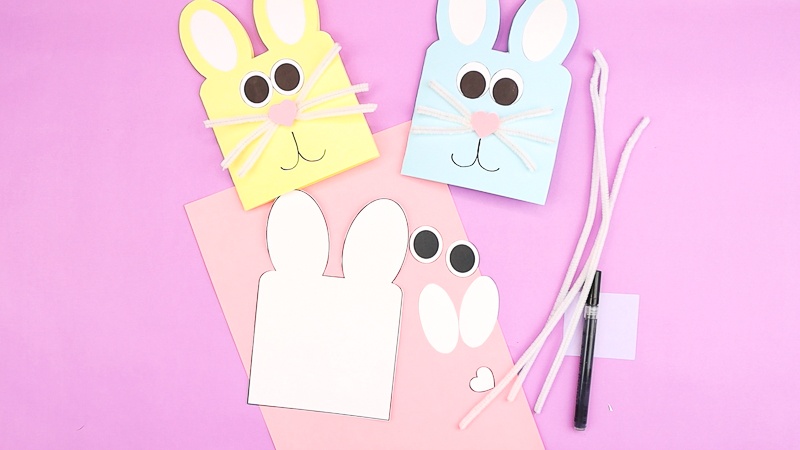
Cut out the Easter Bunny Card Elements
The first step in making your easy Easter bunny card, is to carefully cut out all of the elements from the printable template.
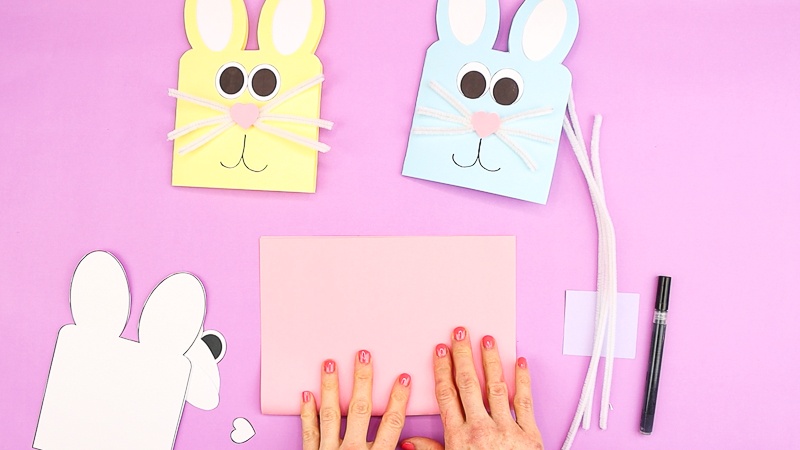
Fold the Card Stock in Half
Then choose a sheet of colored cardstock, in a nice Easter shade, and fold it in half.
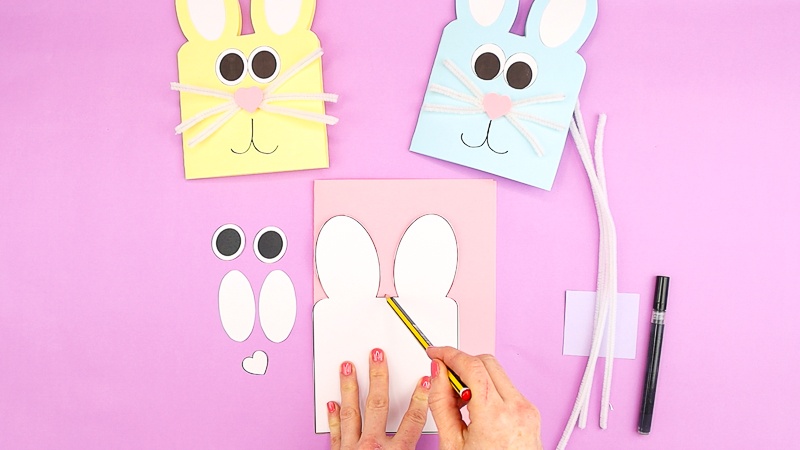
Align the Bunny Template and Trace
Line the bunny template up to the bottom left of the folded side and lightly trace around it in pencil. Then carefully cut it out, so you have a perfectly bunny-shaped Easter card.
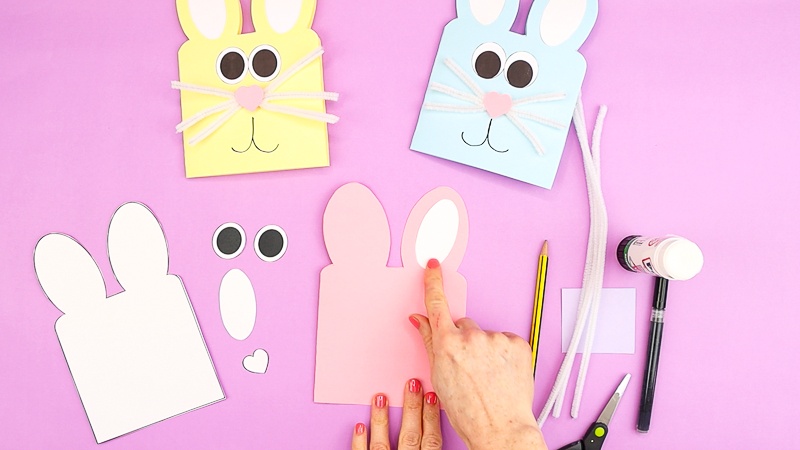
Add Bunny Detail
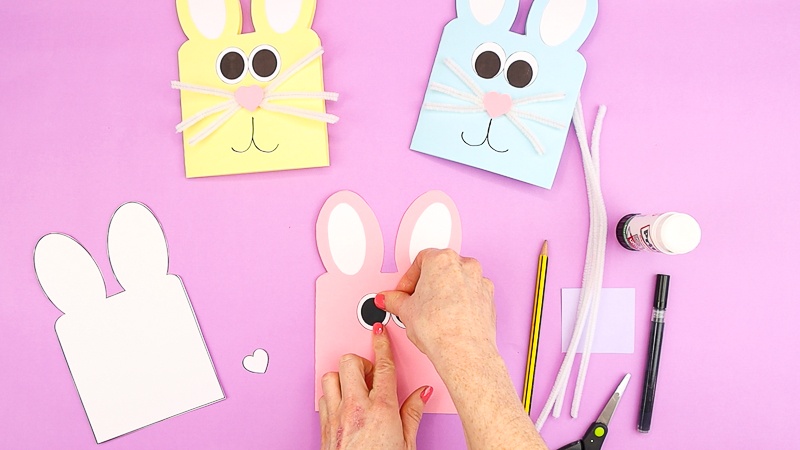
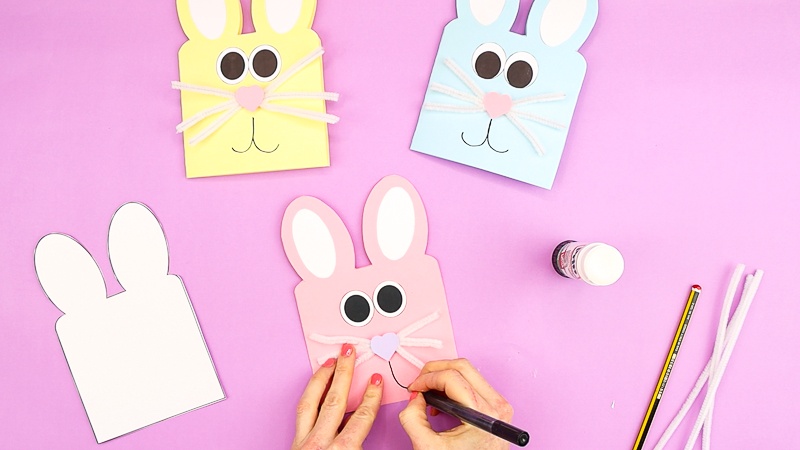
Now for the fun part! Let’s decorate our Easter bunny card. Using your gluestick, secure a white oval onto the middle of each ear, and then stick on a pair of big friendly eyes.
Twist the Pipe Cleaners
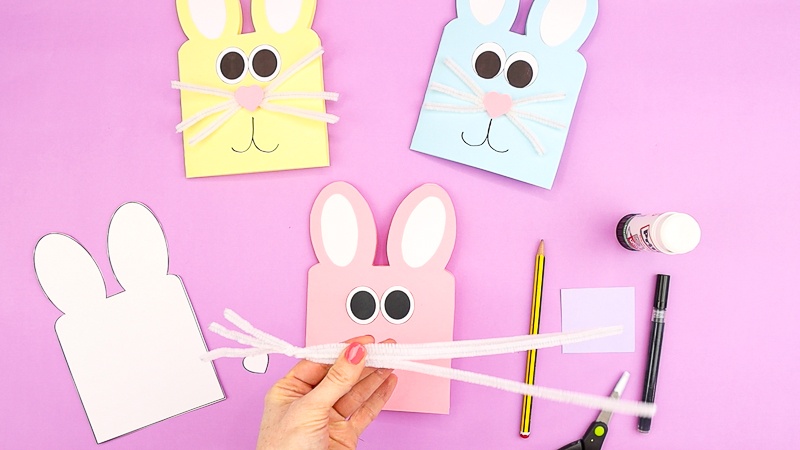
Then, gather your pipe cleaners, pinch them together and twist them all firmly, so you have three whiskers on each side that are all connected in the middle. You can trim them to the right size for the card if you need to.
Affix the Whiskers
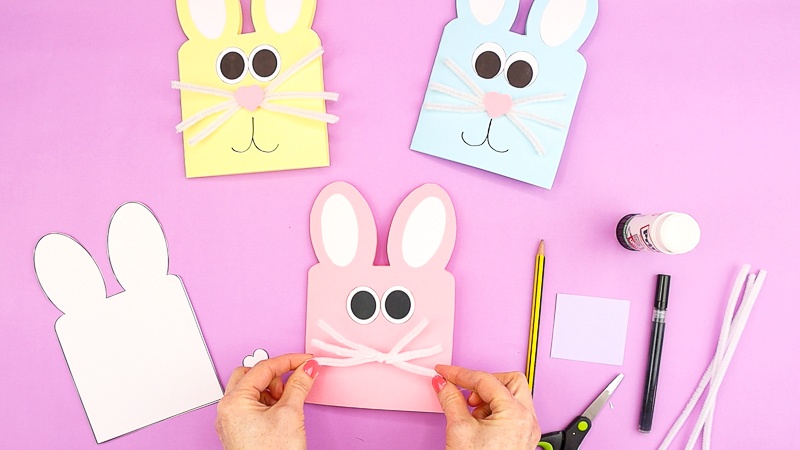
Glue your whiskers onto the card, beneath the eyes. Try to only glue the middle, twisted section of the pipe cleaners, so that the ends of the whiskers can stand out proudly!
Add a Cute Heart Nose
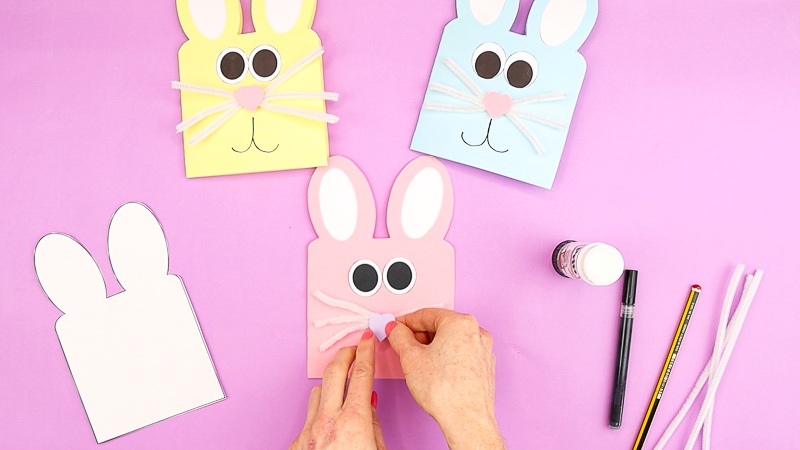
Then stick the little heart nose onto the middle of the whiskers – these bunny’s do love Easter, after all!
Complete with a Cute Smile
And a happy Easter bunny wouldn’t be complete without a big smile, so don’t forget to draw one on with a felt tip or crayon.
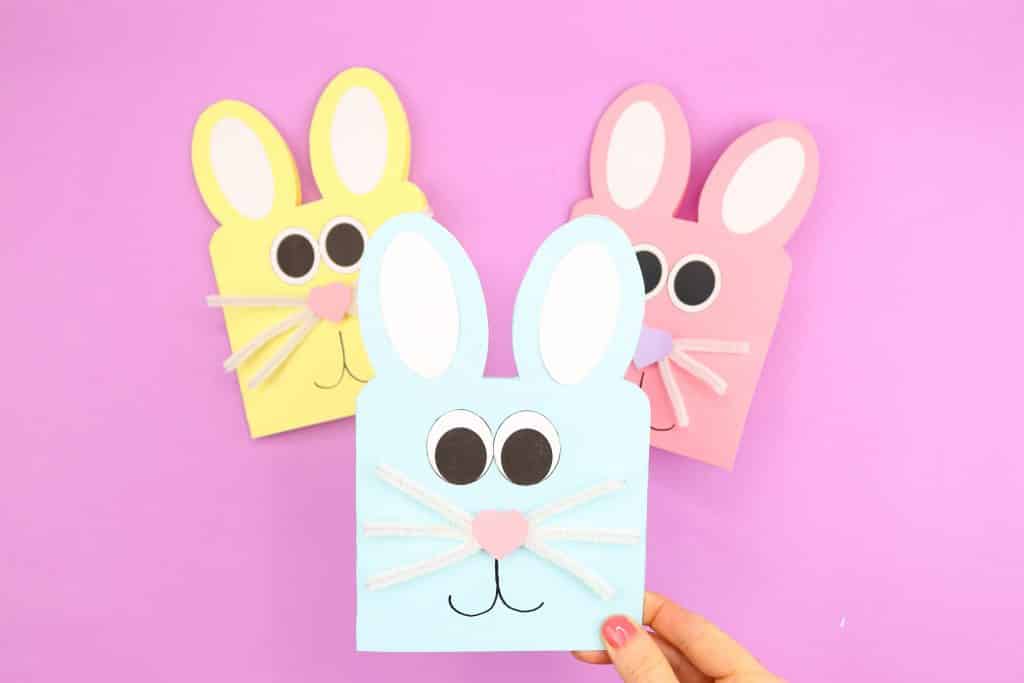
Now your adorable Easter bunny card is complete! Will you send one to your friends or family? Perhaps you could make a card for the Easter bunny, to thank her for leaving all those delicious Easter eggs!
As always, please do share your completed bunny crafts with us on social media!
More Easter Crafts for Kids:
Easter Bunny Art:
Are you looking for a fun and interesting Easter Art Project for Kids? Pattern Bunny Art is the perfect activity for kickstarting Spring and kids will delight at the process of creating this gorgeous bunny kids art project!
https://www.artycraftykids.com/art/pattern-bunny-art/
Mono Print Easter eggs
This Easter art project is incredibly simple, but really impactful and totally unique. Children will learn basic printing techniques, whilst getting hands-on with paint and pattern-making. They’ll love playing with bold color and exploring contrast as they create Easter eggs their friends and family are sure never to have seen before!
https://www.artycraftykids.com/art/mono-print-easter-eggs/

