Sharing is caring!
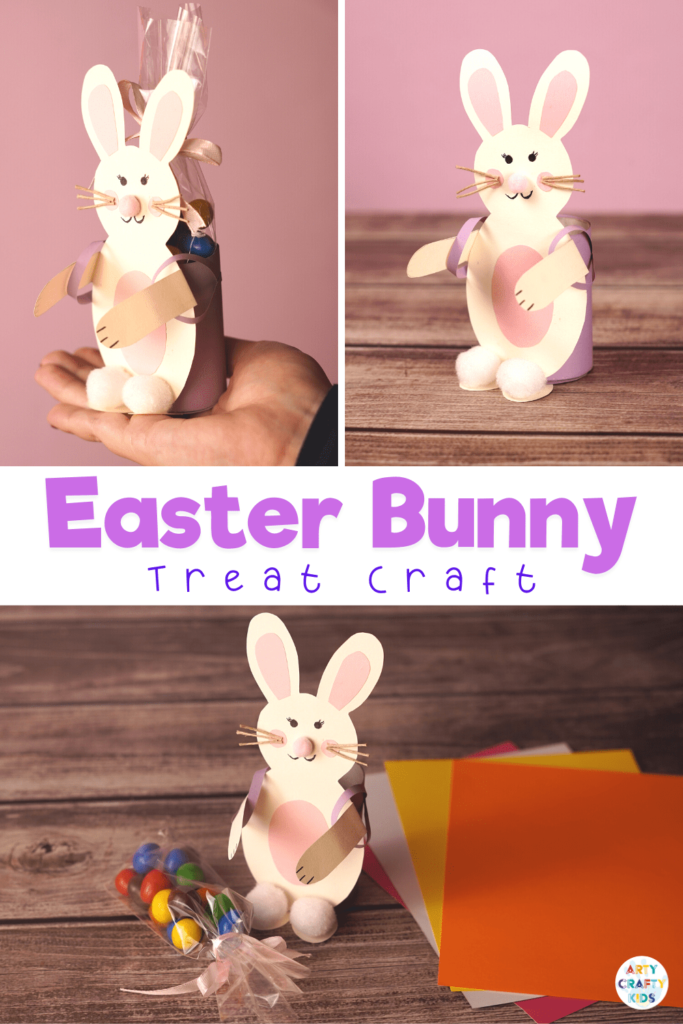
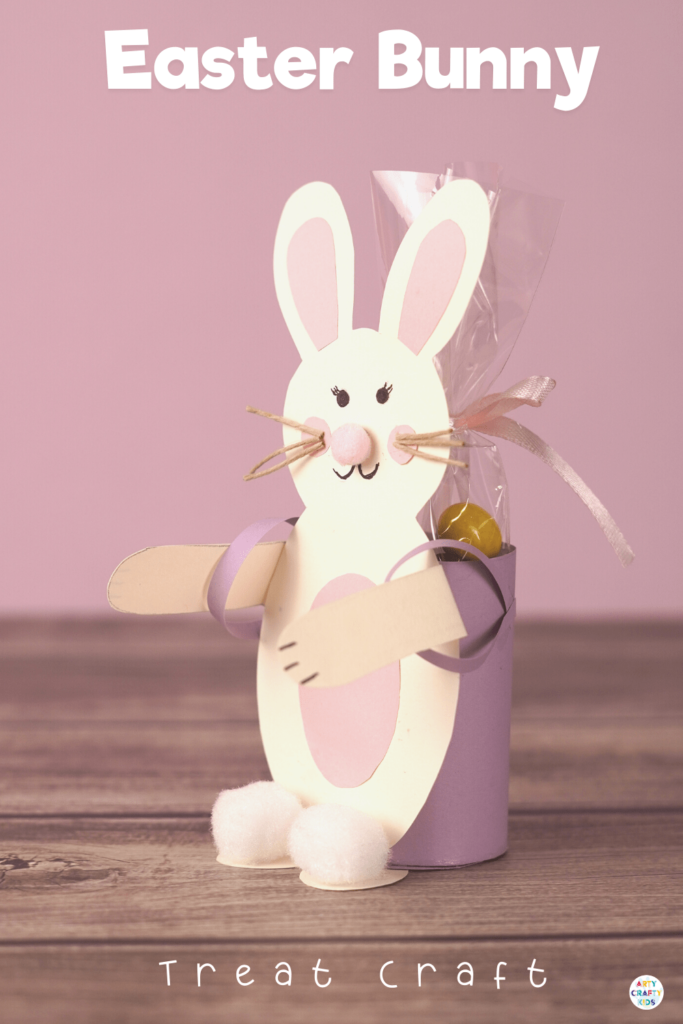
Easter Bunny Treat Craft: If you’re looking for an easy and engaging Easter themed craft for the kids, that delivers fun with an added treat, this is the perfect activity for you.
Ideal for the home or the classroom, this 3D craft is sure to please younger and older children alike – because who doesn’t love a visit from the Easter bunny?!
The craft can be tailored to your child’s age, as it includes both a printable bunny template, and a video tutorial for older kids who fancy having a go at drawing the bunny themselves.
Simple, but really fun to make, you could even make a few and create your own Easter egg hunt or even use them in a lovely seasonal display – why not paint some eggs and use your bunny as an egg cup?
How to Make the Easter Bunny Treat Craft
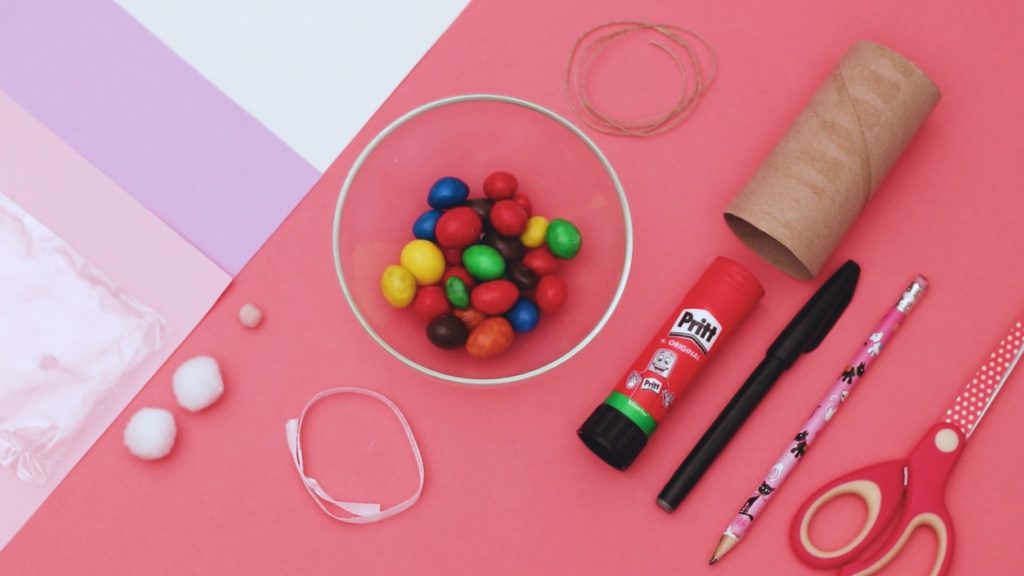
Materials:
Construction Paper
Paper Roll
Pom-Poms
String
Pencil
Marker Pen
Scissors
Glue Stick
Treats
Optional Template:
The Easter Bunny Template is available to members of the Arty Crafty Kids Club. Join the members area to access our complete online library of art and craft templates.
Members can access the template here (remember to login!): https://www.artycraftykids.com/product/easter-bunny-treat-craft/
Members will need to log in to access the templates!
Not A Member?
Watch the Video Tutorial:
Let’s Start the Easter Bunny Treat Craft:

Wrap the Paper Roll
Lay the paper roll onto the edge of your sheet of colored card. Make a little mark with pencil – or if you’re confident, make a cut with scissors – and cut the sheet, so you have just the right length of card to wrap your roll.
(This is a great way to reduce waste, and it means you can make more than one craft out of a single sheet of card!)
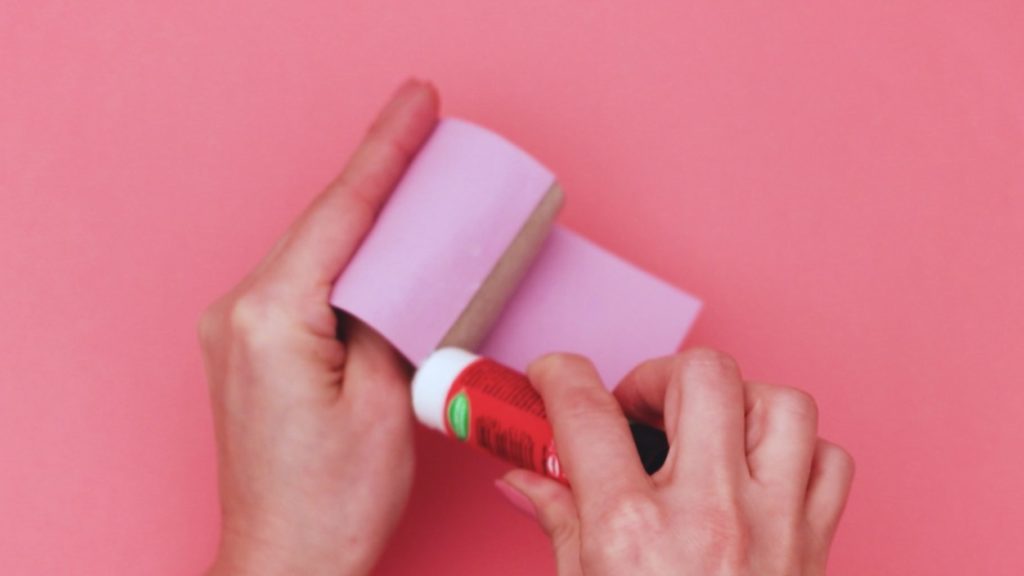
Then wrap the card around the paper roll and secure with a gluestick.
Create a Bottom for the Paper Roll
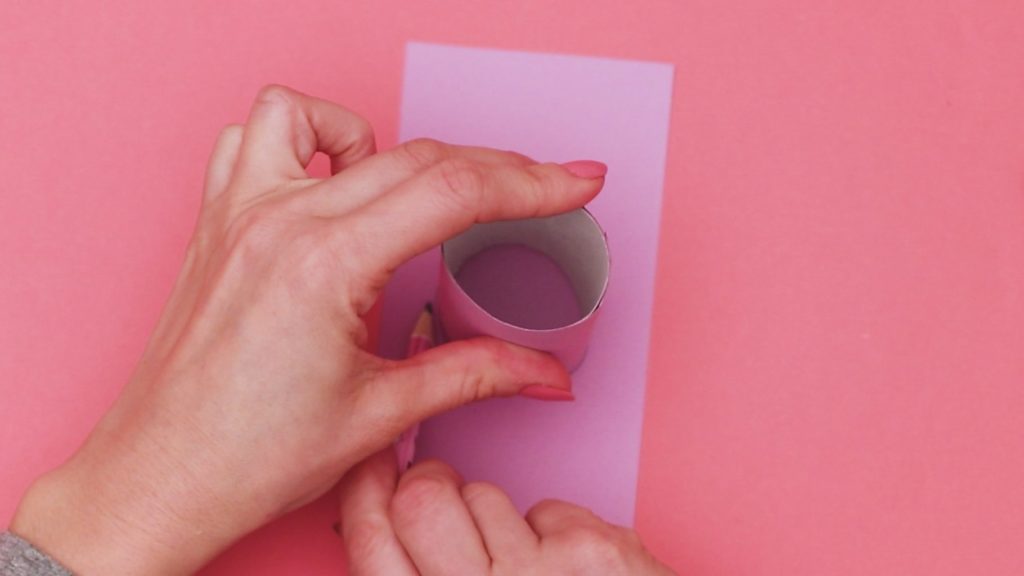
Stand the paper roll on its end on the off-cut of colored card and draw around it lightly in pencil.
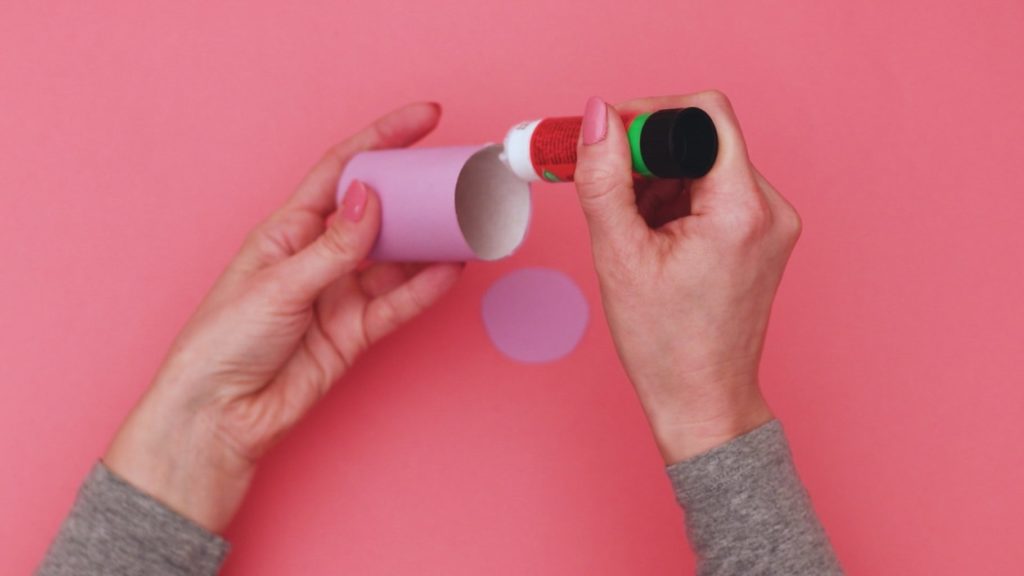
Carefully cut the circle out, and stick it onto the bottom of the paper roll.
Assemble the Bunny
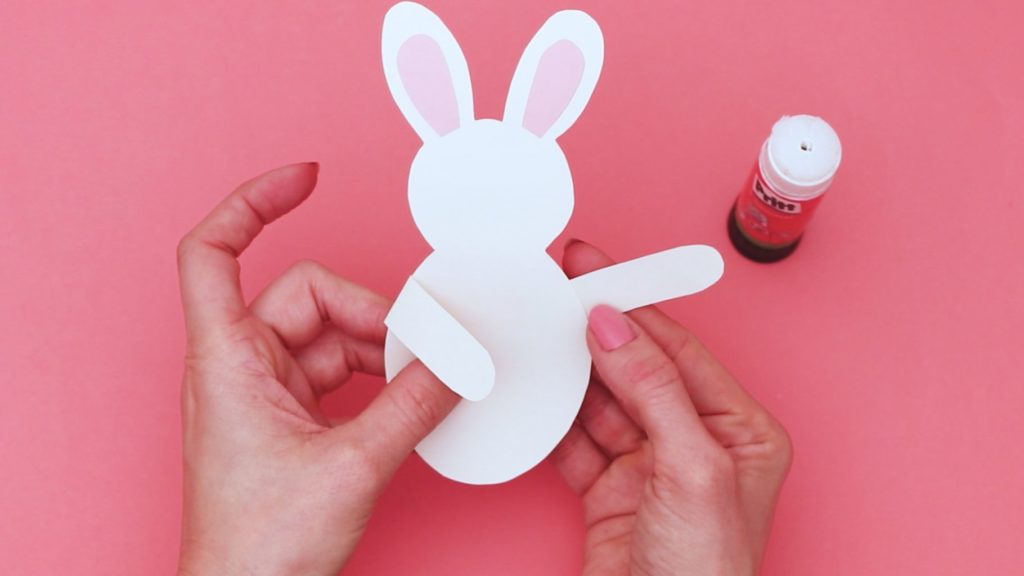
Now it’s time to make the Easter bunny! Younger children can use the template from our members area, but if older children are joining in and feel more confident with drawing, they can follow our handy video and learn to draw the shapes along with us.
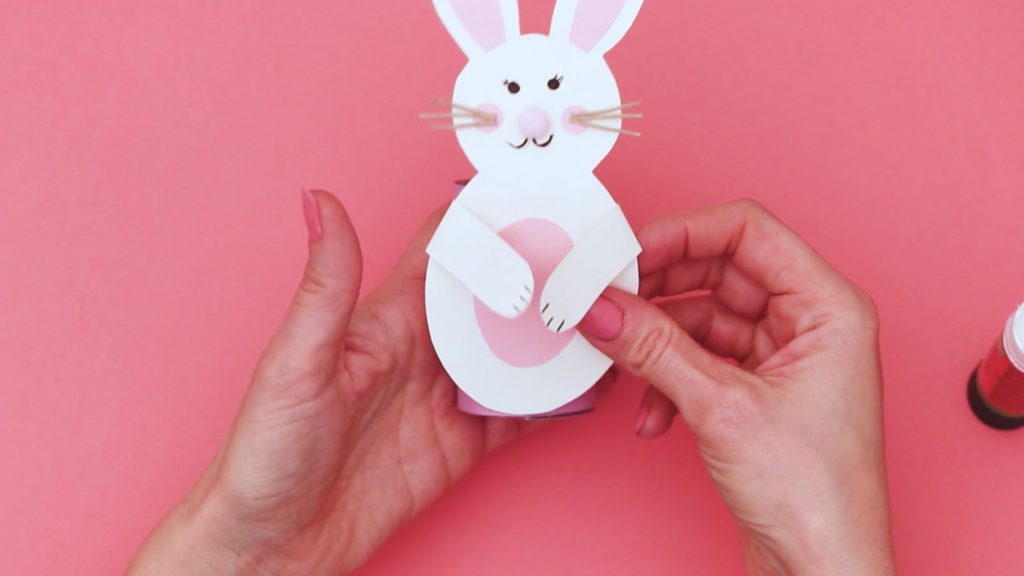
Once you’ve drawn the bunny, carefully cut her out and fold the arms over gently, so she can hold onto her basket of goodies!
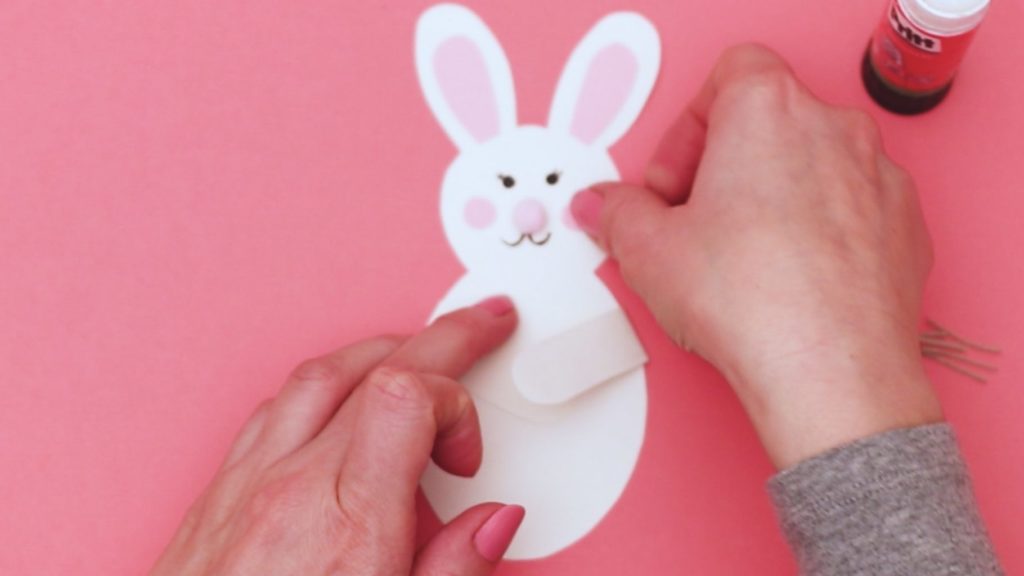
Next, it’s time to add some details. You can use your imagination and decorate your bunny however you like!
We’ve gone for a super sweet and simple look, with rosy cheeks and a pom pom nose. Why not add a 3D element by giving your bunny some perky string whiskers?
And don’t forget to draw on eyes, a little smile, and maybe even some bunny claws onto her paws, too.
Secure the Easter Bunny
Now stick the bunny firmly onto the side of the paper roll, so she can carry her treats.
Add Paper Straps
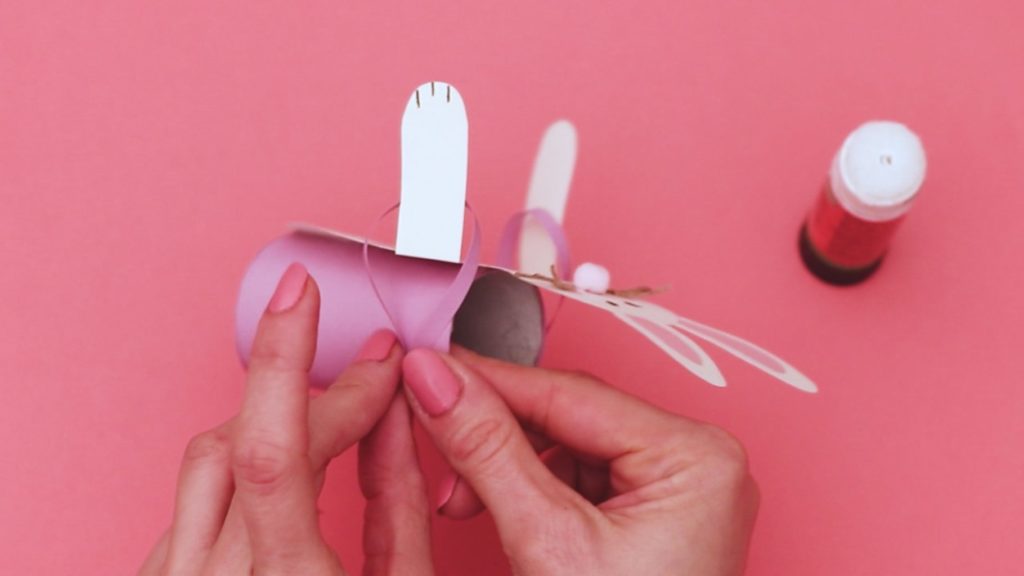
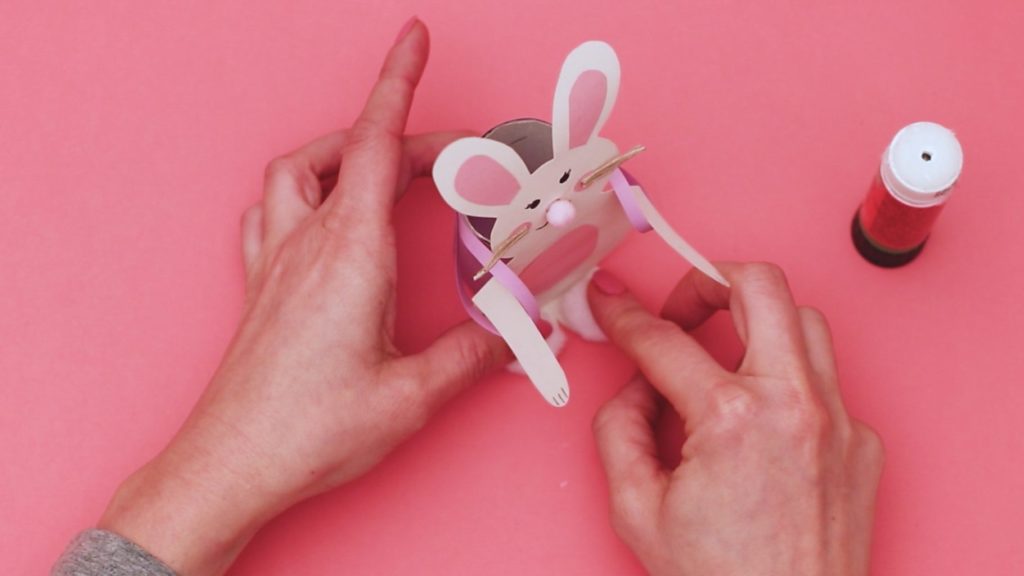
Next, cut two thin strips of colored card to make straps for the treat bag. Create a loop, stick both ends to one side of the paper roll, and slip the bunny’s arm through the strap. Repeat on the other side.
Create Fluffy Feet
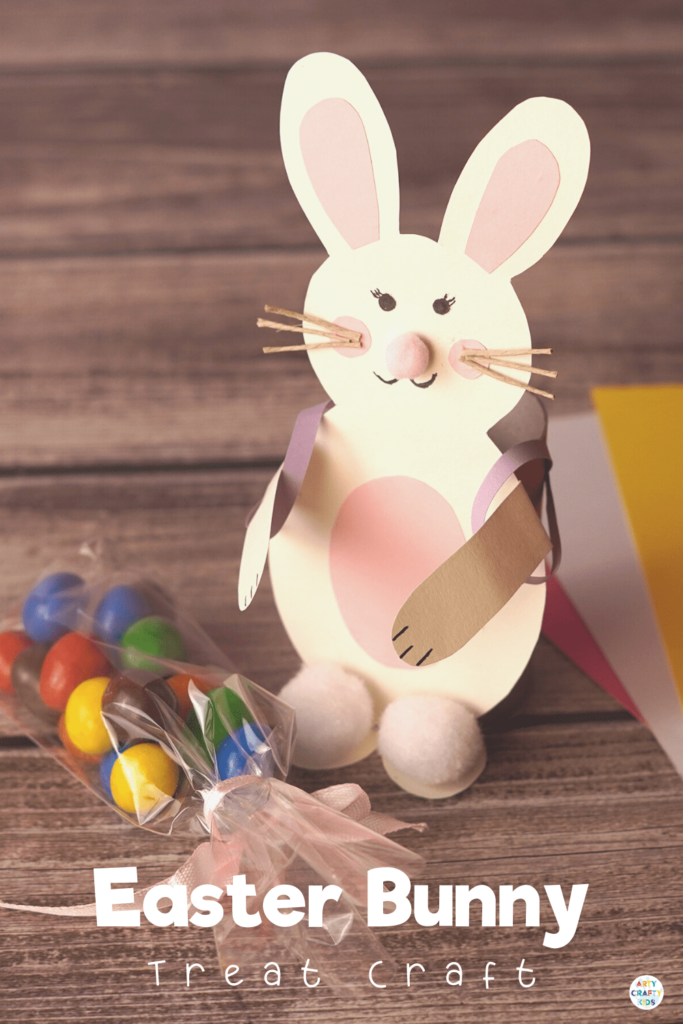
Finally, cut out two small circles of white card and stick them to the bottom of the paper roll. And stick a little white pom pom onto each to make a pair of fluffy feet.
Fill the Back Pack with Treats!
Now your adorbale Easter bunny is complete, it’s time for the best part – fill her bag with your favorite treats! What will you choose?
Don’t forget to share your pictures and tag us on social media – I’d love to see how many deliveries the Easter bunny makes this year!
More Easter Bunny Crafts for Kids:
