Sharing is caring!
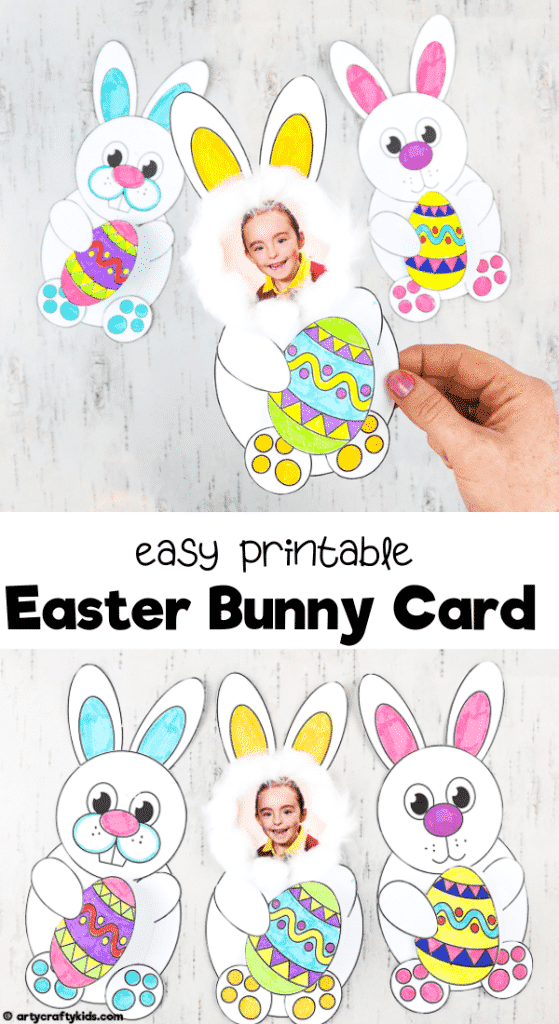
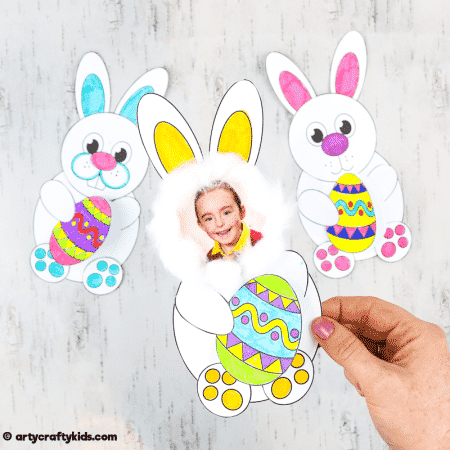
With Easter approaching, this Easter Bunny Card is the perfect card to make with the kids. Kids will love coloring and arranging the shapes to put their Easter bunny cards together. The simple open/close Easter egg card held by the bunny adds an adorable novelty feature to the craft.
The Easter Bunny card can be personalised with a photograph, transforming your child into an Easter bunny. This simple adaptation adds an irresistible cute factor that makes it perfect for giving as a gift to family and friends.
How to Make an Easter Bunny Card:
The Easter Bunny Card is mostly a cut and stick craft, which is great if you’re working with a group of children in preschool or school. This is also a perfect craft to do with younger children; they have an opportunity practice their cutting skills and play with shapes.
What you need:
White Cardstock
Colouring Pens, Pencils or Crayons
Scissors
Glue Stick
Optional: Photograph
Optional: Cotton Wool Balls
How to Download the Easter Bunny Card:
The Easter Bunny Card is available in three designs: Bunny with Teeth, Bunny with Smile and Bunny with Photo Option. The templates are available to members of are the Arty Crafty Kids club and can be accessed via the following link: https://www.artycraftykids.com/product/easter-bunny-cards/
Members will need to log in to access the templates!
Not A Member?
Watch the How-To Easter Card Video:
Let’s Make the Bunny Card!
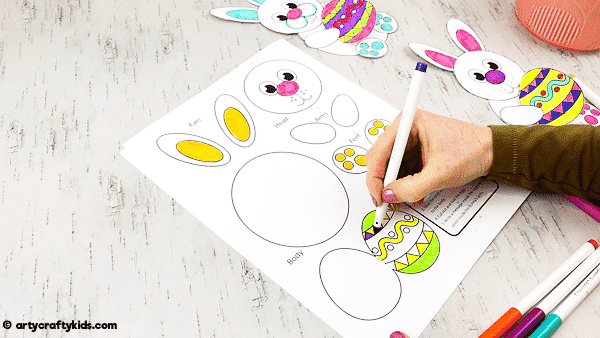
Color in the Bunny Template
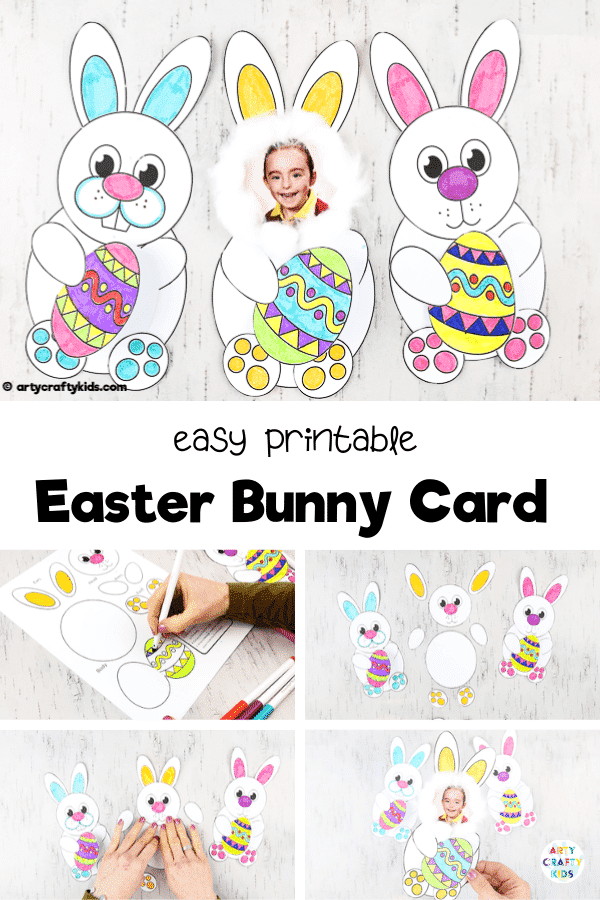
Step 1: Print the Easter Bunny template onto white cardstock. Color in the Easter Bunny elements using a favourite medium.
For vibrancy, this example has been colored with children’s washable felt tipped pens.
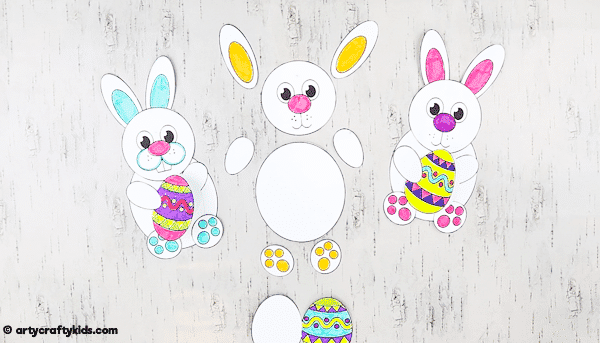
Cut Out the Template Elements
Step 2: Cut out the bunny elements and the Easter egg.
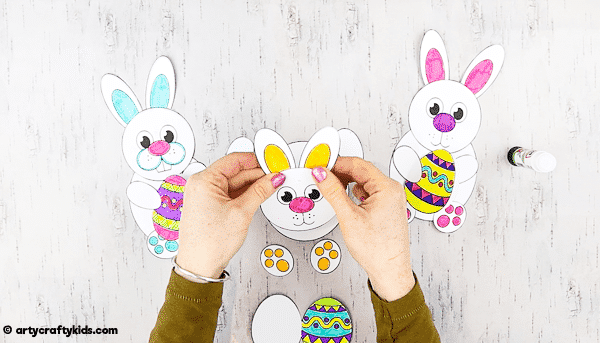
Assemble the Bunny
Step 3: Begin to assemble the bunny by gluing the ears to the back of the head.
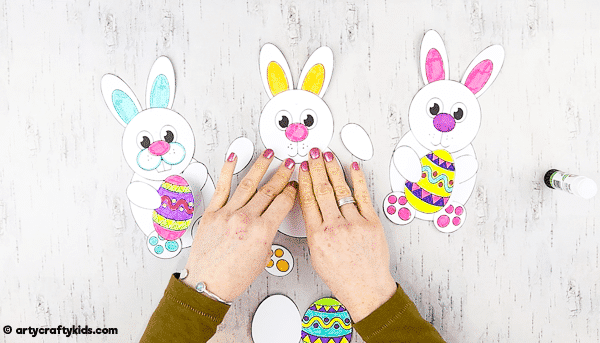
Step 4: Glue the completed bunny head to the body (the large round shape)
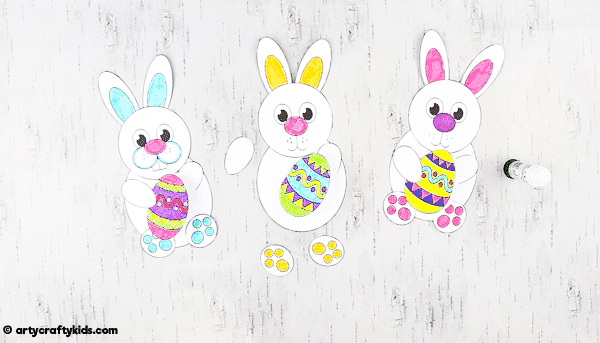
Add the Easter Egg Card
Step 5: Using the dotted line as a guide, fold the Easter egg in half.
Step 6: Glue one bunny arm directly to the body and glue the Easter egg on top. The Easter egg card should be able to open and close.
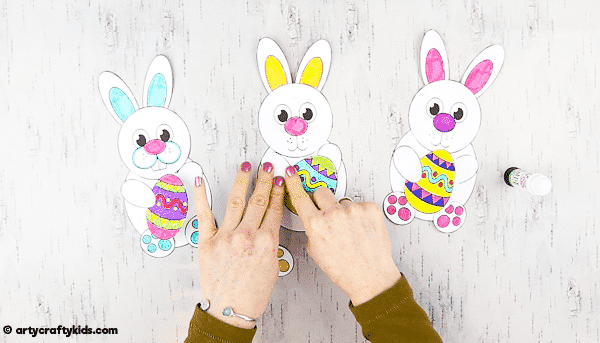
Step 7: Glue the second arm to the body and apply extra glue to the hand area to securely attach it to the top of the Easter egg. With the arm securely in place, the Easter egg card should easily open and close.
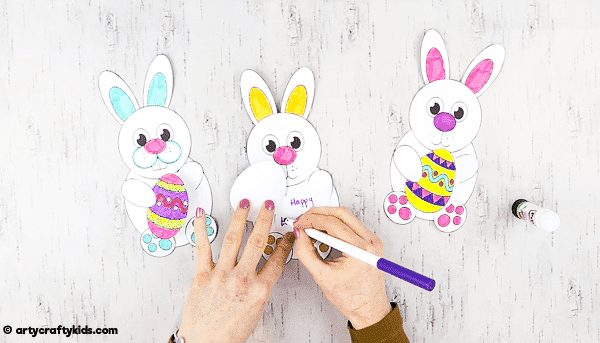
Write an Easter Greeting
Step 8: Complete Easter Bunny Card with an Easter greeting!
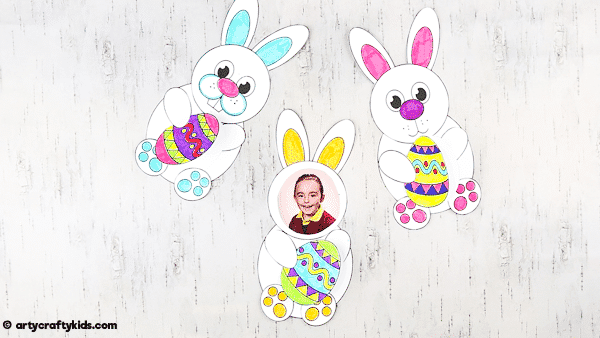
Photo Adaptation
To create a bunny card with your Arty Crafty Kids face, simply place a photograph inside the circle of the ‘photo template’.
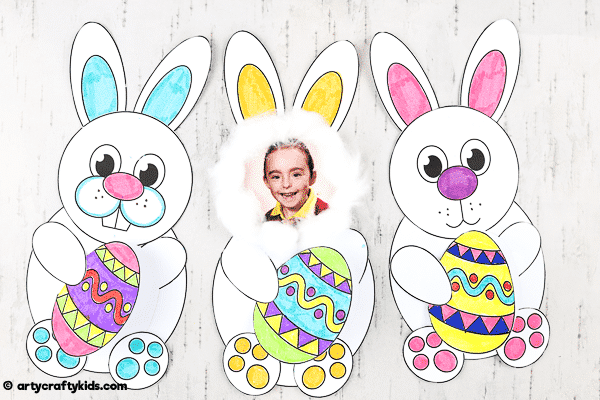
Surround the edges of the photograph with cotton wool to create an Arty Crafty Bunny!
More Cute and Easy Easter Crafts for Kids:
Bobble Nose Easter Bunny Craft
We love our interactive paper crafts at Arty Crafty Kids and have a growing collection of animals crafts with bobble features. With its wiggly and stretchy nose, kids will love creating this engaging and simply adorable addition – Bobble Nose Paper Easter Bunny Craft.
https://www.artycraftykids.com/craft/bobble-nose-paper-easter-bunny-craft/
Circle Print Easter Egg Craft
This simple Circle Art Easter Egg Activity can be adapted to suit children of all ages and explores printing techniques, line work, colour matching, basic colour theory and shapes.
https://www.artycraftykids.com/art/circle-art-easter-egg-activity/
Photo Surprise Easter Egg Card
Let’s get creative this Easter with an easy to make Photo Surprise Easter Egg Card. The Easter Egg unfolds to reveal a child’s image, adding an extra special personal touch to this kid-made card.
https://www.artycraftykids.com/craft/how-to-make-a-photo-surprise-easter-egg-card/
